
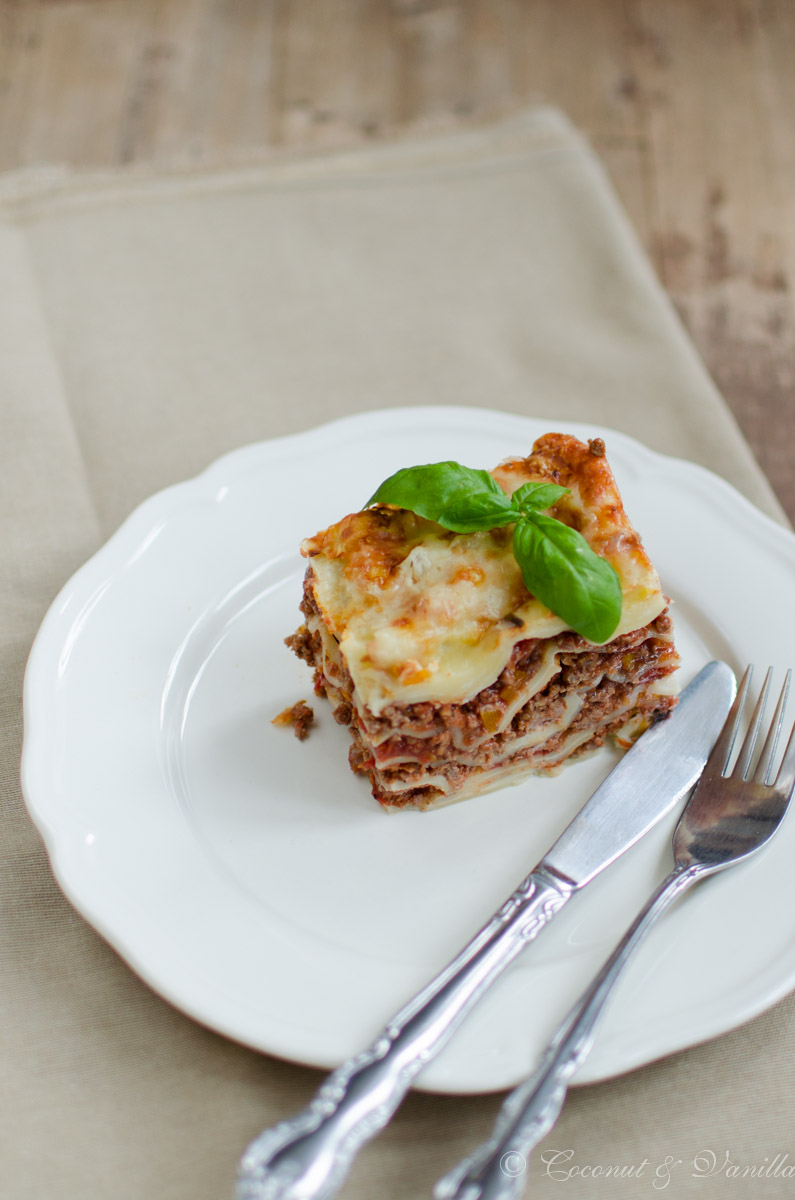
Heute gibt es einen echten Klassiker auf dem Blog, nämlich eine Hackfleischlasagne! Lasagne ist so ein echtes Soulfood, für das man aber schon einige Zeit für die Zubereitung braucht. Heute möchte ich Euch mal meine Version einer Lasagne mit Hackfleisch und Béchamelsauce zeigen.
Prinzipiell kann man aus allem eine Lasagne machen, so lassen sich auch viele vegetarische Lasagnen zaubern, da kann man sich wirklich kreativ entfalten. Aber ab und zu kommt man dann doch wieder zu dieser Version zurück, so wie ich sie schon lange mache. Wie mögt ihr denn eure Lasagne am liebsten?
Wer mal so richtig Zeit hat um zu seinem Zen zu finden ;), dem lege ich ans Herz die Nudelplatte selbszumachen für die perfekte Lasagne. Bisher habe ich das auch nur einmal gemacht, aber die Nudelplatten sind schließlich am schnellsten von allen Pastasorten zubereitet, denn man muss den Teig ja nur durchdrehen. Die Lasagne schmeckt dadurch nochmal um einiges besser und man kann die Platten genau passend der Form zuschneiden. Das empfinde ich als sehr großen Vorteil. Den Teig dieser Ravioli könnt ihr auch für Lasagneblätter verwenden.
Die Hackfleichsauce ist übrigens auch meine normale Bolognesesauce zu Pasta! Wer also nach der Sauce den Aufwand der Lasagne scheut, macht sich einfach Pasta dazu und genießt schon mal :)!
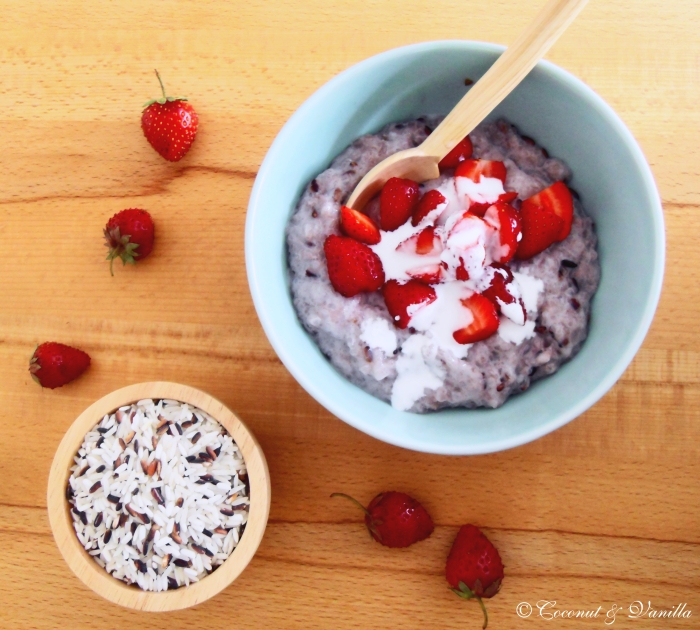
Vor einem Jahr: Joghurt-Gurken-Ice Pops mit Mango
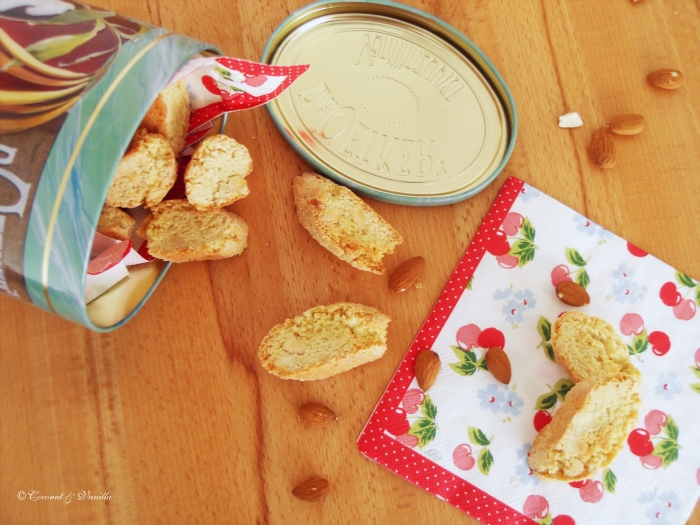
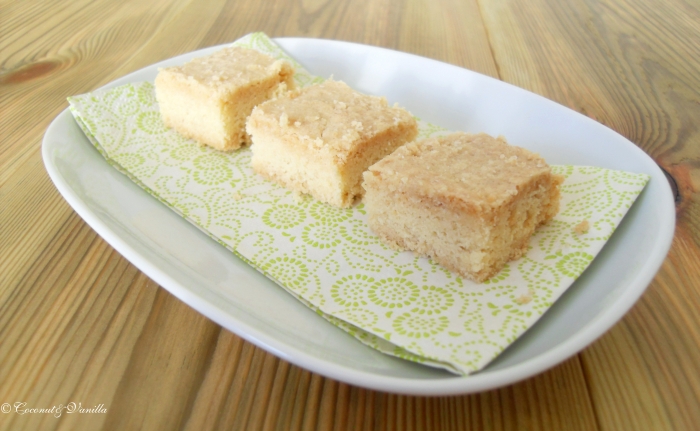
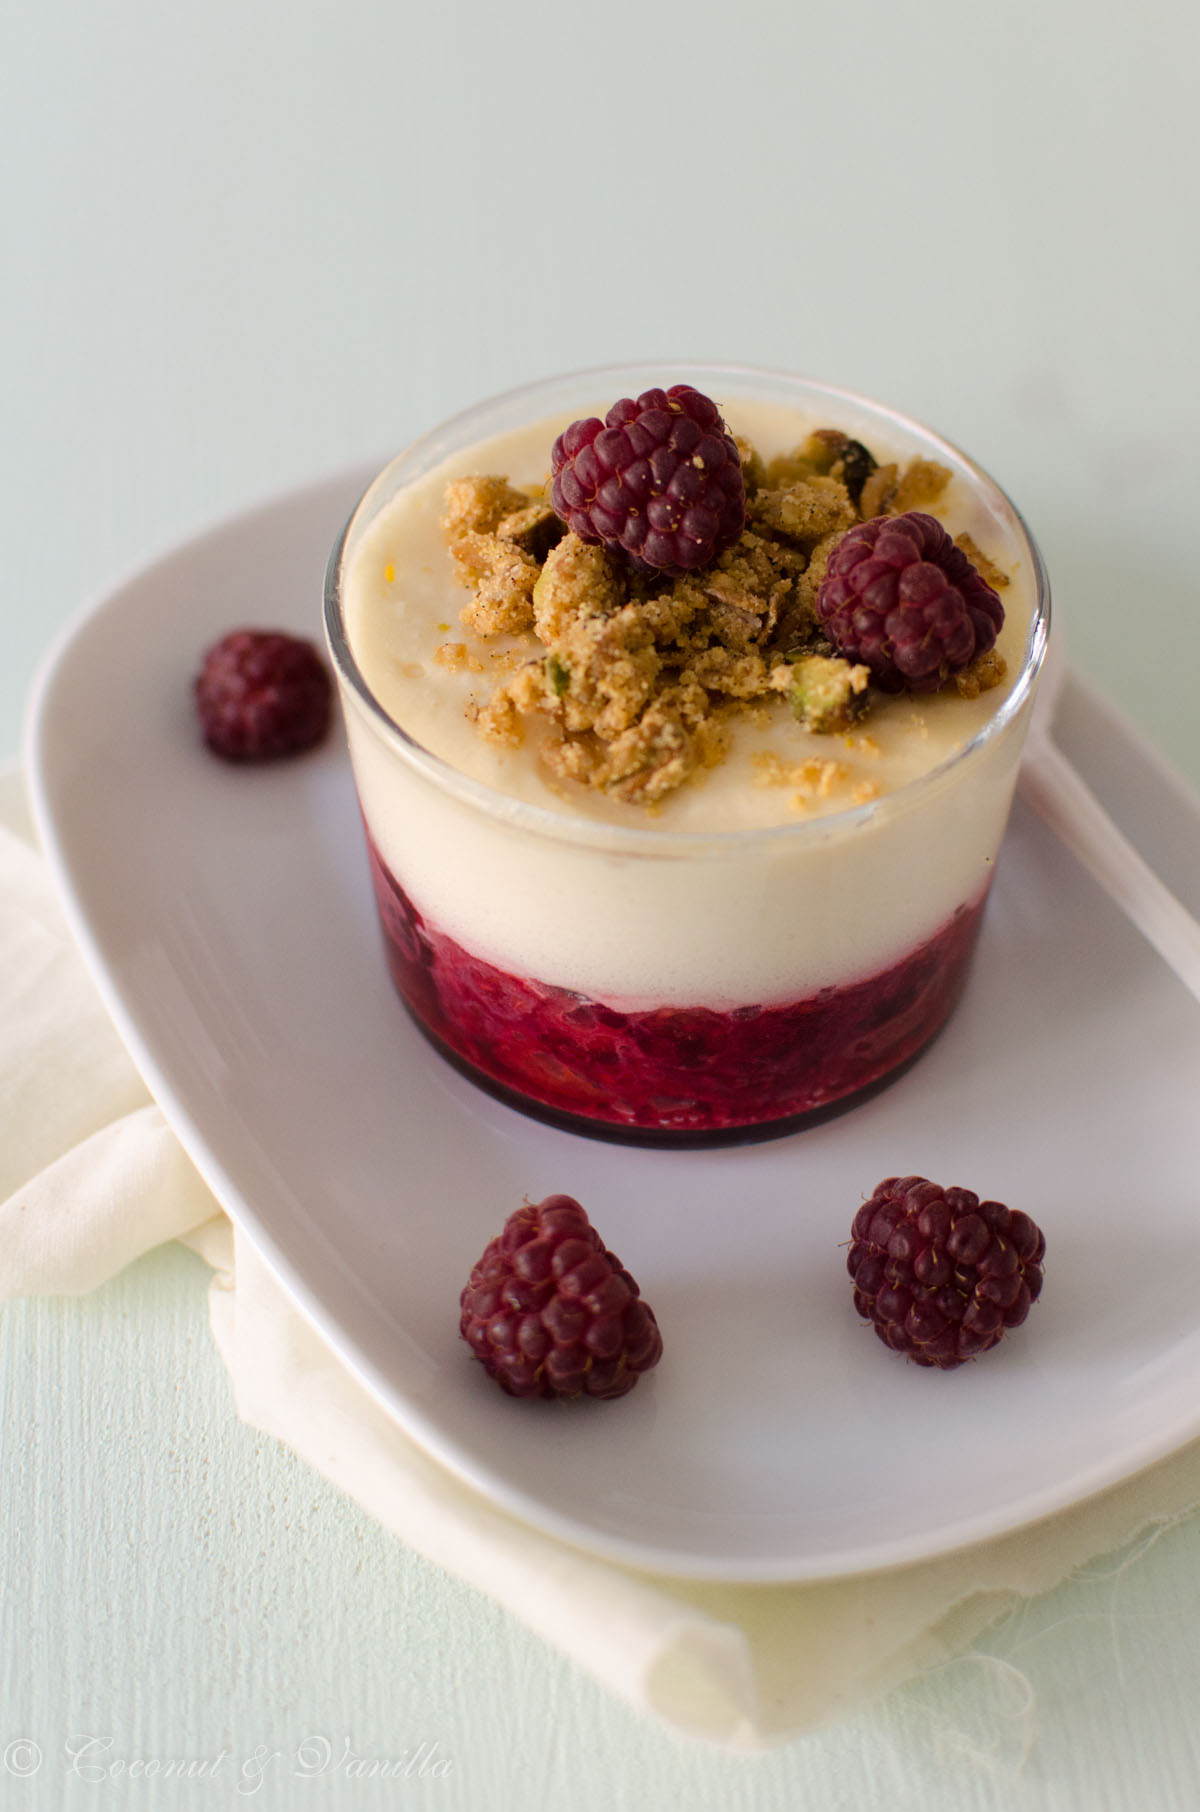
Vor zwei Jahren: Cantucchini mit Pistazien und Sauerkirschen, weiße Erdbeerschokolade mit Minze
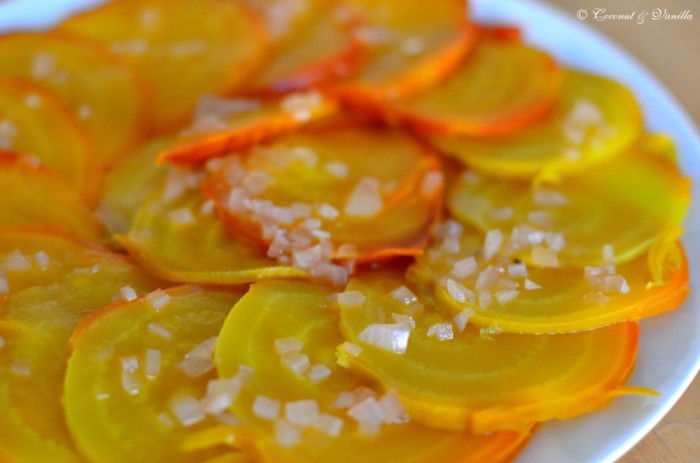
Vor vier Jahren: Friandaises mit roten Johannisbeeren
Lasagne
ergibt 4-6 Portionen
Zutaten:
- 100 g Speck, gewürfelt
- Butterschmalz
- 1 Zwiebel, klein gewürfelt
- 2 Knoblauchzehen, fein gewürfelt
- 1 gr0ße oder 2 kleine Möhren, geschält und klein gewürfelt
- 1 dicke Scheibe Knollensellerie, geschält und klein gewürfelt
- 2 EL Tomatenmark
- 1 kg Rinderhackfleisch
- 150 ml Rotwein
- 1 Dose gehackte Tomaten
- 250 ml Gemüsebrühe
- 250 g passierte Tomaten
- Salz, Pfeffer
- gehackte frische Kräuter, z.B. Thymian, Oregano, Basilikum oder alternativ getrockenete Kräuter
- 30 g Butter
- 40 g Mehl
- 750 ml Milch
- 1 Lorbeerblatt
- Muskatnuss
- ca. 250 g Lasagneblätter
- 200 g Käse (z.B. Appenzeller oder Gruyère), grob gerieben
In einer tiefen Pfanne oder einem flachen Topf den Speck anbraten, so dass das Fett austritt. Im Zweifelsfall etwas Butterschmalz dazugeben. Ist der Speck ausgelassen und knusprig aus der Pfanne nehmen. Im verbleibenden Fett die Zwiebel andünsten. Ist zu wenig Fett vorhanden, etwas Butterschmalz zugeben. Den Knoblauch zugeben und kurz mitdünsten. Karotten und Sellerie dazugeben und 5 Minuten mitdünsten. Das Tomatenmark unterrühren und kurz anbraten. Das Hackfleisch zugeben und kräftig anbraten. Wenn das Hackfleisch angebraten ist und das ausgetretene Wasser wieder verkocht ist mit dem Rotwein ablöschen. Den Wein einkochen lassen, anschließend gehackte und passierte Tomaten, sowie die Gemüsebrühe zugeben. Auf mittlerer bis kleiner Hitze offen einkochen lassen bis eine sämige Konsistenz entstanden ist (bei mir dauert das 15-30 Minuten). Dann den Deckel auflegen und bei kleiner Hitze rür weitere 1,5 bis 2 Stunden simmern lassen.
Die Hackfleischsauce mit Kräutern und Salz und Pfeffer würzen! Die Bolognesesauce ist jetzt schon fertig!
Für die Béchamelsauce die Butter in einem Topf schmelzen, dann das Mehl mit einem Schneebesen einrühren. Nach und nach die Milch eingießen und gut verrühren. Das Lorbeerblatt zugeben und die Sauce köcheln lassen bis sie etwas andickt, dabei immer wieder umrühren, sonst brennt sie leicht an!Wenn die Sauce angedickt ist mit Salz, Pfeffer und Muskat würzen und das Lorbeerblatt entfernen.
Eine Auflaufform ausfetten.
Zuerst den Boden mit Béchamelsauce bedecken, dann mit Lasagneblättern belegen. Darauf wieder Béchamelsauce, darauf dann Hackfleischsauce, dann wieder Lasagneblätter und so weiter und sofort. Am Ende Lasagneblätter, Béchamelsauce und darauf dann den geriebenen Käse verteilen.
Die Lasagne bei 200° C Ober-/Unterhitze (180° C Umluft) auf der 2. Schiene von unten 35-40 Minuten backen.
Today I’m presenting a true classic on the blog: an italian lasagne with minced beef! Lasagne is real soulfood, but you need some time for the preparation. Today I’m showing you my version of a lasagne with minced beef and béchamel sauce.
Basically it is possible to make a lasagne from everything, so you can also make a lot of vegetarian versions and get creative about that! But every now and then I come back to this classic one. How do like your lasagne best?
If you have some time and want to find your inner zen 😉 I recommend you to make the lasagne sheets yourself. That will make truly the perfect lasagne! I only made that once, but these sheets are the fastest kind of pasta to make, if that helps you for motivation ;). The lasagne is even better with homemade sheets and the best is the sheets can be made so they fit perfectly in the pan. That’s a huge plus here! You can also use the dough of these ravioli for the lasagne sheets.
By the way, the minced beef sauce is already a great bolognese sauce for pasta! So if you are afraid of the labour for the lasagne, just make the sauce and some pasta and enjoy!
One year ago: yogurt cucumber ice pops with mango
Two years ago: cantucchini with sour cherries and pistachios, white chocolate with strawberries and mint
Four years ago: friandaises with red currants
Lasagne
yields: 4-6 portions
Ingredients:
- 100 g bacon,diced
- clarified butter
- 1 onion, diced
- 2 cloves of garlic, finely diced
- 1 large or 2 small carrots, peeled and finely diced
- 1 thick slice of celeriac, peeled and finely diced
- 2 Tbsp concentrated tomato paste
- 1 kg minced beef
- 150 ml red wine
- 1 tin chopped tomatoes
- 250 ml vegetable broth
- 250 g tomato purée
- salt, pepper
- chopped fresh herbs, e.g. thyme, oregano, basil or dried herbs
- 30 g butter
- 40 g flour
- 750 ml milk
- 1 bay leaf
- nutmeg
- ca. 250 g lasagne sheets
- 200 g cheese (e.g. Appenzeller or Gruyère), coarsely grated
Roast the bacon in a deep skillet or a low pot until the fat renders. If necessary add some clarified butter. When the fat has rendered and the bacon is crispy remove it from the skillet. Braise the onion lightly in the remaining fat, if necessary add some clarified butter. Add the garlic and braise shortly. Add carrots and celeriac and braise for another 5 minutes. Add the concentrated tomato purée and roast shortly. Add the minced beef and sear until browned. When the water released from the beef has evaporated add the red wine. Allow to reduce the wine, then add the chopped and puréed tomatoes, as well as the vegetable broth. Cook on middle to low heat until you have a thicker sauce (that takes about 15-30 minutes for me). Then close with a lid and simmer on low heat for another 1,5 to 2 hours.
Season the sauce with herbs and salt and pepper. The sauce bolognese is already done now!
Add the butter in a saucepan for the béchamel sauce and melt on medium heat. Whisk in the flour. Pour in the milk gradually and whisk until smooth. Add the bay leaf and simmer until the sauce begins to thicken. Keep on whisking therewhile, because the sauce burns easily. When the sauce has thickened season it with salt, pepper and nutmeg and remove the bay leaf.
Butter a rectangular baking dish.
First cover the bottom with some bèchamel, then cover with lasagne sheets. Then cover again with bèchamel, following meat sauce, lasagne sheets and so on and so forth. End with lasagne sheets, bèchamel sauce, covered with grated cheese.
Bake at 200° C top/bottom (180° C hot air) on the 2. level from the bottom for 35-40 minutes until golden brown.
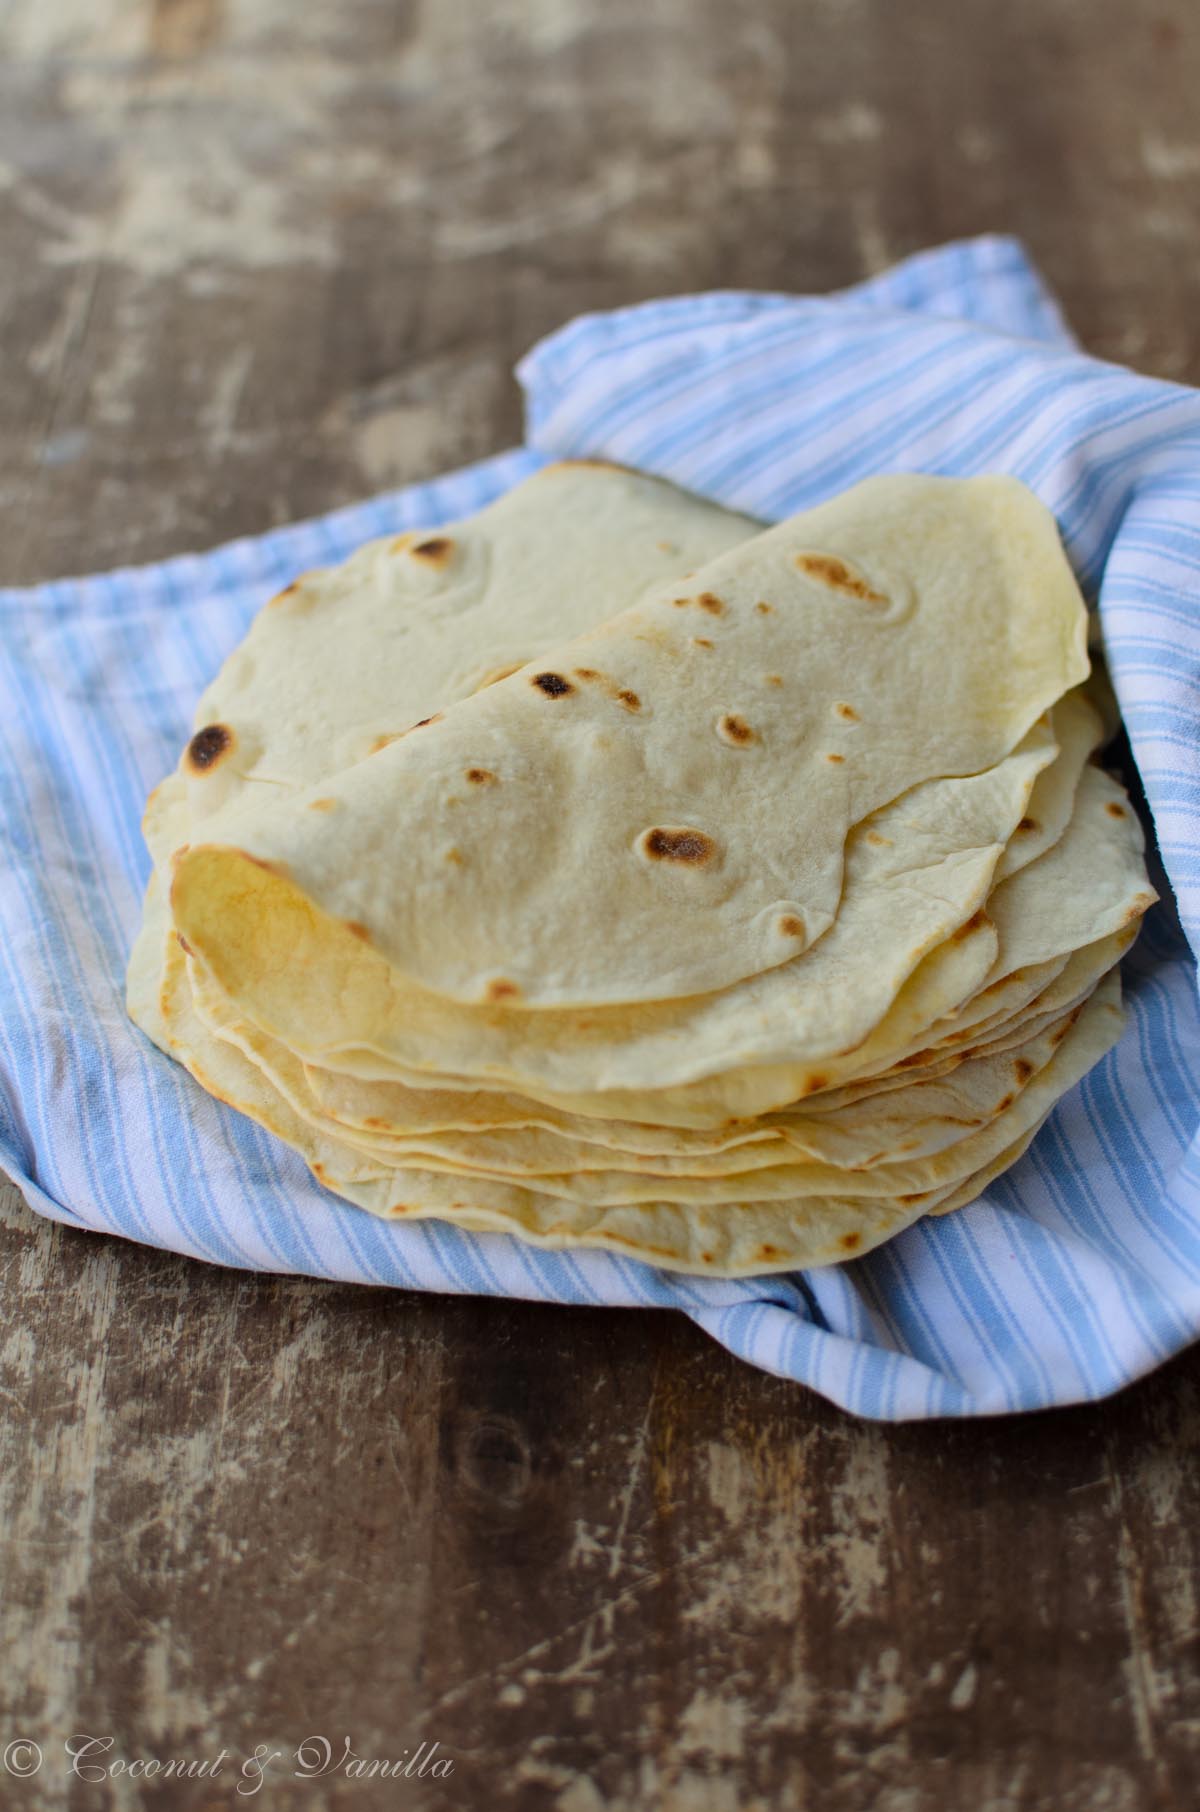
![[:de]Back to Basics: selbstgemachte Weizentortillas[:en]Back to Basics: Homemade Wheat Flour Tortillas[:]](https://coconutandvanilla.com/wp-content/uploads/2013/09/Weizentortillas_banner.jpg)
![[:de]Quesadillas mit Zucchini und frischem Mais[:en]Quesadillas with Zucchini and fresh Corn[:]](https://coconutandvanilla.com/wp-content/uploads/2013/09/quesadillas-zucchini-mais-banner.jpg)