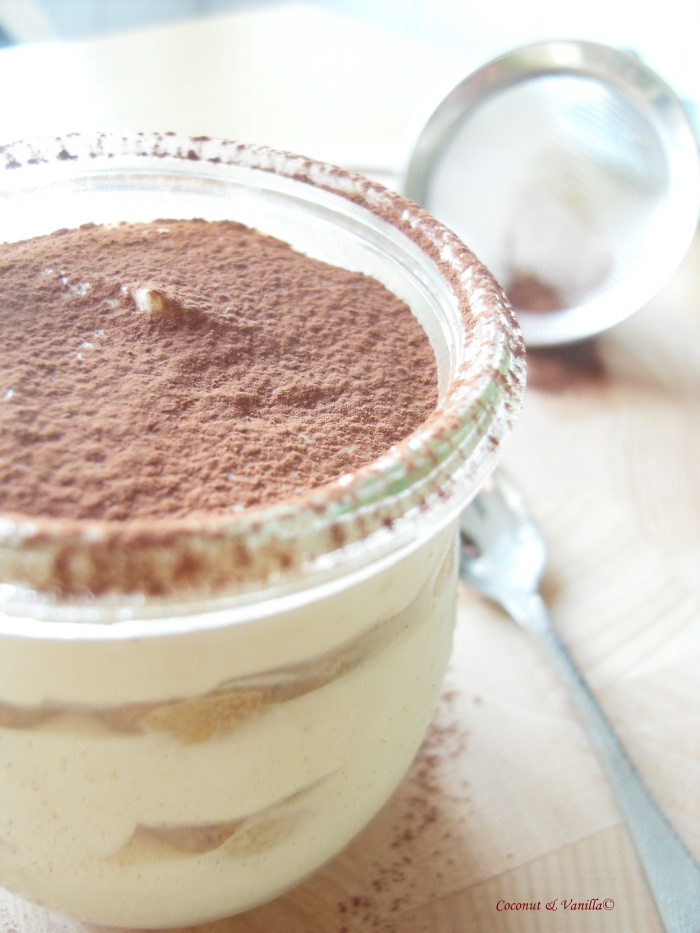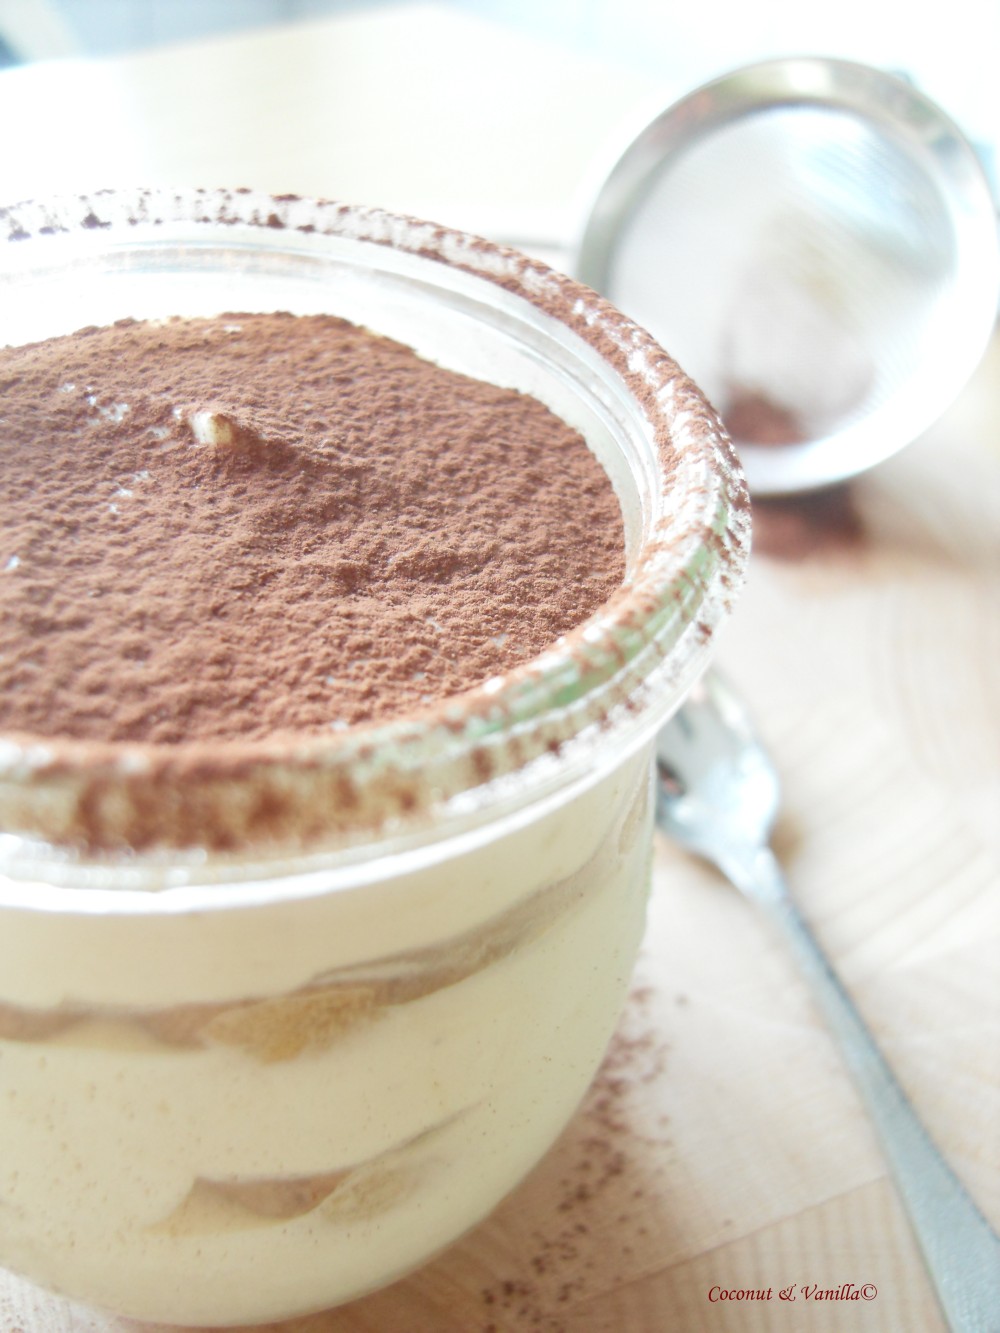
Finally I get myself to write about the Daring Baker’s challenge in February. I got a bit under time pressure in the end and so I wasn’t able to post my Tiramisu yesterday on the reveal date.
The February 2010 Daring Bakers’ challenge was hosted by Aparna of My Diverse Kitchen and Deeba of Passionate About Baking. They chose Tiramisu as the challenge for the month. Their challenge recipe is based on recipes from The Washington Post, Cordon Bleu at Home and Baking Obsession.
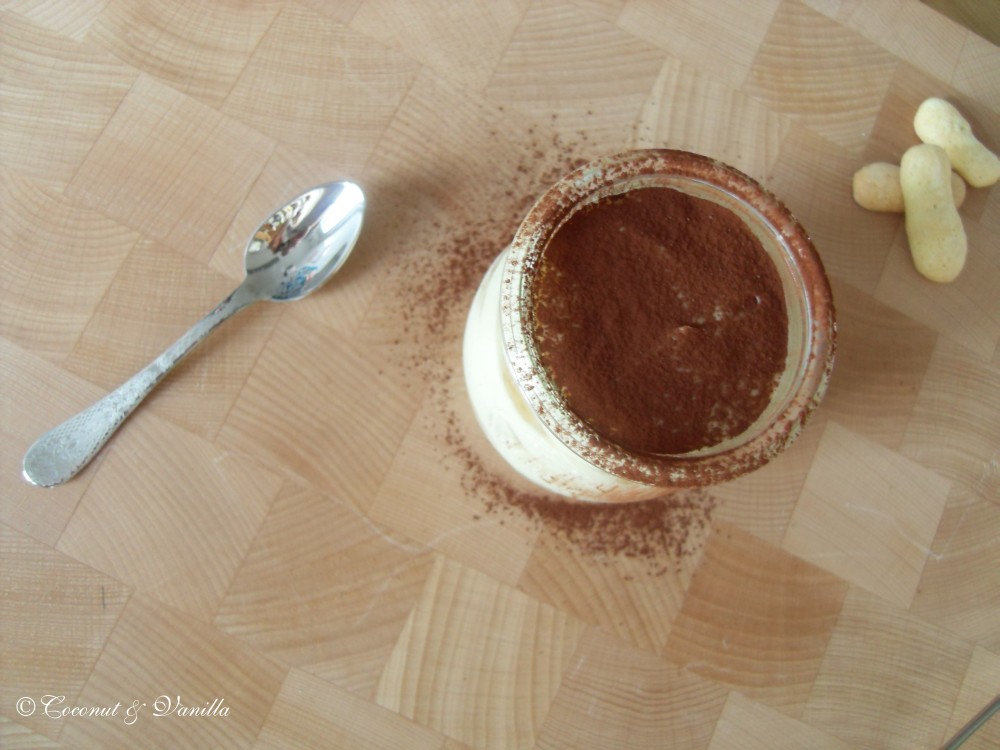
It wasn’t just the challenge to make Tiramisu. Since I had made this several times it wouldn’t be one. But we had to make our own Ladyfingers (Löffelbiskuits) and our own Mascarpone cheese for the Tiramisu. It was likely easy to make the Ladyfingers and the Mascarpone. What really took time was to make the creams. Yes creams! Two creams and whipped cream additionally. Then assembly those. I only know Tiramisu with a lot of mascarpone and little else. I think most people – or at least germans – will agree to that. The challenge recipe is totally different to that. You only use a little amount of mascarpone and more whipped cream and other ingredients. The good thing is, it is a lot lighter than the fat only-mascarpone-version. You can eat more tiramisu. Really good, hah?!
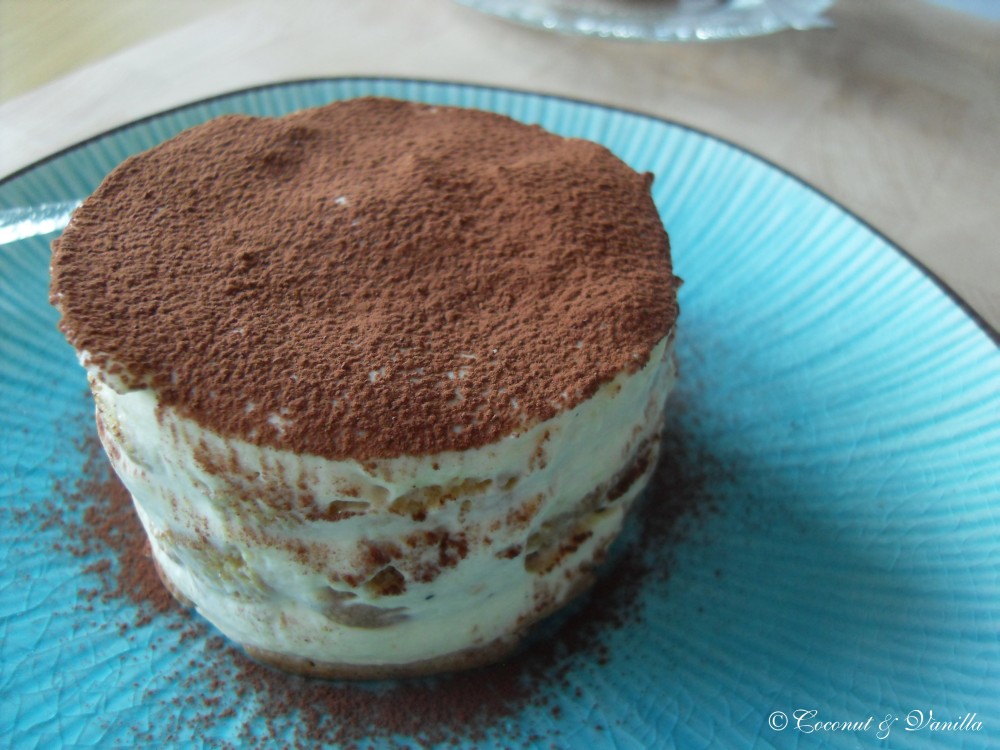
The bad thing is it takes a lot of time to make it. And for truth – really – it doesn’t taste much different. As I would say identical. But if you love tiramisu, I would go for the lighter eat-more-takes-more-time-version.
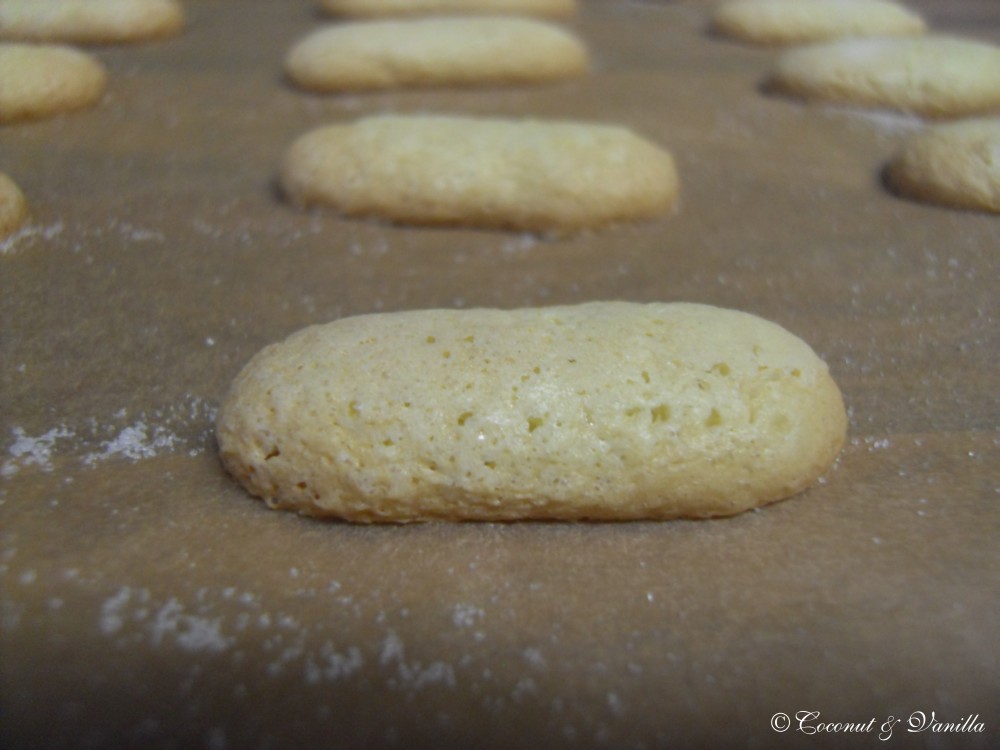
The ladyfingers turned out great. But I baked them several times before, just for my own indulgence. My mascarpone turned out, just like mascarpone you can buy. I left mine two days in the fridge, since after one day it wasn’t firm enough. My cheesecloth was thicker, than it should have been, but it worked just fine, too. But for taste, I really think it tastes the same if you use bought ladyfingers and bought mascarpone. The difference just makes the cream. But better you work it out and form your own opinion about that.
In the end definitely a delicious dessert!
Recipes
Mascarpone cheese
This recipe makes 12oz/ 340gm of mascarpone cheese
Ingredients:
- 1 tablespoon fresh lemon juice
Bring 2 cm of water to a boil in a wide skillet. Reduce the heat to medium-low so the water is barely simmering. Pour the cream into a medium heat-resistant bowl, then place the bowl into the skillet. Heat the cream, stirring often, to 88°C. If you do not have a thermometer, wait until small bubbles keep trying to push up to the surface.
It will take about 15 minutes of delicate heating. Add the lemon juice and continue heating the mixture, stirring gently, until the cream curdles. Do not expect the same action as you see during ricotta cheese making. All that the whipping cream will do is become thicker, like a well-done crème anglaise. It will cover a back of your wooden spoon thickly. You will see just a few clear whey streaks when you stir. Remove the bowl from the water and let cool for about 20 minutes. Meanwhile, line a sieve with four layers of dampened cheesecloth and set it over a bowl. Transfer the mixture into the lined sieve. Do not squeeze the cheese in the cheesecloth or press on its surface (be patient, it will firm up after refrigeration time). Once cooled completely, cover with plastic wrap and refrigerate (in the sieve) overnight or up to 24 hours.
Vera’s notes: The first time I made mascarpone I had all doubts if it’d been cooked enough, because of its custard-like texture. Have no fear, it will firm up beautifully in the fridge, and will yet remain lusciously creamy.
Keep refrigerated and use within 3 to 4 days.
Ladyfingers
Ingredients:
- 3 eggs, separated
- 75gms granulated sugar
- 95gms cake flour, sifted (or 3/4 cup all purpose flour + 2 tbsp corn starch)
- 50gms confectioner’s sugar
Preheat your oven to 175 °C degrees, then lightly brush 2 baking sheets with oil or softened butter and line with parchment paper.
Beat the egg whites using a hand held electric mixer until stiff peaks form. Gradually add granulate sugar and continue beating until the egg whites become stiff again, glossy and smooth.
In a small bowl, beat the egg yolks lightly with a fork and fold them into the meringue, using a wooden spoon. Sift the flour over this mixture and fold gently until just mixed. It is important to fold very gently and not overdo the folding. Otherwise the batter would deflate and lose volume resulting in ladyfingers which are flat and not spongy.
Fit a pastry bag with a plain tip (or just snip the end off; you could also use a Ziploc bag) and fill with the batter. Pipe the batter into 5″ long and 3/4″ wide strips leaving about 1″ space in between the strips.
Sprinkle half the confectioner’s sugar over the ladyfingers and wait for 5 minutes. The sugar will pearl or look wet and glisten. Now sprinkle the remaining sugar. This helps to give the ladyfingers their characteristic crispness.
Hold the parchment paper in place with your thumb and lift one side of the baking sheet and gently tap it on the work surface to remove excess sprinkled sugar.
Bake the ladyfingers for 10 minutes, then rotate the sheets and bake for another 5 minutes or so until the puff up, turn lightly golden brown and are still soft.
Allow them to cool slightly on the sheets for about 5 minutes and then remove the ladyfingers from the baking sheet with a metal spatula while still hot, and cool on a rack.
Store them in an airtight container till required. They should keep for 2 to 3 weeks.
Tiramisu
Ingredients:
zabaglione
- 2 large egg yolks
- 50gms sugar
- 60ml Marsala wine (or port or coffee)
- 1/4 teaspoon vanilla extract
- 1/2 teaspoon finely grated lemon zest
vanilla pastry cream
- 55gms sugar1 tablespoon all purpose flour
- 1/2 teaspoon finely grated lemon zest
- 1/2 teaspoon vanilla extract
- 1 large egg yolk
- 175ml whole milk
whipped cream
- 235ml chilled heavy cream
- 55gms sugar
- 1/2 teaspoon vanilla extract
for assembling
- 470ml brewed espresso, warmed (you may use less)
- 5ml rum
- 110gms sugar
- 75gms mascarpone cheese
- 36 ladyfinger biscuits (you may use less)
- 2 tablespoons unsweetened cocoa powder
For the zabaglione:
Heat water in a double boiler. If you don’t have a double boiler, place a pot with about an inch of water in it on the stove. Place a heat-proof bowl in the pot making sure the bottom does not touch the water.
In a large mixing bowl (or stainless steel mixing bowl), mix together the egg yolks, sugar, the Marsala (or espresso/ coffee), vanilla extract and lemon zest. Whisk together until the yolks are fully blended and the mixture looks smooth.
Transfer the mixture to the top of a double boiler or place your bowl over the pan/ pot with simmering water. Cook the egg mixture over low heat, stirring constantly, for about 8 minutes or until it resembles thick custard. It may bubble a bit as it reaches that consistency.
Let cool to room temperature and transfer the zabaglione to a bowl. Cover and refrigerate at least 4 hours or overnight, until thoroughly chilled.
For the pastry cream:
Mix together the sugar, flour, lemon zest and vanilla extract in a medium heavy-bottomed saucepan. To this add the egg yolk and half the milk. Whisk until smooth.
Now place the saucepan over low heat and cook, stirring constantly to prevent the mixture from curdling.
Add the remaining milk a little at a time, still stirring constantly. After about 12 minutes the mixture will be thick, free of lumps and beginning to bubble. (If you have a few lumps, don’t worry. You can push the cream through a fine-mesh strainer.)
Transfer the pastry cream to a bowl and cool to room temperature. Cover with plastic film and refrigerate at least 4 hours or overnight, until thoroughly chilled. For the whipped cream:
Combine the cream, sugar and vanilla extract in a mixing bowl. Beat with an electric hand mixer or immersion blender until the mixture holds stiff peaks. Set aside.
To assemble the tiramisu:
Have ready a rectangular serving dish (about 8″ by 8″ should do) or one of your choice.
Mix together the warm espresso, rum extract and sugar in a shallow dish, whisking to mix well. Set aside to cool.
In a large bowl, beat the mascarpone cheese with a spoon to break down the lumps and make it smooth. This will make it easier to fold. Add the prepared and chilled zabaglione and pastry cream, blending until just combined. Gently fold in the whipped cream. Set this cream mixture aside. Now to start assembling the tiramisu.
Workings quickly, dip 12 of the ladyfingers in the sweetened espresso, about 1 second per side. They should be moist but not soggy. Immediately transfer each ladyfinger to the platter, placing them side by side in a single row. You may break a lady finger into two, if necessary, to ensure the base of your dish is completely covered.
Spoon one-third of the cream mixture on top of the ladyfingers, then use a rubber spatula or spreading knife to cover the top evenly, all the way to the edges.
Repeat to create 2 more layers, using 12 ladyfingers and the cream mixture for each layer. Clean any spilled cream mixture; cover carefully with plastic wrap and refrigerate the tiramisu overnight.
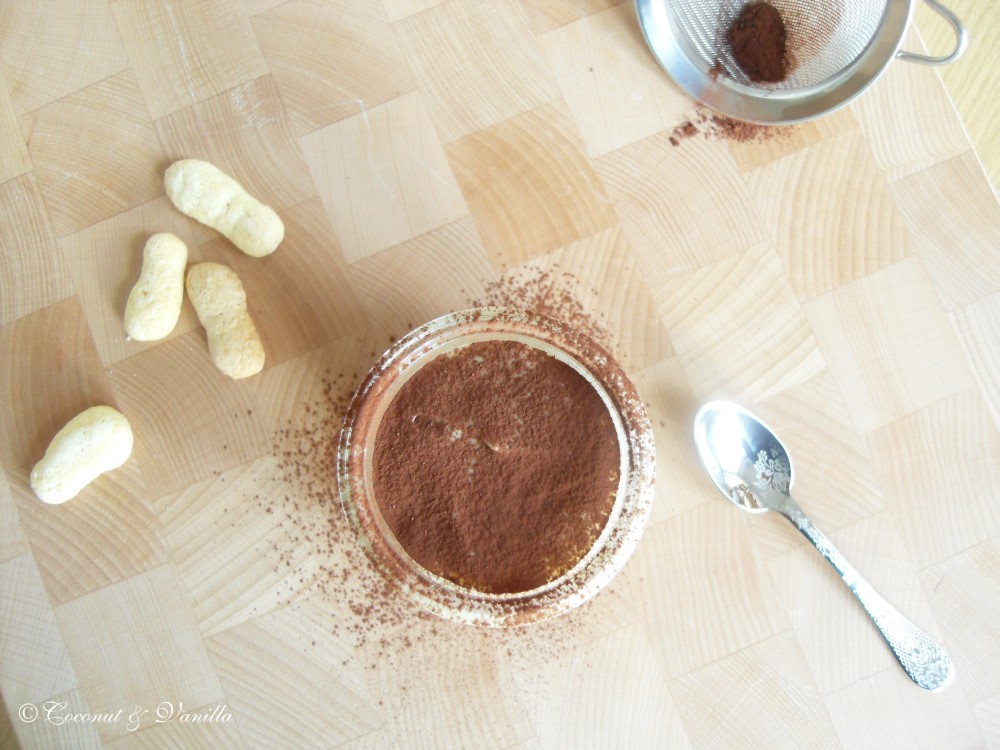
To serve, carefully remove the plastic wrap and sprinkle the tiramisu with cocoa powder using a fine-mesh strainer or decorate as you please. Cut into individual portions and serve.

Finally I get myself to write about the Daring Baker’s challenge in February. I got a bit under time pressure in the end and so I wasn’t able to post my Tiramisu yesterday on the reveal date.
The February 2010 Daring Bakers’ challenge was hosted by Aparna of My Diverse Kitchen and Deeba of Passionate About Baking. They chose Tiramisu as the challenge for the month. Their challenge recipe is based on recipes from The Washington Post, Cordon Bleu at Home and Baking Obsession.

It wasn’t just the challenge to make Tiramisu. Since I had made this several times it wouldn’t be one. But we had to make our own Ladyfingers (Löffelbiskuits) and our own Mascarpone cheese for the Tiramisu. It was likely easy to make the Ladyfingers and the Mascarpone. What really took time was to make the creams. Yes creams! Two creams and whipped cream additionally. Then assembly those. I only know Tiramisu with a lot of mascarpone and little else. I think most people – or at least germans – will agree to that. The challenge recipe is totally different to that. You only use a little amount of mascarpone and more whipped cream and other ingredients. The good thing is, it is a lot lighter than the fat only-mascarpone-version. You can eat more tiramisu. Really good, hah?!

The bad thing is it takes a lot of time to make it. And for truth – really – it doesn’t taste much different. As I would say identical. But if you love tiramisu, I would go for the lighter eat-more-takes-more-time-version.
The ladyfingers turned out great. But I baked them several times before, just for my own indulgence. My mascarpone turned out, just like mascarpone you can buy. I left mine two days in the fridge, since after one day it wasn’t firm enough. My cheesecloth was thicker, than it should have been, but it worked just fine, too. But for taste, I really think it tastes the same if you use bought ladyfingers and bought mascarpone. The difference just makes the cream. But better you work it out and form your own opinion about that.
In the end definitely a delicious dessert!

Recipes
Mascarpone cheese
This recipe makes 12oz/ 340gm of mascarpone cheese
Ingredients:
- 1 tablespoon fresh lemon juice
Bring 2 cm of water to a boil in a wide skillet. Reduce the heat to medium-low so the water is barely simmering. Pour the cream into a medium heat-resistant bowl, then place the bowl into the skillet. Heat the cream, stirring often, to 88°C. If you do not have a thermometer, wait until small bubbles keep trying to push up to the surface.
It will take about 15 minutes of delicate heating. Add the lemon juice and continue heating the mixture, stirring gently, until the cream curdles. Do not expect the same action as you see during ricotta cheese making. All that the whipping cream will do is become thicker, like a well-done crème anglaise. It will cover a back of your wooden spoon thickly. You will see just a few clear whey streaks when you stir. Remove the bowl from the water and let cool for about 20 minutes. Meanwhile, line a sieve with four layers of dampened cheesecloth and set it over a bowl. Transfer the mixture into the lined sieve. Do not squeeze the cheese in the cheesecloth or press on its surface (be patient, it will firm up after refrigeration time). Once cooled completely, cover with plastic wrap and refrigerate (in the sieve) overnight or up to 24 hours.
Vera’s notes: The first time I made mascarpone I had all doubts if it’d been cooked enough, because of its custard-like texture. Have no fear, it will firm up beautifully in the fridge, and will yet remain lusciously creamy.
Keep refrigerated and use within 3 to 4 days.
Ladyfingers
Ingredients:
- 3 eggs, separated
- 75gms granulated sugar
- 95gms cake flour, sifted (or 3/4 cup all purpose flour + 2 tbsp corn starch)
- 50gms confectioner’s sugar
Preheat your oven to 175 °C degrees, then lightly brush 2 baking sheets with oil or softened butter and line with parchment paper.
Beat the egg whites using a hand held electric mixer until stiff peaks form. Gradually add granulate sugar and continue beating until the egg whites become stiff again, glossy and smooth.
In a small bowl, beat the egg yolks lightly with a fork and fold them into the meringue, using a wooden spoon. Sift the flour over this mixture and fold gently until just mixed. It is important to fold very gently and not overdo the folding. Otherwise the batter would deflate and lose volume resulting in ladyfingers which are flat and not spongy.
Fit a pastry bag with a plain tip (or just snip the end off; you could also use a Ziploc bag) and fill with the batter. Pipe the batter into 5″ long and 3/4″ wide strips leaving about 1″ space in between the strips.
Sprinkle half the confectioner’s sugar over the ladyfingers and wait for 5 minutes. The sugar will pearl or look wet and glisten. Now sprinkle the remaining sugar. This helps to give the ladyfingers their characteristic crispness.
Hold the parchment paper in place with your thumb and lift one side of the baking sheet and gently tap it on the work surface to remove excess sprinkled sugar.
Bake the ladyfingers for 10 minutes, then rotate the sheets and bake for another 5 minutes or so until the puff up, turn lightly golden brown and are still soft.
Allow them to cool slightly on the sheets for about 5 minutes and then remove the ladyfingers from the baking sheet with a metal spatula while still hot, and cool on a rack.
Store them in an airtight container till required. They should keep for 2 to 3 weeks.

Tiramisu
Ingredients:
zabaglione
- 2 large egg yolks
- 50gms sugar
- 60ml Marsala wine (or port or coffee)
- 1/4 teaspoon vanilla extract
- 1/2 teaspoon finely grated lemon zest
vanilla pastry cream
- 55gms sugar1 tablespoon all purpose flour
- 1/2 teaspoon finely grated lemon zest
- 1/2 teaspoon vanilla extract
- 1 large egg yolk
- 175ml whole milk
whipped cream
- 235ml chilled heavy cream
- 55gms sugar
- 1/2 teaspoon vanilla extract
for assembling
- 470ml brewed espresso, warmed (you may use less)
- 5ml rum
- 110gms sugar
- 75gms mascarpone cheese
- 36 ladyfinger biscuits (you may use less)
- 2 tablespoons unsweetened cocoa powder
For the zabaglione:
Heat water in a double boiler. If you don’t have a double boiler, place a pot with about an inch of water in it on the stove. Place a heat-proof bowl in the pot making sure the bottom does not touch the water.
In a large mixing bowl (or stainless steel mixing bowl), mix together the egg yolks, sugar, the Marsala (or espresso/ coffee), vanilla extract and lemon zest. Whisk together until the yolks are fully blended and the mixture looks smooth.
Transfer the mixture to the top of a double boiler or place your bowl over the pan/ pot with simmering water. Cook the egg mixture over low heat, stirring constantly, for about 8 minutes or until it resembles thick custard. It may bubble a bit as it reaches that consistency.
Let cool to room temperature and transfer the zabaglione to a bowl. Cover and refrigerate at least 4 hours or overnight, until thoroughly chilled.
For the pastry cream:
Mix together the sugar, flour, lemon zest and vanilla extract in a medium heavy-bottomed saucepan. To this add the egg yolk and half the milk. Whisk until smooth.
Now place the saucepan over low heat and cook, stirring constantly to prevent the mixture from curdling.
Add the remaining milk a little at a time, still stirring constantly. After about 12 minutes the mixture will be thick, free of lumps and beginning to bubble. (If you have a few lumps, don’t worry. You can push the cream through a fine-mesh strainer.)
Transfer the pastry cream to a bowl and cool to room temperature. Cover with plastic film and refrigerate at least 4 hours or overnight, until thoroughly chilled. For the whipped cream:
Combine the cream, sugar and vanilla extract in a mixing bowl. Beat with an electric hand mixer or immersion blender until the mixture holds stiff peaks. Set aside.
To assemble the tiramisu:
Have ready a rectangular serving dish (about 8″ by 8″ should do) or one of your choice.
Mix together the warm espresso, rum extract and sugar in a shallow dish, whisking to mix well. Set aside to cool.
In a large bowl, beat the mascarpone cheese with a spoon to break down the lumps and make it smooth. This will make it easier to fold. Add the prepared and chilled zabaglione and pastry cream, blending until just combined. Gently fold in the whipped cream. Set this cream mixture aside. Now to start assembling the tiramisu.
Workings quickly, dip 12 of the ladyfingers in the sweetened espresso, about 1 second per side. They should be moist but not soggy. Immediately transfer each ladyfinger to the platter, placing them side by side in a single row. You may break a lady finger into two, if necessary, to ensure the base of your dish is completely covered.
Spoon one-third of the cream mixture on top of the ladyfingers, then use a rubber spatula or spreading knife to cover the top evenly, all the way to the edges.
Repeat to create 2 more layers, using 12 ladyfingers and the cream mixture for each layer. Clean any spilled cream mixture; cover carefully with plastic wrap and refrigerate the tiramisu overnight.
To serve, carefully remove the plastic wrap and sprinkle the tiramisu with cocoa powder using a fine-mesh strainer or decorate as you please. Cut into individual portions and serve.
