Selbstgemachte Maistortillas aus der TortillapresseHomemade Corn Tortillas

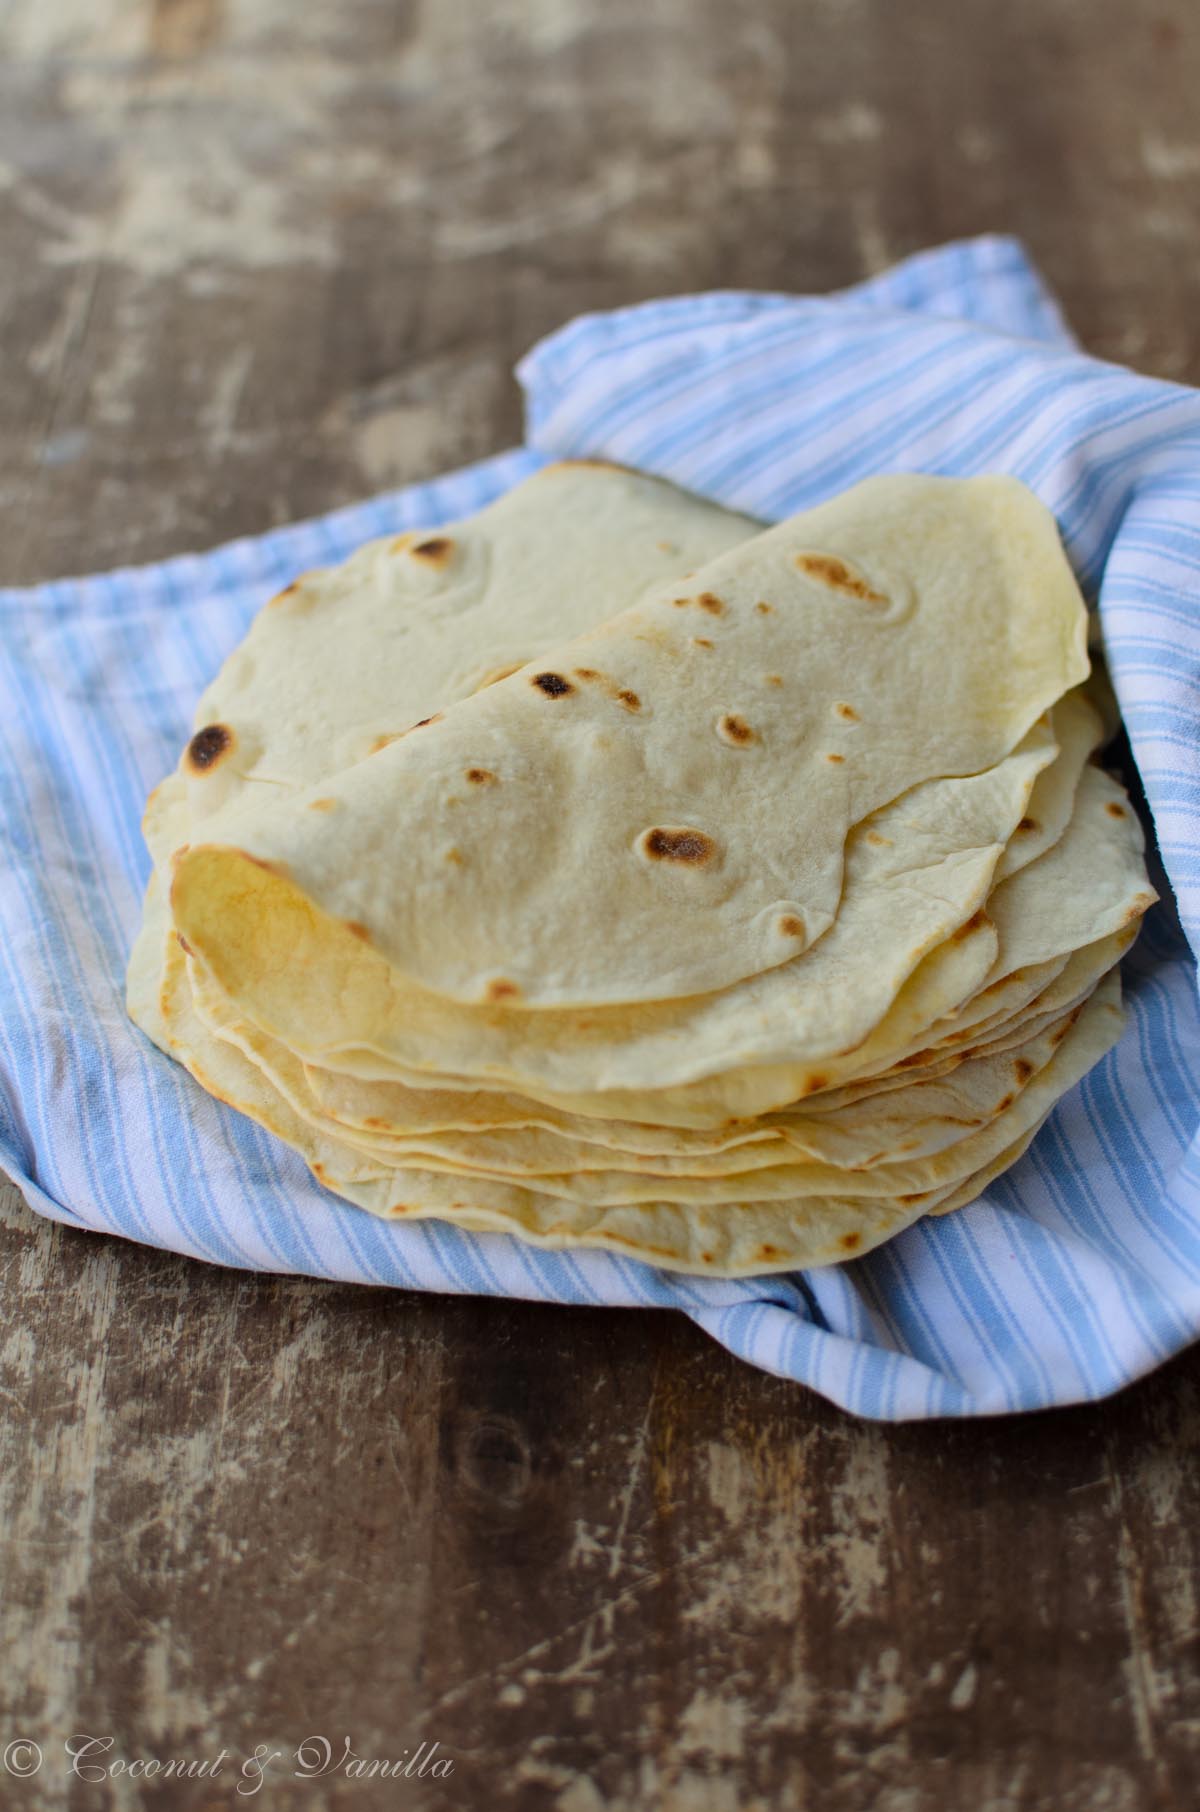
Nachdem ich Weizentortillas schon selbstgemacht habe, wollte ich natürlich auch unbedingt Maistortillas selber herstellen. Nach ein bisschen Recherche entpuppte sich das als komplizierter als gedacht. Man benötigt dazu nämlich Masa Harina, das ist spezielles behandeltes Maismehl, es ist nixtamalisiert. Nix-da-was?

Die Nixtamalisation ist ein traditionelles mexikanisches Verfahren, das nachweislich bereits 1500 v.Chr. angewandt wurde und die Backeigenschaften verbessert, dem Maismehl einen besseren Geschmack verleiht und ihn leichter verdaubar macht. Dazu werden die Körner viele Stunden in einer alkalischen Lösung gekocht. Dadurch löst sich die Hemicellulose, die die Zellwände zusammenhält, auf. Die Körnerschale löst sich und der Kern wird weich. Ein Teil des Maisöls verwandelt sich in emulgierende Verbindungen und die Maisproteine können sich leichter verbinden. Dadurch lässt sich aus nixtamalisiertem Masa Harina mit Wasser ein Teig formen, im Gegensatz zu unbehandeltem Maismehl.

Der bei der Nixtamalisation verwendete Kalk liefert Calcium, das im Mais gebunden wird und somit den Calciumgehalt im Maismehl stark erhöht. Außerdem wird das Vitamin-B Niacin so freigesetzt, dass vom menschlichen Verdauungstrakt aufgenommen werden kann. (Quelle: Wikipedia, Rezepte-Wiki)
Selbstgemachte Maistortillas aus der Tortillapresse

Das Masa Harina ist meistens aus Mexiko importiert und da das in Mexiko meistens niemanden interessiert ist es sehr wahrscheinlich aus GMO-Mais. Meine mexikanische Kollegin bestätigte mir, dass sich um dieses Problem in Mexiko keiner Gedanken macht. In Berlin habe ich dann bei Goldhahn & Sampson zufällig GMO-freies Masa Harina entdeckt! Der Preis war nicht ohne und nachdem ich das Etikett etwas genauer studierte, habe ich entdeckt, dass es aus Würzburg kommt! Ein bisschen googlen und ich fand einen mexikanischen Laden in Würzburg, der dieses GMO-freies Masa Harina für einen akzeptablen Preis verkauft (auch online!). Ich würde auf die Bezeichnung GMO-frei unbedingt achten!

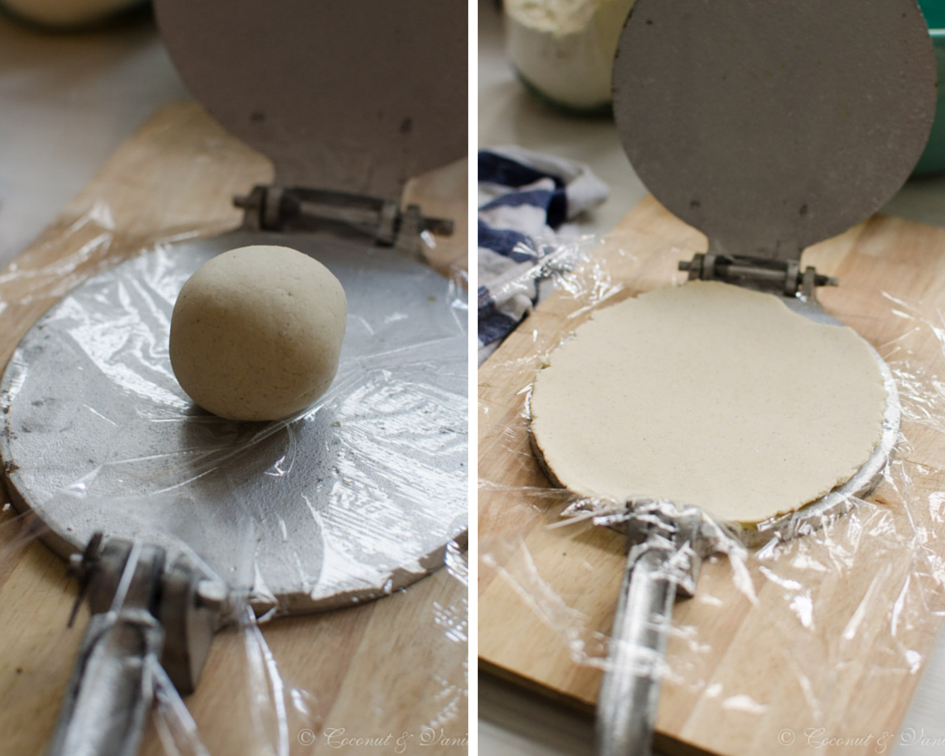
Dann benötigt man eine Tortillapresse. Damit kann man die Tortillas gleichmäßig rund und dünn pressen, ohne dass der Teig zerbröselt. Glücklichweise konnte mir meine mexikanische Kollegin diese leihen (danke!), denn ich wollte mir nicht auf gut Glück eine kaufen. Tortillapressen sind aber auch nicht teuer und man findet sie in den gleichen mexikanischen Läden, die auch das Masa Harina verkaufen.

Im Nachhinein war es eine gute Entscheidung, dass ich die Presse nicht gekauft habe, denn ich bevorzuge vom Geruch, Geschmack und Konsistenz eindeutig die Weizentortillas. Gut für mich, denn die sind auch wesentlich einfacher in der Herstellung! Wer jedoch bereits Gefallen an Maistortillas hat oder diese einfach mal ausprobieren möchte, dem empfehle ich unbedingt dieses Rezept auszuprobieren!

Übrigens kann man die Maistortillas auch in Dreiecke schneiden und frittieren und erhält damit Tortillachips! Wenn man sie in Form biegt und bäckt erhält man die typischen Schalen für Tacos.

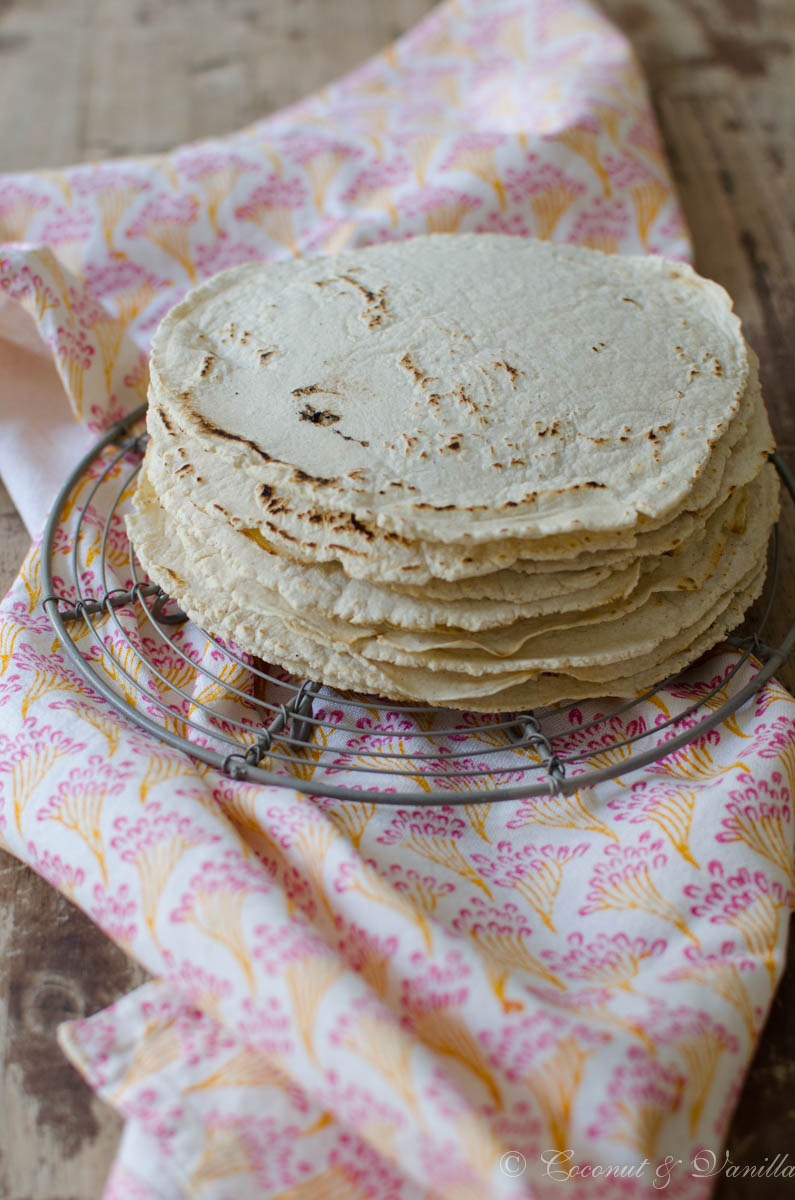
Ich vakuumiere immer 4 Tortillas zusammen ein und friere sie ein (evtl. ein Stück Butterbrot-/ oder Backpapier zwischen die Tortillas legen um ein Zusammenkleben zu verhindern). So habe ich immer eine Portion für 2 Personen fertig und einige auf Vorrat. 2 Maistortillas sind ausreichend pro Person, da sie mehr sättigen als Weizentortillas, obwohl sie kleiner sind.
Selbstgemachte Maistortillas aus der Tortillapresse

Vor einem Jahr: Selbstgemachte Gemüsebrühe

Vor vier Jahren: Fenchel-Zwiebel-Pizza

Vor fünf Jahren: glutenfreie Graham Cracker


After making my own wheat flour tortillas I wanted to make corn tortillas, of course. After a bit of research it turned out more difficult than expected, because you nead a special flour, called masa harina. Masa harina is a special treated corn flour which is nixtamalizated. Nix-ta-what?

Nixtamalization is a traditonal Mexican process, which is already used since 1500 BC and improves the baking properties, inhances the flavour of the corn flour and makes it easier to digest. Therefore the corn kernels are cooked in a lye for hours so the hemicellulose, which keeps the cell walls together, loosens up. The husks detaches from the kernels and the core softens. A part of the corn oil transforms into emulsifing compounds and the corn proteins can easier link. Because of this a dough can be formed of nixtamalized masa harina and water in contrary to untreated corn flour.

The lime used for the nixtamalization provides calcium, which is bound in the corn and therefore increases the concentration of calcium a lot. Also the vitamin B niacin is released so it can be absorbed of the human digestive tract. (source: Wikipedia, Rezepte-Wiki)

Selbstgemachte Maistortillas aus der Tortillapresse

Masa harina is mostly imported from Mexico and as there isn’t a lot of interest in this issue, it’s mostly GMO corn. My Mexican collague confirmed me that in Mexico almost no one is caring about this issue. Randomly I discovered GMO-free Masa Harina in Berlin at Goldhahn & Sampson. It was quite expensive and as I studied the label more intense I discovered it’s from a store in Würzburg! After some googling I discovered the Mexican store in Würzburg, which also sells this GMO-free Masa Harina for a reasonable price (also online!). I would always make sure it is GMO-free!

Then you need a tortilla press, so your tortillas are evenly thin and round without the dough falling apart in crumbles. Luckily my Mexican collague was so kind to borrow me it. I didn’t wanted to buy one, as I didn’t know, if I really would like corn tortillas! But tortilla presses aren’t expensive at all and you’ll find them in the same Mexican stores next to the Masa Harina.

In the end it was a good decision not to buy a press, because I prefer wheat flour tortillas, because of the texture, taste and flavour. Lucky me they are also easier to handle! But if you are already a fan of corn tortillas or like to give them a try, I can definetely recommend this recipe!

By the way, you can also cut the corn tortillas into triangles and fry them! Homemade tortilla chips! And if you form them and bake them you get those typical taco cups!

I like to evacuate 4 tortillas together and freeze them (maybe place a piece of parchment paper between them to prevent sticking). Like this I always have a portion for 2 persons ready and some in stock. 2 corn tortillas are enough per person as they make very full, more than wheat flour tortillas, although they are smaller.

Selbstgemachte Maistortillas aus der Tortillapresse

One year ago: homemade vegetable broth

Two years ago: onion fennel pizza

Five years ago: gluten-free graham cracker


Peanut Butter CupsPeanut Butter Cups

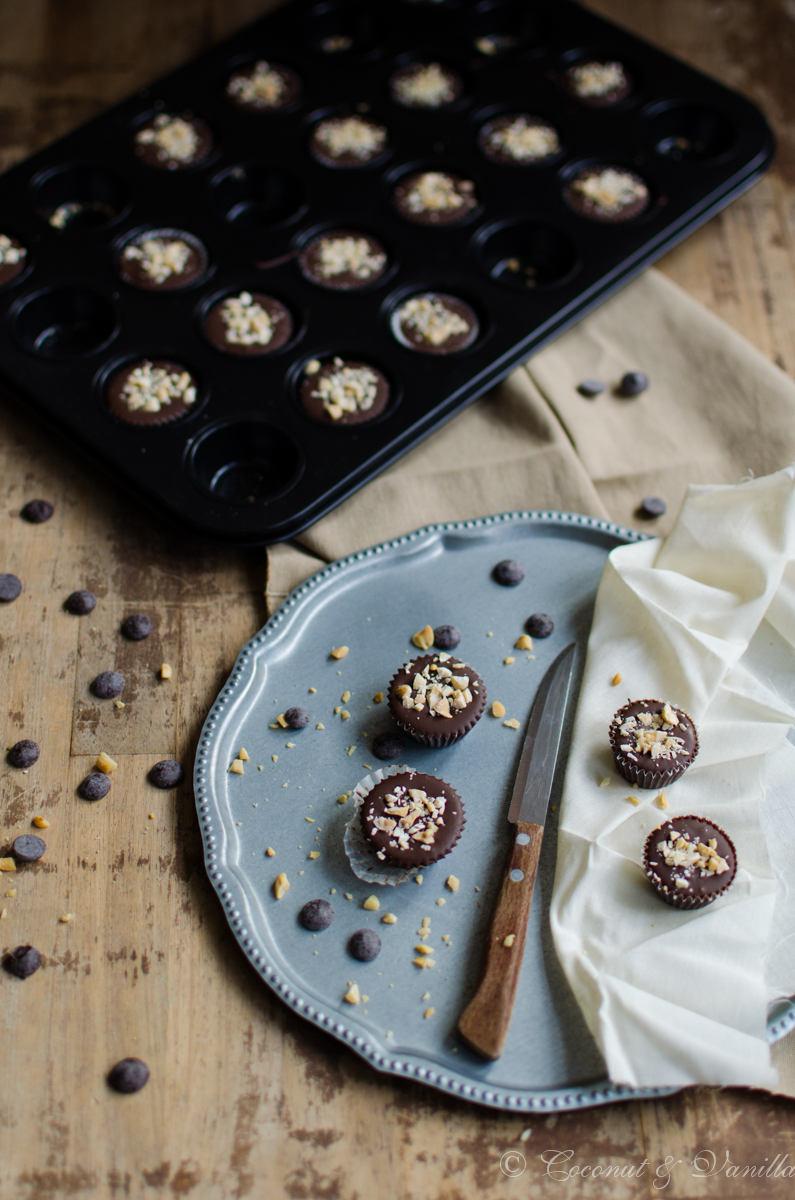
In letzter Zeit stehe ich total auf Süßigkeiten. Selbstgemachte Süßigkeiten! Und dann ist mir bei Waterstones in London auch noch ein wahnsinnstolles Buch in die Hände gefallen, seitdem überlege ich ständig was ich Leckeres daraus nachmachen könnte. Als erstes waren die Peanut Butter Cups dran. Nicht weil ich darauf besonders scharf war (ich hatte noch nie davor welche gekostet), aber hallooo! Erdnuss und Schokolade ist ja wohl nur geil! Und das Rezept war simpel und schnell zu verwirklichen!

Peanut Butter Cups

Daher kann ich Euch die Peanut Butter Cups auch prima als Last Minute Geschenk zu Weihnachten empfehlen! Wenn ihr am 23. oder 24. verzweifelt seid, denkt an mich und die Peanut Butter Cups! Praktisch ist nämlich auch, dass man nicht viele Zutaten braucht und wenn man sie nicht sowieso zu Hause, bekommt man sie auch noch schnell im Supermarkt. Keine fancy Glukose oder so, nur Schokolade und Erdnuss. Heaven!

Die kleinen Dinger sind so klein und verführerisch und mit einem Haps im Mund, ganz großes Kino! Und hab ich schon die Kombi Schokolade und Erdnuss erwähnt? Jaa, genau, sehr lecker! Wer es mag, dem empfehle ich noch einen Hauch Fleur de Sel auf den Peanut Butter Cups zwischen den gehackten Erdnüssen. Das wäre wirklich perfekt!

Peanut Butter Cups

Vor zwei Jahren: Pâté von der Räuchermakrele

Vor drei Jahren: Orangen-Vanille-Stangen

Vor fünf Jahren: Crème Brûlée mit Gewürzen

Lately I’m totally into sweets. Homemade sweets of course! Incidentally in London at Waterstones I bought this great book and since then I’m always thinking what I can make next from this book. First I made this peanut butter cups. Not because I was so eager to taste them (I’ve never had them before), but helloooo! Peanuts and chocolate are just awesome! But also this recipe was an easy and quick one!

Peanut Butter Cups

Therefore I can recommend you these peanut butter cups also as a last minute gift for christmas! If you are desperate on the 23. or 24. think of me and the peanut butter cups! It’s also very handy that you don’t need many ingredients and if you don’t have them at home you get them quickly in every supermarket. No fancy glucose or something like this, just chocolate and peanuts. Heaven!

These small bites are so petite and luscious and with one bite they are gone! And did I already mention the combo chocolate and peanuts? Yeees, exactly, so good! If you like, I recommend to add a pinch of fleur de sel to the chopped peanuts on top. This would be just perfect!

Peanut Butter Cups

Two years ago: smoked mackerel pâté

Three years ago: orange vanilla sticks

Five years ago: spiced crème brûlée

ChaigewürzChai Spice

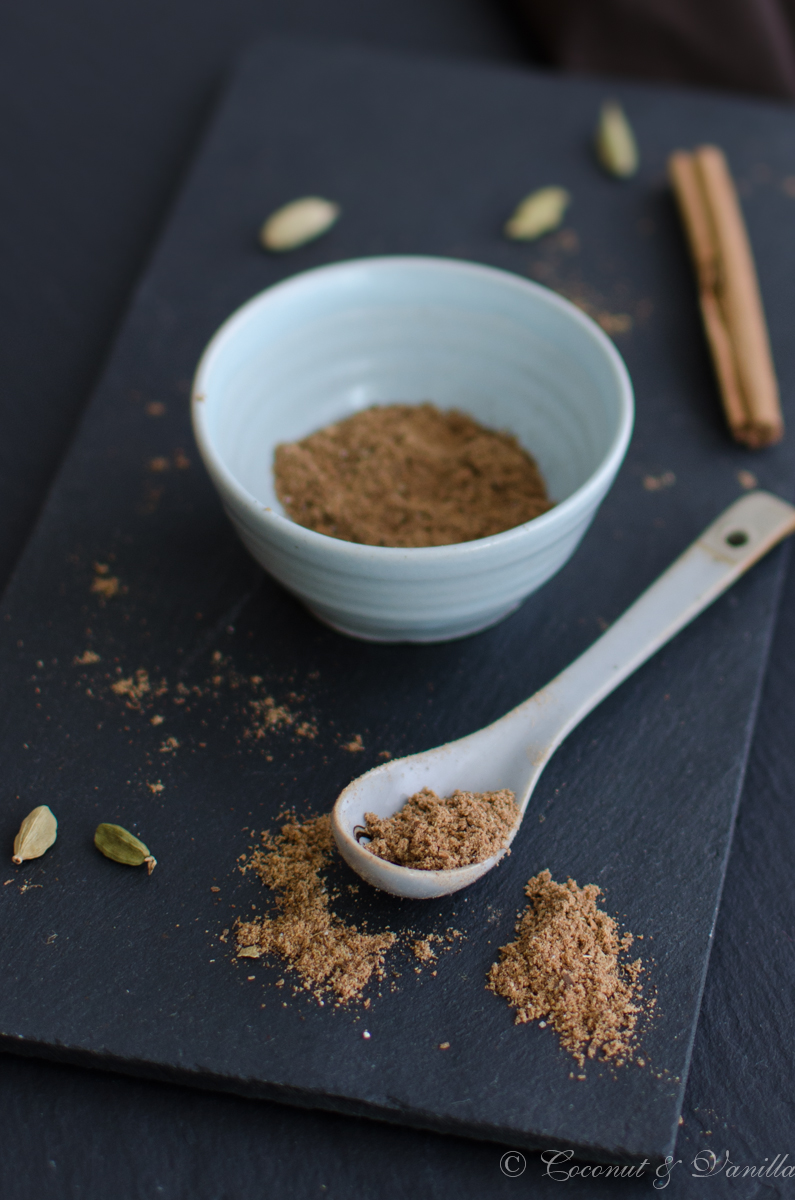
Morgens geht der Tag los mit einer Tasse Chaitee. Zuhause muss es ein offener Tee sein. Erst kürzlich habe ich einen ganz tollen Bio-Chaitee entdeckt, der kostet zwar fast doppelt so viel wie der konventionelle, enthält dafür aber keine Aromen und schmeckt wirklich sensationell! Auf der Arbeit greife ich dann doch zum Beuteltee, dabei mag ich den Chaitee von Yogi und den von Alnatura am liebsten (ich steh auf die philosophischen Sprüche auf den Teebeutelanhängern beim Yogitee 😉 ). Hier ist Bio wirklich Trumpf, denn die anderen schmecken nur künstlich. Und da Chai auch in anderen Sachen soo lecker schmeckt, habe ich jetzt eine eigene Gewürzmischung hergestellt. Ich mag diesen wohlig-warmen würzigen Geschmack so sehr!

Die Gewürzmischung eignet sich übrigens bestens als kulinarisches Geschenk zu Weihnachten! Kleine Gläschen mit Chaigewürz, daran einen Anhänger was man alles tolles damit verfeinern kann oder ein Rezept anhängen, fertig!

Ich verwende für diesen Zweck eine Gewürzmühle bzw. einen Aufsatz zum Gewürze „mahlen“ (die Maschine zerkleinert die Gewürze tatsächlich mit einem Messer anstatt mit einem Mahlwerk, das Teil heißt trotzdem Gewürzmühle) meiner Kenwood Küchenmaschine (leider gibt es dieses Modell nicht mehr, aber ähnliche). Das ist wirklich unglaublich praktisch und hat sich auch schon bei einigen indischen Gerichten gelohnt. Wer so ein Multifunktionstalent nicht zu Hause hat, der kann auch eine kleine Gewürzmühle oder eine Kaffeemühle verwenden. Dann aber darauf achten, dass keine Geschmacksstoffe vom vorherigen Mahlgut übertragen werden können.

Ein Trick hierzu: Einfach ein Esslöffel Reis vorher mahlen, der neutralisiert die Geschmacksstoffe weitestgehend und „reinigt“ so die Mühle.

Ansonsten benötigt ihr keine besonderen Zutaten, achtet nur darauf, dass ihr echte Ceylon-Zimtstangen verwendet, diese sind hochwertiger als die Cassia-Zimtstangen und enthalten weniger Cumarin. Ceylon-Zimtstangen bestehen aus dünnen Zimtrindenblättern die mehrfach gerollt und gewickelt sind, sie bestehen also aus vielen dünnen Schichten. Cassia-Zimtstangen hingegen sind dick und werden nur einmal gerollt. 

Ich verwende die Gewürzmischung (noch) nicht für Tee, sondern ab sofort für alles andere, dass ich mit diesem Gewürz verfeinern möchte. Und da fallen mir schon ganz viele tolle Sachen ein! Ihr dürft gespannt sein was ich Euch alles in den kommenden Wochen präsentieren werde! Es lohnt sich!

Chaigewürz

Vor zwei Jahren: Chocolate Chip Cookies mit Pistazien, dunkler Schokolade und Rauchsalz

Vor drei Jahren: Orangen-Rotkohl mit Gorgonzola

Vor vier Jahren: Flan Tarte


Mornings begin with a cup of chai tea. At home loose tea. Just recently I discovered the perfect organic chai tea, which costs twice as much as the normal one, but therefore there are no flavours in it and it taste sensationell! At work I use tea bags, I prefer the chai by Yogi and Alnatura. Here organic is a must, since others only taste gruesome artifical. As chai tastes so yummy in all kind of dishes and drinks, I made my own spice mixture! I love the warming spicy taste so much!

Therefore I use a spice mill attached to my kenwood food processor. This is so handy and I already used it for spice mixtures for different indian dishes. If you don’t own a fancy machine like that you can also use a small spice grinder or coffee mill. Just make sure that no flavours are transferred from the previous milled food.

Here’s my trick to avoid that: Grind one tablespoon of plain rice beforehand. It neutralizes the flavours mostly and „cleans“ your mill/grinder. 

You don’t need any special spices, just make sure you use real ceylon cinnamon sticks. Those are from high quality in contrast to cassia cinnamon sticks and contain less cumarin. Ceylon cinnamon sticks are made from thin cinnamon rind and are rolled many times, so they consist of many thin layers. Cassia cinnamon sticks on the other side are made of thick rind and only rolled once!

I use the chai spice mixture not for my tea (yet), but for everything else, that I will spice up! I’m already thinking of so many possibilities. Stay and tuned for what I’ll present the next weeks! It will be totally worth it!

Chai Spice

Two years ago: chocolate chip cookies with pistachios, dark chocolate and smoked sea salt

Three years ago: red cabbage with orange and gorgonzola

Four years ago: flan tart

[:de]Back to Basics: selbstgemachte Weizentortillas[:en]Back to Basics: Homemade Wheat Flour Tortillas[:]

[:de]

Für die Quesadillas mit Zucchini und frischem Mais habe ich die Tortillas einfach selbst gemacht. Das geht super einfach und es kommen nur 6 hundgewöhnliche Zutaten rein! Ich habe die Tortillas anschließend portionsweise vakuumiert und eingefroren. Es lohnt sich also gleich mehr machen.

Und mit so einem Tortillavorrat steht den nächsten mexikanischen Abendessen nichts mehr entgegen. Ich freu mich schon auf mehr Quesadillas, Tacos, Burritos und Wraps.

Das Rezept hab ich aus dem tollen Buch The Homemade Pantry: 101 Foods You Can Stop Buying and Start Making von Alana Chernila. Die Sachen, die ich bisher aus dem Buch gemacht habe, sind immer klasse geworden und es sind auch viele gute Tipps drin und natürlich die schönen kurzen Geschichten. Ich kann Euch dieses Buch nur ans Herz legen, wenn ihr auch gerne Grundprodukte selbstmacht oder Euch wieder darauf besinnen möchtet.

Weizentortillas selbstgemacht

Vor einem Jahr: Brombeer-Schokoladen-Pie

Vor drei Jahren: Tomatensauce und Apfelkompott

[:en]

For the quesadillas with zucchini and fresh corn I just made the tortillas from scratch. It’s totally easy and you need only 6 common ingredients! I evacuated the tortillas in batches and froze them. So it’s convenient to make some more.

And with this tortilla supply many mexican dinners are about to happen here! I’m already looking forward to more quesadillas, tacos, burritos and wraps.

I have the recipe for the tortillas from the great book The Homemade Pantry: 101 Foods You Can Stop Buying and Start Making by Alana Chernila. Everything I made from the book turned out great and it’s also full of tips and beautiful short stories. I can only recommend this book thourougly, if you are also in making basic staples from scratch or want to start with it.

Weizentortillas selbstgemacht

One year ago: blackberry chocolate pie

Three years ago: tomato sauce and apple compote

[:]

Back to Basics: RinderfondHomemade Beef Stock

Schon lange wollte ich zeigen wie ich Fonds bzw. Brühen herstelle. Inzwischen kaufe ich gar keine gekörnten Brühen mehr und mache Gemüse-, Hühner-, Rinder- und Wildfond selbst. So vermeide ich diese ganzen Zusatzstoffe, die ich nicht in meinem Essen möchte. Das beste ist aber, dass die selbstgemachten Fonds richtig gute Saucen machen und Gerichte so viel besser schmecken lassen. Das erste Risotto mit selbstgemachter Hühnerbrühe war eine Offenbarung! Aus einem Bratensatz mit Fond eine schnelle Sauce ziehen? Dafür lohnt es sich einfach den Fond selbstzumachen!

Die Fonds mache ich alle in Gläser ein. Ich habe es zwar auch schon mal mit einfrieren versucht, aber das mochte ich gar nicht. Erstens braucht man dafür sehr viel Platz im TK, dann braucht man viele gefriergeeignete Gefäße oder Plastiktüten (Verschwendung) und es dauert einfach viel länger mit dem Auftauen, als einfach ein Glas zu öffnen.

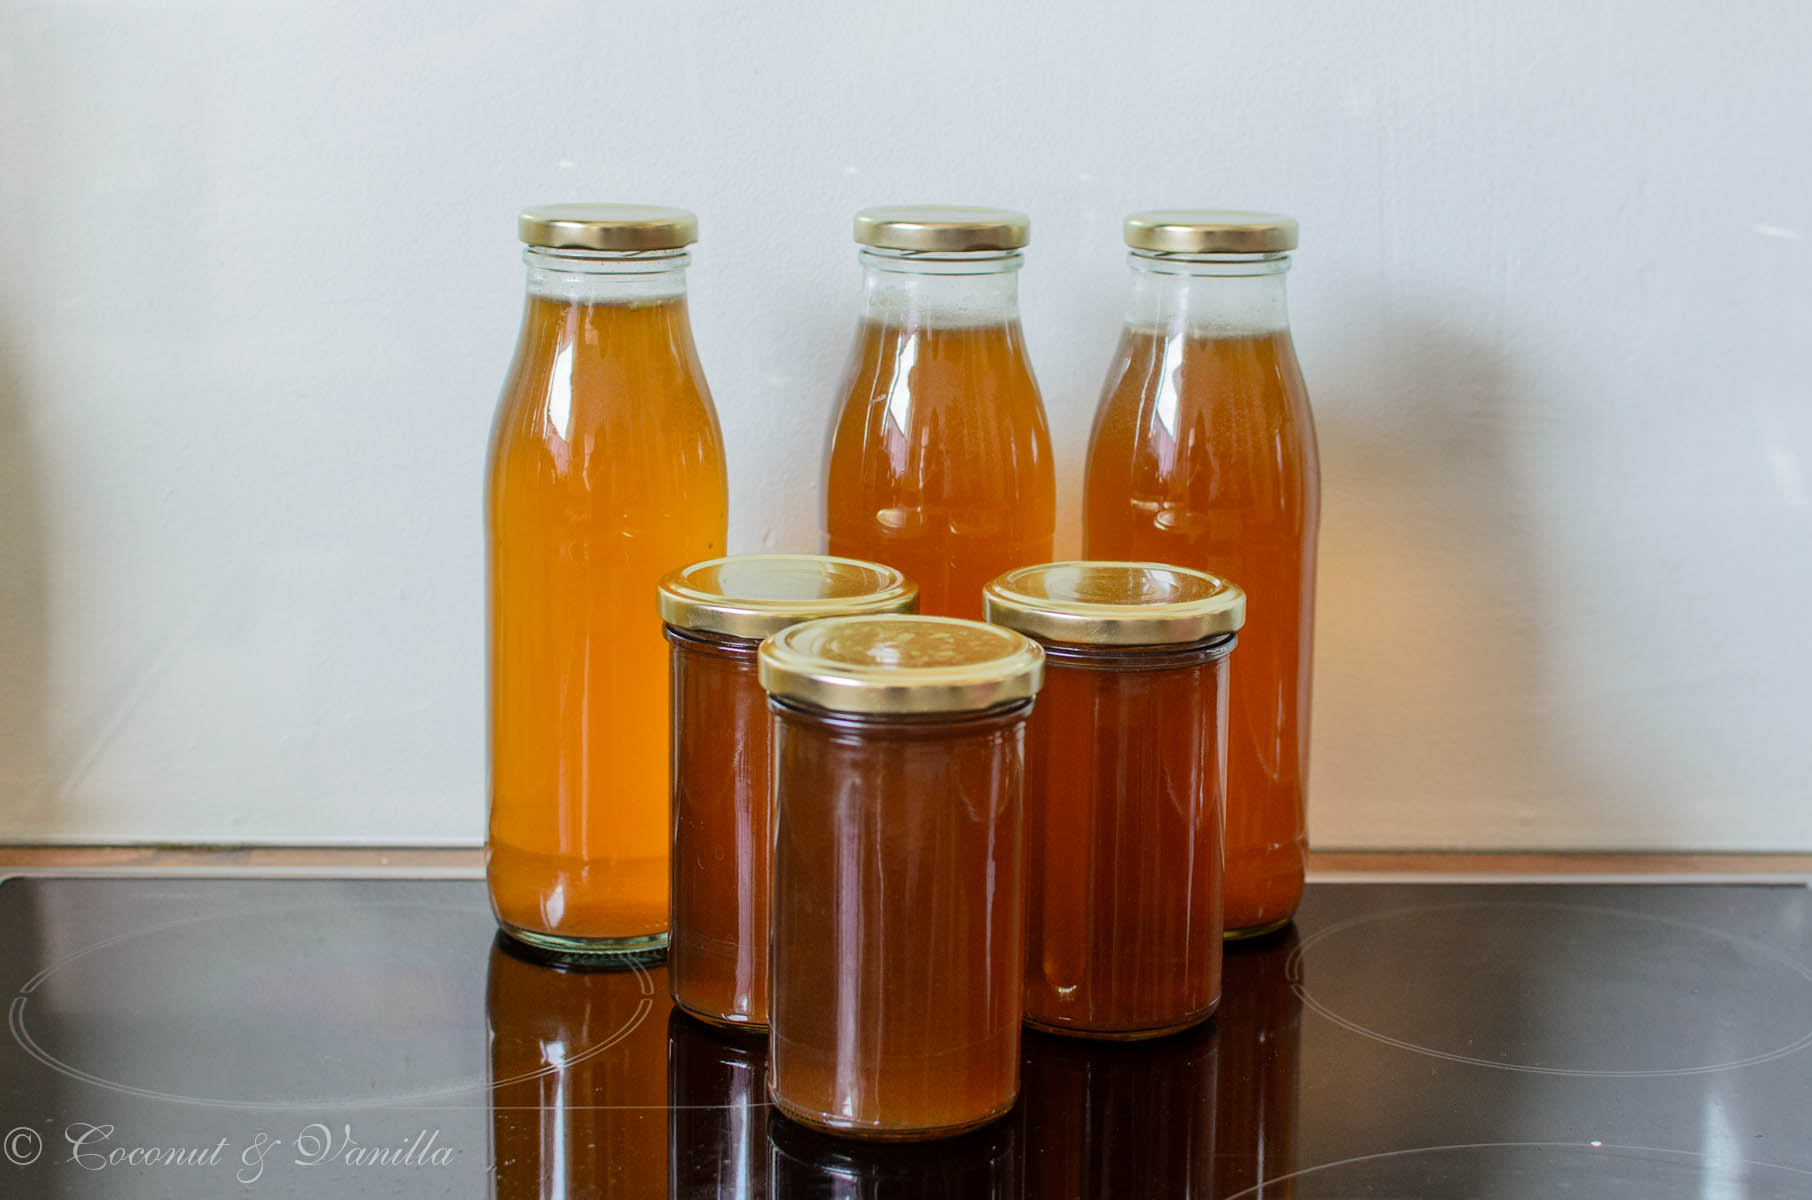
Praktischerweise bin ich dazu übergegangen die Fonds in 250 ml Gläser und 500 ml Flaschen einzumachen, da das die Menge ist die man am häufigsten benötigt. Reste halten sich auch noch ne Weile wunderbar im Kühlschrank, ich verwende sie dann bei einer folgenden Mahlzeit. Die Gläser und Flaschen habe ich wieder von Gläser und Flaschen, dort gibt es genau die passenden Größen und es klappt auch immer alles ganz wunderbar.

Meine Gläser markiere ich übrigens nicht mehr mit Etiketten, da es mir zu aufwendig ist diese auszudrucken, aufzukleben und vor allem wieder abzulösen. Ich habe mir verschieden farbige Klebepunkte besorgt und markiere die Deckelgläser damit. Grün steht für Gemüse, gelb für Huhn, schwarz für Rinderfond.

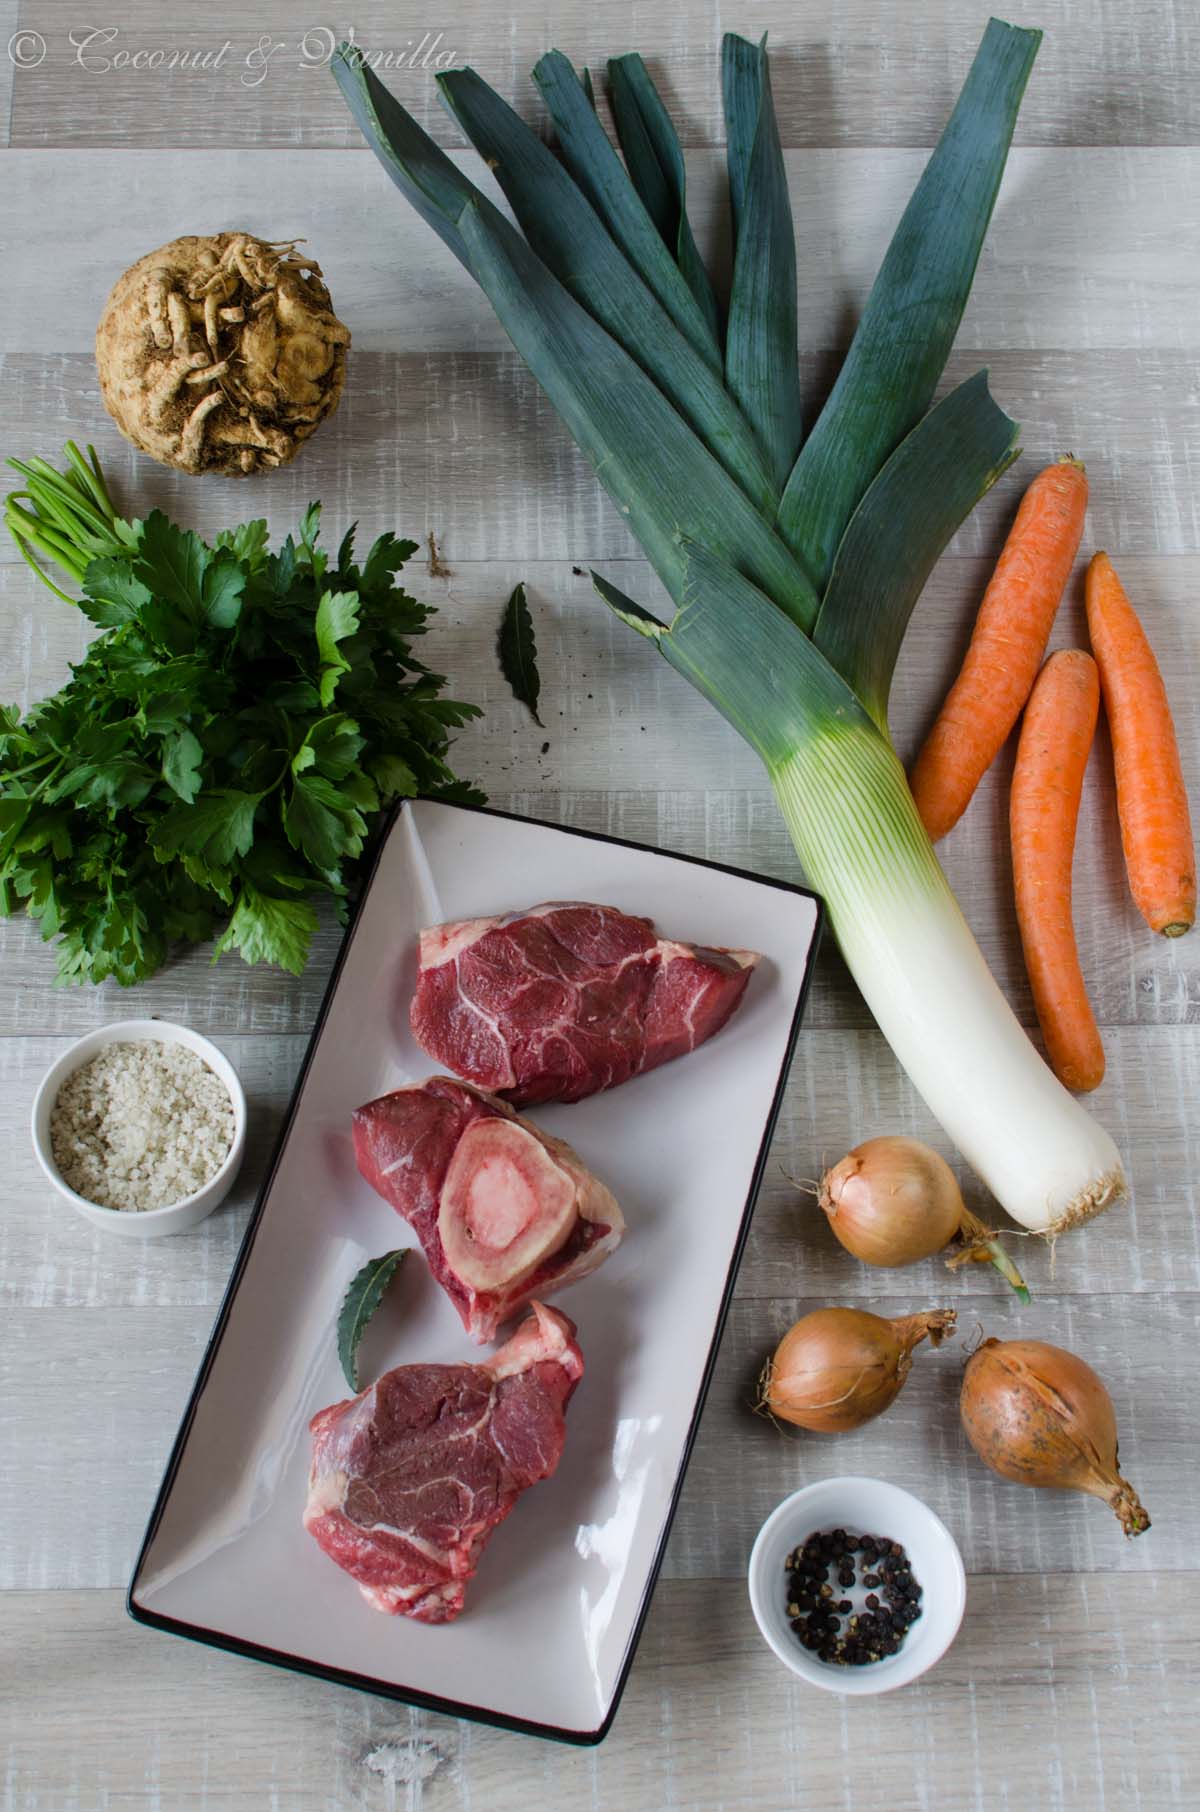
Rinderfond Zutaten

Als erstes starte ich heute mit Rinderfond (wobei es den Wildfond bereits auf dem Blog gibt), aus dem einfachen Grund „ich habe endlich Bilder dazu“ ;). Meistens sind die Zutaten schon im Topf, bevor ich drandenke auch mal ein Bild davon zu machen. Und Flüssigkeit in Gläsern ist nicht so wirklich aufschlussreich.

Den Fond einzumachen ist wirklich pipifax einfach und nach dem Einmachen hat man für viele Wochen oder sogar Monate vorgesorgt. Ein richtig schönes Gefühl!

Ein endgültiges Rezept gibt es übrigens nicht! Ihr könnt nach Lust und Laune Zutaten variieren und die Kochzeit auch etwas verkürzen oder verlängern. Nur keine Angst!

Rinderfond

Vor einem Jahr: Holunderblütengelee

Vor zwei Jahren: Erdbeerlikör, Basilikum-Olivenöl & Holunderblütenessig

Vor drei Jahren: Zitronen-Rosmarin-Kekse

For a long time I wanted to show how I make my stocks and broths. I don’t buy granulated broths anymore. I make vegetable, chicken, beef and game stock myself. So I avoid all these additives, which I don’t want in my food. The best thing about homemade broths is, that you can make delicious sauces and gravies and dishes taste so much better. The first risotto I used homemade chicken broth was a revelation! 

I preserve the fond in jars. I already tried freezing it, but I didn’t liked it at all. Things that speak against freezing broths: you need a lot of space in the freezer, you need a lot of plastic containers suitable for freezing or plastic bags (waste!) and it takes much more time to defrost the broth than to open a jar.

I use 250 ml jars and 500 ml bottles, which is the amount you need mostly for recipes, so it’s very convenient. Leftovers can easily be stored in the fridge for a while and I use them for one of our next meals. I ordered my jars and bottles from Gläser und Flaschen, because they have just the right sizes and it works perfectly every time.

I don’t use labels for my jars, anymore, since it’s too elaborate for me to print, glue and especially dissolve them again. I bought coloured dot stickers and mark the lids with it: green for vegetable broth, yellow for chicken and black for beef.

Homemade Beef Stock

 I start with beef broth today (although game stock is already present on the blog), because I have shot the pictures for it already ;). Mostly they are already in the pot before I think about taking some pics. And liquid in jars isn’t that illuminating.

Making stock is really easy and after doing so, you are prepared for weeks or even months. Which is such a great feeling!

There isn’t a definite recipe, by the way! You can vary with the ingredients and the cooking time. Don’t be afraid!

Homemade Beef Stock

One year ago: elderflower jelly

Two years ago: strawberry liquor, basil olive oil & elderflower vinegar

Three years ago: lemon rosemary cookies

Unser kleiner Acker reloadedOur small field reloaded

Nach langer Überlegung haben wir uns dieses Jahr wieder entschlossen ein Stück Feld bei meine Ernte zu mieten. Es hat uns letztes Jahr unglaublich viel Spaß gemacht und wir wollten auch dieses Jahr wieder gärtnern, ernten und viele neue Sorten anpflanzen. Ich möchte Euch dieses Mal regelmäßiger auf dem Laufenden halten und fange gleich mit ein paar Bildern vom Wochenende an. Viel ist noch nicht zu sehen, aber das ändert sich hoffentlich bald.

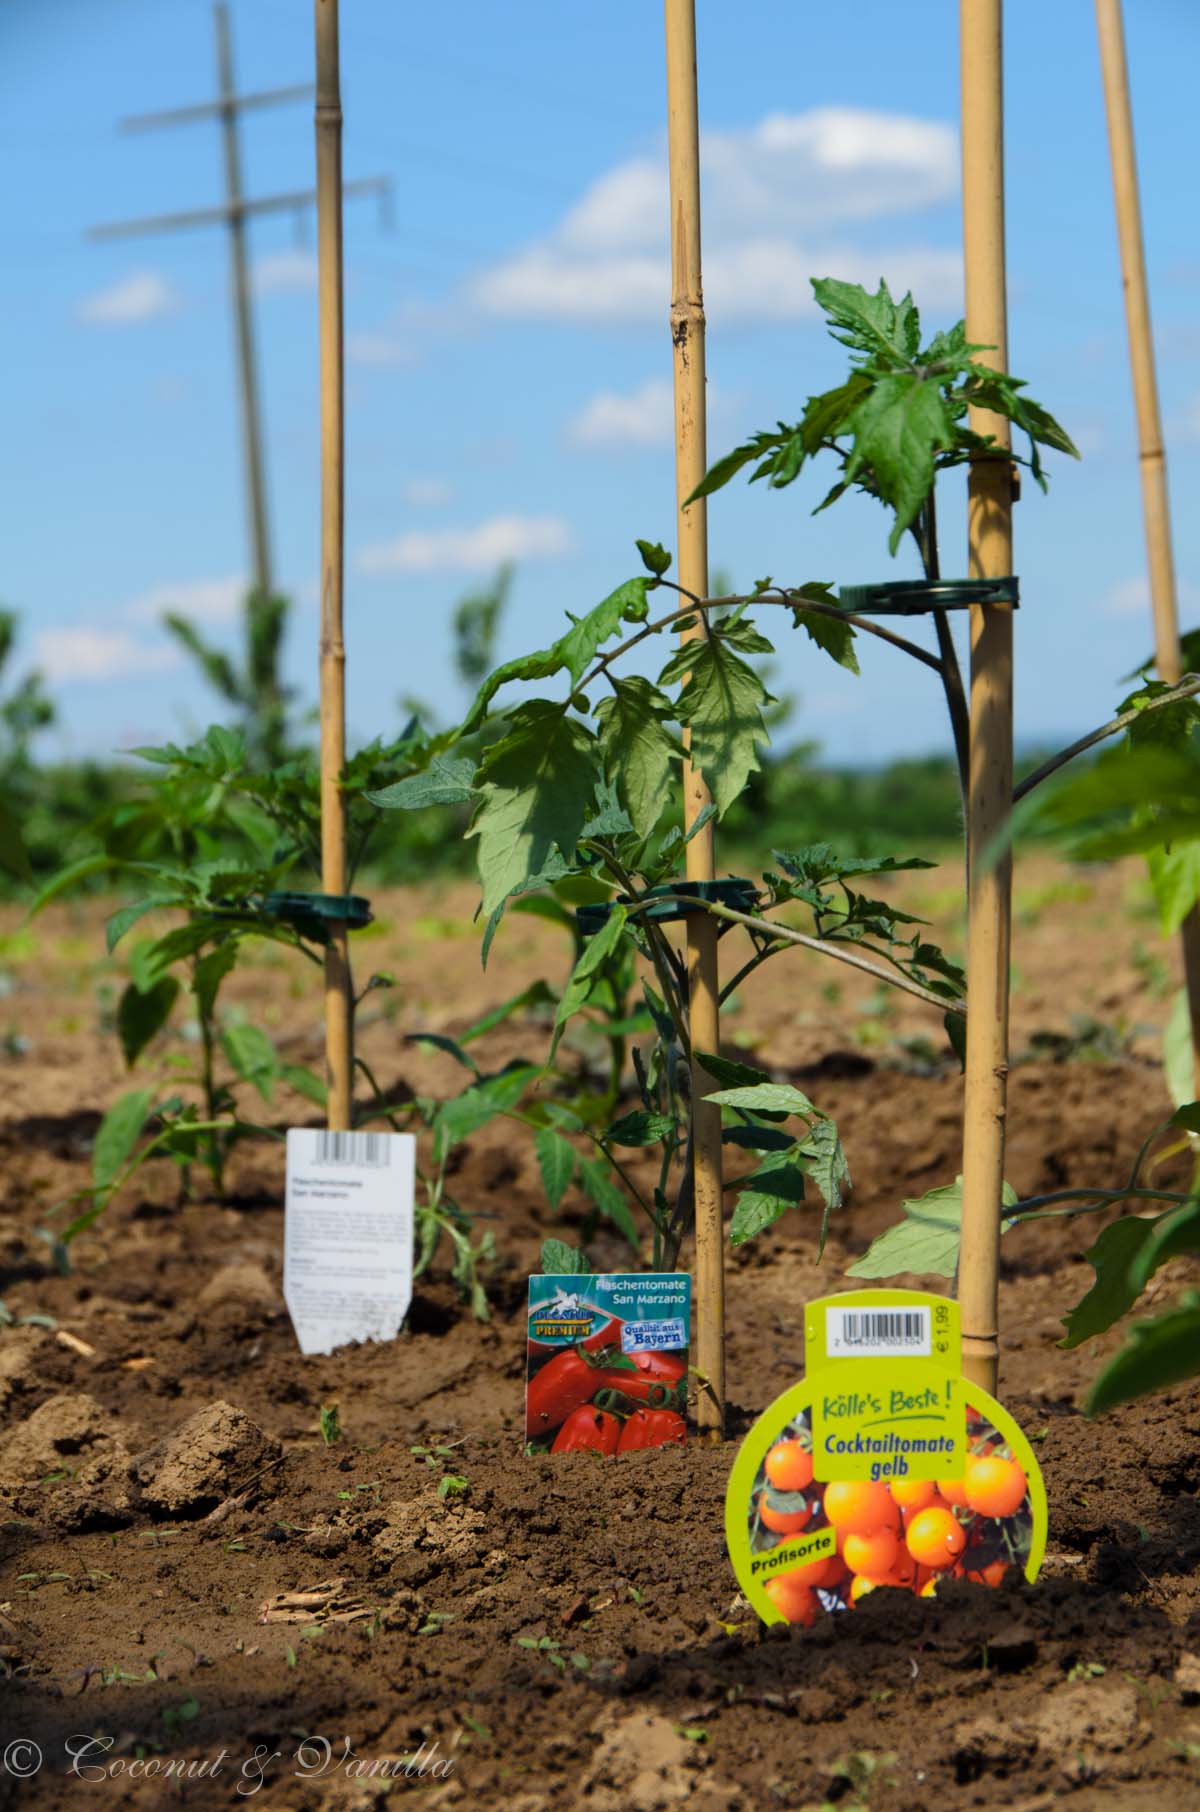
So haben wir unser Feld auch im vorraus schon durchgeplant. Das heißt es flogen diesmal gleich Setzlinge von Pflanzen raus, die wir nicht so mögen oder auch die ganze Saison zum Wachsen benötigen, es aber für kleines Geld auf dem Wochenmarkt und aus der Region gibt. Dafür haben wir mehr Platz für Gemüse, dass man hier nicht bekommt, wie Chiogga und gelbe Beete (dafür musste die normale rote Beete raus), dicke Bohnen, bunte Radieschen und noch ein paar andere Sachen. Ich freue mich, dass es dieses Jahr vor vornherein Erbsen gibt! Und wir versuchen es mit einer Melone! Es wird also noch spannender dieses Jahr!

Wir haben auch aus letztem Jahr gelernt und haben gleich ein Dach für die Tomaten gebaut. Da das Wetter in Stuttgart diesen Frühling besonders mies ist und es eigentlich nur regnet (und kalt ist), ist das Dach dringend nötig.

Gegen die fiesen Erdflöhe haben wir Gesteinsmehl besorgt und es gleich ausgebracht. Die Viecher sind nämlich bereits wieder wie wild am Nagen.

After quite some consideration we decided to rent again a piece of field at meine Ernte. We loved it last year and are looking forward to gardening, harvesting and sowing a lot of new varieties. This year I want to keep you posted and I begin just now with some pics from last weekend. There isn’t much to look at, yet, hopefully that will change soon.

We planned our field in advance this time. We removed some seedlings from vegetables we don’t like that much or need the whole season to grow and we can buy cheaply at the farmer’s market. Therefore we have more space for vegetables we can’t buy anywhere here, like Chiogga and yellow beetroots, fava beans, coloured radishes and some other varieties. I love that they’ve included peas in the sowing plan! And we will try to grow a melon! It will be so exciting this year!

We learned from last year and built a roof for the tomatoes. The weather this spring in Stuttgart is especially worse, it mostly rains (and it’s cold, too), so a roof was really necessary.

Against the nasty flea beetles we spread some rock flour, they are already fiercely nibbling on our plants.

Bärlauch-Ravioli mit ZitronenbutterWild Garlic Ravioli with Lemon Butter

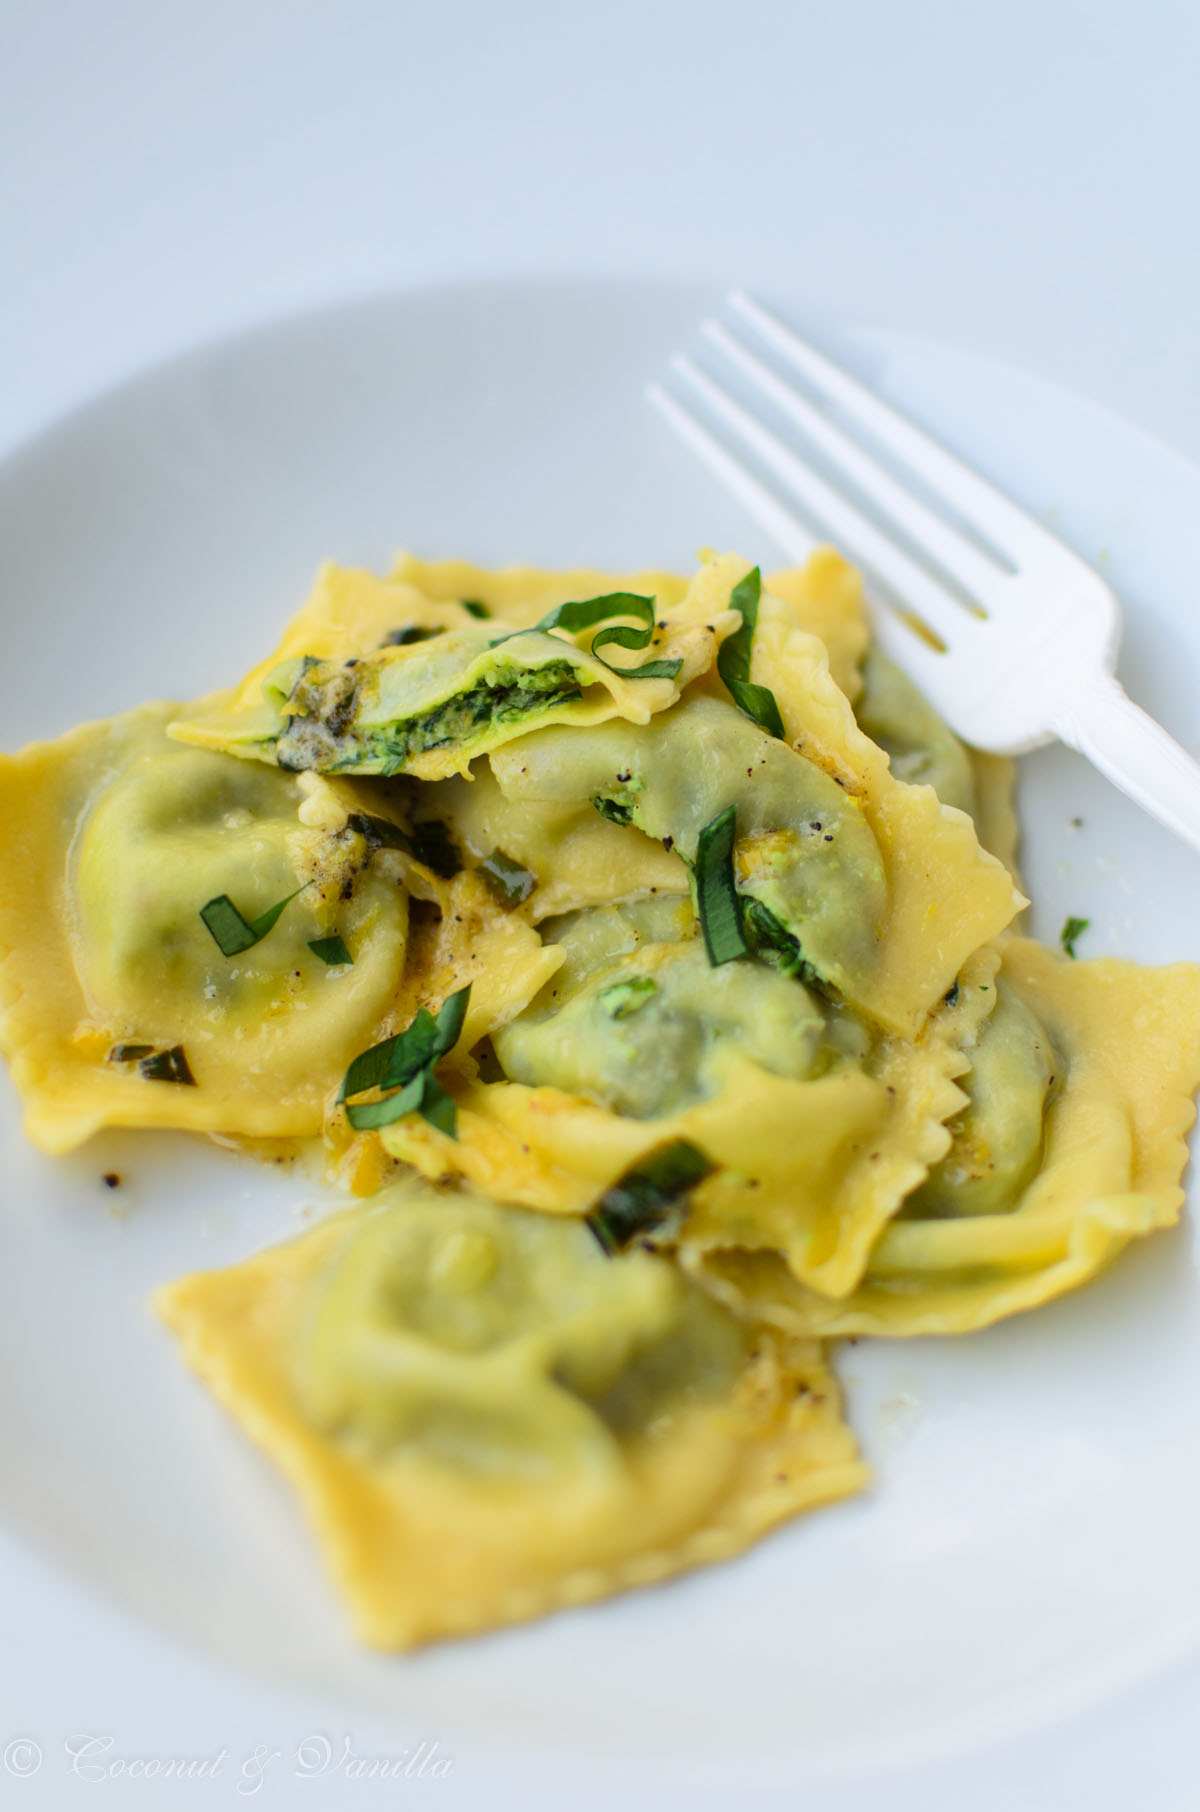
Neue Gewohnheit: jedes Wochenende ein Bärlauchrezept! Ok ok, bald ist auch die Bärlauchsaison vorbei, aber heute gibt es noch ein richtig tolles Rezept und nächstes Wochenende könnte es auch nochmal passieren, schließlich ist gestern nochmal ein Bund Bärlauch in den Einkaufskorb gewandert.

1 Bund Bärlauch pro Woche in der Saison ist eine richtig gute Dosis, so kann man sich die ganze Zeit daran erfreuen ohne ihn gleich über zu haben. Da es letzte Woche wieder einen Feiertag gab dachte ich, ich mach was Besonderes. Diese Ravioli standen schon länger auf meiner to-do-Liste, perfekt also für ein Wochenende oder einen freien Tag.

Bärlauch-Ravioli mit Zitronenbutter

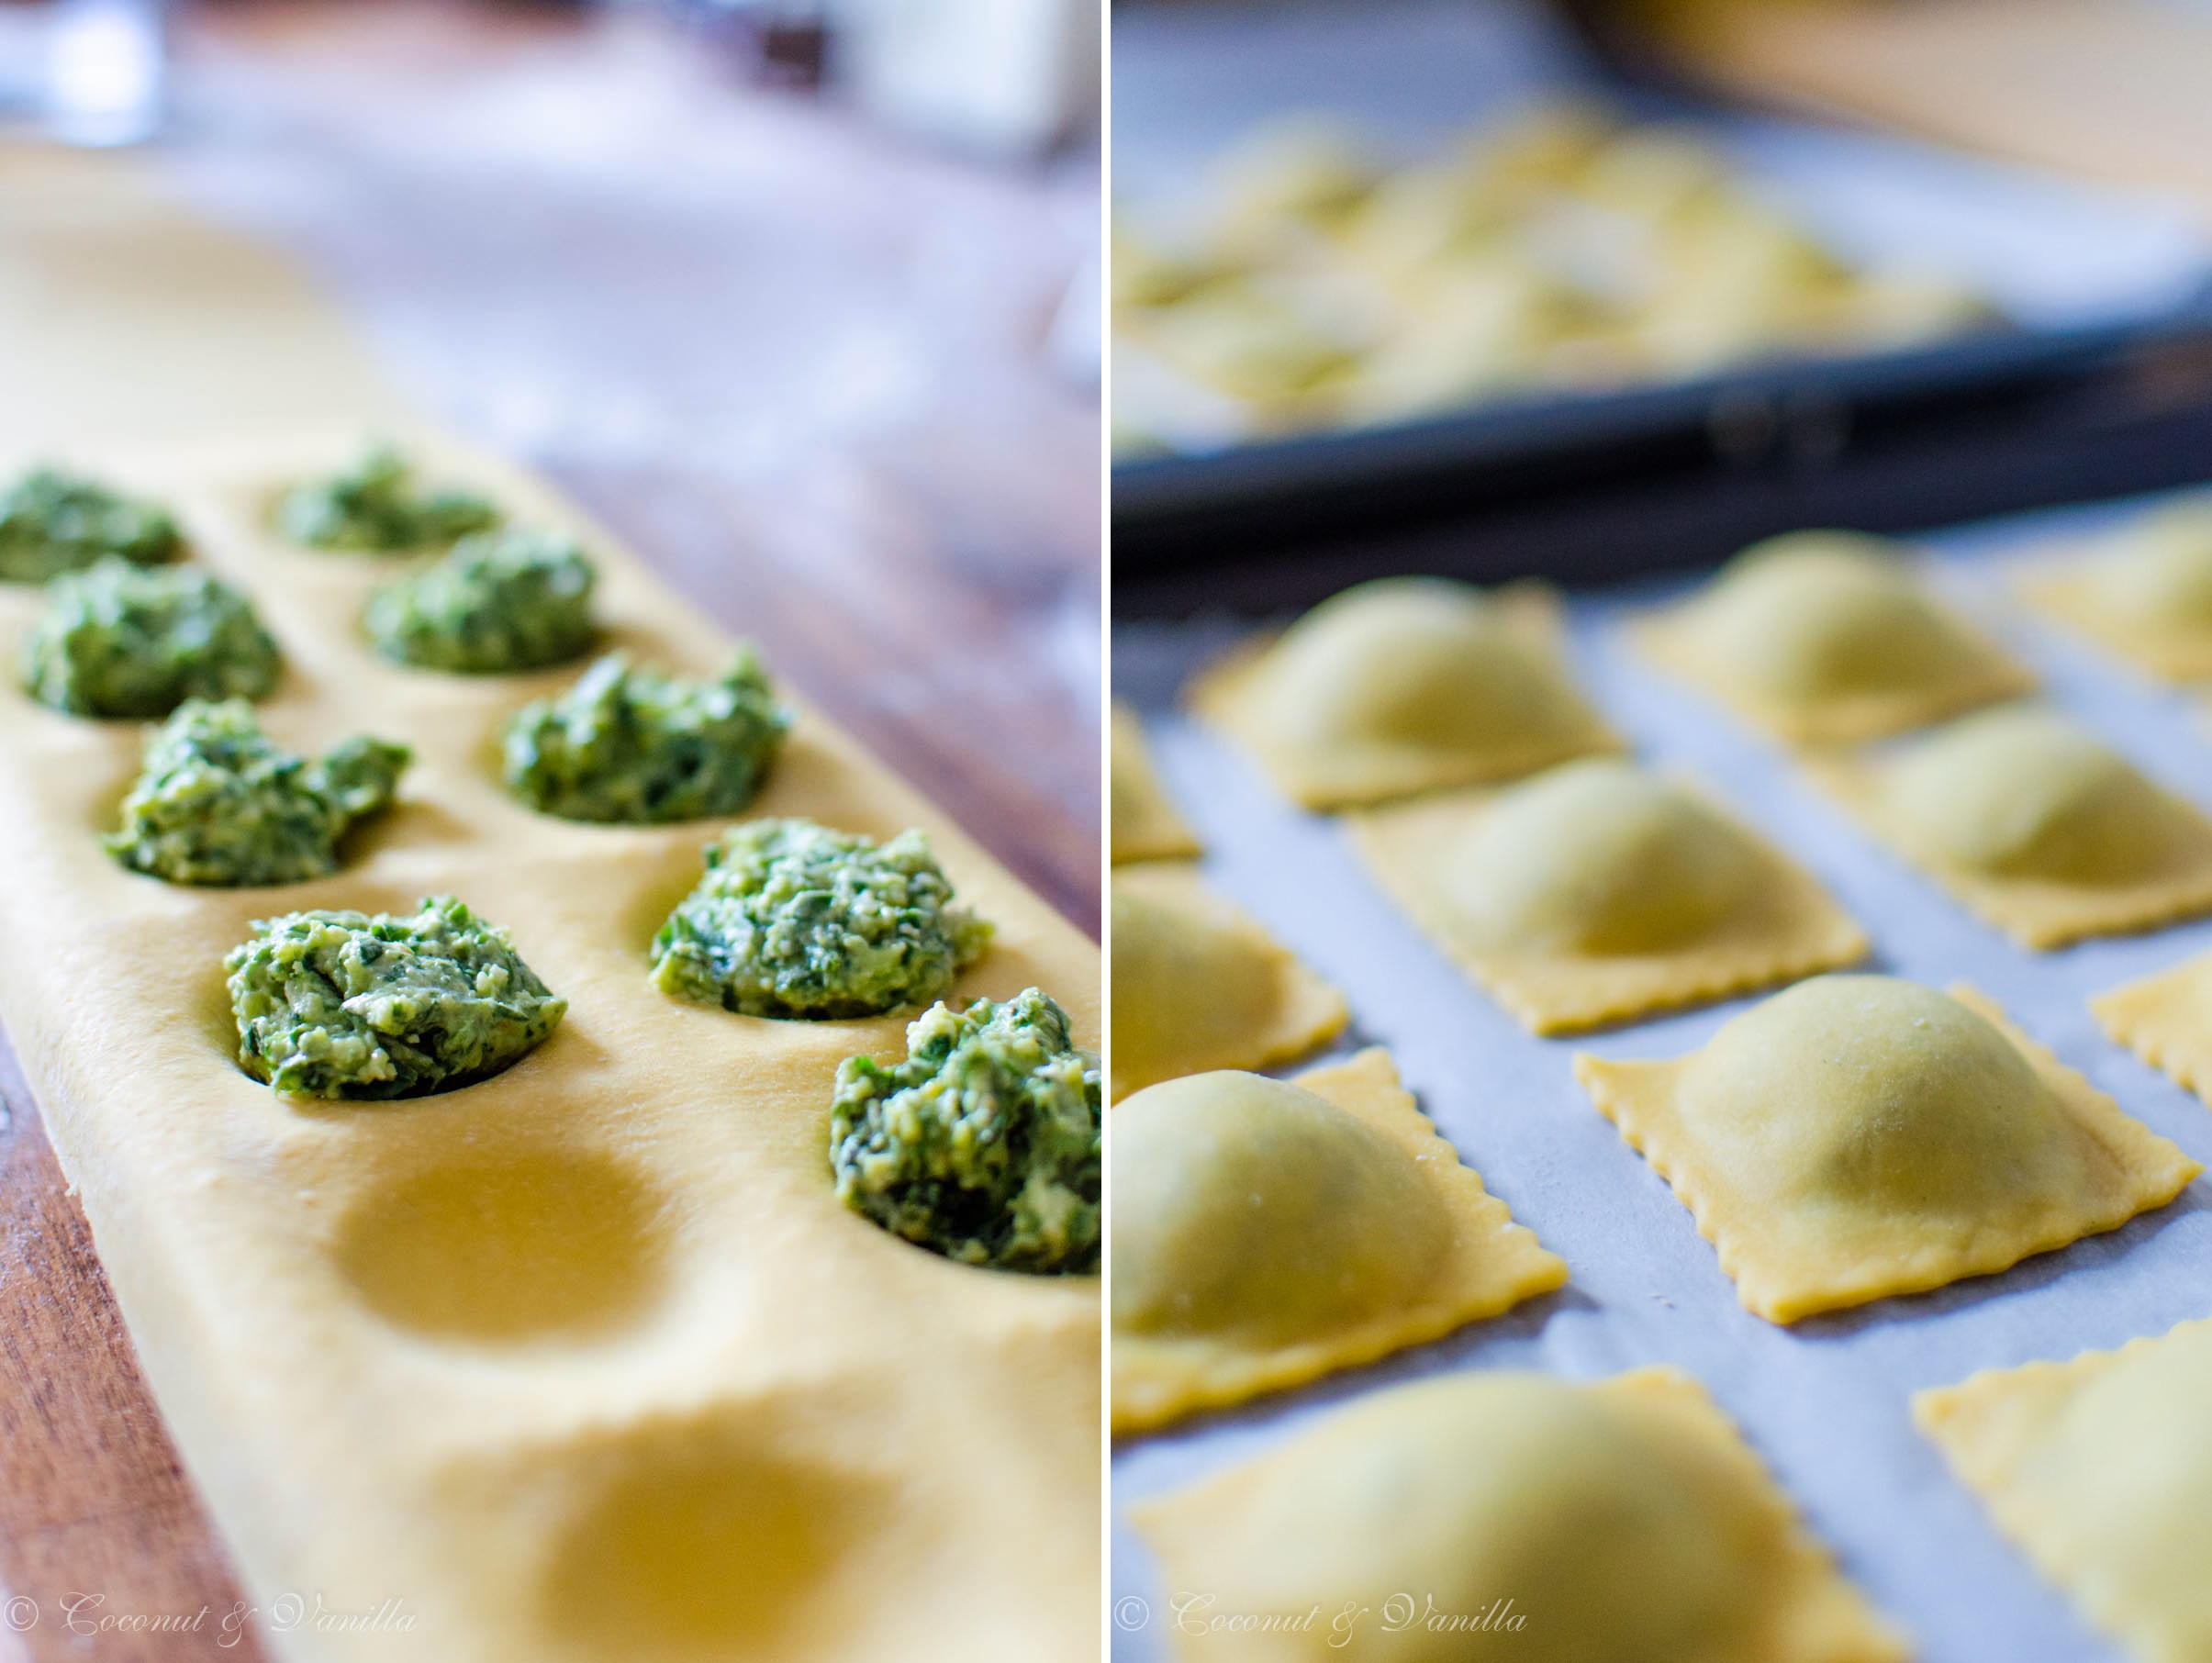
Zu zweit und mit dem Raviolibrett gingen sie auch ganz flott von der Hand. Zwar bin ich mit meinem Raviolibrett nicht so ganz zufrieden, da die Trennkante viel zu flach ist und so die Ravioli durch das Drüberrollen mit dem kleinen Nudelholz nie getrennt werden. Inzwischen nehm ich einfach das Teigrädchen dafür, geht eh schneller. Aber ärgern tu ich mich doch noch manchmal. Trotzdem bekommt man echt schnell 12 gleichgroße Ravioli.

Der Bärlauch kommt in der Füllung nachher richtig gut raus und die Zitronenbutter passt auch sehr gut ohne den Bärlauch unterzubuttern ;). Da ich natürlich nicht daran gedacht hatte vorher Ricotta zu kaufen, habe ich einfach selbst welchen gemacht! 1,5 Stunden sollte man dafür einplanen, aber man braucht nur Zutaten die man sowieso immer daheim hat und während der Nudelteig ruht kann der Ricotta abtropfen. Eins A!

Bärlauch-Ravioli

Vor einem Jahr: Crêpes mit mariniertem Spargel und Räucherlachs

Vor zwei Jahren: Rhabarber Streusel Tarte

New habit: every weekend I present you a new recipe with wild garlic! Ok ok, the season will soon be over, but still I have another great recipe today and maybe next weekend, too, since I bought another bunch wild garlic yesterday. Oops!

But I think 1 bunch of wild garlic per week in season is a good dose to enjoy it without getting sick of it too fast. As we had another holiday last week, I decided to make something special and these ravioli were on my to-do-list for some time. Quite perfect for the weekend or a day off.

Wild Garlic Ravioli with Lemon Butter

But together and using a Ravioli Board they were quickly made. Although I am not really satisfied with the ravioli board, because it’s actually quite unmanageable to separate the ravioli with the attached mini rolling pin. So I skip that part and just use my pastry wheel, which is quicker, anyway. But every time I face this fact again, I’m getting a bit annoyed over it. But on the positive side you get 12 equal ravioli in little time.

The wild garlic really shines in the warm filling and the lemon butter fits very well without being overwhelming. As I didn’t thought of buying a tube of ricotta the day before, I just made my own! You only have to plan in 1,5 hours for that. But you only need ingredients you’ve mostly at home and while the pasta dough rests, the ricotta can be drained. Perfect time management!

Wild Garlic Ravioli

One year ago: crêpes with marinated green asparagus and smoked salmon

Two years ago: rhubarb streusel tart

rote Thai-Currypastered Thai Curry Paste

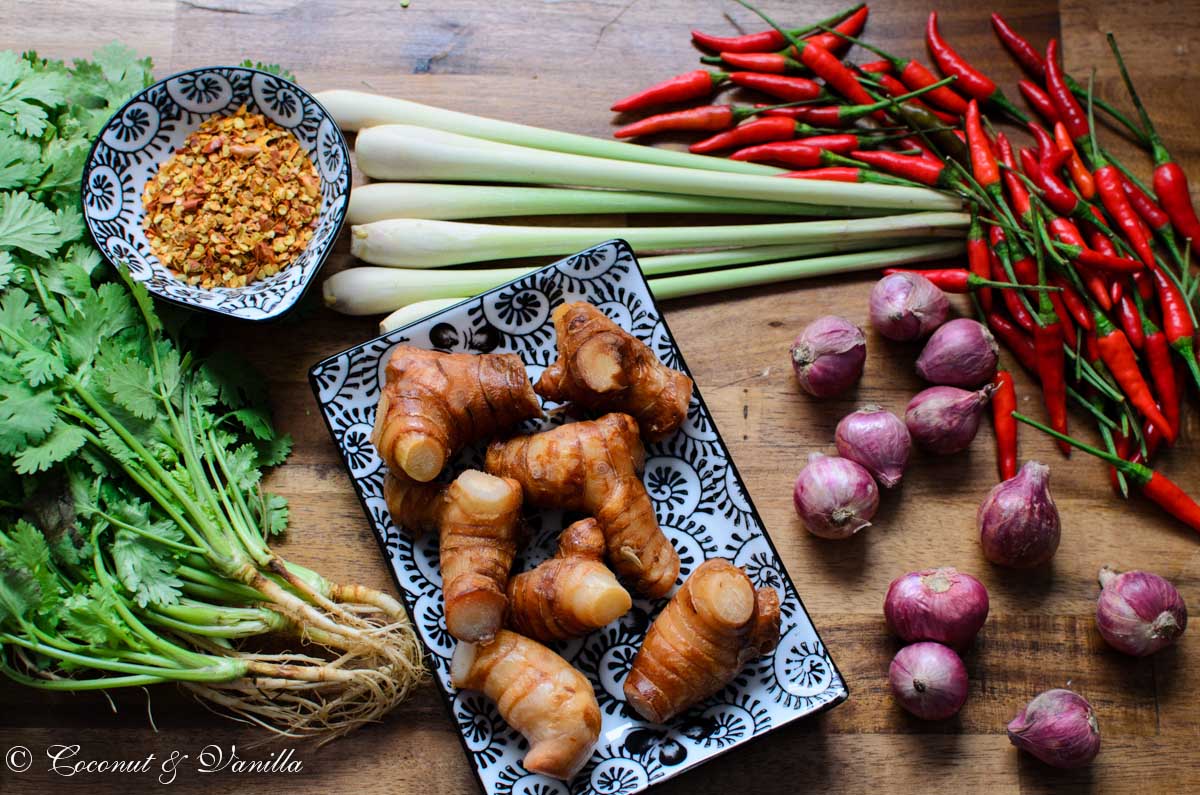
Thailändisch gibt es bei uns immer mal wieder, es sind einfache, schnelle und frische Gerichte. Eines meiner Lieblingsgerichte ist das rote Curry. Ein rotes Curry zeichnet sich eigentlich nur durch die rote Currypaste aus, denn die anderen Zutaten sind immer unterschiedlich und ganz nach Gusto zu variieren. Man kann also verschiedene Zutaten aus Vorrat, Kühlschrank und TK zusammen würfeln und hat in Kürze ein leckeres Gericht auf dem Tisch stehen.

Bisher habe ich immer Currypaste gekauft. Ich habe damit auch kein Problem, die Currypaste enthält nur ganz normale Zutaten und keine Konservierungsstoffe. Außerdem hält sich so ein Becher sehr lange (mir ist noch keiner schlecht geworden). Trotzdem habe ich in verschiedenen Büchern immer wieder Rezepte zur Herstellung diverser thailändischer Pasten gesehen.

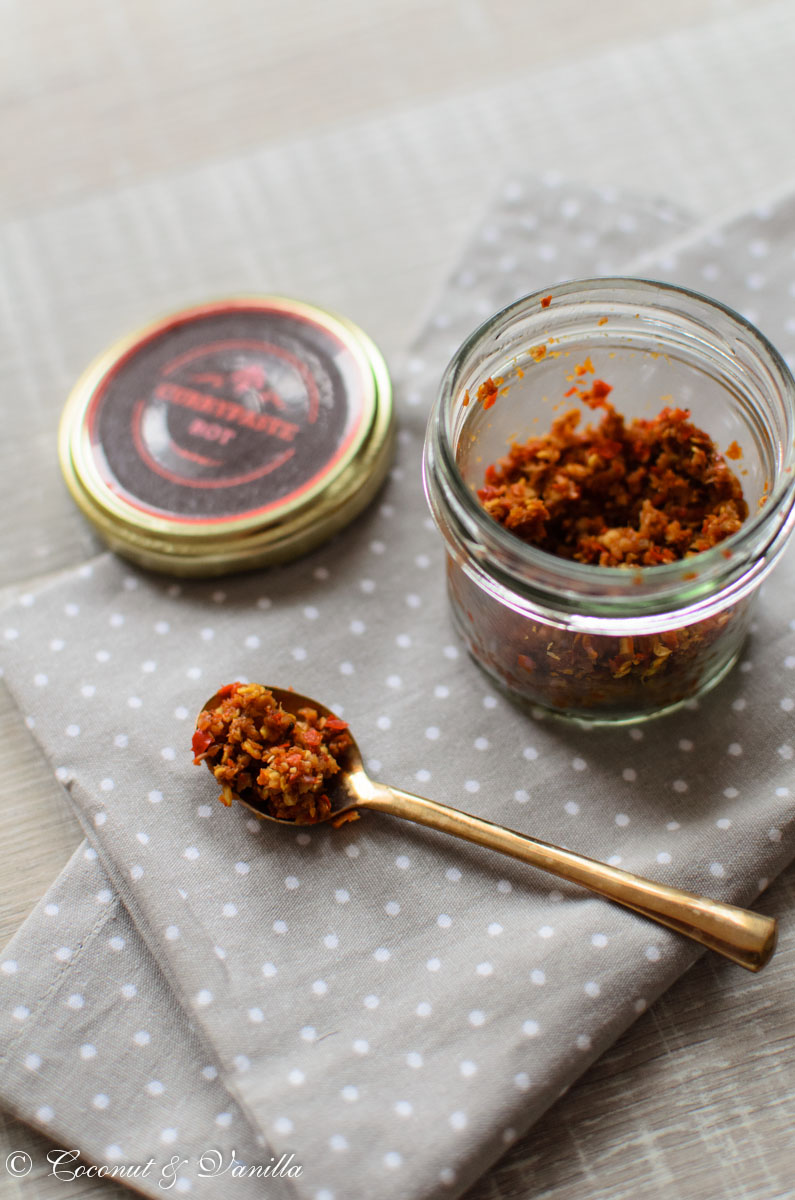
Zu Weihnachten habe ich mich dann mal daran versucht und habe mein Ergebnis dann auch in kleinen Gläschen verschenkt. Diese habe ich wie so oft schon von Gläser und Flaschen, mein Lieblingsshop was Glaswaren betrifft. Die Auswahl ist groß, der Service super und alles ist immer prima verpackt!

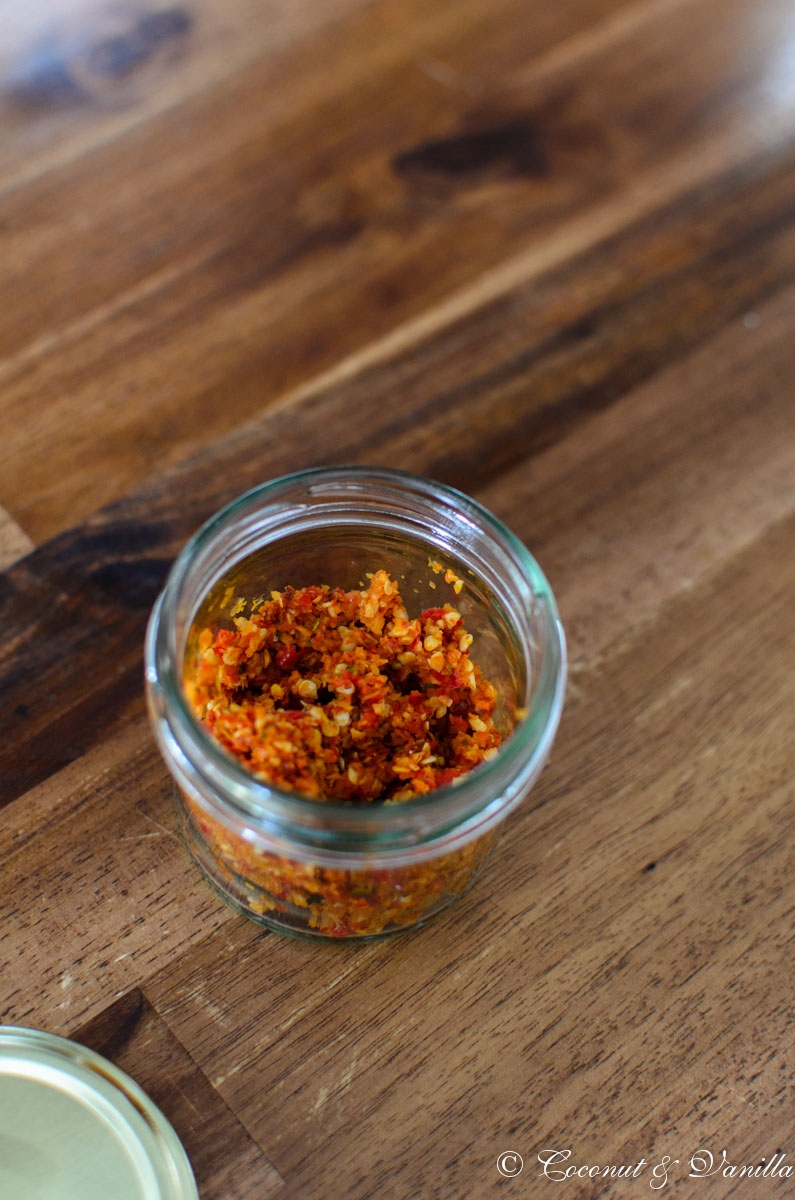
Mir ist die Paste nicht so fein gelungen wie die gekaufte, was einfach daran liegt, dass ich keinen Food Processor habe, sondern nur einen Blitzhacker (so einen Aufsatz für den Stabmixer). Dem fehlt einfach die nötige Power. Man könnte alles auch mörsern, aber dazu habe ich weder genug Armschmalz, noch die Geduld.

Geschmacklich ist sie mir aber sehr gut gelungen und kann mit der gekauften Paste ohne weiteres mithalten. Wer also auch mal so ein Experiment wagen mag und einen halbwegs gut sortieren Asia-Supermarkt an der Hand hat, dem Rate ich zu folgendem Rezept. Mir hat das Prozedere sehr viel Spaß gemacht und ich werde mich an weitere Pasten wagen! 

Da bei der Zubereitung mit viel Chili gearbeitet wird, tragt bitte immer Einmalhandschuhe. Ich habe sogar ein Brille getragen (eigentlich für’s Labor 😉 ). Und bitte Hände weg von Nase, Mund, Augen etc! Wenn ihr den Food Processor/Blitzhacker öffnet, haltet bitte niemals Euer Gesicht darüber! Die Chilidämpfe sind äußerst unangenehm!

rote Currypaste

Vor einem Jahr: Haselnussbrot

Vor zwei Jahren: Fenchel-Zwiebel-Pizza

Vor drei Jahren: Gemüse mit Quinoa

rote Currypaste

red Thai-Curry Paste

We cook Thai from time to time, since Thai dishes are really easy, quick and fresh. One of my favourites is the red curry. A red curry is mostly a red curry, because it contains red curry paste. The other ingredients mostly differ and you can vary a lot. Therefore you can make a dish out of ingredients from the fridge, pantry and the freezer and in no time you have a wonderful meal on the table.

I’ve always bought the curry paste, since it doesn’t contain any preservatives, just normal ingredients, it wasn’t a problem. Also a jar lasts a very long time. But every now and then I stumbled upon a recipe for curry pastes from scratch.

For Christmas I finally made an attempt and then gave the paste away, packed in little jars from Gläser und Flaschen, my favourite shop when it comes to glass jars and bottles. They have an amazing range, nice service and everything is perfectly packed every time their parcels arrive at my door!

I didn’t managed to make the paste as fine as the bought one, which is because I don’t own a food processor, just a small attachment for my immersion blender. And it just hasn’t enough power to do the job. You could also use a mortar, but I don’t have neither strength nor the patience to do that.

But the flavour is quite original and can compete with the bought red curry paste. So if you like to make such an experiment and you do have a Asian supermarket on hand, I recommend you the following recipe. I had a lot of fun with the process and I will make other curry pastes for sure!

As you will work with a lot of hot chilies, wear disposable gloves at all times! I also wore glasses (originally used in the lab 😉 ). And don’t touch your nose, eyes, mouth etc! Also don’t place your face over the food processor, whilst opening it, the chili fumes are very aggressive!

red Thai-Curry Paste

One year ago: Hazelnut Bread

Two years ago: Fennel-Onion-Pizza

Three years ago: Vegetables with Quinoa

red Thai-Curry Paste

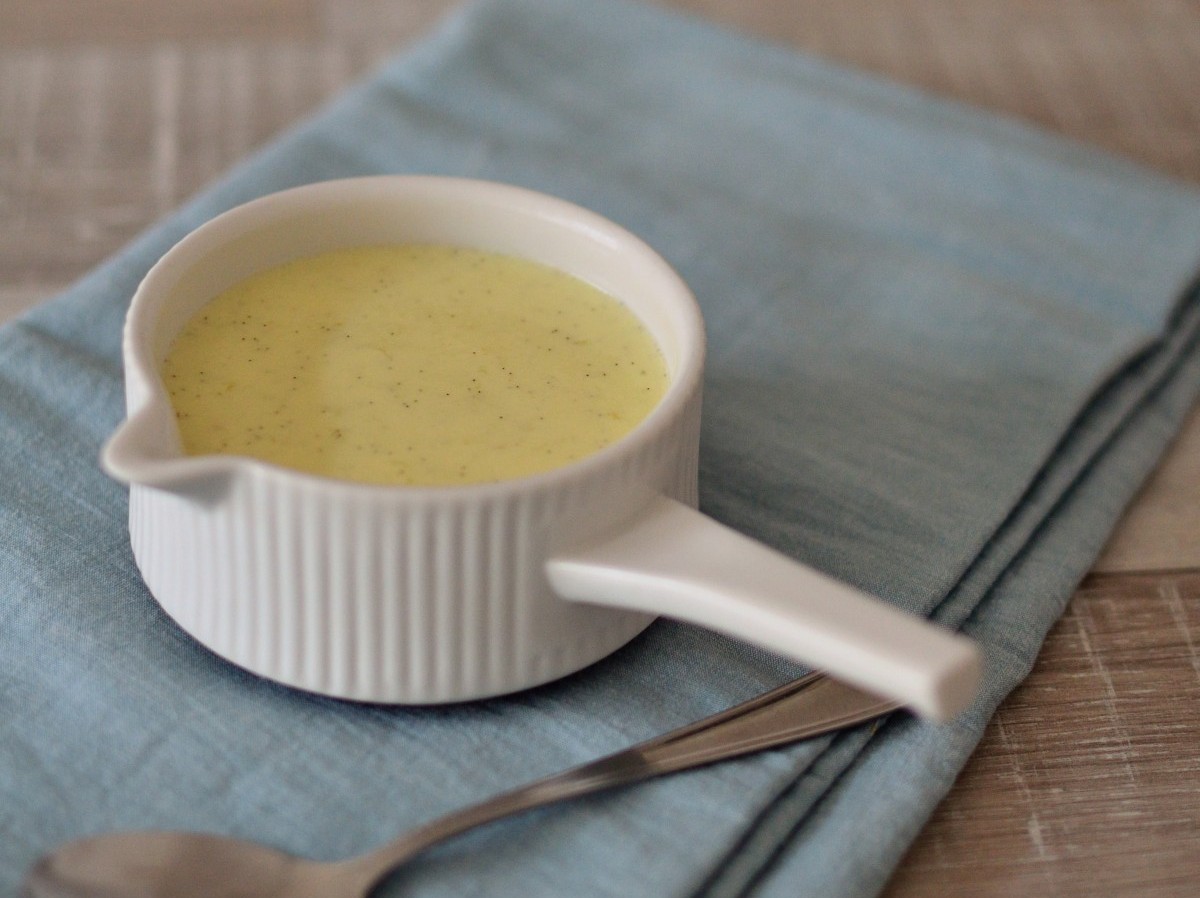
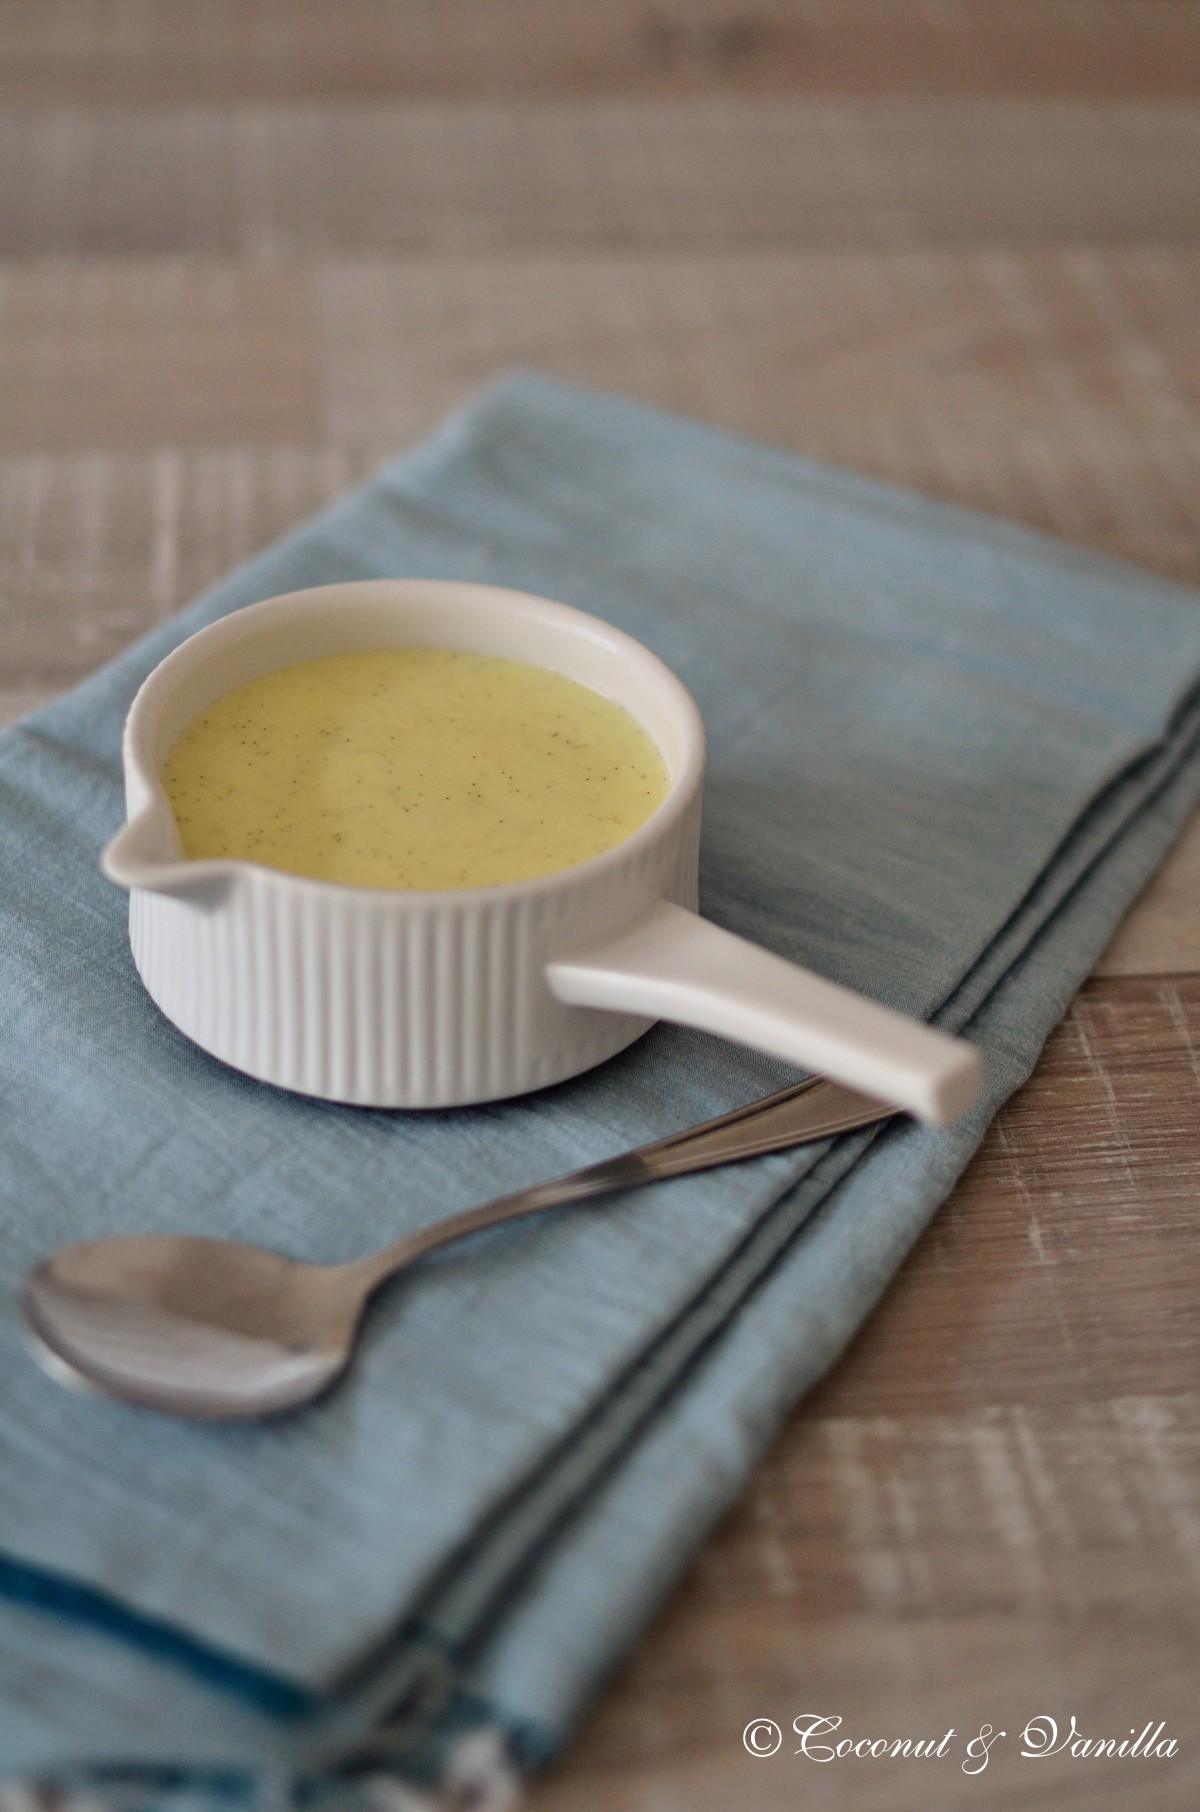
Back to Basics: VanillesauceBack to Basics: Vanilla Sauce

Es gibt viele Lebensmittel die man einfach kauft ohne darüber nachzudenken. Sachen, die sich ganz leicht selbst herstellen lassen. Ohne eine Tüte aufzureißen oder eine Flasche aufzuschrauben. Ich möchte Euch zeigen wie das geht. Im Handumdrehen kann man sich so mit ein paar Grundzutaten viele Leckereien zubereiten. Keine große Sache, aber große Auswirkungen: Geschmacksverbesserung, weniger Müll, keine Zusatzstoffe, du weißt was du isst.

Heute: Vanillesauce

Kann man immer gebrauchen. Zu Kuchen, Eis, Apfelstrudel, Schokopudding oder einfach solo zum Löffeln.

Habt ihr Euch schon mal die Zutatenliste auf den Tütchen und Flaschen diverser Zubereitungen angeschaut? Da sind z.B. Farbstoffe drin, damit das Sößchen schon gelb wird, aber echte Vanillesauce (genauso wie Vanillepudding) ist nicht gelb. Cremefarben bis hellgelb maximal. Und das was drin sein sollte, nämlich Vanille, ist nicht drin, sondern Aroma. Muss das sein? Nicht für mich und in Zukunft auch nicht mehr für Euch!

Vanillesauce

Vor einem Jahr: Orangen-Rotkohl mit Gorgonzola

Vor zwei Jahren: Schottisches Shortbread


There are a lot of foods we buy without thinking. Things that can easily be made at home from scratch without ripping a bag or opening a bottle. I want to show you how. Making delicious food in a jiffy. Not a big deal, but a huge impact: better taste, less waste, no additives, you know what you eat.

Today: Vanilla sauce

Works with almost everything: cake, pie, apple strudel, chocolate pudding or just plain with a spoon.

Did you ever take a look on the ingredient list of these sachets and bottles? Among other ingredients, colouring is added to make the sauce nicely yellow. But a real vanilla sauce is never yellow! It’s cream to pale yellow at the max. And what should be inside, namely vanilla, isn’t, but artificial flavours. Does this has to be? Not for me and not for you anymore!

vanilla sauce

One year ago: Red Cabbage with Oranges and Gorgonzola

Two years ago: Scottish Shortbread

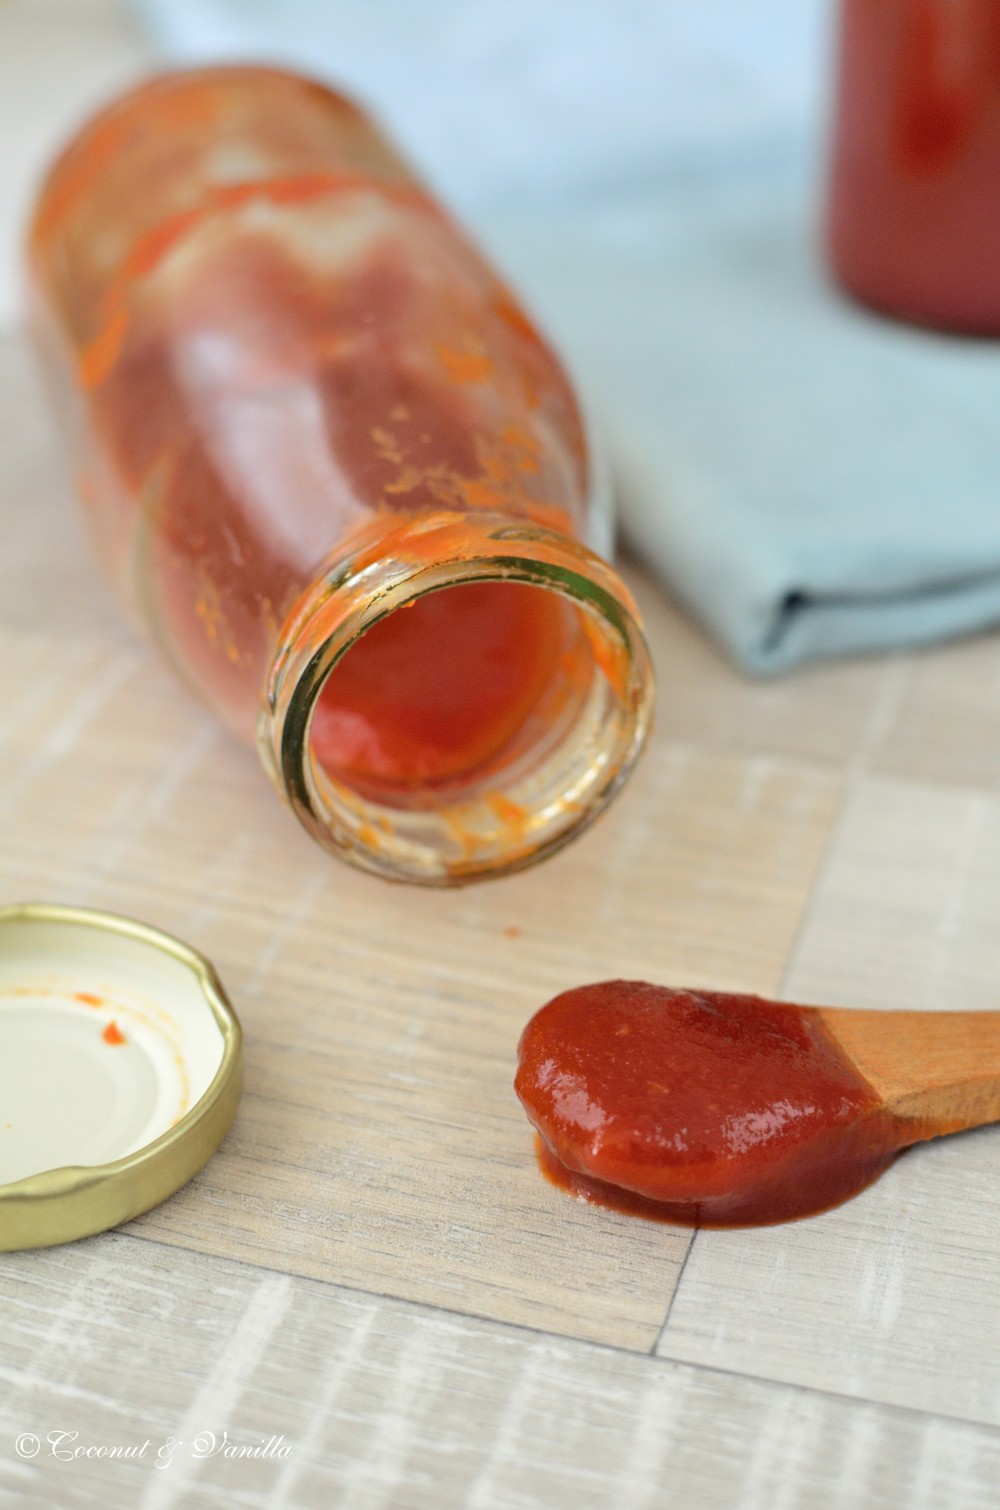
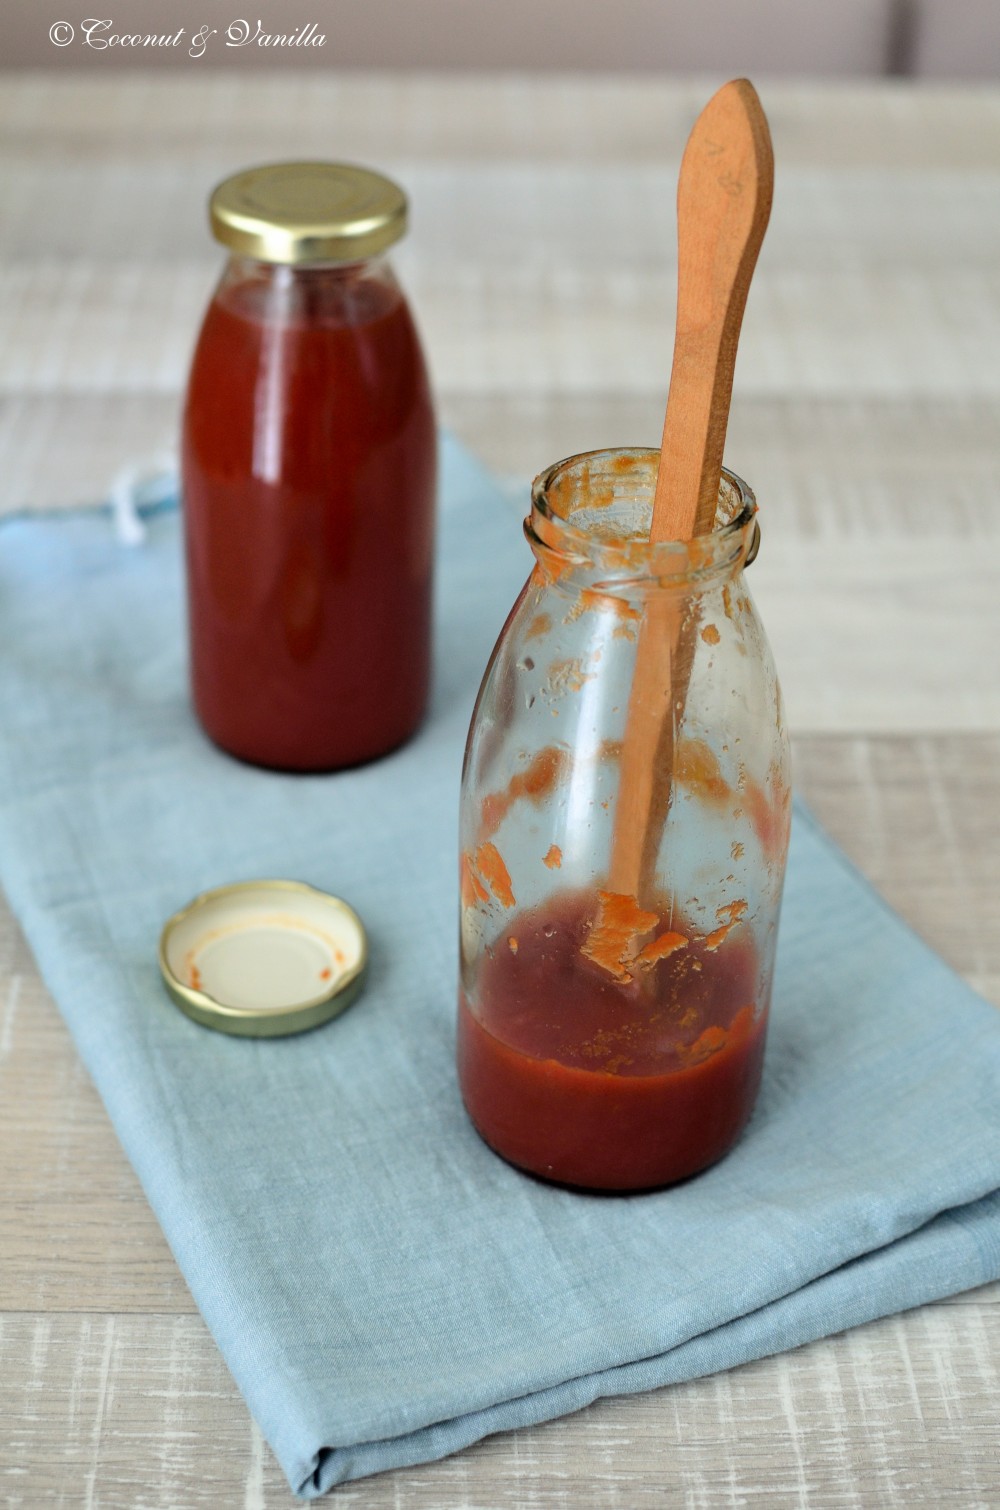
Selbstgemacht: TomatenketchupHomemade Tomato Ketchup

Selbstgemacht: Tomatenketchup

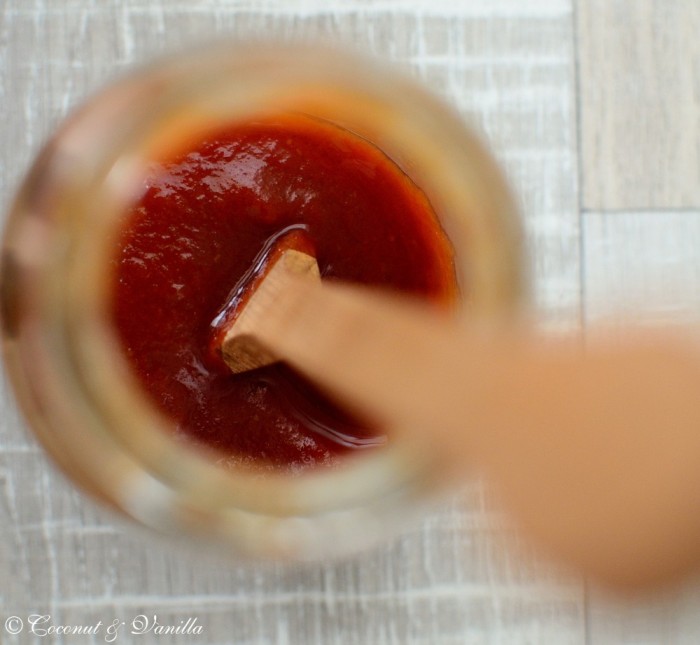
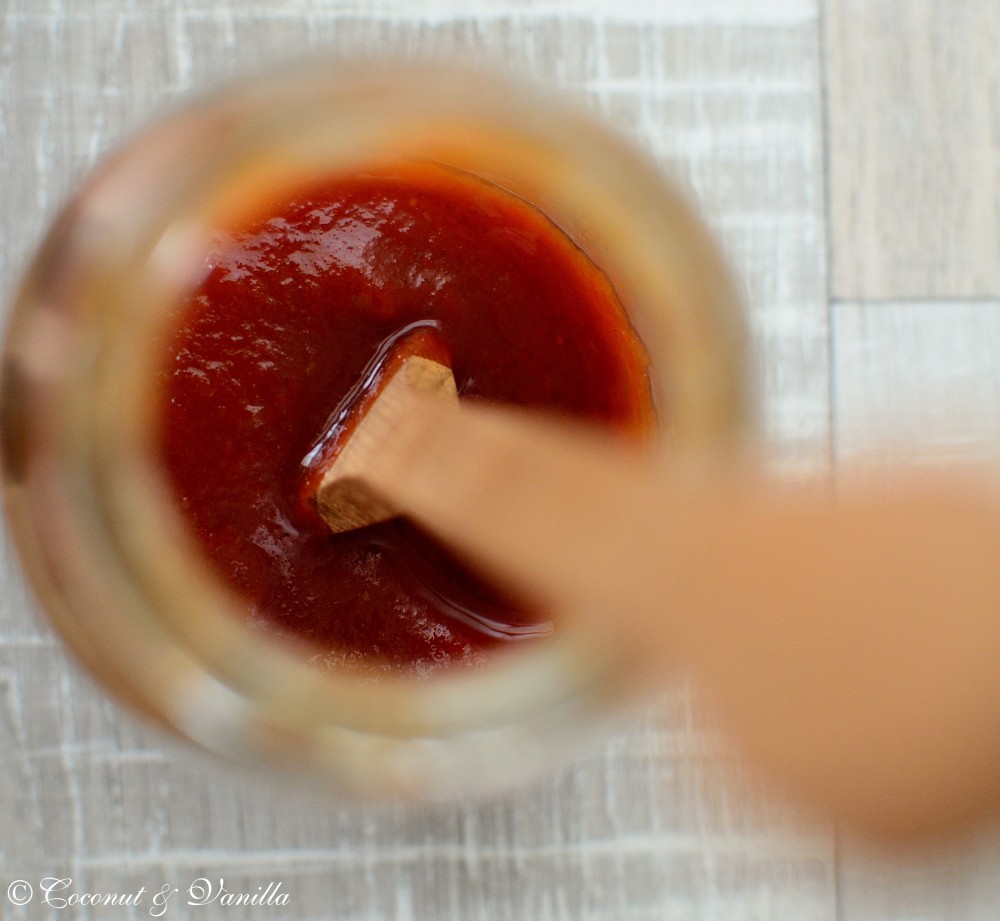
So jetzt kommt’s: Das Hammer-Rezept! Das Rezept des Sommers, ach was sag ich, des Jahres!

Ich bin ja ein echter Tomatenketchup-Liebhaber. Der Stoff meiner Kindheit gehört für mich immer noch zu Bratwurst und Fischstäbchen (ja ich esse gerne Fischstäbchen!). Und der Stoff meiner Kindheit wird seit jeher nur von einer Weltmarke gekauft, die so heißt wie ein Verwandter.

Ich mach ja gerne alles selber, aber bei Ketchup war ich immer skeptisch. Ich dachte das kommt nie an das Original ran.

Letzte Woche hab ich es gewagt, sogar zwei Rezepte parallel gekocht zum Vergleich. Es war aber ziemlich schnell klar, dass das eine Rezepte verliert… Paprikapulver im Ketchup ist einfach voll daneben.

Das andere jedoch ließ meine Augen aufleuchten! Es schmeckte wie das Original, nur noch einen Ticken besser. Es war voller, intensiver und trotzdem schmeckte es wie Ketchup schmecken soll!

Ich fürchte bei uns wird es nur noch hausgemachten Tomatenketchup geben in Zukunft. Ja Befürchtung, weil man nämlich einiges an Tomaten braucht für das gute Zeugs. Man kann etwa sagen, dass das Endergebnis einem Drittel der eingesetzten Tomatenmenge entspricht. Das liegt einfach daran, dass nach dem Pürieren die Pampe durch ein Sieb gestrichen werden muss, denn Gemüsestückchen und Kerne haben in einem Ketchup absolut nichts verloren und dann will man ja auch die samtig-seidige Konsistenz haben. Da hilft nur eins: Einkochen was das Zeugs hält!

Zur Zeit gibt es auch die schönsten deutschen Tomaten zu günstigen Preisen. Bei uns sogar tolle San Marzano’s für 2,40 €/kg! Solltet ihr diese oder Ochsenherztomaten zu guten Preisen bekommen, schlagt zu und verwendet sie, da sie weniger Kerne und Flüssigkeit enthalten, als normale Tomaten.

Also kauft Tomaten, gleich ein paar Kilo und macht Euch an die Herstellung, es kostet nicht viel Arbeit, sondern nur etwas Zeit. Das Ergebnis könnt ihr dafür 1 Jahr lang genießen, vorrausgesetzt ihr habt genug gekocht!

Selbstgemacht: Tomatenketchup

Vor einem Jahr: Leinsamenbrot

Vor zwei Jahren: Die besten Chocolate Chip Cookies

Vor drei Jahren: Death by Chocolate

Selbstgemacht: Tomatenketchup

homemade tomato ketchup

I will now present you the best recipe of the summer, what am I saying, the year!

I’m a really tomato ketchup lover! The stuff of my childhood still belongs to bratwurst and fish sticks for me! And the stuff of my childhood is bought from a global brand ever since, which is named like a relative of mine.

You know I make a lot of things myself, but I was always sceptical about making ketchup. I thought it could never reach the original.

Last week I gave it a try. I even cooked two recipes simultaneously for comparing. But after a short time it was already clear that one recipe is a loser… because powdered paprika in ketchup is just completely wrong.

But the other recipe made my eyes lighten up! It tasted like the original, but even a bit better. It was more complex, intensive and still tasted like ketchup has to taste!

I’m afraid we will only eat homemade tomato ketchup anymore. Afraid? Yes, because you will need A LOT of tomatoes for this delicious stuff. You will need the tripled amount of tomatoes, that you want in ketchup. That’s because after pureeing the sauce, you have to press it through a sieve to remove the coarser rests of the vegetables and the seeds, because you don’t want to have that in your ketchup! Finally a ketchup needs to have that velvety silky texture. And you will only get it by reducing the sauce.

The most beautiful tasty German tomatoes are now in season for sensational prices. I’ve already seen awesome San Marzano on our market for 2,40 €/kg! If you find these or giant ox heart tomatoes, buy and use these, because they have less seeds and liquid and more flesh as normal tomatoes.

Go, buy tomatoes, a few kilo right away and make ketchup! It doesn’t make a lot of work, it just needs some time. Therefore you can enjoy the result one year long, given that you made enough!

homemade tomato ketchup

One year ago: Flaxseed Sourdough Bread

Two years ago: The best Chocolate Chip Cookies

Three years ago: Death by Chocolate

homemade tomato ketchup


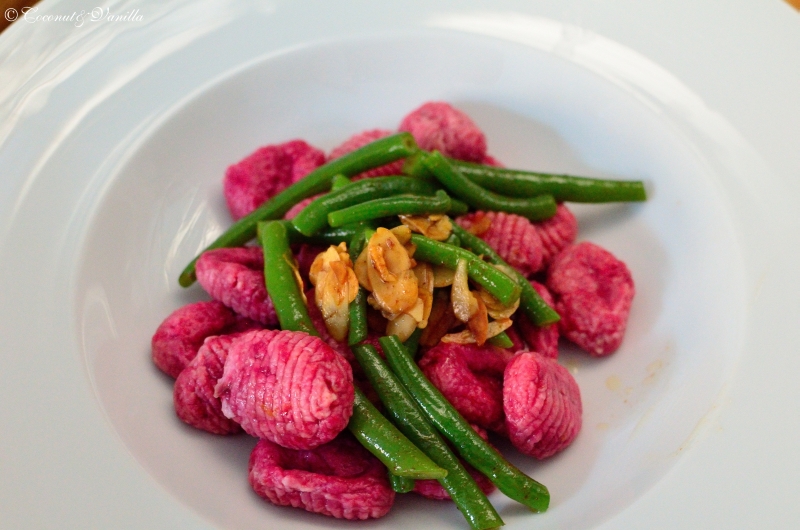
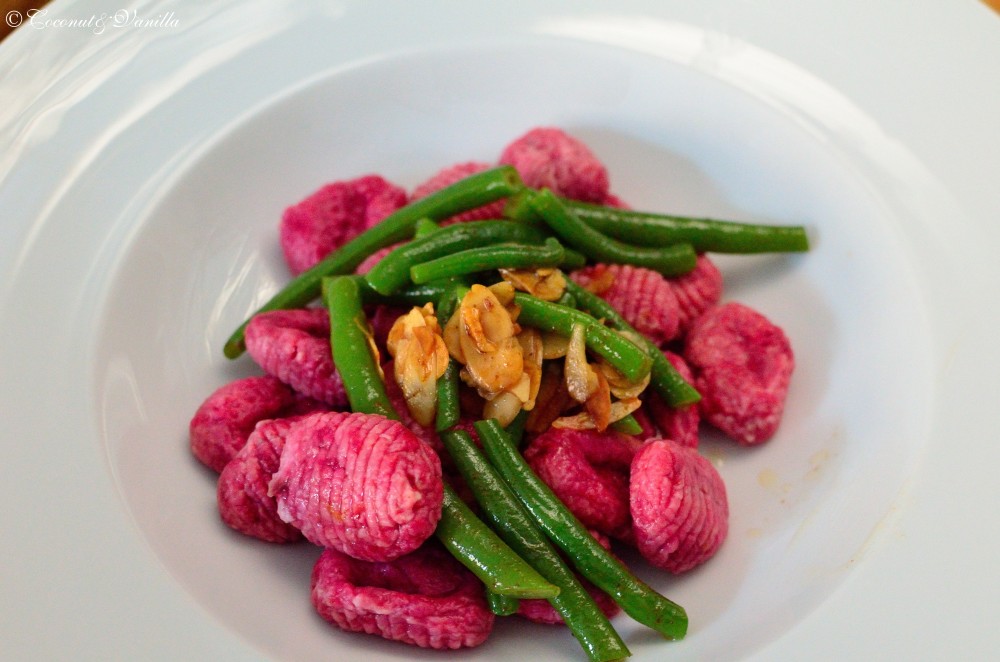
Rote Beete Gnocchi mit grünen Bohnen in zweifacher Nussbutter Beetroot Gnocchi with green beans in a twofold brown nut butter

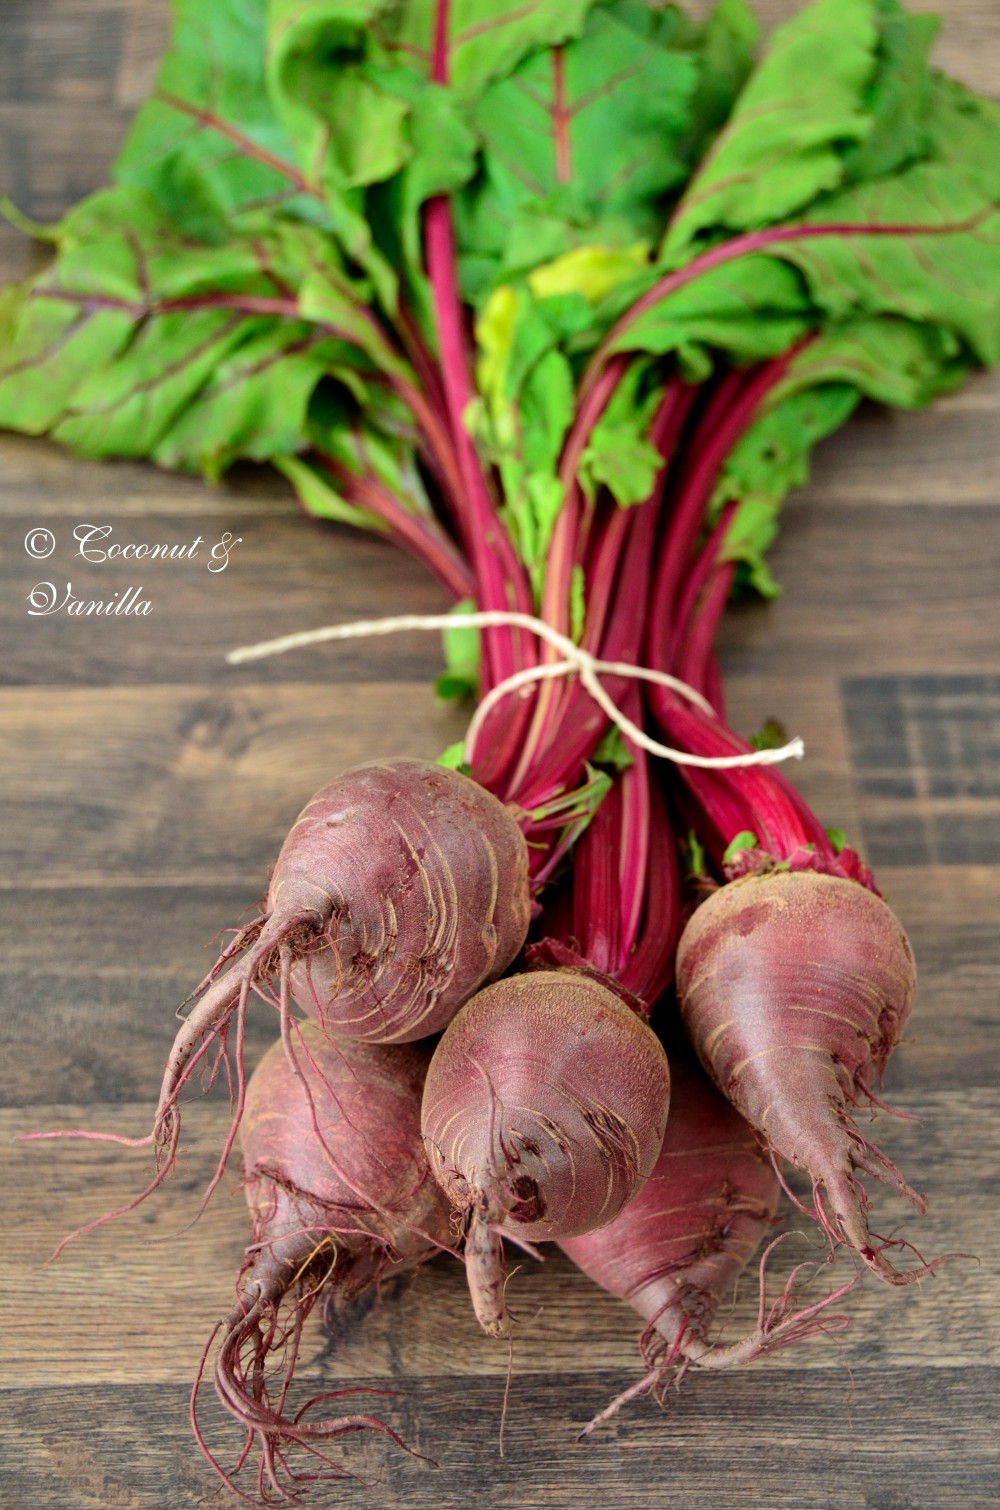
Rote Beete haben wir auf unserem Acker ja auch schon zur Genüge geerntet. Wir mögen Rote Beete, aber wie mit vielem Gemüse weiß man irgendwann einfach nicht mehr was man damit anfangen soll.

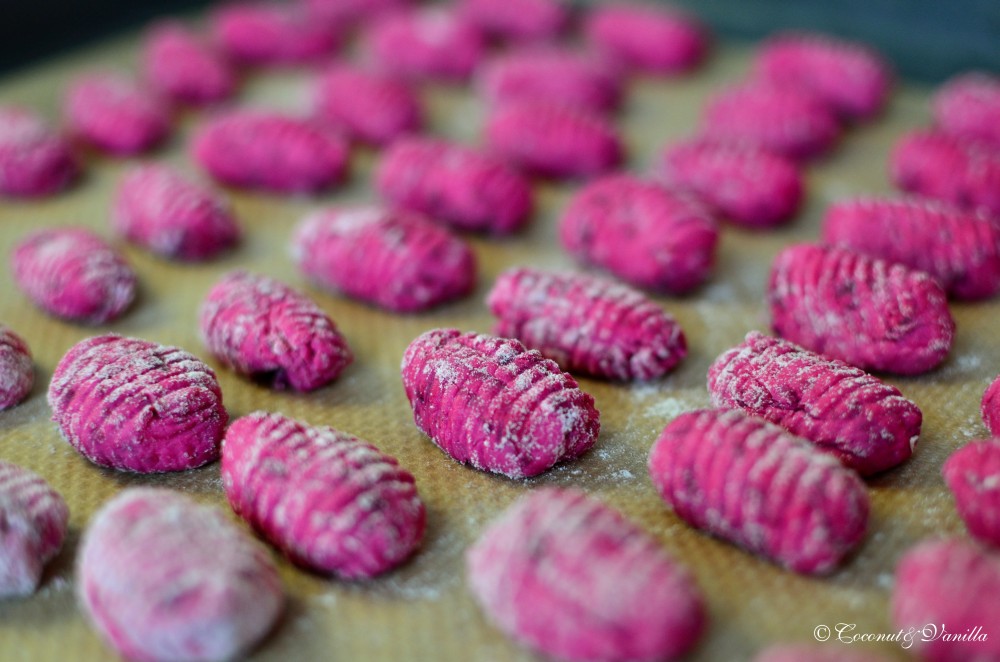
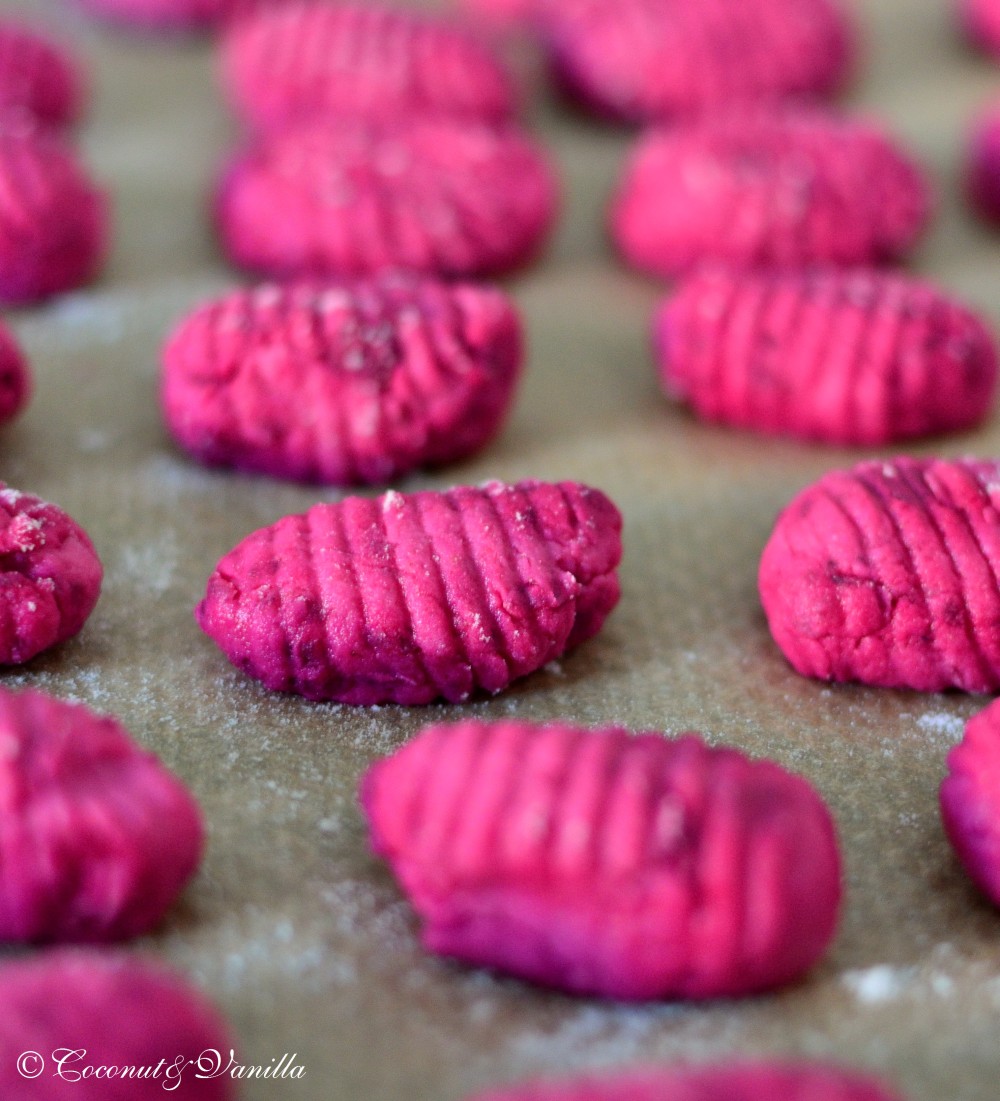
Zum Glück bin ich dann auf Petra’s Blogeintrag gestoßen. Rote Beete Gnocchi! Als großem Fan von Gnocchi musste ich die natürlich machen. Ein bisschen Überwindung hat’s schon gekostet. Wenn man aber die Rote Beete einen Tag (oder ein paar) vorher gart, ist der Aufwand nicht mehr groß. Die meiste Zeit verbringt man damit die Gnocchi zu formen. Für mich ist das ein entscheidender Teil der Gnocchiherstellung, schließlich sollen Gnocchi wie Gnocchi aussehen. Ich benutze ein Gnocchi Brett um die kleinen Dinger in Form zu bringen.

Und liebe Blogleser, das G in Gnocchi wird nicht gesprochen, für die die es immer noch nicht wissen, mir damit aber ziemlich auf den Keks gehen. Ich fange hier aber dafür nicht von Bruschetta an…

Rote Beete Gnocchi

Zu Ehren von Arthur’s Tochter 3. Geburtstag habe ich (mit tatkräftiger Unterstützung des Heimwerker Freunds) ein Video über die Herstellung von Rote Beete Gnocchis erstellt.

Herzlichen Glückwunsch, Astrid! Mach weiter so! Ich wünsche Dir viele tolle Beiträge zu deinem Bloggergeburtstag und weiterhin frohes Bloggen!

Geschenke für 3 Jahre Arthurs Tochter kocht

Nochmal zurück zu den roten Gnocchi, die leichter herzustellen sind als ihre Kartoffelschwestern. Die Gnocchi sind leichter, da sie hauptsächlich Ricotta enthalten, der Rote Beete Geschmack schimmert subtil durch. Zum Sattwerden benötigt man eine größere Portion als von den normalen Kartoffelgnocchi. Ich habe sie mit grünen Bohnen in zweifacher (zu dreifacher hat es leider nicht gereicht, aber hätte ich noch Haselnussblättchen gehabt, wäre es eine dreifache geworden) Nussbutter serviert, was perfekt harmoniert hat. Genauso gut könnte ich mir aber eine Gorgonzolasauce dazu vorstellen. Die grünen Bohnen sind natürlich als Beilage für viele Gerichte vorstellbar, es müssen keine Gnocchi sein.

How to make Beetroot Gnocchi from Coconut & Vanilla on Vimeo.

Rote Beete Gnocchi

Vor zwei Jahren: Indisches Mandelhühnchen

Rote Beete

Rote Beete Gnocchi

 We harvested well enough beetroots from our vegetable patch, yet. We love beetroot, but as it happens with a lot of vegetables that are abundant, you don’t know where to put them or what to make out of them anymore.

Luckily I stumbled upon Petra’s blog entry. Beetroot gnocchi! As a huge fan of gnocchi I surely had to make them. Truly it was a bit of an effort to make them. But if you roast the beetroots one day (or several) before, the effort isn’t that much anymore. It takes most of the time to shape the gnocchi. But for me that’s the crucial  part of making gnocchi, since gnocchi have to look like gnocchi. For the purpose of shaping these small babies I use a Gnocchi Board.

Beetroot Gnocchi

In honour of Arthur’s Tochter third blog birthday I created a small video (with the help of the handyman boyfriend) about how to make (or to be more precise how to shape) beetroot gnocchi.

Happy blogging, Astrid! Keep it up! I wish you a lot of  great posts for your anniversary and more posts to come!

Geschenke für 3 Jahre Arthurs Tochter kocht

How to make Beetroot Gnocchi from Coconut & Vanilla on Vimeo. Once again back to the red gnocchi, which are way easier to make than their potato siblings. The gnocchi are lighter in texture, because they are mainly made of ricotta cheese, the beetroot taste shimmers slightly through.  You need a larger portion than with potato gnocchi to be full. I served them with green beans in a twofold brown nut butter with almonds slivers, which perfectly fit together. But I also imagine, that gorgonzola sauce pairs great here, too. Of course you don’t have to make gnocchi to enjoy these scrumptious beans, they pair perfectly with other dishes, too.

Beetroot Gnocchi

Two years ago: Indian Almond Chicken

beetroots

Beetroot Gnocchi

Extrakte: Vanille, Zitrone, OrangeExtracts: Vanilla, Lemon, Orange

Heute gibt’s mal wieder eine selbstgemachte Zutat zum Backen und Kochen, aber vor allem zum Backen. Extrakte. In Deutschland kaum bekannt, in Amerika und Großbritannien allgegenwärtig und in vielen Geschmacksrichtungen in jeden Supermarkt zu erwerben. Wer viele englische Rezepte verwendet stößt häufig auf Vanilleextrakt. Und hin und wieder laufen einem auch andere Extrakte über den Weg. In Deutschland gibt es leider nur diese unsäglichen „Aromen“. Künstliche Aromen in kleinen Fläschchen. Bäh!

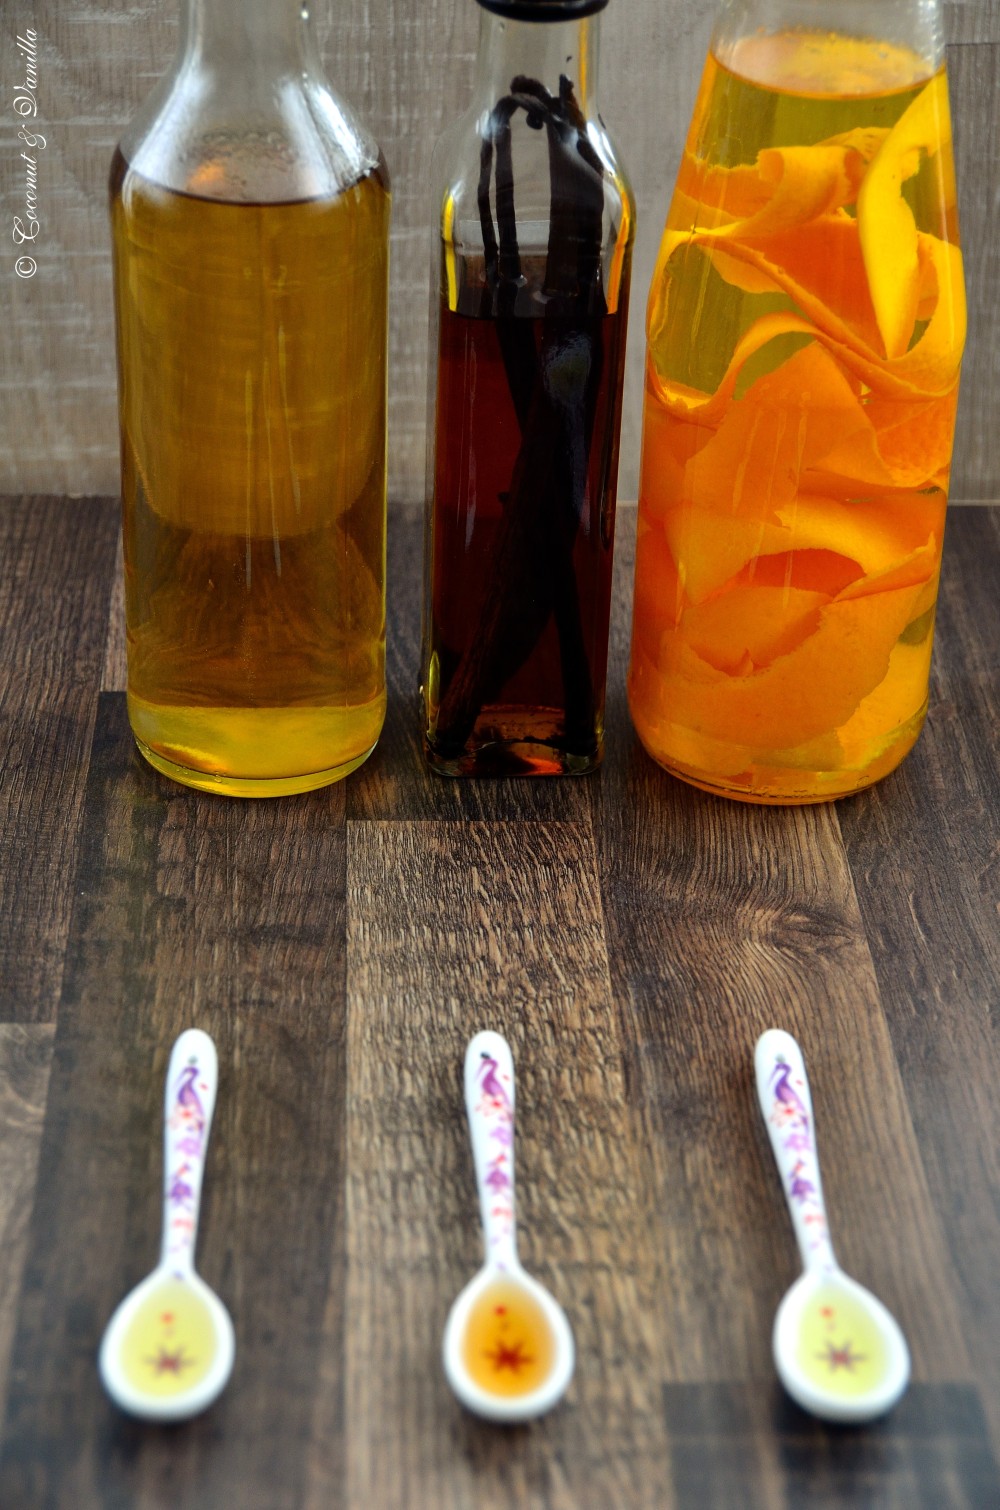
Ich habe bisher drei verschiedene Extrakte hergestellt: Vanille, Zitrone und Orange. Natürlich kann man diese Extrakte durch Vanilleschote, Zitronenschale und Orangenschale ersetzen. Aber wer hat denn das immer daheim? Und wenn man die Preise der Extrakte im Laden sieht, ist es eine weise Entscheidung diese selbst zu machen.

In den Extrakten ist das Aroma um ein vielfaches gebündelt und hat man sie erst mal angesetzt, reichen sie einem eine lange Zeit. Ok, man sollte eine Wartezeit von etwa 4 Wochen nach dem Ansetzen einplanen, der Alkohol muss die Aromen schließlich erst aus den Zutaten ziehen.

Vanille, Zitrone, Orange

Mit den fertigen Extrakten ist es eine wahre Freude zu arbeiten. Eis, Kuchen und Cremes werden jetzt viel aromatischer, denn man gibt einfach noch einen Schuss gebündeltes natürliches Aroma dazu.

Zur Herstellung benötigt ihr die gewünschte Zutat, die das Aroma geben soll, sowie hochprozentigen geschmacksneutralen Alkohol. Ich verwende dafür einen Korn, der 38 % vol. hat. Wenn ihr noch hochprozentigeres Zeug bekommt, dann verwendet einfach mal den, das Ergebnis soll um ein vielfaches besser sein! Achtet aber darauf, dass er immer noch geschmacksneutral ist. Der Alkohol nennt sich dann Primasprit oder Neutralalkohol. Leider habe ich das Zeugs bisher nicht in die Finger bekommen. Aber auch mit gewöhnlichem Alkohol bin ich mit dem Ergebnis sehr zufrieden.

Ich möchte noch weitere Sorten herstellen. Ein Teil hat sich schon als Ideen in meinem Kopf manifestiert. Minze? Nuss wäre toll, aber wie? Was würde Euch interessieren?

Vanille, Zitrone, Orange

Vor einem Jahr: Toastbrot

Vor zwei Jahren: Rhabarber-Streusel-Kuchen


Today I introduce you into the world of homemade extracts. In Germany they are almost not known. Everyone knows them in North America and Great Britain in a large range of flavours. They are used in a lot of recipes, especially in baking recipes.

So far I made three different flavours of extracts: vanilla, lemon and orange. Of course you can buy these or substitute them with vanilla beans, and zest of lemons or oranges. But buying is much more expensive and it’s easier just to have a bottle of extract at home, then to have fresh organic lemons or oranges at home. So it’s a wise decision to make it yourself.

Great thing is, that the extracts concentrate the aroma many times over. After bringing together the ingredients, you have to wait for 4 weeks for the alcohol to bring out the aroma. Then you have a bottle full of your desired flavour concentrated, which keeps a long time.

Vanilla, Lemon, Orange

It’s a real pleasure to work with the extracts. Ice cream, cakes and mousses are so aromatic, because of adding a splash of concentrated natural aroma.

For producing you only need your desired ingredient, which shall give the flavour, as well as high-proof neutral flavoured alcohol. I use plain schnapps with 38 % vol. If you get some even higher in alcohol content and still neutral in flavour use that one! The result should be even better I heard. But be sure, that it is neutral in flavour, because you want to taste the flavour of your ingredient like vanilla and not the schnapps. The alcohol with higher alcohol content is called rectified alcohol/spirit or neutral alcohol. Unfortuntely I didn’t got it here. Nevertheless I’m very satisfied with the result, just with the plain schnapps.

I want to produce some more varieties. Some ideas are already settled in my head. Mint? Nuts would be great, but how? What would you prefer?

Vanilla, Lemon, Orange

Vanille, Zitrone, Orange

One year ago: Toast Bread

Two years ago: Rhubarb Streusel Cake