Nachdem ich Weizentortillas schon selbstgemacht habe, wollte ich natürlich auch unbedingt Maistortillas selber herstellen. Nach ein bisschen Recherche entpuppte sich das als komplizierter als gedacht. Man benötigt dazu nämlich Masa Harina, das ist spezielles behandeltes Maismehl, es ist nixtamalisiert. Nix-da-was?
Die Nixtamalisation ist ein traditionelles mexikanisches Verfahren, das nachweislich bereits 1500 v.Chr. angewandt wurde und die Backeigenschaften verbessert, dem Maismehl einen besseren Geschmack verleiht und ihn leichter verdaubar macht. Dazu werden die Körner viele Stunden in einer alkalischen Lösung gekocht. Dadurch löst sich die Hemicellulose, die die Zellwände zusammenhält, auf. Die Körnerschale löst sich und der Kern wird weich. Ein Teil des Maisöls verwandelt sich in emulgierende Verbindungen und die Maisproteine können sich leichter verbinden. Dadurch lässt sich aus nixtamalisiertem Masa Harina mit Wasser ein Teig formen, im Gegensatz zu unbehandeltem Maismehl.
Der bei der Nixtamalisation verwendete Kalk liefert Calcium, das im Mais gebunden wird und somit den Calciumgehalt im Maismehl stark erhöht. Außerdem wird das Vitamin-B Niacin so freigesetzt, dass vom menschlichen Verdauungstrakt aufgenommen werden kann. (Quelle: Wikipedia, Rezepte-Wiki)
Das Masa Harina ist meistens aus Mexiko importiert und da das in Mexiko meistens niemanden interessiert ist es sehr wahrscheinlich aus GMO-Mais. Meine mexikanische Kollegin bestätigte mir, dass sich um dieses Problem in Mexiko keiner Gedanken macht. In Berlin habe ich dann bei Goldhahn & Sampson zufällig GMO-freies Masa Harina entdeckt! Der Preis war nicht ohne und nachdem ich das Etikett etwas genauer studierte, habe ich entdeckt, dass es aus Würzburg kommt! Ein bisschen googlen und ich fand einen mexikanischen Laden in Würzburg, der dieses GMO-freies Masa Harina für einen akzeptablen Preis verkauft (auch online!). Ich würde auf die Bezeichnung GMO-frei unbedingt achten!
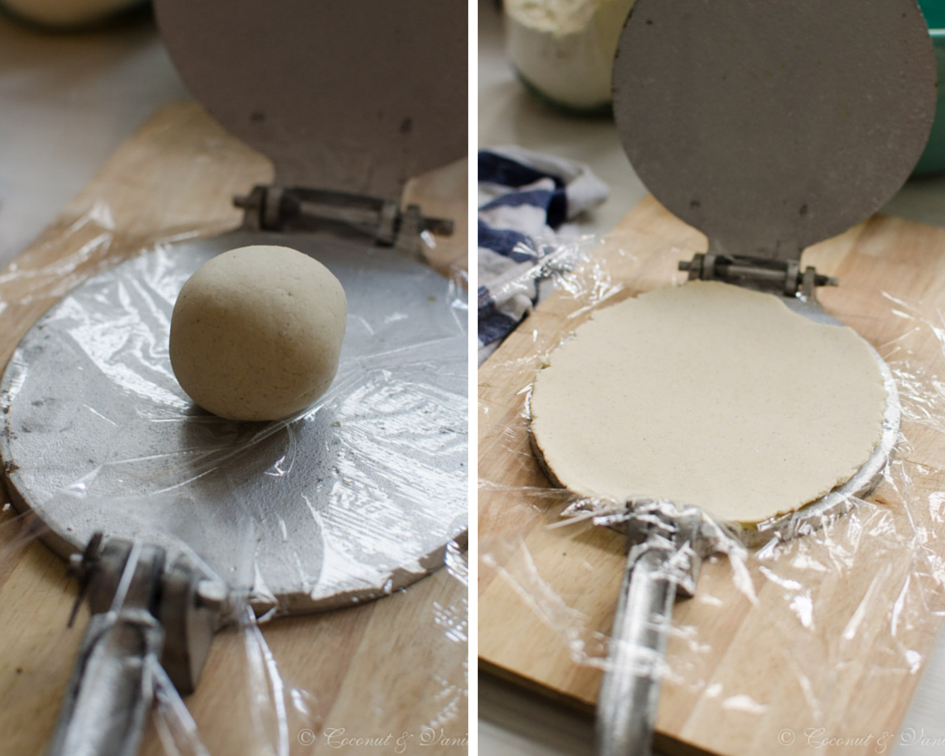
Dann benötigt man eine Tortillapresse. Damit kann man die Tortillas gleichmäßig rund und dünn pressen, ohne dass der Teig zerbröselt. Glücklichweise konnte mir meine mexikanische Kollegin diese leihen (danke!), denn ich wollte mir nicht auf gut Glück eine kaufen. Tortillapressen sind aber auch nicht teuer und man findet sie in den gleichen mexikanischen Läden, die auch das Masa Harina verkaufen.
Im Nachhinein war es eine gute Entscheidung, dass ich die Presse nicht gekauft habe, denn ich bevorzuge vom Geruch, Geschmack und Konsistenz eindeutig die Weizentortillas. Gut für mich, denn die sind auch wesentlich einfacher in der Herstellung! Wer jedoch bereits Gefallen an Maistortillas hat oder diese einfach mal ausprobieren möchte, dem empfehle ich unbedingt dieses Rezept auszuprobieren!
Übrigens kann man die Maistortillas auch in Dreiecke schneiden und frittieren und erhält damit Tortillachips! Wenn man sie in Form biegt und bäckt erhält man die typischen Schalen für Tacos.
Ich vakuumiere immer 4 Tortillas zusammen ein und friere sie ein (evtl. ein Stück Butterbrot-/ oder Backpapier zwischen die Tortillas legen um ein Zusammenkleben zu verhindern). So habe ich immer eine Portion für 2 Personen fertig und einige auf Vorrat. 2 Maistortillas sind ausreichend pro Person, da sie mehr sättigen als Weizentortillas, obwohl sie kleiner sind.
Vor einem Jahr: Selbstgemachte Gemüsebrühe
Vor vier Jahren: Fenchel-Zwiebel-Pizza
Vor fünf Jahren: glutenfreie Graham Cracker
Selbstgemachte Maistortillas aus der Tortillapresse
ergibt: etwa 15 Stück
Zutaten:
- 500g Masa Harina
- etwa 600 ml Wasser
Das Wasser nach und nach zu dem Masa Harina geben und verkneten bis ein glatter fester Teig entstanden ist. Eventuell wird mehr oder weniger Wasser benötigt, je nach Masa Harina.
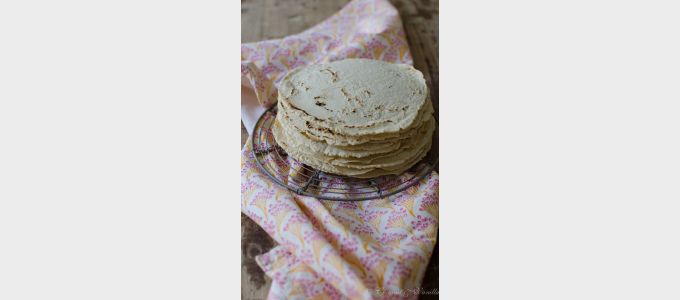
Den Teig in 15 Portionen aufteilen. Jede Portion zu einer Kugel formen und unter einem feuchten Geschirrtuch aufbewahren.
Die Pfanne auf mittlerer bis starker Hitze aufwärmen (bei mir 10 von 14 auf Induktion).
Die Tortillapresse mit Frischhaltefolie auslegen, eine Kugel darauflegen, mit Frischhaltefolie bedecken. Die Tortillapresse schließen. Da meine Tortillapresse etwas unregelmäßig presste (vorne stärker als hinten), habe ich die Kugel etwas weiter nach hinten in die Presse gelegt und die Tortillas auch nochmal gedreht und nochmals gepresst. Das kann aber bei eurer Presse wieder anders sein, einfach ausprobieren!
Der Teigfladen wird nicht mehr aufgehen in der Pfanne. Sollte er euch zu dick sein, einfach bei den folgenden Kugeln etwas Teig entfernen und aus den Resten eine neue Teigkugel formen. Learning by doing.
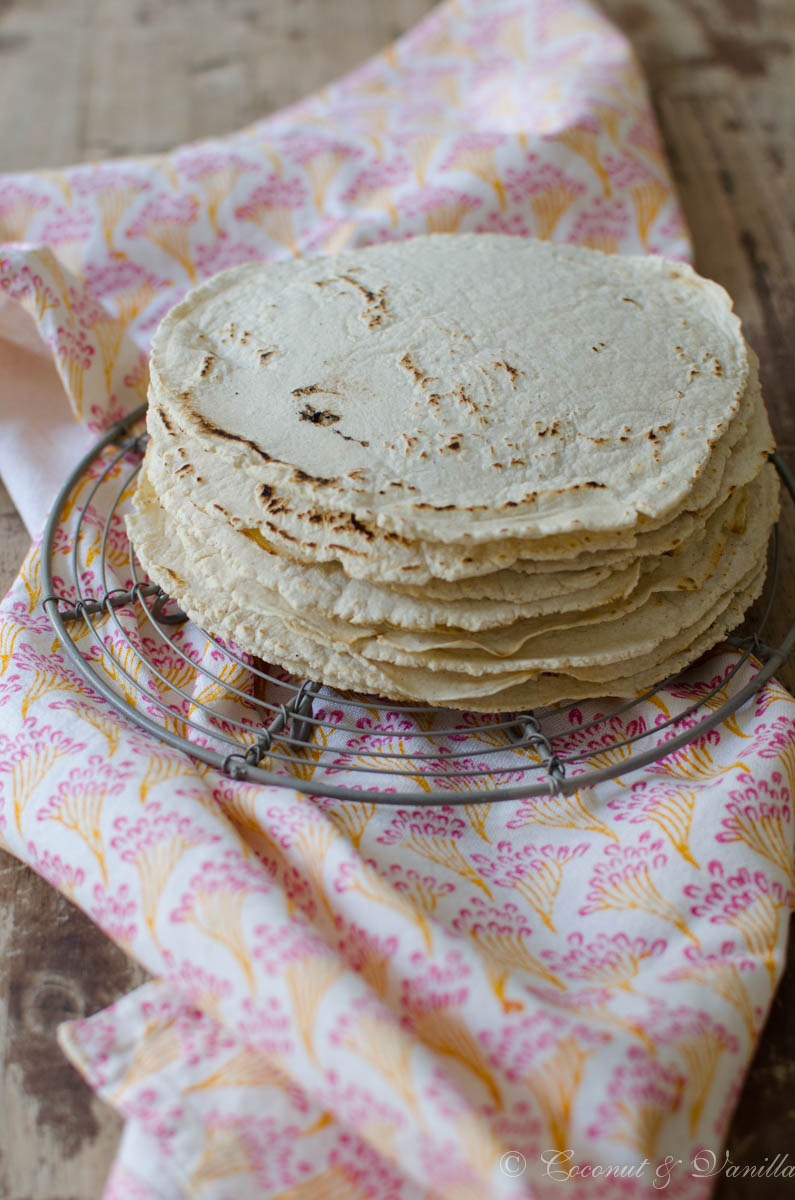
Den gepressten Teigfladen in die vorgewärmte Pfanne geben und 1 – 2 Minuten auf jeder Seite backen bis sich braune Flecken bilden. Auf einen Teller legen und mit einem leicht feuchten Geschirrtuch abdecken. So verhindert man, dass die Tortillas austrocknen und kalt werden, wenn ihr sie anschließend essen wollt.
Mit jeder Kugel und Teigfladen weiter so verfahren. Während eine Tortilla in der Pfanne bäckt kann man prima die nächste pressen.
Sofort essen oder vakuumieren und einfrieren.
Tipp: Die Maistortillas in Dreiecke schneiden und frittieren –> Tortillachips! Wenn man sie in Form biegt und bäckt erhält man die typischen Schalen für Tacos.
Ich vakuumiere immer 4 Tortillas zusammen ein und friere sie ein (evtl. ein Stück Butterbrot-/ oder Backpapier zwischen die Tortillas legen um ein Zusammenkleben zu verhindern). So habe ich immer eine Portion für 2 Personen fertig und einige auf Vorrat. 2 Maistortillas sind ausreichend pro Person, da sie mehr sättigen als Weizentortillas, obwohl sie kleiner sind.

After making my own wheat flour tortillas I wanted to make corn tortillas, of course. After a bit of research it turned out more difficult than expected, because you nead a special flour, called masa harina. Masa harina is a special treated corn flour which is nixtamalizated. Nix-ta-what?
Nixtamalization is a traditonal Mexican process, which is already used since 1500 BC and improves the baking properties, inhances the flavour of the corn flour and makes it easier to digest. Therefore the corn kernels are cooked in a lye for hours so the hemicellulose, which keeps the cell walls together, loosens up. The husks detaches from the kernels and the core softens. A part of the corn oil transforms into emulsifing compounds and the corn proteins can easier link. Because of this a dough can be formed of nixtamalized masa harina and water in contrary to untreated corn flour.
The lime used for the nixtamalization provides calcium, which is bound in the corn and therefore increases the concentration of calcium a lot. Also the vitamin B niacin is released so it can be absorbed of the human digestive tract. (source: Wikipedia, Rezepte-Wiki)
Masa harina is mostly imported from Mexico and as there isn’t a lot of interest in this issue, it’s mostly GMO corn. My Mexican collague confirmed me that in Mexico almost no one is caring about this issue. Randomly I discovered GMO-free Masa Harina in Berlin at Goldhahn & Sampson. It was quite expensive and as I studied the label more intense I discovered it’s from a store in Würzburg! After some googling I discovered the Mexican store in Würzburg, which also sells this GMO-free Masa Harina for a reasonable price (also online!). I would always make sure it is GMO-free!
Then you need a tortilla press, so your tortillas are evenly thin and round without the dough falling apart in crumbles. Luckily my Mexican collague was so kind to borrow me it. I didn’t wanted to buy one, as I didn’t know, if I really would like corn tortillas! But tortilla presses aren’t expensive at all and you’ll find them in the same Mexican stores next to the Masa Harina.
In the end it was a good decision not to buy a press, because I prefer wheat flour tortillas, because of the texture, taste and flavour. Lucky me they are also easier to handle! But if you are already a fan of corn tortillas or like to give them a try, I can definetely recommend this recipe!
By the way, you can also cut the corn tortillas into triangles and fry them! Homemade tortilla chips! And if you form them and bake them you get those typical taco cups!
I like to evacuate 4 tortillas together and freeze them (maybe place a piece of parchment paper between them to prevent sticking). Like this I always have a portion for 2 persons ready and some in stock. 2 corn tortillas are enough per person as they make very full, more than wheat flour tortillas, although they are smaller.
One year ago: homemade vegetable broth
Two years ago: onion fennel pizza
Five years ago: gluten-free graham cracker
Homemade Corn Tortillas
yields: about 15 tortillas
Ingredients
- 500 g masa harina
- about 600 ml water
Add the water gradually to the masa harina and knead until you have a smooth firm dough. Maybe you need a bit more or less water depending on the masa harina.
Divide the dough into 15 portions and form every portion into a ball. Store them under a damp cloth.
Heat a non-stick skillet to middle-high heat (10 of 14 on induction on my hob).
Place a layer of plastic foil on the tortilla press, place a dough ball on it and cover with another layer of plastic foil. Close the press. As my press was pressing unevenly (more in the back than in the front), I placed the dough ball a bit more in the backside of the press and turned the tortilla once after pressing and pressed again. This could be different with your model so please give it a try first!
The dough won’t puff up in the skillet, so if you want you tortillas thinner than they are now, remove some dough from the balls and form a new dough ball from the rests. This is learning by doing.
Place the pressed tortilla in the preheated pan and bake them on every side for about 1 – 2 minutes until brown spots appear. Place on a plate and cover with a lightly damp dish towel. This prevents the tortillas from drying out and getting cold.
Keep on going with the rest of the balls and tortillas. While one tortilla is baking, another one can be perfectly pressed in this time.
Eat immediately or evacuate them.
Tip: Cut the corn tortillas into triangles and fry them! Homemade tortilla chips! And if you form them and bake them you get those typical taco cups!
I like to evacuate 4 tortillas together and freeze them (maybe place a piece of parchment paper between them to prevent sticking). Like this I always have a portion for 2 persons ready and some in stock. 2 corn tortillas are enough per person as they make very full, more than wheat flour tortillas, although they are smaller.

![[:de]Bagel mit Everything Bagel Spice[:]](https://coconutandvanilla.com/wp-content/uploads/2018/02/bagel_banner.jpg)
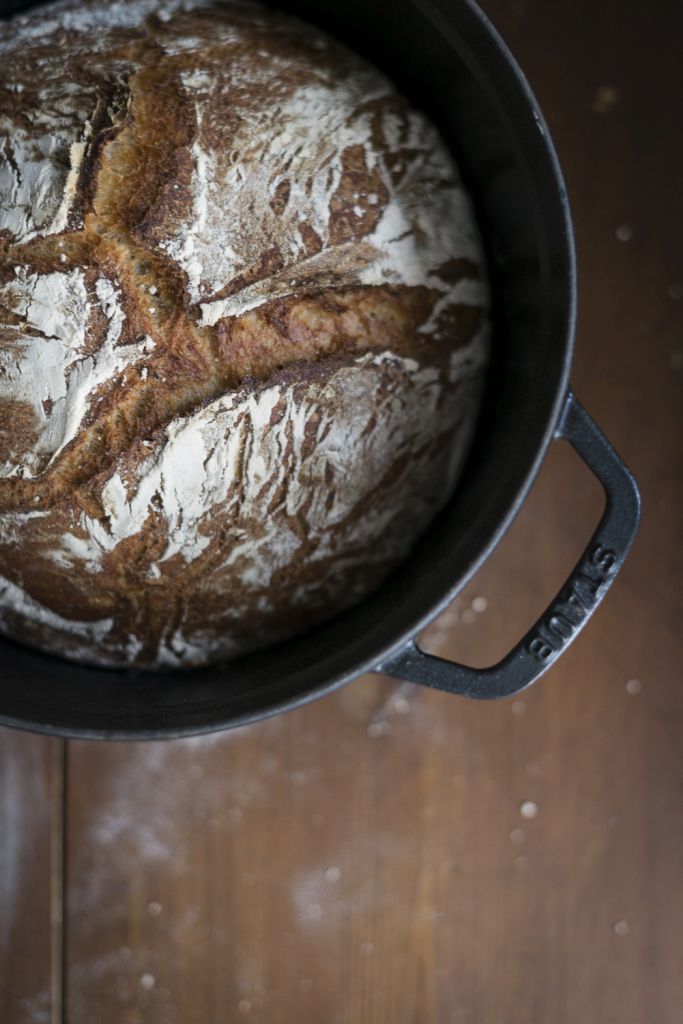
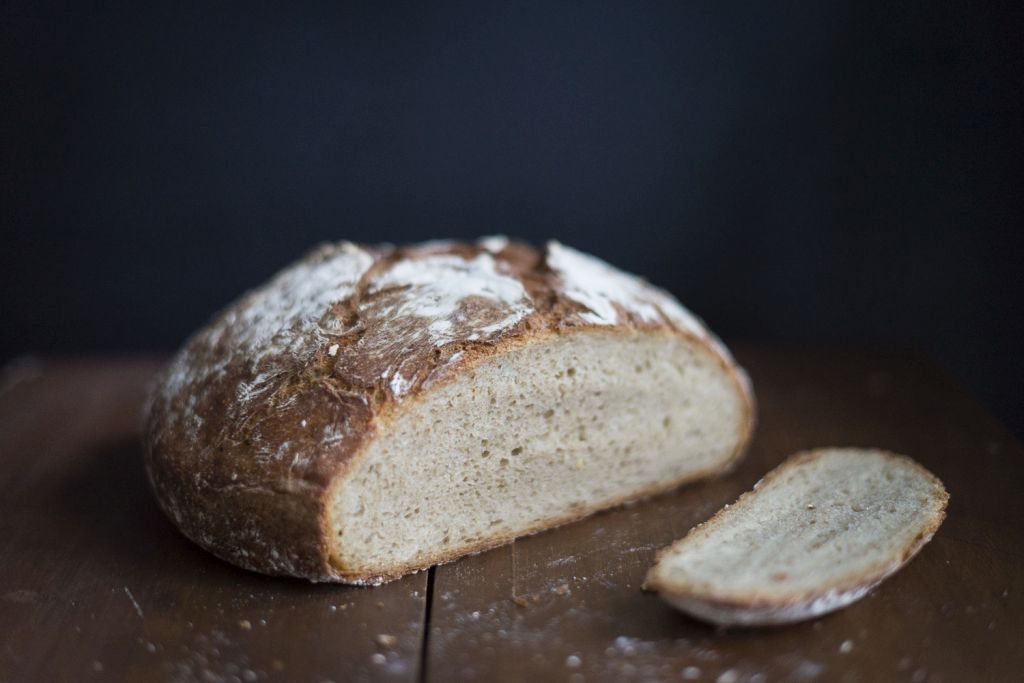
![[:de]Die Essenz der Dinge: Kartoffelbrot aus dem Topf[:en]The Essence of Things: Sourdough bread with potatoes, baked in a pot[:]](https://coconutandvanilla.com/wp-content/uploads/2016/01/kartoffel-topfbrot.jpg)
![[:de]Rustikale Brötchen[:en]Rustic Rolls[:]](https://coconutandvanilla.com/wp-content/uploads/2015/06/rustikale-Broetchen-banner.jpg)