Ein weiterer Schritt in der Basicreihe heute: Gemüsebrühe! Nachdem ich Euch schon Wildfond und Rinderfond gezeigt habe, ist heute das Allroundtalent Gemüsebrühe dran, die ich auch am häufigsten verwende. Inzwischen befinden sich 5 Sorten Fond in meinem Vorrat, als letztes habe ich Entenfond eingemacht. Ich hatte Entenkarkassen über und die mussten eben weg ;). Ich bin schon gespannt wie der Entenfond so ist. Besteht bei Euch an sowas Interesse?
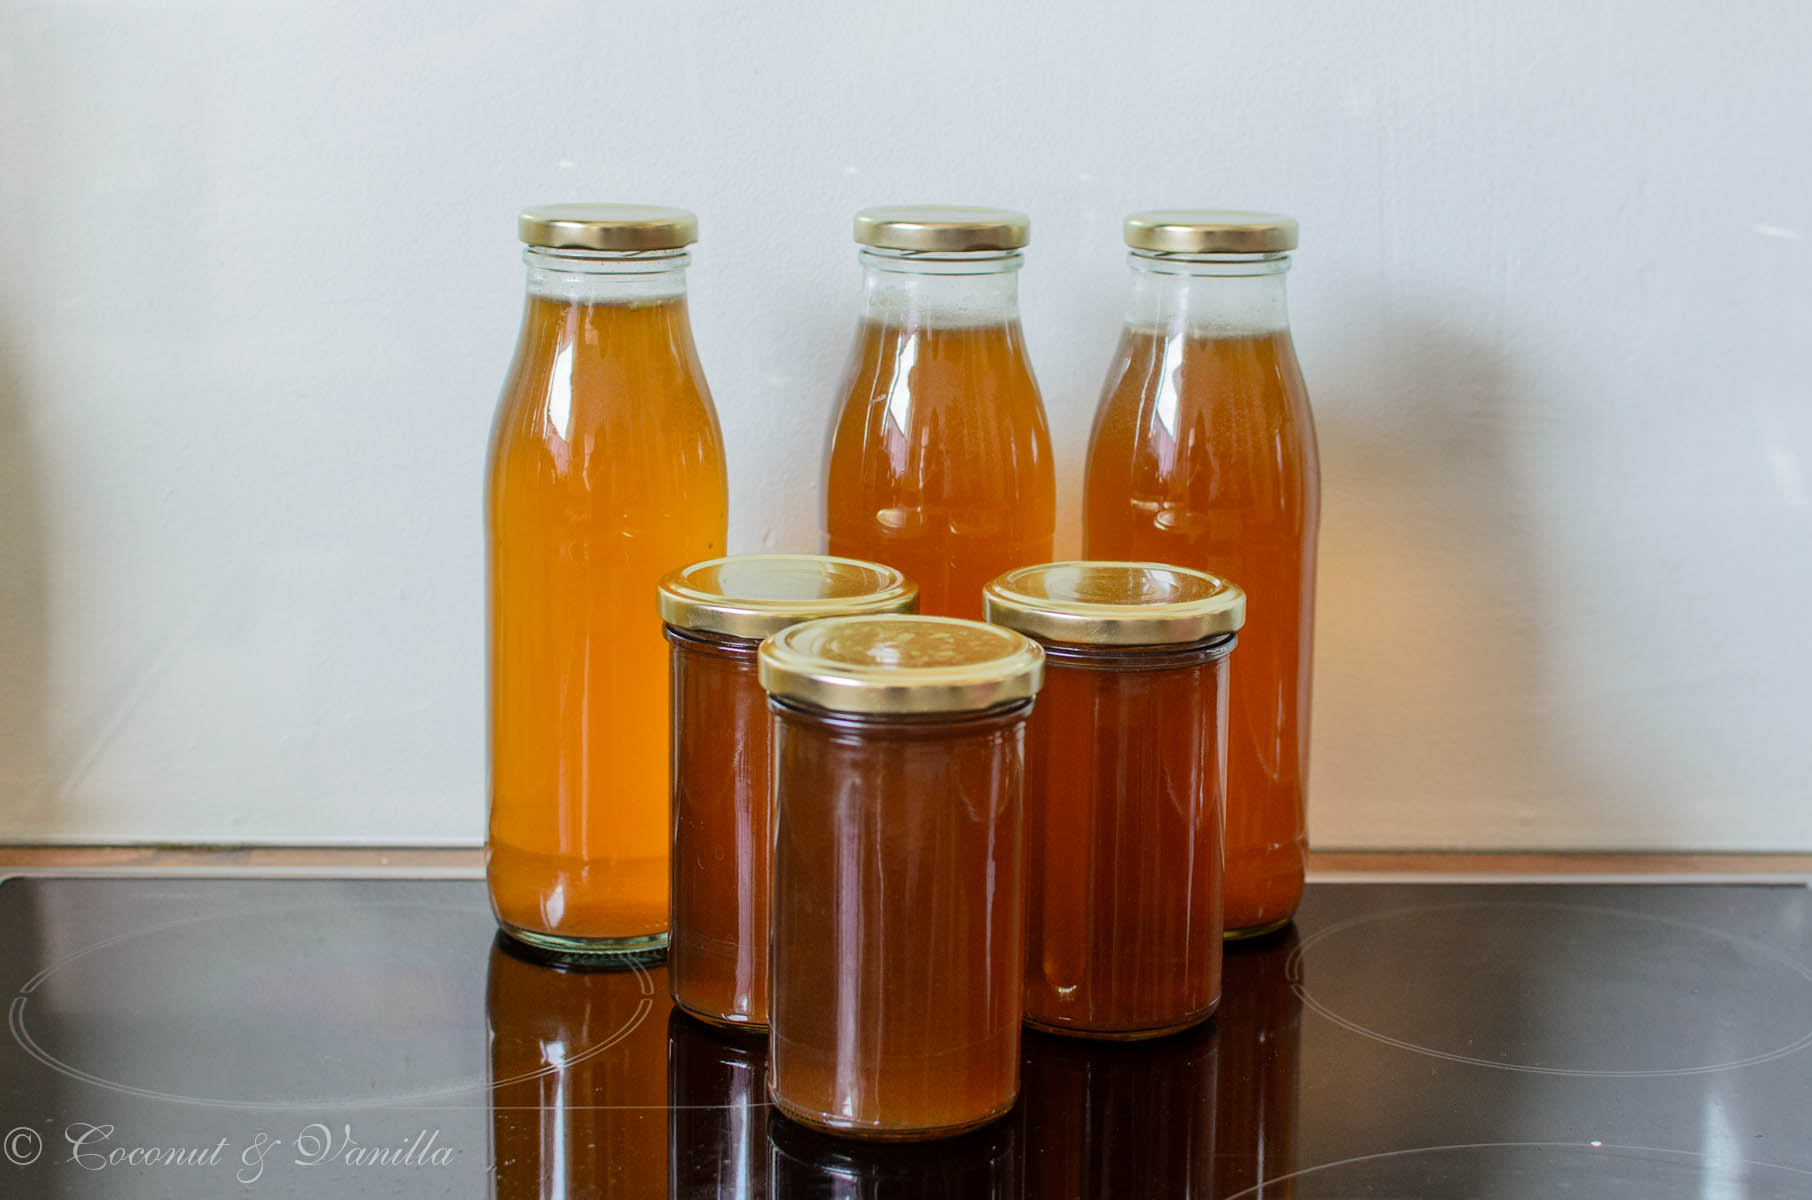
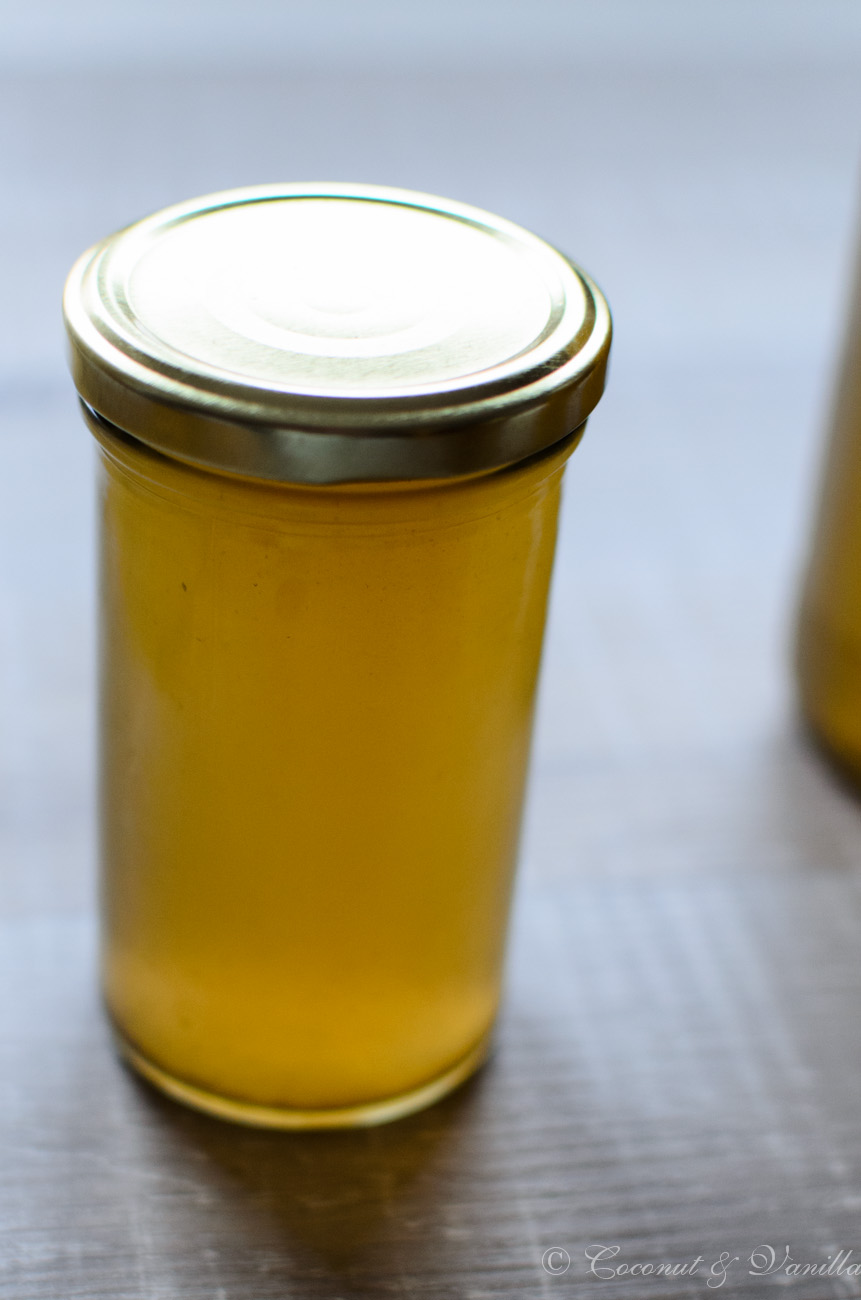
Im Gegensatz zu Entenfond kommt die Gemüsebrühe wie gesagt sehr oft zum Einsatz und es ist einfach praktisch immer ein Glas oder eine Flasche griffbereit zu haben. Wie immer habe ich dafür passende 250 ml und 500 ml Gläser bei Gläser und Flaschen bestellt, die sind super praktisch, denn das sind die Mengen die man am häufigsten benötigt. Den Rest kann man ein paar Tage im Kühlschrank aufbewahren.
Ich friere übrigens Reste von diversem Gemüse gerne ein und schmeiße das dann alles bei der nächsten Fuhre in die Brühe. So verfahre ich z.B. mit Spargel- und Pilzenden. Wie immer ist das Rezept nicht endgültig, ihr könnt nach Lust und Laune variieren.
Vor einem Jahr: Dulce de leche Cheesecake mit Fleur de Sel
Vor zwei Jahren: Pasta mit Pilzen
Vor vier Jahren: glutenfreie Graham Cracker
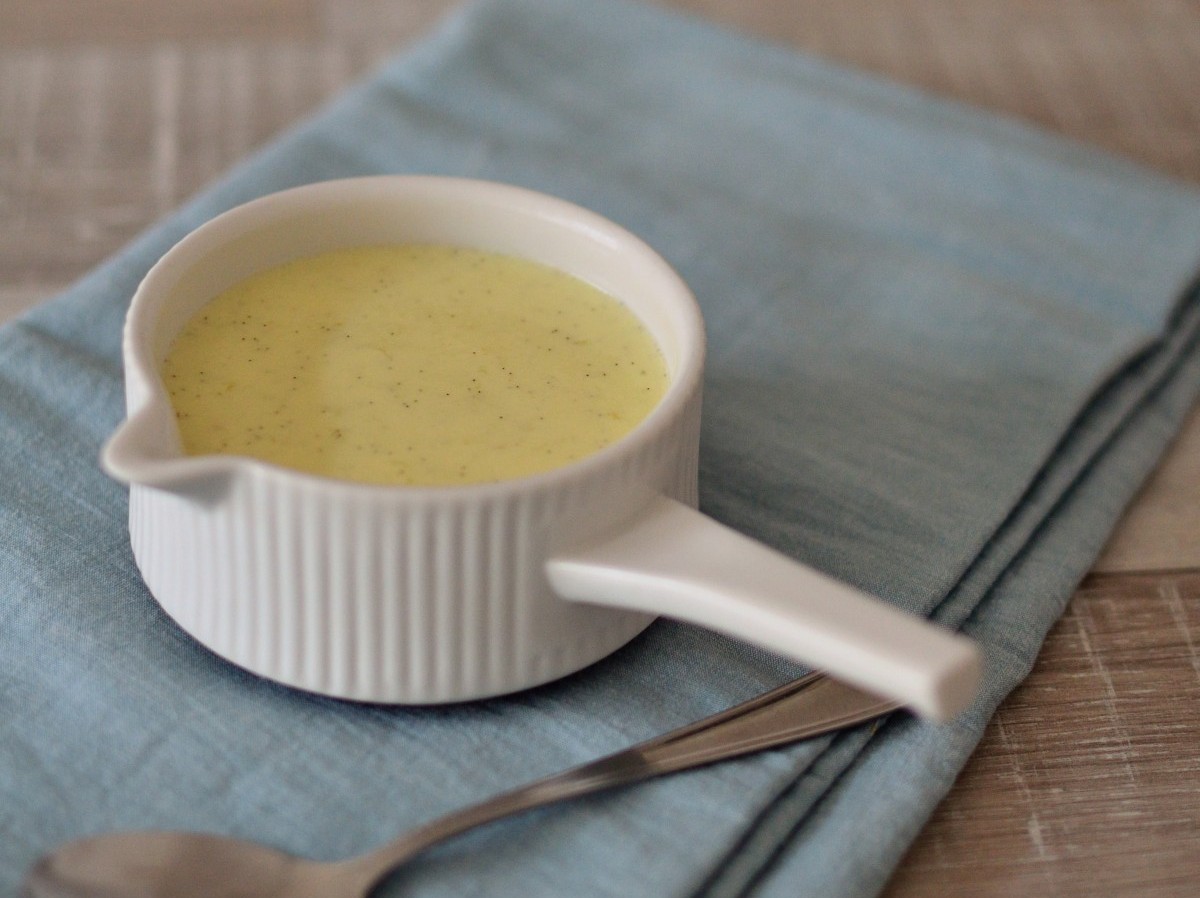
Gemüsebrühe
Tipp: Ich friere Enden von Pilzen oder Spargelenden ein und verwende sie dann in meiner Gemüsebrühe. So wird alles verwertet.
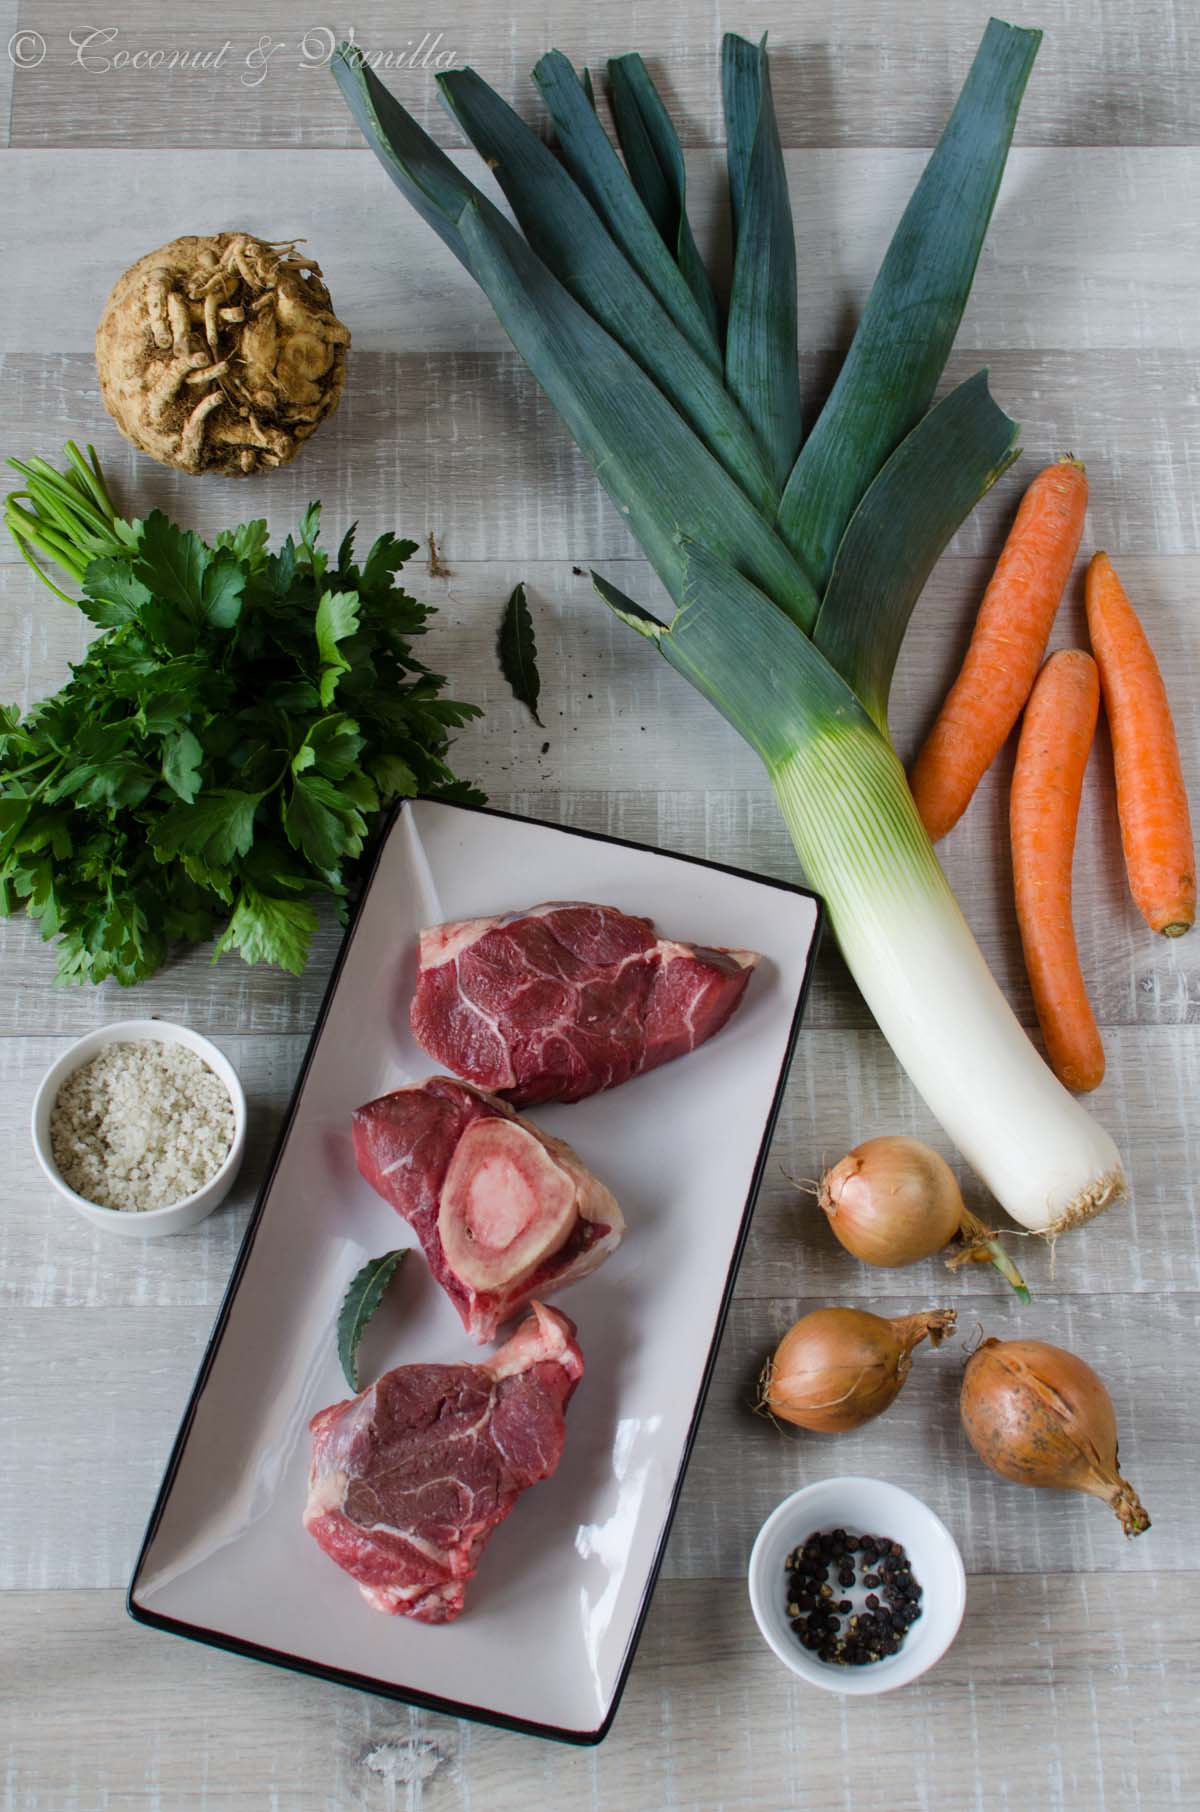
Zutaten:
- Butterschmalz
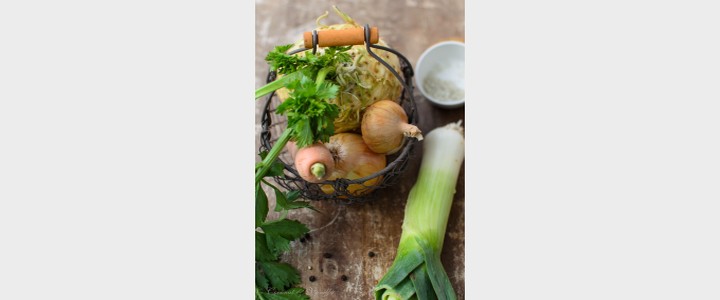
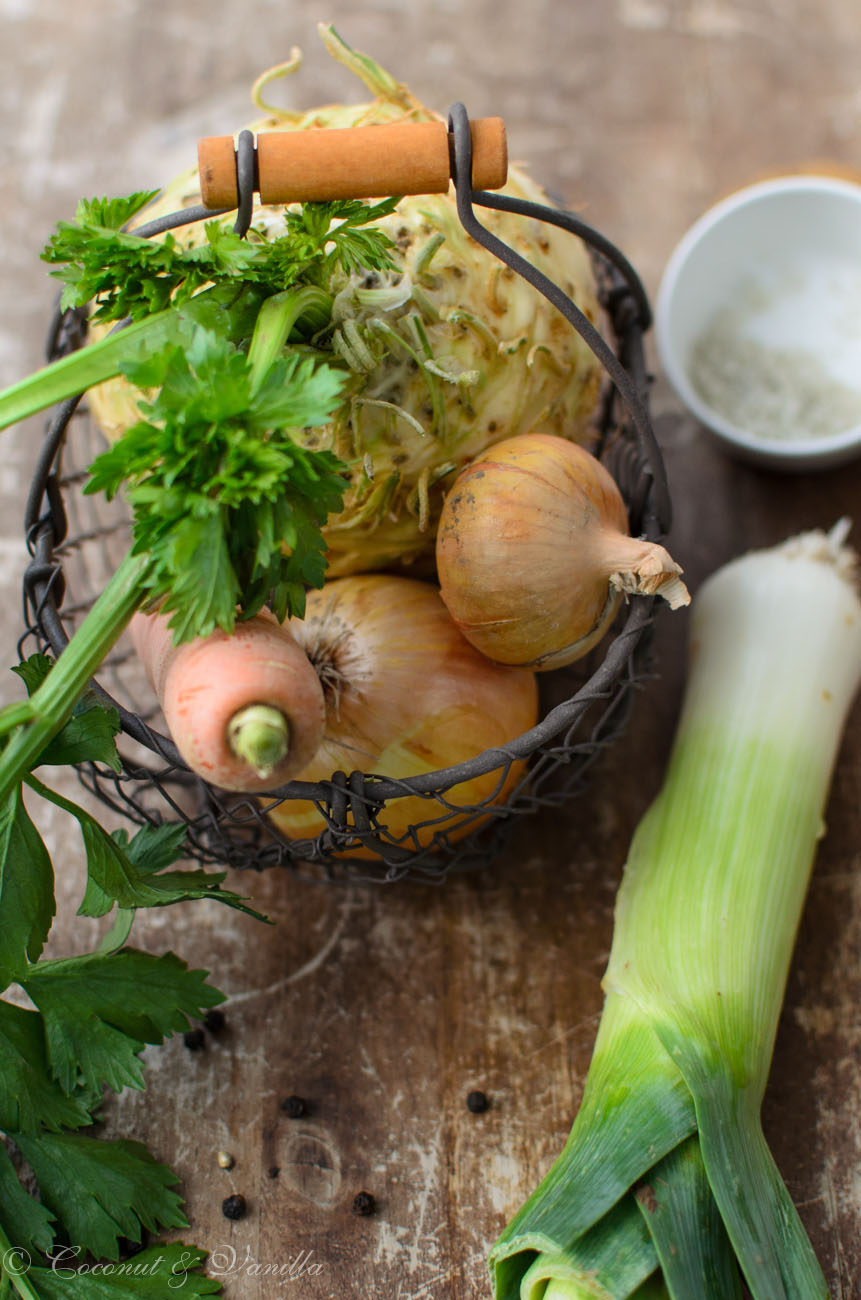
- 2 Karotten
- 2 Zwiebeln
- 1 Lauch
- 1/2 Knollensellerie
- 1 TL Pfefferkörner
- 2 Lorbeerblätter
- 5 Pimentkörner
- Stiele von einem Bund Petersilie (Blätter anderweitig verwenden)
- 2 Zweige Rosmarin
- 3 Zweige Thymian
- 250 ml Weißwein
- Salz
Das Gemüse waschen und Möhren (ihr könnt die Schale auch dranlassen, wenn ihr Euch der Herkunft sicher seid z.B. eigener Garten) und Sellerie schälen. Sellerie in Würfel schneiden, Möhren in Scheiben oder Halbmonde. Den Lauch halbieren, waschen und in Scheiben schneiden. Die Zwiebeln nicht schälen, aber waschen und halbieren.
Einen großen Topf nehmen (meiner fasst 8 l) und Butterschmalz auf großer Hitze schmelzen. Die Zwiebeln mit der Schnittseiten nach unten einlegen und kräftig anbraten. Dann das restliche Gemüse zugeben und ebenfalls anbraten. Mit dem Weißwein ablöschen und etwas einkochen lassen. Die Kräuter und Gewürze bis auf das Salz dazugeben und den Topf mit Wasser auffüllen.Bei mir sind das 5 – 6 l die noch in den Topf passen. Den Topfinhalt aufkochen, dann die Hitze zurückdrehen, so dass der Fond nur noch simmert. Den Fond 6 Stunden simmern lassen.
Den Fond etwas abkühlen lassen, dann durch ein Sieb gießen. Ich hole die großen Gemüsestücke vorher mit einer Zange bzw. Schaumkelle heraus, damit es nicht so spritzt. Den Topf kurz ausspülen und das (geleerte) Sieb mit einem Mulltuch auslegen und den Fond nochmal durchseihen.
Den Fond nochmal erwärmen und mit Salz abschmecken. Den Fond in sterilisierte Gläser füllen, verschließen und die Gläser in die Fettpfanne im Ofen stellen. 1 – 2 cm Wasser in die Fettpfanne füllen (kaltes Wasser bei kaltem Glasinhalt, warmes bei warmen, heißes bei heißem) und den Ofen auf 180° C stellen. Beginnt der Glasinhalt zu perlen, den Ofen ausschalten, aber nicht öffen! 30 Minuten im Ofen stehen lassen. Dann mit einem Glasheber die Gläser herausholen und auf ein Geschirrtuch stellen. Abkühlen lassen.
Die abgekühlten Gläser und Flaschen auf Vakuum untersuchen, der Deckel muss nach innen gewölbt sein. Gläser ohne Vakuum im Kühlschrank aufbewahren und in den nächsten 2 Wochen verbrauchen.
Der eingekochte Fond ist mindestens 1 Jahr haltbar.
Another step in the basic series today: vegetable broth! After I already showed you to cook game stock and beef stock, we are making vegetable broth today, which I use the most. I have now 5 kinds of stock in my pantry. The latest addition is duck stock, because I had some duck carcases leftover and they needed to be used up ;). I’m curious how it will taste. Are you interested in that kind of stock?
In contrary to duck stock the vegetable broth is used very often and it’s so convenient to have a jar or bottle handy. As always I bought suitable 250 ml jars and 500 ml bottles at Gläser und Flaschen, because that are the amounts I use mostly. Leftovers can be stored for a few days in the fridge.
I’m always freezing leftovers of different vegetables and put them all in the next batch of stock. I’m always doing that with asparagus and mushroom ends. Like always this recipe is not a definite, you can vary after your needs.
One year ago: dulce de leche cheesecake with fleur de sel
Three years ago: pasta with mushrooms
Four years ago: gluten-free graham cracker
Vegetable Broth
Tip: I’m freezing asparagus and mushroom ends to use them in my broths. So you use all the leftovers.
- clarified butter
- 2 carrots
- 2 onions
- 1 leek
- 1/2 celeriac
- 1 tsp peppercorns
- 2 bay leaves
- 5 allspice berries
- stems of 1 bunch of parsley (use the leaves otherwise)
- 2 stalks of rosemary
- 3 stalks of thyme
- 250 ml white wine
- salt
Rinse the vegetables. Peel the carrots (you can leave the skin on, if you are sure about the origin of them, e.g. your own garden) and celeriac. Dice the celeriac and slice the carrots in rounds or half moons. Halve the leek, rinse and slice. Rinse the onions, but do not peel them. Cut in halves.
Using a large pot (mine is 8 litre) and heat clarified butter on high heat. Sear the onions with the cutting side down, then add the vegetables and sear, too. Add the wine and let it reduce. Add the herbs and spices and fill the pot with water. I add about 5-6 litres. Bring the water to a boil, then turn down the heat, so the stock is just simmering. Let it simmer for about 6 hours.
Let the stock cook a bit and pour through a mesh strainer. I remove the large vegetable pieces with tongs or a slotted spoon, so it doesn’t splash so much. Rinse the pot and place a cheese cloth in the empty sieve and strain again.
Reheat the stock and season with salt. Fill the stock in sterilized jars and bottles, seal and place them in a deep tray in the oven. Fill the tray with 1-2 cm of water (cold water for cold stock, warm water for warm stock, hot water for hot stock) and heat the oven to 180° C. When the stock starts fizzing in the jars, turn off the oven, but do not open it! Keep the jars for 30 minutes in the hot oven. Remove the jars with tongs and place them on dish towels. Let them cool.
Check the cooled jars and bottles for vacuums, the lids should be concave. Jars without vacuum seals should be stored in the fridge and used in the next 2 weeks.
The preserved stock is best before 12 months.
![[:de]Back to Basics: selbstgemachte Weizentortillas[:en]Back to Basics: Homemade Wheat Flour Tortillas[:]](https://coconutandvanilla.com/wp-content/uploads/2013/09/Weizentortillas_banner.jpg)