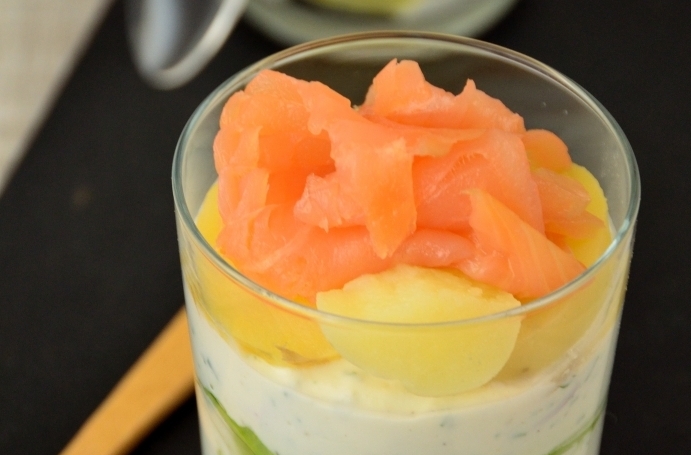
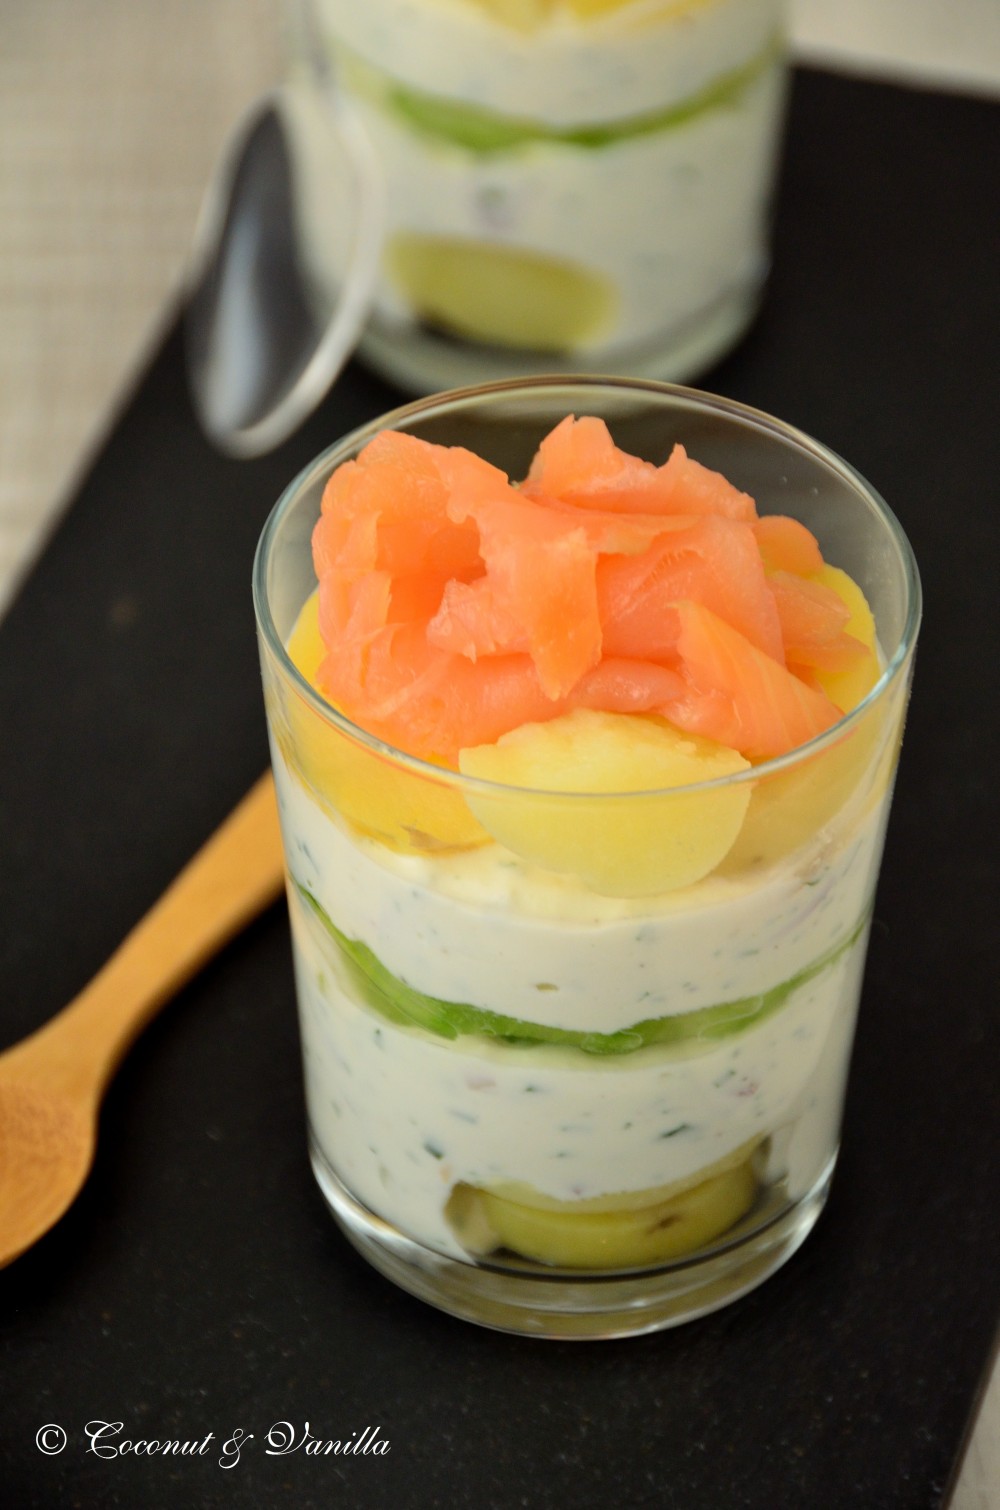
Cooking through La Tartine Gourmande: Verrine nordique mit Kartoffeln, Räucherlachs und Gurke in zitroniger JoghurtsauceCooking through La Tartine Gourmande: Verrine nordique with potatoes, smoked salmon and cucumber in lemony yogurt sauce

Dieses Mal haben Ina und ich die Verrines nordique von S.117 gemacht. Bei uns gab sie ehrlich gesagt schon zum dritten Mal. Es ist eins meiner Lieblingsrezepte aus dem Buch. Es ist simpel, elegant und köstlich.

Das einzige was ich immer weglasse ist der Kaviar. Er passt bestimmt sehr gut dazu, aber dafür müsste ich extra einkaufen und der Rest wird dann vielleicht im Kühlschrank vergessen.

Volle Punktzahl für dieses Gericht!

Verrine nordique mit Kartoffeln, Räucherlachs und Gurke in zitroniger Joghurtsauce

This time Ina and I made the Verrines nordique from page 117. I’ve made them already the third time to be honest. It’s one of my favourite recipes out of the book. It’s simple and elegant and delicious.

The only thing i omit every time is the fish roe. It certainly matches the dish, but I would have to go extra shopping for it and maybe the rest will be forgotten in the fridge afterwards.

Full score for this dish!

Verrine nordique with potatoes, smoked salmon and cucumber in lemony yogurt sauce

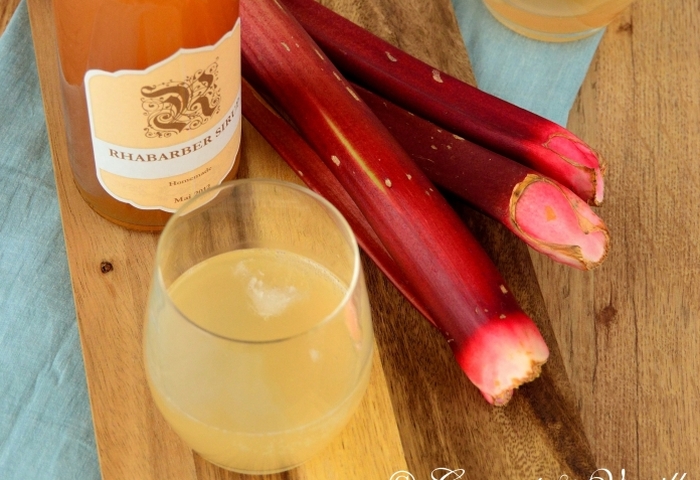
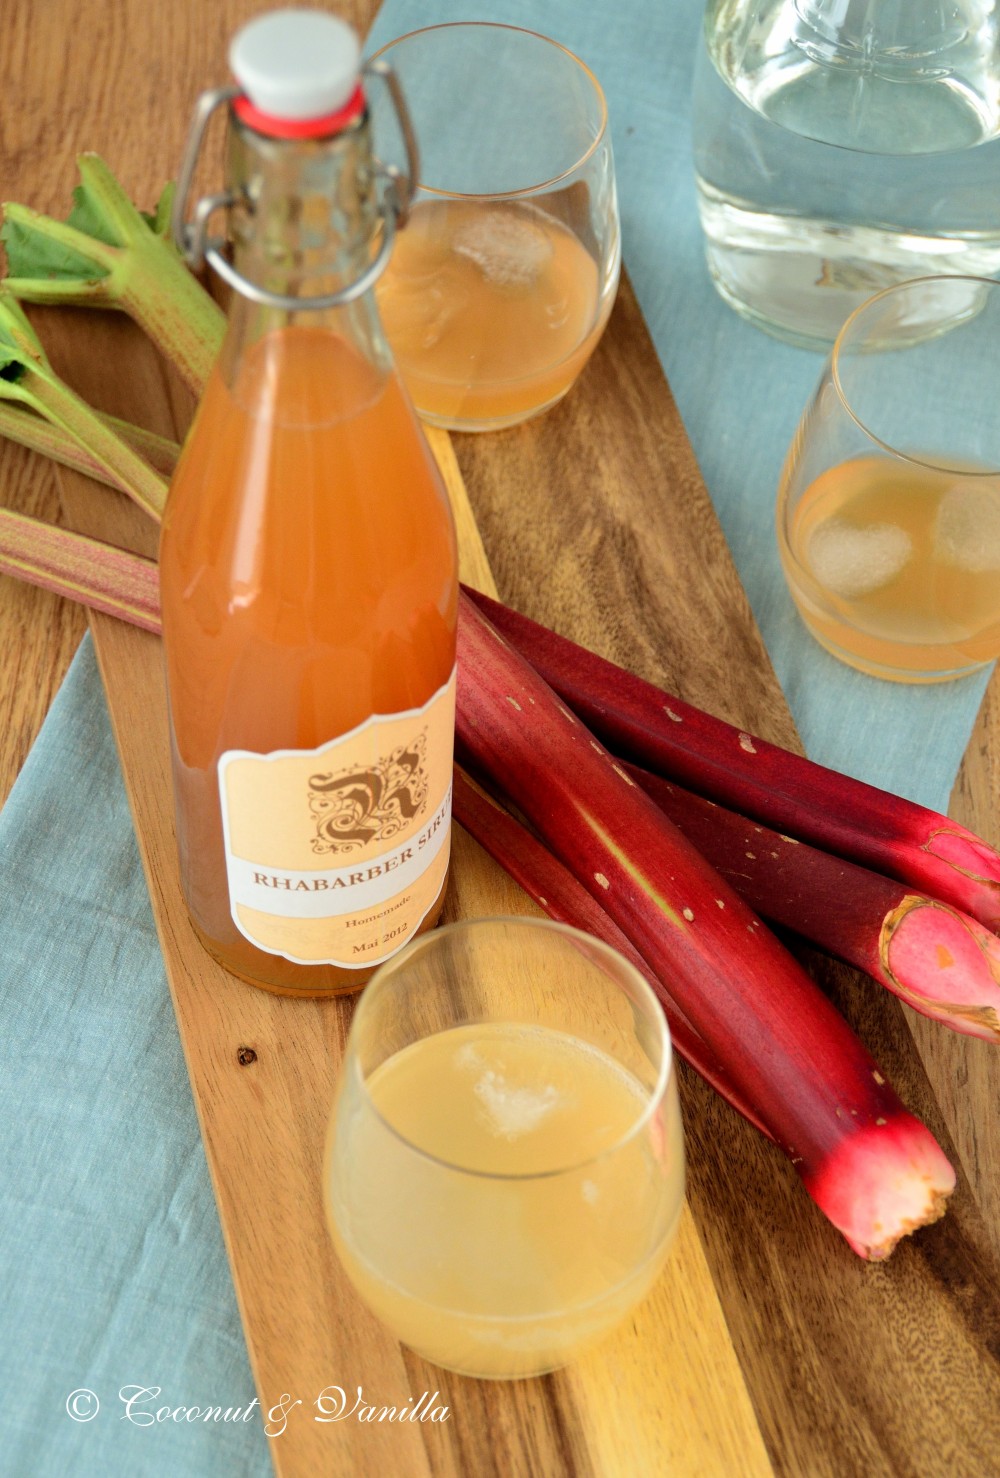
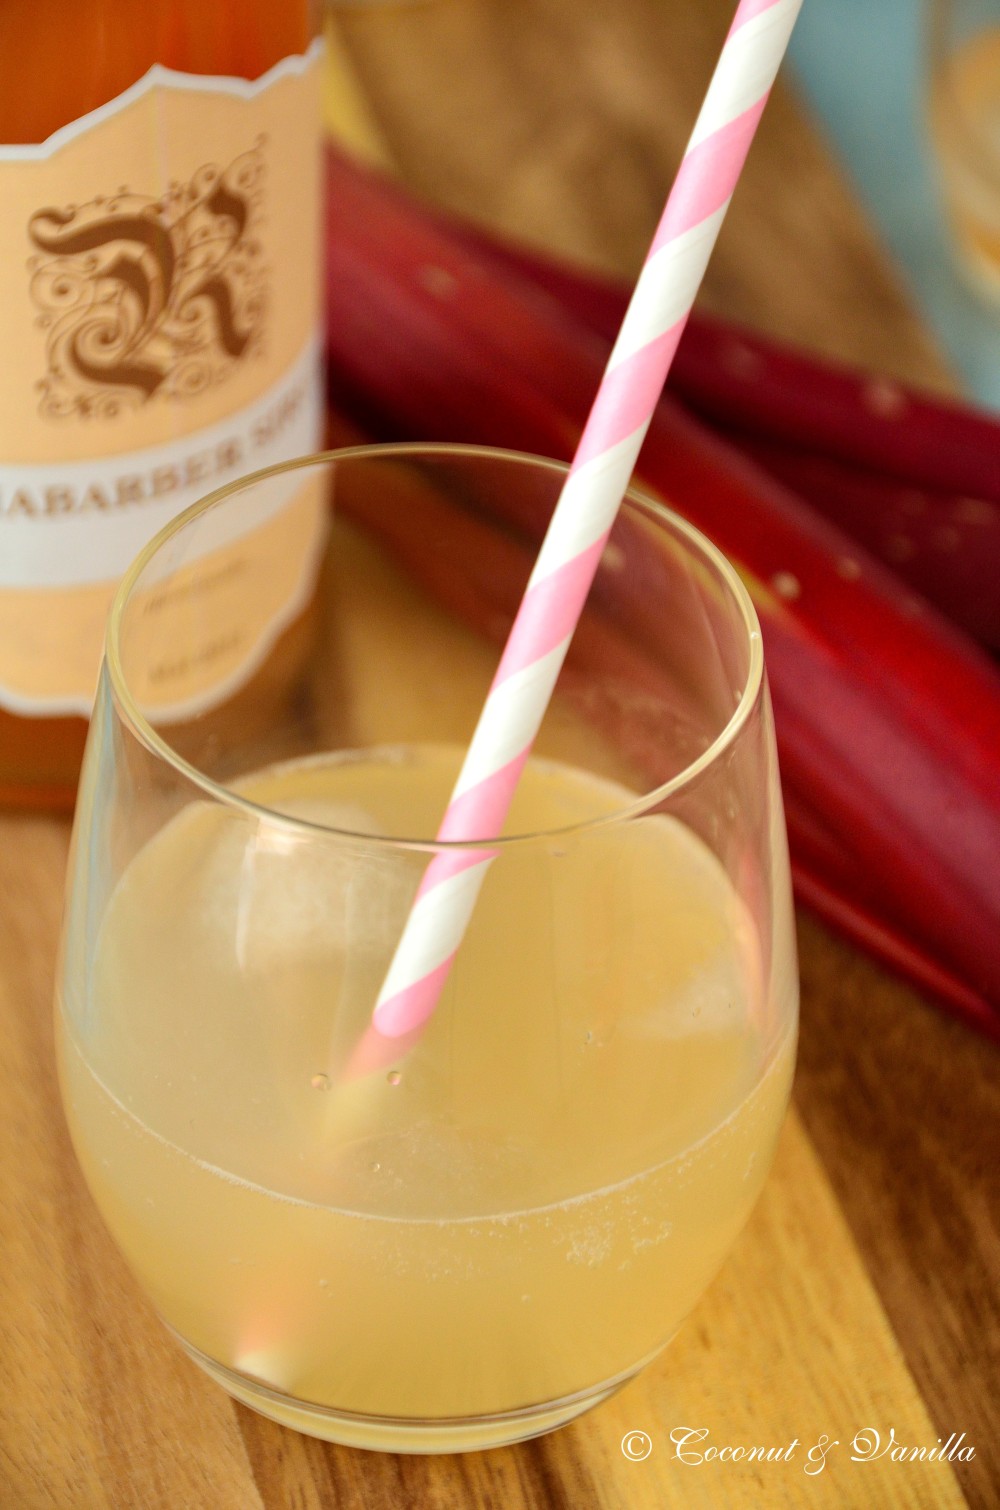
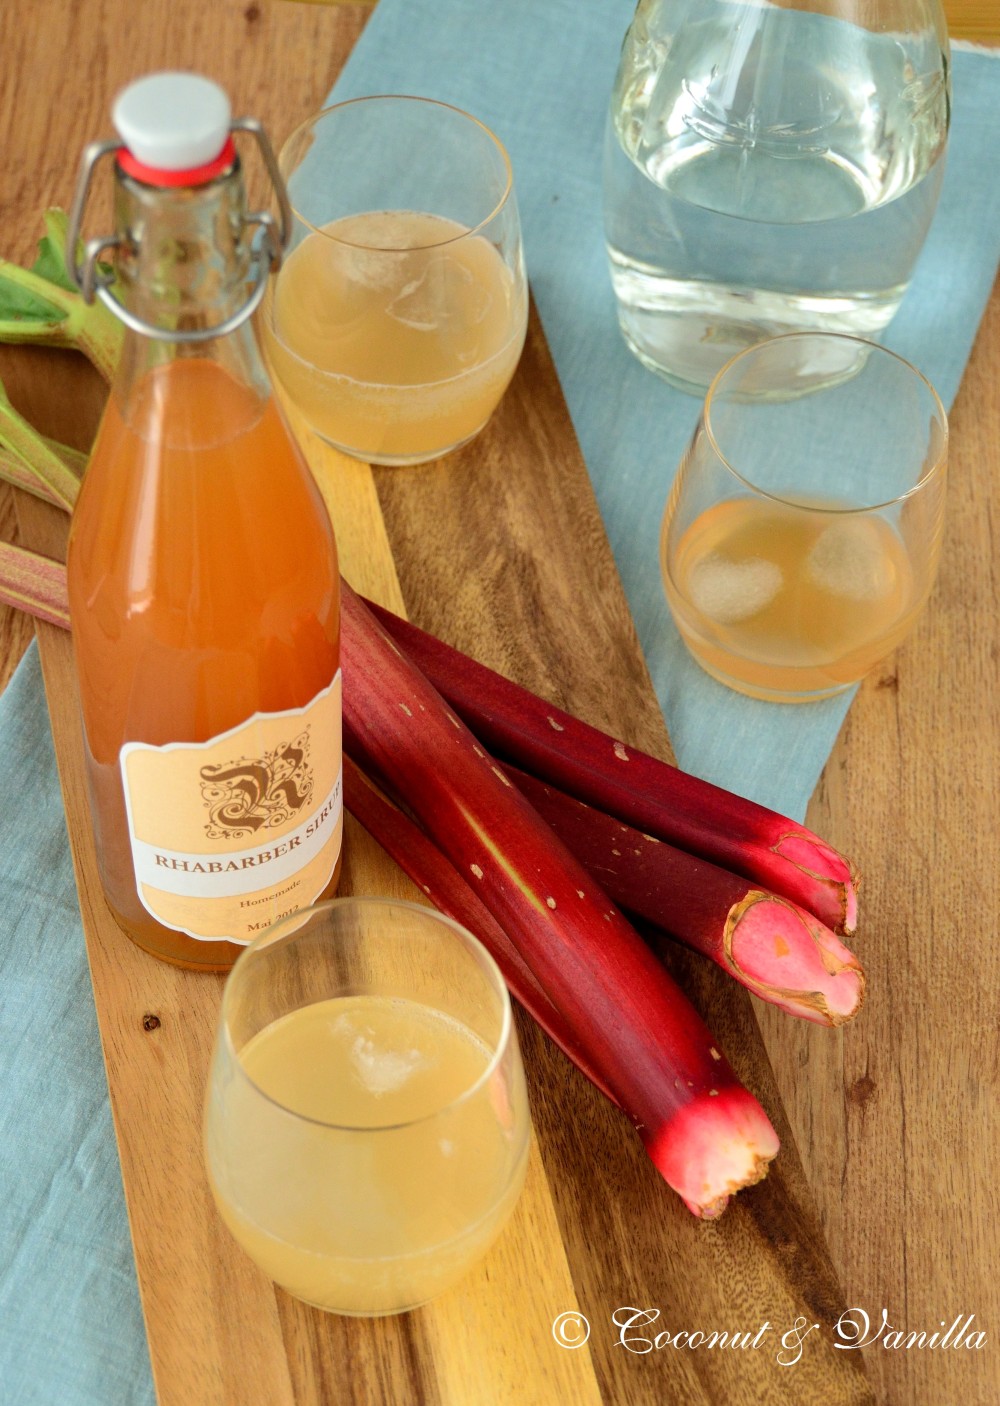
Rhabarbersirup Rhubarb Syrup

Rhabarbersirup

Eigentlich wollte ich Euch mal wieder was bieten, das nicht süß ist. Aber die süßen Sachen sind gerade soo lecker. Und dann erst dieser Rhabarbersirup. Erst am Wochenende gemacht und jetzt muss ich ihn doch gleich bloggen.

Der ist soo klasse. Letztes Jahr hab ich mich schon mal an Rhabarbersirup versucht, der war aber einfach nicht lecker. Aber der hier. Mhhhhm. Ich finde sogar, dass ist Rhabarber in seiner schönsten Form. Keine Fäden, nicht zu sauer, aber das volle Rhabarberaroma. Und dann noch zum Trinken. Wenn man genug davon macht sogar dass ganze Jahr über. Und wer daheim zu viel Rhabarber im Garten hat, dem kann ich nur raten hiervon einen Vorrat anzulegen. Ansonsten gibt es den Rhabarber zur Zeit auch sehr günstig zu kaufen.

Rhabarbersirup

Actually I wanted you to offer something, that is not sweet again. But the sweet things are so delicious at the moment. And than I made this rhubarb syrup. Just this weekend. And it’s that good, I have to blog it now.

The syrup is that darn good. I tried rhubarb syrup already last year, but it wasn’t delicious at all. But this one is. Definitely. I also think this is rhubarb in it’s best way. No strings, not too tart, but the full rhubarb flavour. And than it’s a drink! If you are making enough of this, you can also enjoy it the whole year. Heaven! If you are having a lot of rhubarb in the garden, make this syrup a staple. If you are not having a garden or just no rhubarb in it (shame on you), buy it, because it’s cheap now and in season.

Rhabarbersirup

Vor einem Jahr: Rhabarber Streusel Tarte

Rhubarb Syrup

Actually I wanted you to offer something, that is not sweet again. But the sweet things are so delicious at the moment. And than I made this rhubarb syrup. Just this weekend. And it’s that good, I have to blog it now.

The syrup is that darn good. I tried rhubarb syrup already last year, but it wasn’t delicious at all. But this one is. Definitely. I also think this is rhubarb in it’s best way. No strings, not too tart, but the full rhubarb flavour. And than it’s a drink! If you are making enough of this, you can also enjoy it the whole year. Heaven! If you are having a lot of rhubarb in the garden, make this syrup a staple. If you are not having a garden or just no rhubarb in it (shame on you), buy it, because it’s cheap now and in season.

Rhubarb Syrup

By the way I used just normal rhubarb, which wasn’t very red at all, but the syrup turned out in a beautiful orange. Another benefit of not peeling it.

This syrup is super refreshing with some ice and soda water. Or with champagne. Mint also? Why not, just set your imagination free. Lime is already in there, which makes the whole thing extra better.

PS: I’ve made these great labels with the Jam Labelizer, which is a great site for making wonderful labels. Katharina of Katharina kocht gave the tip for this site on her blog, thank you!

Rhubarb Syrup

One year ago: Rhubarb Streusel Tart

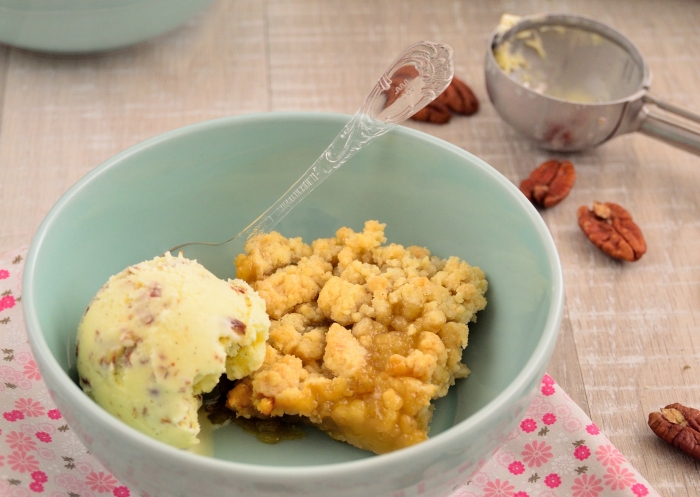
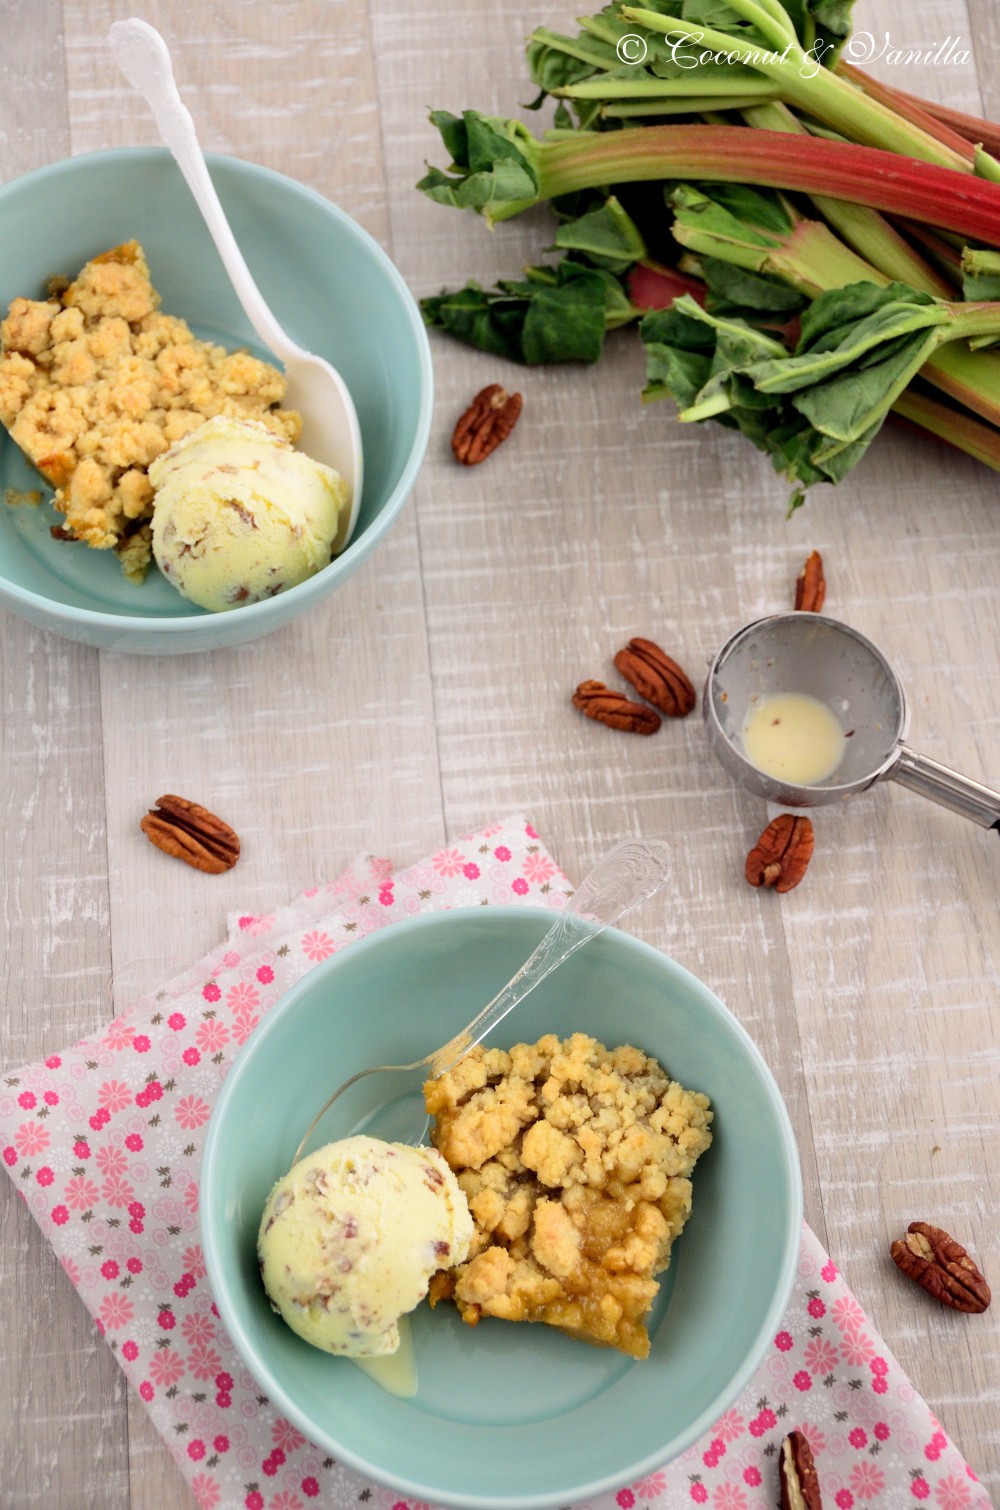
Rhabarber Crumble mit Pekannuss-Vanille-EisRhubarb Crumble with Pecan-Vanilla Ice Cream

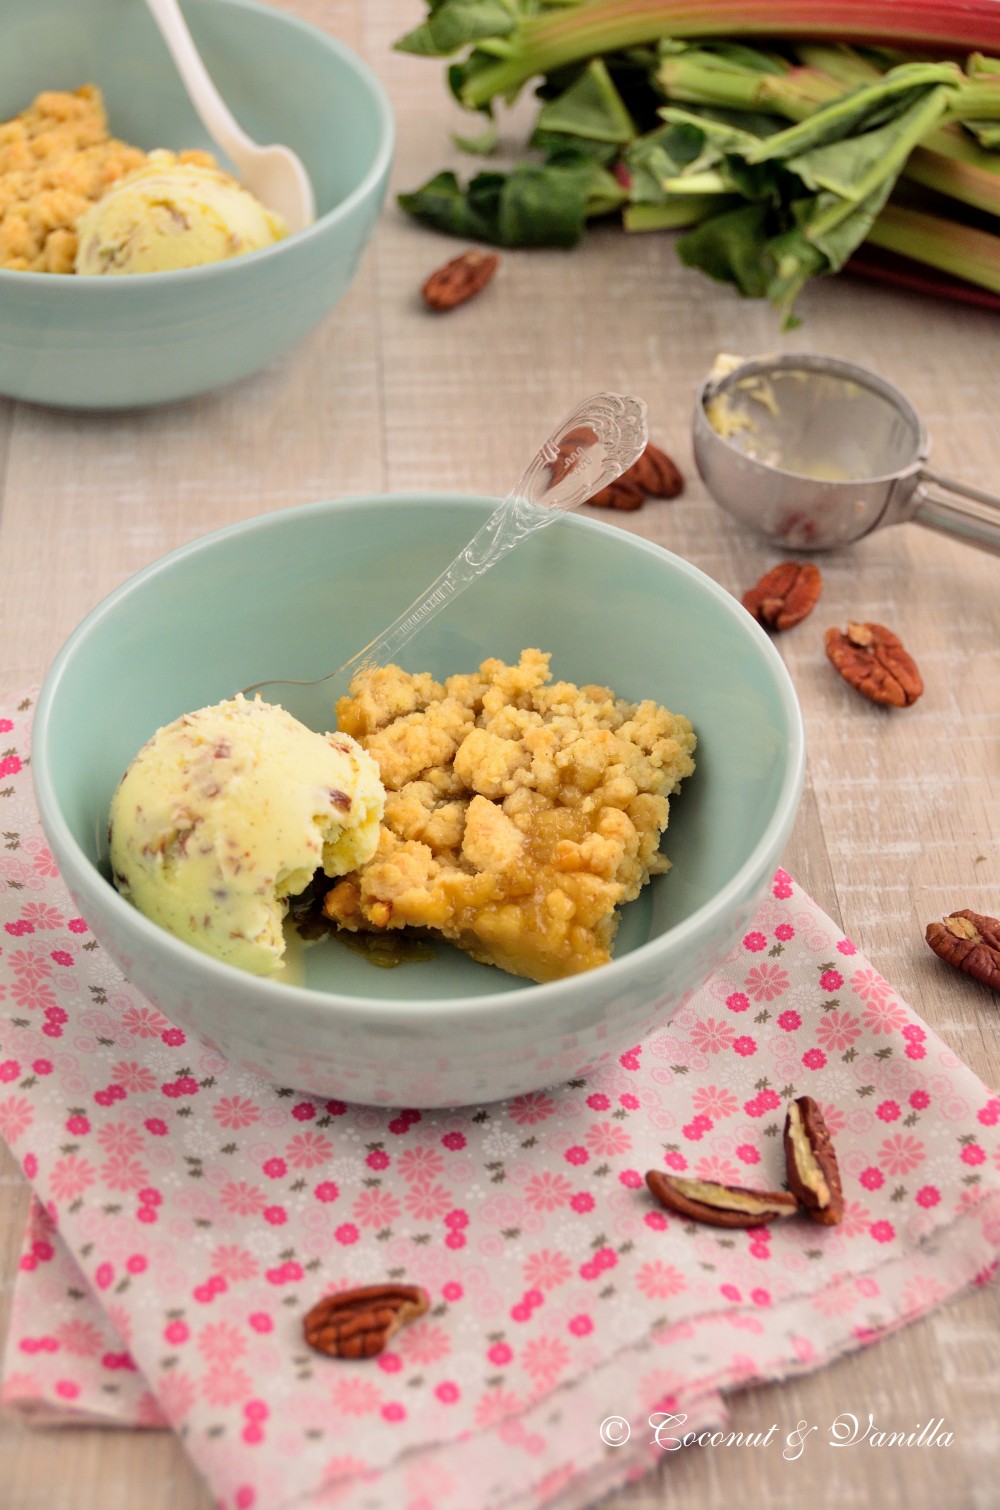
Rhabarber Crumble mit Pekannuss-Vanille-Eis

Dieses Rhabarber Rezept begleitet mich schon viele Jahre und hat sich schon nach der ersten Zubereitung den Stempel „Klassiker“ verdient. Jedes Jahr in der Rhabarbersaison ist es das erste Rezept das ich mache. Das Rezept habe ich aus einer der ersten Lecker Ausgaben, vielleicht sogar die allererste.

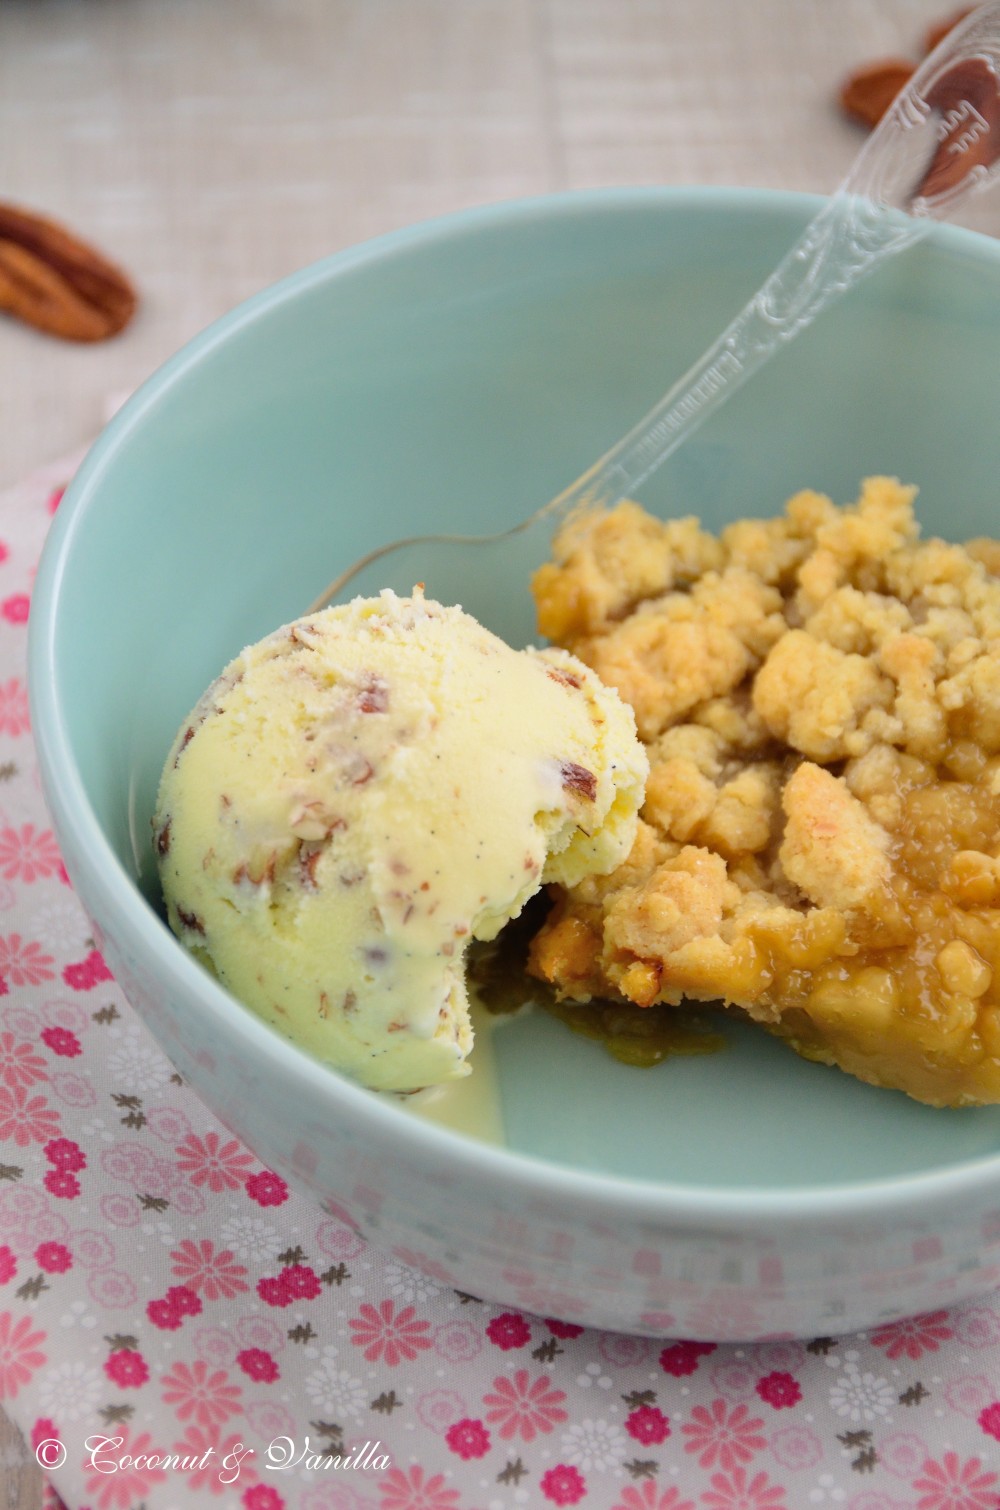
In diesem Rezept mag den Rhabarber eigentlich jeder. Die Kugel Eis dazu ist nicht obligatorisch, sie ist notwendig, denn dadurch schmeckt der Crumble gleich noch viel besser. Wahrscheinlich auch durch das altbekannte Spiel heiß und kalt. Natürlich passt prinzipiell jede Sorte, Milcheis würde ich aber Fruchteis hier vorziehen. Nusseis ist genauso wie Vanilleeis eine perfekte Begleitung. Und so habe ich die Sorten einfach kombiniert.

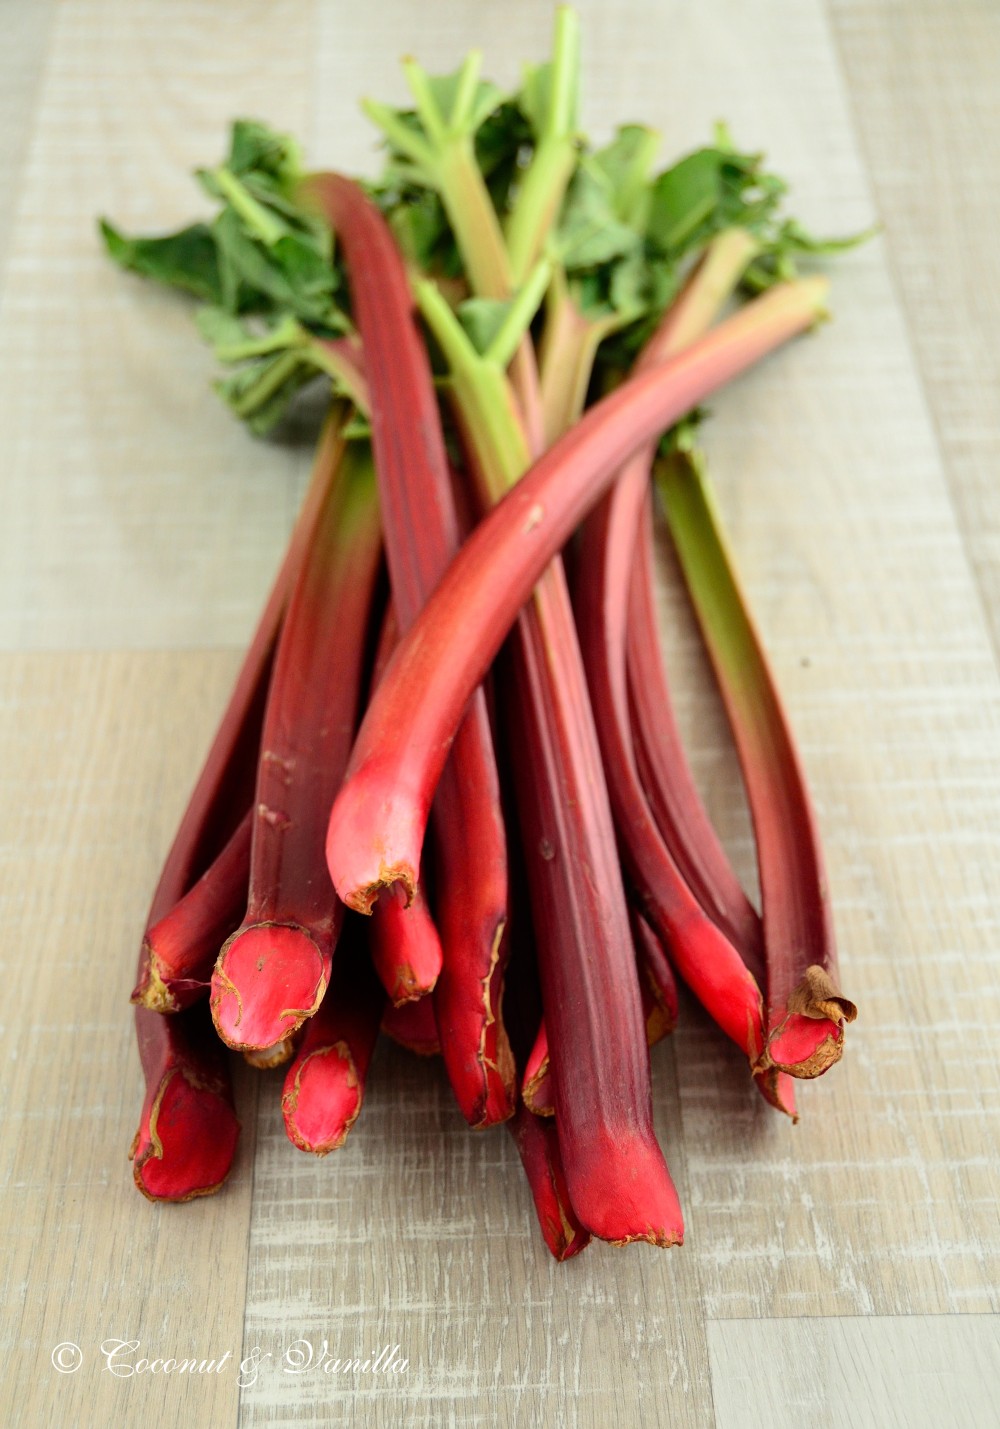
Rhabarber

Selbstgemachtes Vanilleeis ist nicht vergleichbar mit diesem kaufbarem Schund. Ich mochte nie nie nie Vanilleeis. Habe ich niemals gegessen. Letztes Jahr hab ich es das erste Mal selber zubereitet und seitdem weiß ich, dass Vanilleeis wirklich gut sein kann!

Ein Eis in dem Pekannüsse drin sind kann sowieso nicht schlecht sein, denn einfach alles mit Pekannüssen ist lecker. Leider sind Pekannüsse hierzu Lande recht unbekannt und dementsprechend schwer aufzutreiben. Das ist äußerst schade, denn ich kann mir keine delikatere Nuss vorstellen (Pinienkerne sind auch sehr lecker, aber die verwende ich weniger für Süßes). Im Internet wird man mit etwas Suchen übrigens fündig.

Rhabarber Crumble mit Pekannuss-Vanille-Eis

Vor einem Jahr: Rhabarber Streusel Tarte

Rhabarber Crumble mit Pekannuss-Vanille-Eis

Rhubarb Crumble with Pecan-Vanilla Ice Cream

This recipe moved quickly after it’s first baking into my classic repertoire. I’m now making it since years and every time when it’s rhubarb season this dish is the first to be made.

In this recipe rhubarb is likely to be loved by everyone. The scoop of ice cream is not mandatory, it’s a must, because the crumble tastes a lot of better with the ice cream. Probably because of the old game of hot and cold. Of course basically every kind of ice cream fits, but I prefer dairy ice cream to fruit ice cream here. Nut ice cream is a perfect accompaniment as well as vanilla ice cream. So I just combined the two of them.

rhubarb

Homemade vanilla ice cream just isn’t comparable to that buyable crap. I never never never liked vanilla ice cream. I never ever ate it. The last year I made it myself the first time in my life. Since then I know how delicious vanilla ice cream can be!

An ice cream containing pecans can’t be bad at all, because everything containing pecans is scrumptious. Unfortunately pecans aren’t very well known here in Germany and very hard to get. This is incredibly sad, because that nut is so delicious. But if you search the internet, you’ll find a few sources for them.

 Rhubarb Crumble with Pecan-Vanilla Ice Cream

One year ago: Rhubarb Streusel Tart

Cooking through La Tartine Gourmande by Béatrice Peltre: Erbsen-Fenchel-Suppe mit Shrimps und Wasabi-SahneCooking through La Tartine Gourmande by Béatrice Peltre: Fennel and green pea soup with wasabi-flavored whipped cream and sautéed shrimp

Ich bin so begeistert von dem Buch „La Tartine Gourmande“ von Béatrice Peltre (der gleichnamige Blog). Vor einigen Wochen schon habe ich mit dieser Begeisterung Ina von Butterfinger angesteckt. Als sie das Buch zum Geburtstag geschenkt bekam, beschlossen wir uns gemeinsam – wenn auch geografisch getrennt – durch das Buch zu kochen.

Alle 2 Wochen gibt es also jetzt jeden Freitag hier und bei Ina ein Resümee mit eigenem Bild von einem nachgekochtem Rezept aus besagtem Kochbuch. Die Rezepte geben wir natürlich nicht an (außer um Euch anhand eines deliziösen Beispiels einen Einblick in das tolle Buch zu geben), aber Béa möchte schließlich ihre Bücher auch verkaufen und das zu Recht.

Das wird ganz schön spannend, denn wann kocht man tatsächlich mal ein Kochbuch komplett durch?! Es gibt schließlich immer Rezepte, die einem nicht zusagen, obwohl man das Buch ganz toll findet.

Ich werde auch versuchen, die Rezepte so nah wie möglich am Original nachzukochen. So seht ihr wie sie wirklich sind.

Das Buch kann ich aber trotzdem schon jedem empfehlen. Ich habe schon viele Rezepte daraus gekocht und sie waren alle sehr lecker und haben auch immer funktioniert. Außerdem sind die Rezepte einfach mal anders, Béa hat sich wirklich Mühe gegeben etwas einzigartiges zu verfassen. Passend dazu auch die wunderschönen Bilder, die man auch von ihrem Blog kennt. Das Buch ist qualitativ hochwertig gebunden und erscheint in einem passenden Format.

Es gibt kaum Rezepte in denen Fleisch vorkommt, ein paar mehr mit Fisch. Viele vegetarische Rezepte, was uns sehr entgegenkommt und auch der süße Gaumen kommt nicht zu kurz. Alle Rezepte sind glutenfrei, lassen sich aber auch mit anderen Mehlen problemlos verwirklichen.

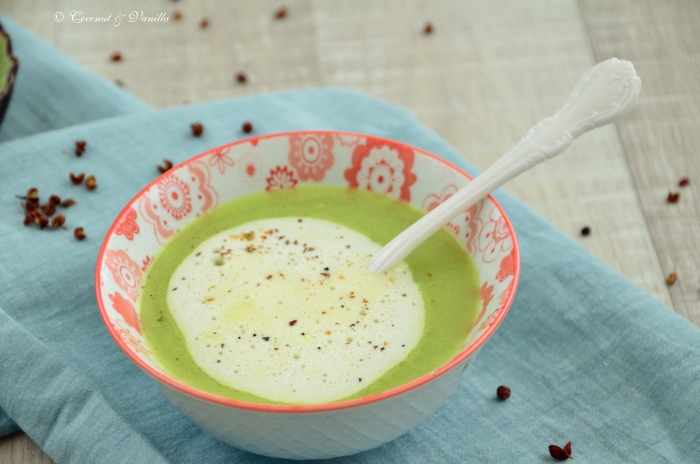
Erbsen-Fenchel-Suppe mit Shrimps und Wasabi-Sahne

Begonnen haben wir mit der Erbsen-Fenchel-Suppe mit Shrimps und Wasabi-Sahne (S.76).

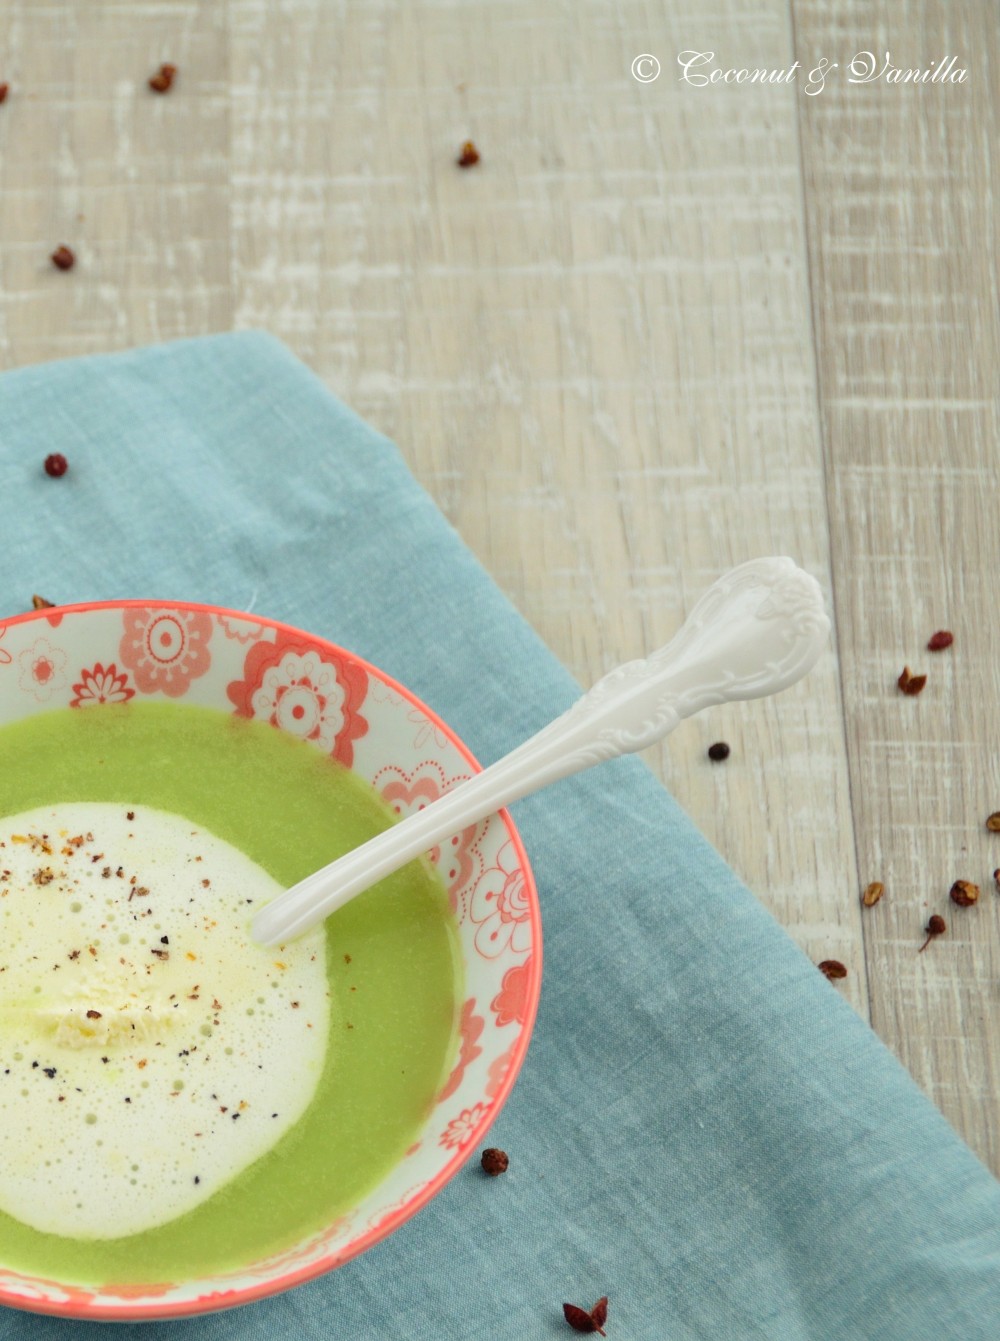
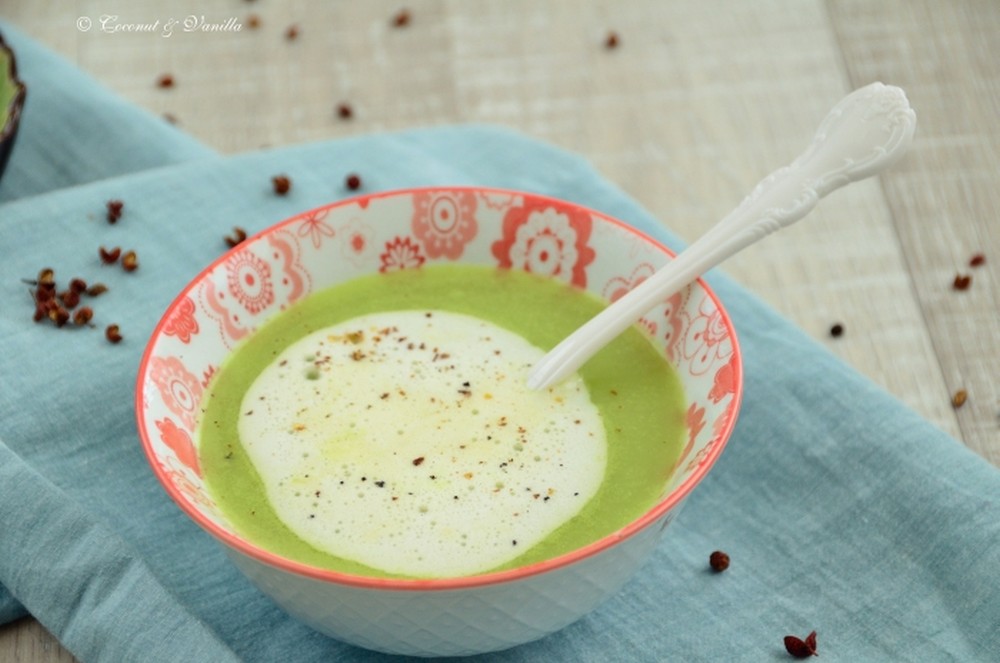
Die Suppe ist sehr fein, da sie nach dem Pürieren noch durch ein Sieb gestrichen wird. Dieser Schritt ist essentiell für die Suppe, denn die Konsistenz ist einfach atemberaubend. Ich würde sie mit seidig beschreiben. Hinzu kommt diese geniale Farbe!

Der Erbsen und Fenchel Geschmack kommt heraus. Besonders gut fand ich den Einsatz von Szechuan-Pfeffer. Dieser wird leider viel zu selten eingesetzt und fristet in meiner Küche ein ziemliches Nischendasein. Er hebt den Geschmack der Suppe nochmal gewaltig, ohne zu sehr in den Vordergrund zu drängen.

Meine Wasabisahne schmeckte leider kaum nach Wasabi, das war aber meine Schuld. Ich habe einen Wasabiersatz aus dem Bioladen benutzt, denn was man sonst als Wasabi verkauft bekommt ist echt gruselig, wenn man auf die Zutatenliste schaut. Echter Wasabi ist ja kaum zu bekommen, ist für mich aber auch nicht wichtig. Ich hätte einfach mehr Pseudowasabi nehmen sollen.

Die Shrimps waren sehr lecker. Ich fand aber die Suppe so gut, dass sie die zusätzlichen Aromen der Sahne und der Shrimps nicht bräuchte. Für mich zusätzlicher Schnick-Schnack den man auch weglassen kann.

Zum Sattessen ist die Suppe aufgrund ihrer Konsistenz sowieso nicht geeignet. Die Menge reicht auch eher für 3 Personen als für 4 als Vorspeise.

Erbsen-Fenchel-Suppe mit Shrimps und Wasabi-Sahne

I’m so enthusiastic about the book „La Tartine Gourmande“ from Béatrice Peltre of the same-titled blog. Some weeks ago I already infected Ina from Butterfinger with my enthusiasm. As she got the book for her birthday, we decided to cook through the book – although geographically separated.

So every 2 weeks, every Friday we résumé about a cooked recipe from the book, and provide some own pictures of it. We won’t provide the recipes, because Béa wants to sell her cookbooks, too, of course (but we may make an exception to give you an insight in the book with a delicious recipe).

That will be really exciting. Because who’s really cooking through a whole cookbook?! I mean there are always recipes, which are not so appealing to you, although you love the book.

I will try to cook the recipe quite like the original says, so you can truly imagine how they work.

I can already recommend this book to anyone, since I’ve cooked quite a few recipes out of it. They were all tasty and worked like a charm. Moreover the recipes are just different, than what I know. Béa really made an effort to write something unique. Her pictures are corresponding, as you know them from her blog. The book is high-quality bound in a perfect format.

There are almost no recipes with meat in it, some more with fish. A lot of vegetarian ones, which I like. Your sweet tooth doesn’t go short either. All of the recipes are gluten-free, but can also be made with other flours without any problem.

Fennel and green pea soup with wasabi-flavored whipped cream and sautéed shrimp

We began with the Fennel and green pea soup with wasabi-flavored whipped cream and sautéed shrimp (p 76).

The soup is very thin, as it is passed through a fine sieve after puréeing it. This step is essential, because the texture is just stunning. I would like to describe it with silky. And the colour!

It really tastes like peas and fennel. What I really loved was the use of Sichuan pepper. Unfortunately this pepper is used much too less and ekes out a niche existence in my kitchen. The Sichuan pepper peps up the flavour of the soup tremendously without overshadowing it.

My wasabi whipped cream didn’t taste much of wasabi at all. But that was all my fault. I used a wasabi replacement from the whole foods store, because it’s quite creepy if you look on the ingredient list of so called wasabi sold in supermarkets. Real wasabi is hard to get, but that’s not important for me, anyway. I just should have taken more pseudo-wasabi, than I did.

The shrimp were delicious. But I liked the plain soup so very much, that I wouldn’t need the extra aroma of the cream and the shrimp. Additionally frills, that I would omit.

Anyway the soup isn’t made to eat one’s fill, because of its texture. Also the amount of soup is rather enough for 3 persons as a starter, than for 4.


Fennel and green pea soup with wasabi-flavored whipped cream and sautéed shrimp

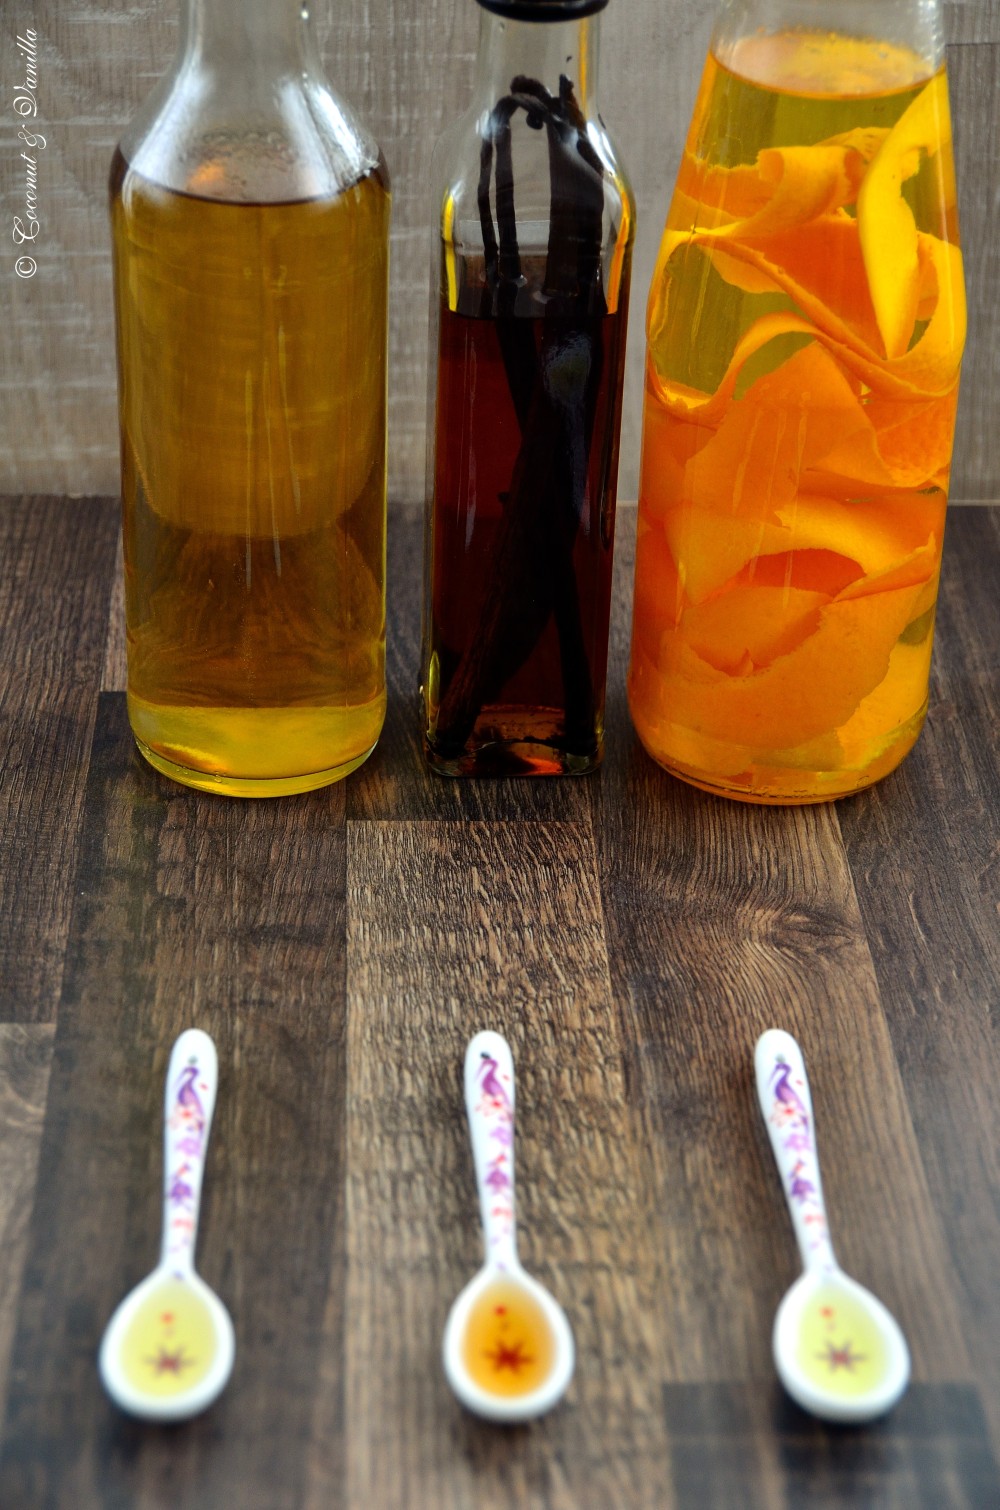
Extrakte: Vanille, Zitrone, OrangeExtracts: Vanilla, Lemon, Orange

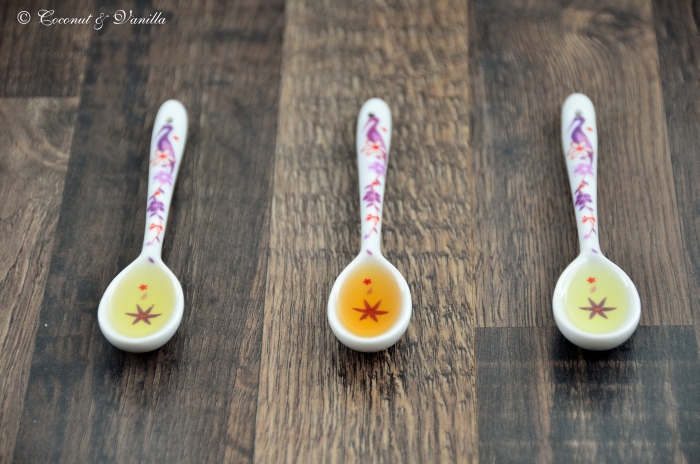
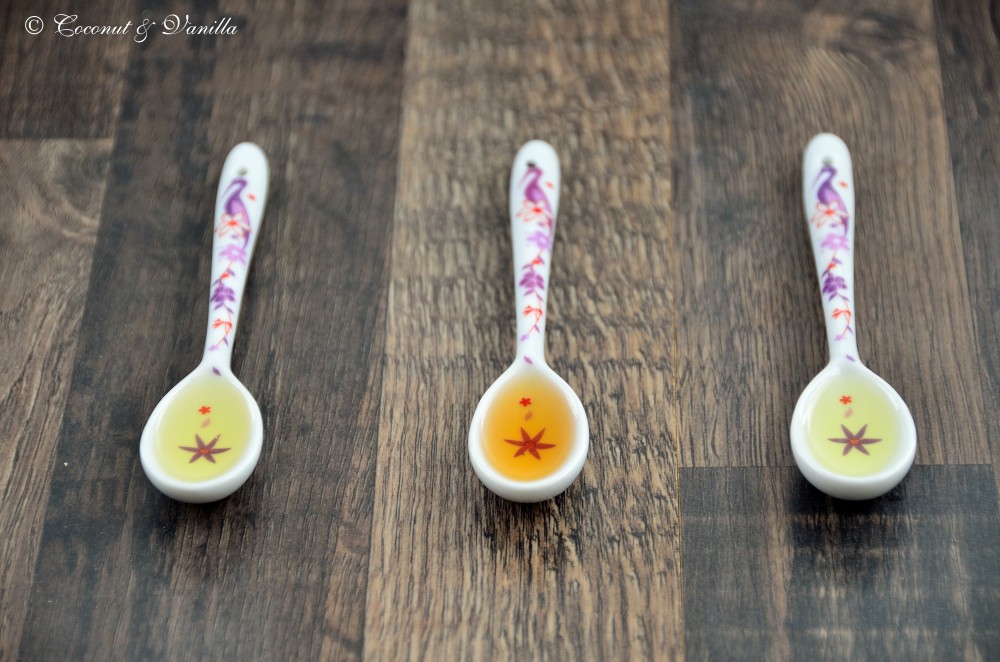
Heute gibt’s mal wieder eine selbstgemachte Zutat zum Backen und Kochen, aber vor allem zum Backen. Extrakte. In Deutschland kaum bekannt, in Amerika und Großbritannien allgegenwärtig und in vielen Geschmacksrichtungen in jeden Supermarkt zu erwerben. Wer viele englische Rezepte verwendet stößt häufig auf Vanilleextrakt. Und hin und wieder laufen einem auch andere Extrakte über den Weg. In Deutschland gibt es leider nur diese unsäglichen „Aromen“. Künstliche Aromen in kleinen Fläschchen. Bäh!

Ich habe bisher drei verschiedene Extrakte hergestellt: Vanille, Zitrone und Orange. Natürlich kann man diese Extrakte durch Vanilleschote, Zitronenschale und Orangenschale ersetzen. Aber wer hat denn das immer daheim? Und wenn man die Preise der Extrakte im Laden sieht, ist es eine weise Entscheidung diese selbst zu machen.

In den Extrakten ist das Aroma um ein vielfaches gebündelt und hat man sie erst mal angesetzt, reichen sie einem eine lange Zeit. Ok, man sollte eine Wartezeit von etwa 4 Wochen nach dem Ansetzen einplanen, der Alkohol muss die Aromen schließlich erst aus den Zutaten ziehen.

Vanille, Zitrone, Orange

Mit den fertigen Extrakten ist es eine wahre Freude zu arbeiten. Eis, Kuchen und Cremes werden jetzt viel aromatischer, denn man gibt einfach noch einen Schuss gebündeltes natürliches Aroma dazu.

Zur Herstellung benötigt ihr die gewünschte Zutat, die das Aroma geben soll, sowie hochprozentigen geschmacksneutralen Alkohol. Ich verwende dafür einen Korn, der 38 % vol. hat. Wenn ihr noch hochprozentigeres Zeug bekommt, dann verwendet einfach mal den, das Ergebnis soll um ein vielfaches besser sein! Achtet aber darauf, dass er immer noch geschmacksneutral ist. Der Alkohol nennt sich dann Primasprit oder Neutralalkohol. Leider habe ich das Zeugs bisher nicht in die Finger bekommen. Aber auch mit gewöhnlichem Alkohol bin ich mit dem Ergebnis sehr zufrieden.

Ich möchte noch weitere Sorten herstellen. Ein Teil hat sich schon als Ideen in meinem Kopf manifestiert. Minze? Nuss wäre toll, aber wie? Was würde Euch interessieren?

Vanille, Zitrone, Orange

Vor einem Jahr: Toastbrot

Vor zwei Jahren: Rhabarber-Streusel-Kuchen


Today I introduce you into the world of homemade extracts. In Germany they are almost not known. Everyone knows them in North America and Great Britain in a large range of flavours. They are used in a lot of recipes, especially in baking recipes.

So far I made three different flavours of extracts: vanilla, lemon and orange. Of course you can buy these or substitute them with vanilla beans, and zest of lemons or oranges. But buying is much more expensive and it’s easier just to have a bottle of extract at home, then to have fresh organic lemons or oranges at home. So it’s a wise decision to make it yourself.

Great thing is, that the extracts concentrate the aroma many times over. After bringing together the ingredients, you have to wait for 4 weeks for the alcohol to bring out the aroma. Then you have a bottle full of your desired flavour concentrated, which keeps a long time.

Vanilla, Lemon, Orange

It’s a real pleasure to work with the extracts. Ice cream, cakes and mousses are so aromatic, because of adding a splash of concentrated natural aroma.

For producing you only need your desired ingredient, which shall give the flavour, as well as high-proof neutral flavoured alcohol. I use plain schnapps with 38 % vol. If you get some even higher in alcohol content and still neutral in flavour use that one! The result should be even better I heard. But be sure, that it is neutral in flavour, because you want to taste the flavour of your ingredient like vanilla and not the schnapps. The alcohol with higher alcohol content is called rectified alcohol/spirit or neutral alcohol. Unfortuntely I didn’t got it here. Nevertheless I’m very satisfied with the result, just with the plain schnapps.

I want to produce some more varieties. Some ideas are already settled in my head. Mint? Nuts would be great, but how? What would you prefer?

Vanilla, Lemon, Orange

Vanille, Zitrone, Orange

One year ago: Toast Bread

Two years ago: Rhubarb Streusel Cake

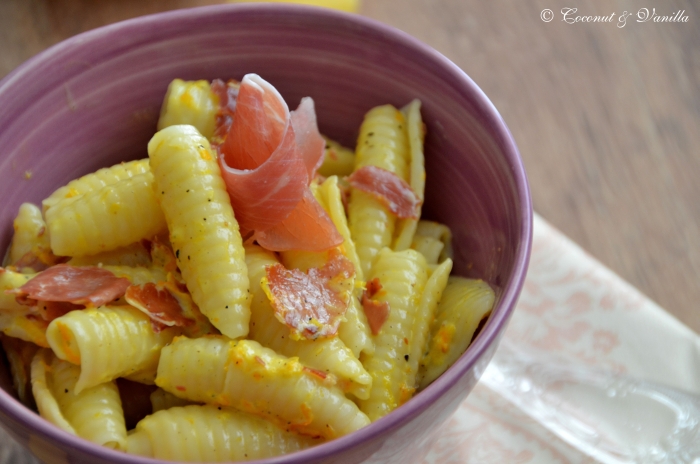
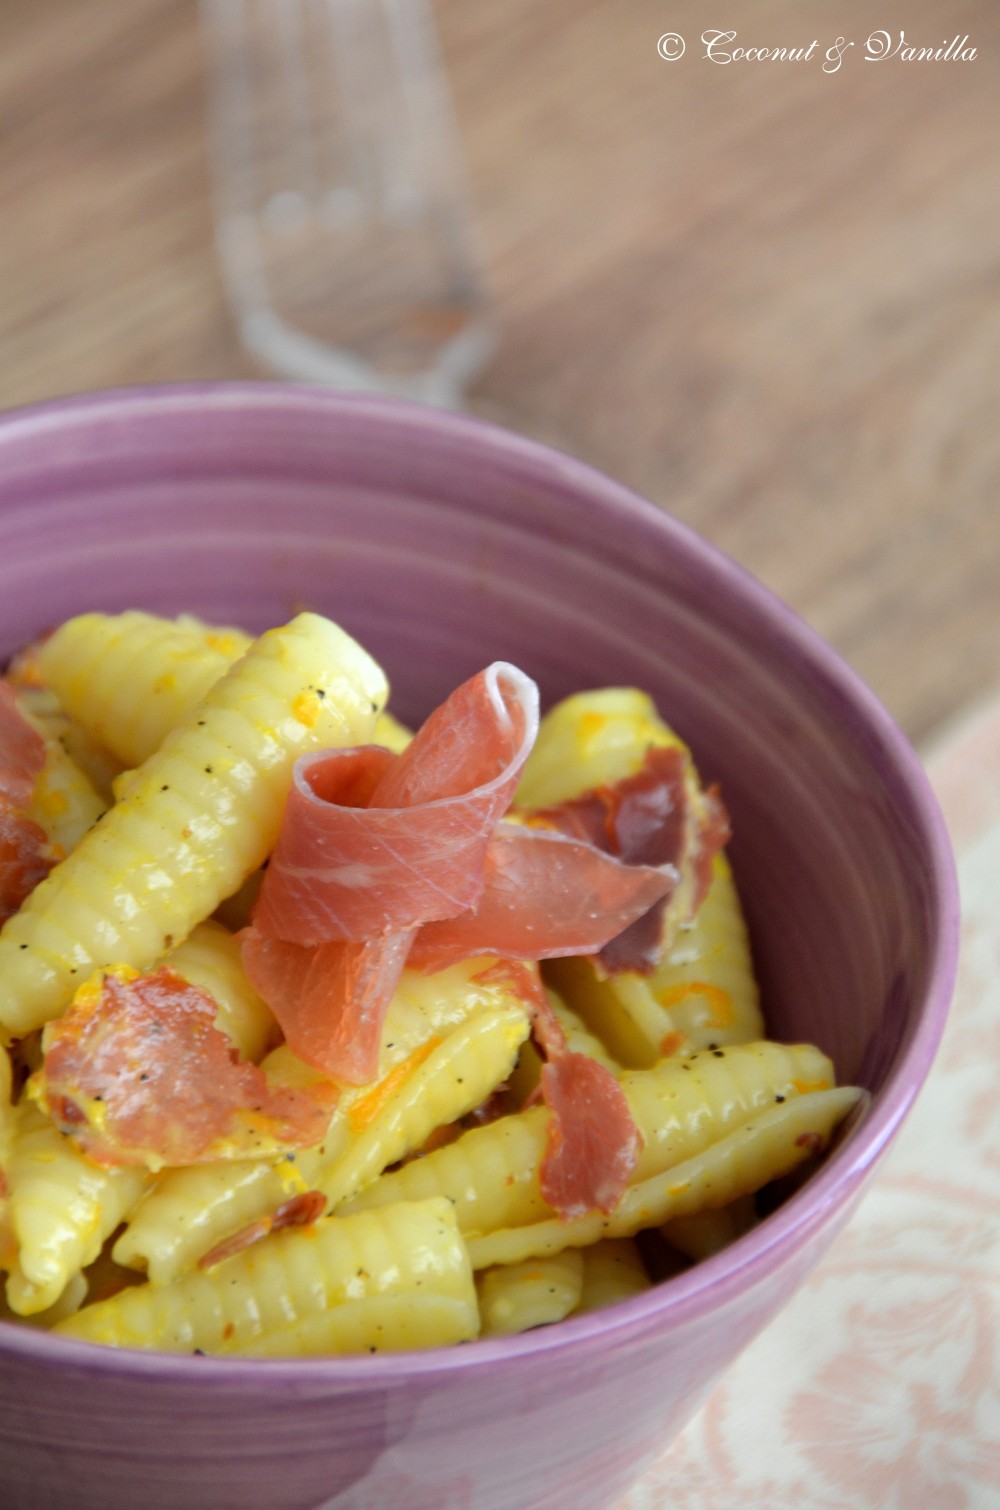
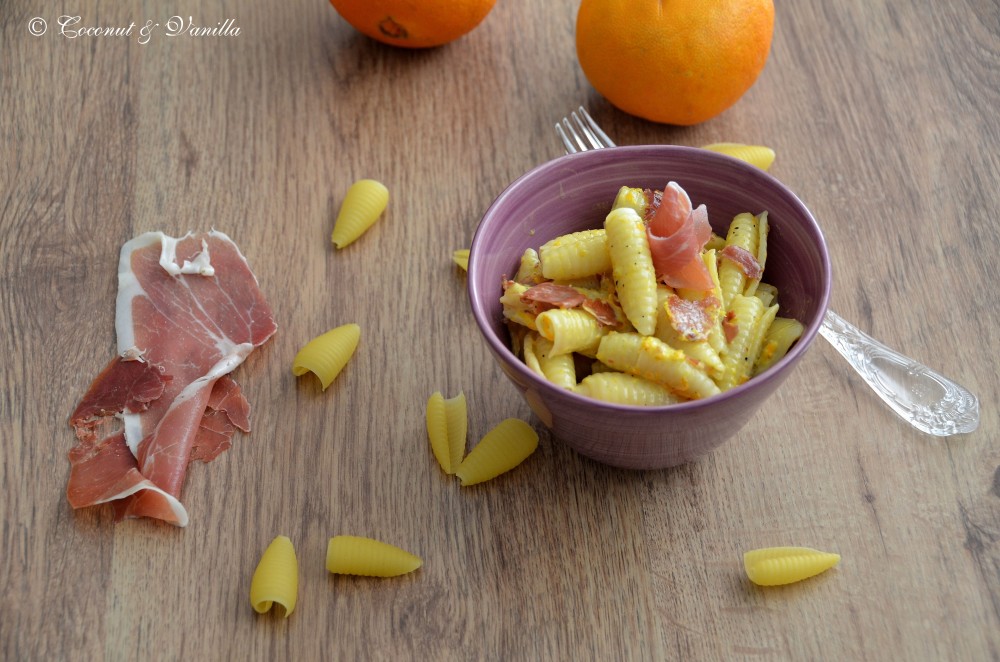
Orangen-Pasta mit Serrano-Schinken Orange Pasta with Prosciutto

Orangen-Pasta mit Serrano-Schinken

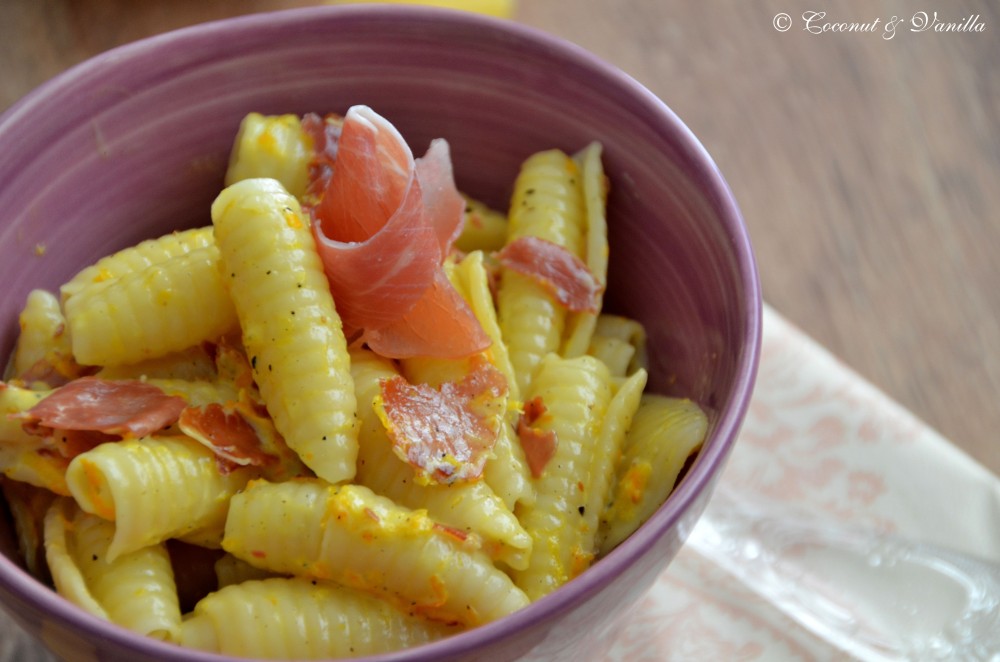
Nach dem gewaltigen Zuckerschock der letzten Tag gibt es jetzt wieder was Deftiges. Lecker leicht und frühlingshaft mit Orangenschale, -saft und feinem rohen Schinken.

Ich liebe Pastagerichte und dieses ist ungewöhnlich, aber saulecker! Zudem ist es mit wenigen Zutaten im Handumdrehen zubereitet. Ein ideales Gericht, wenn es mal schnell gehen muss oder man einfach keine Lust auf lange Kochabende hat.

Das Rezept hab ich von The Bitten Word, einer meiner Lieblingsblogs. Zach und Clay kochen aus den vielen Essenszeitschriften, die sich eben mit der Zeit ansammeln. Lecker und amüsant.

Orangen-Pasta mit Serrano-Schinken

Vor einem Jahr: Toastbrot

Orangen-Pasta mit Serrano-Schinken


Orange Pasta with Prosciutto

 After the huge sugar shock of the last days there is something hearty here again. Lovely deliciousness with orange zest and juice and prosciutto. A light and springlike meal.

I love pasta dishes and this one is a bit unuasual, but nevertheless totally scumptious. Also this dish is cooked in just a few minutes with only a few ingredients. A perfect quick family meal.

The recipe is from The Bitten Word, one of my favourite blogs. Zach and Clay are cooking from food magazines, that have accumulated over the years. Mouth-watering and amusing.

Orange Pasta with Prosciutto

One year ago: Toast

Orange Pasta with Prosciutto

Eierlikör CupcakesEggnog Cupcakes

Eierlikör Cupcakes

Zu Ostern gibt’s bei mir die ultimative Eierlikördröhnung: Eierlikör Cupcakes. Ich bin auf den Geschmack gekommen. Nein, nicht der Eierlikör, die Cupcakes. Nachdem ich die leichte Methode des Toppings mit Puddingcreme entdeckt habe, bin ich ganz begeistert von den kleinen Törtchen, denen ich vorher nie etwas abgewinnen konnte. Keine schweren Cupcakes auf diesem Blog! Versprochen! Auch diese Cupcakes überzeugen mit Leichtigkeit und Fluffigkeit.

Eierlikör Cupcakes

 Der Teig der Küchlein ist ein einfaches Eierlikörkuchenrezept, das in der gleichen Menge auch als Napfkuchen überzeugt (dann aber die Creme weglassen und länger backen). Die Creme besteht mal wieder aus Pudding, aber diesmal selbstgemachtem Eierlikörpudding. Ich habe keinerlei Pülverchen verwendet (Speisestärke zählt nicht). Man kann den Pudding natürlich auch einfach so essen. In diesen Cupcakes ist alles selbstgemacht, auch der Eierlikör nach diesem Rezept. Zusammengerührt ist das alles schnell. Und selbstgemacht schmeckt man eben!

Die Cupcakes sollten im Kühlschrank (oder im Freiluftkühlschrank, falls es bei euch kalt genug ist, aber nicht friert) aufbewahrt werden, aber unbedingt 10-15 Minuten vor dem Servieren herausgenommen werden. Nur dann entfalten sich die vielfältigen Eierliköraromen.

Eierlikör Cupcakes

Vor einem Jahr: Rhabarber Muffins

Eierlikör Cupcakes


eggnog cupcakes

For Easter I have the ultimate eggnog high: eggnog cupcakes. I got hooked on that. No, not the eggnog, the cupcakes. After discovering the light version of topping cupcakes with pudding cream, I’m delighted with them. My cupcakes will never be heavy! Promise! This cupcakes are also convincing with light- and fluffiness.

eggnog cupcakes ~ Eierlikör Cupcakes

The dough is a simple eggnog cake recipe, which works also great as a pound cake with the same amount of dough (just bake longer and skip the pudding cream). The topping is again made of pudding, but this time homemade eggnog pudding. I didn’t used any convenience product. And of course you can eat the pudding just right away, delicious! In this cupcakes everything is homemade, even the eggnog (with this recipe). Everything is whisked together fast and you will taste, that it’s homemade.

The cupcakes need to be cooled, but taken out of the fridge 10-15 minutes before serving for developing the manifold eggnog aroma.

eggnog cupcakes

One year ago: Rhubarb Muffins

eggnog cupcakes

Donauwellen Cupcakes

Donauwellen Cupcakes


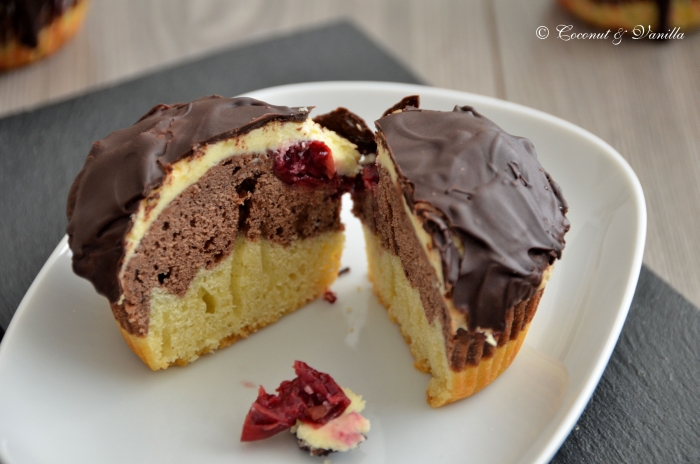
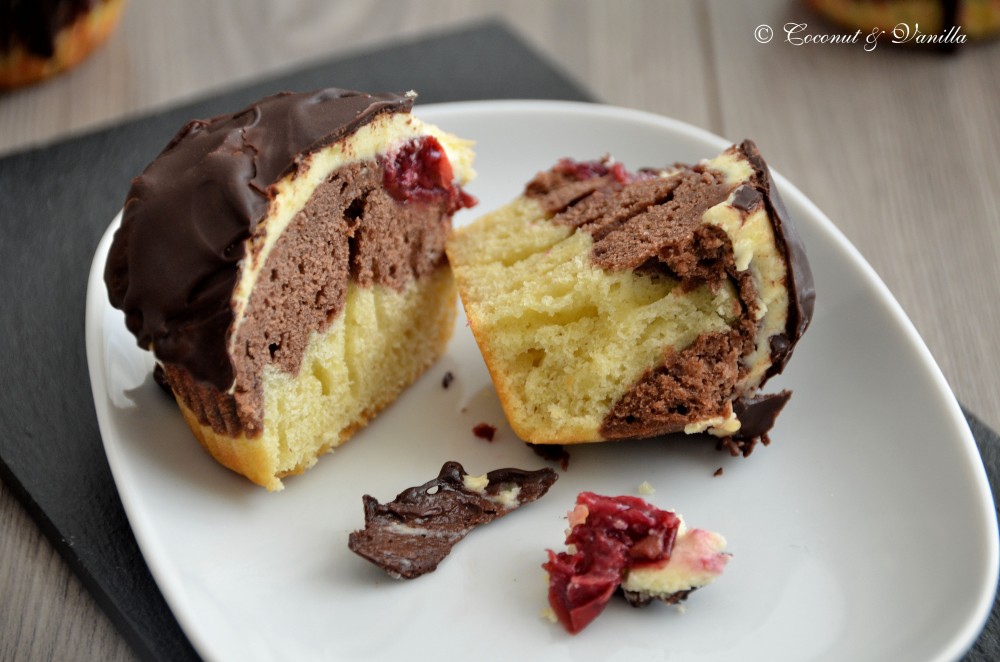
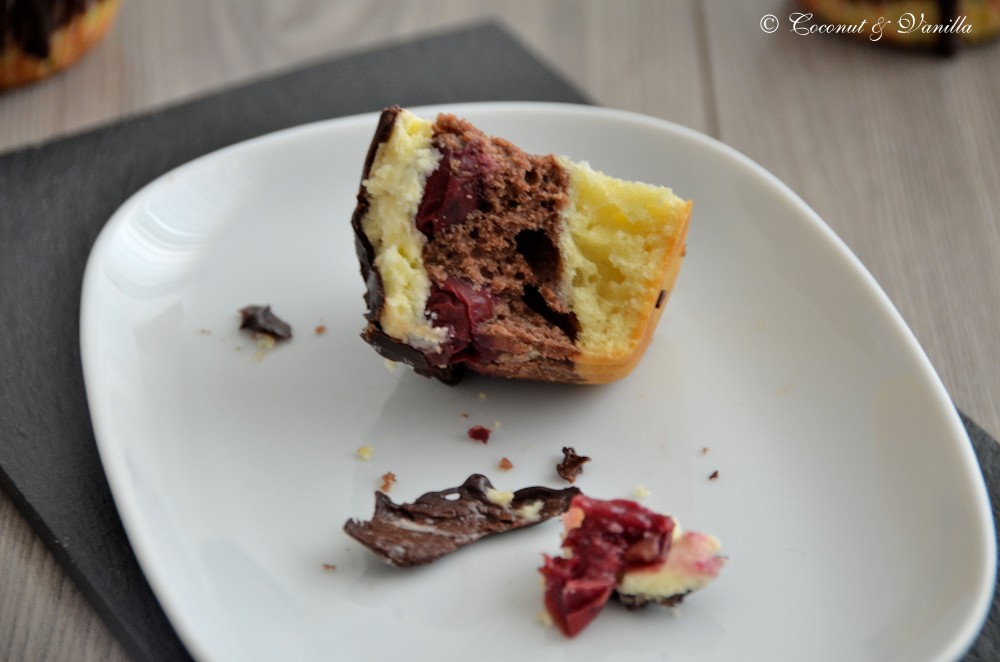
Meine ersten Cupcakes im Blog! Und ich sach mal so: es gibt keine, die würdiger wären. Ich hab zwar schon das ein oder andere mal davor nen Cupcake gebacken, aber der hat es hier immer nicht reingeschafft. Meistens kann ich mich auch nicht aufraffen, welche zu backen. Ich finde die sind einfach viel zu schwer mit ihrer Buttercreme. Aber einen Kuchen in Cupcakes umzuwandeln ist der Geniestreich. So ein Stück Donauwelle ist auch ein Brummer, da kommen die einem als Cupcake schon eher wie ein Snack vor.

Man bekommt so ein kleines Stück Donauwelle auf die Hand, das schmeckt wie das Original nur viel hübscher daherkommt. Ein Traum sag ich Euch!

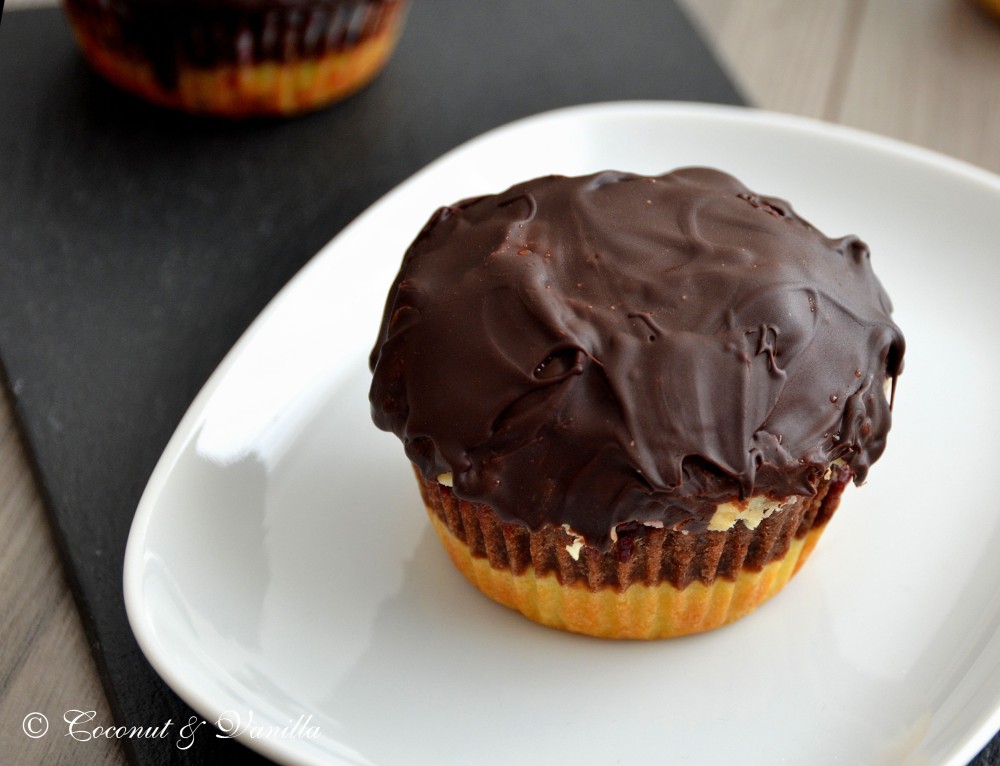
Prima ist auch, dass die sich ein paar Tage lang frisch halten, weil sie sind ja rundherum verpackt: unten Papierförmchen, oben Schokoguss. Kühlschrank muss natürlich trotzdem sein, allein schon wegen der Konsistenz.

Donauwellen Cupcakes

Die Donauwellen Cupcakes waren auch ein Testlauf für eine Hochzeitsfeier. Haben sie mit Bravour bestanden. Da sie dann aber wahrscheinlich an einem Nachmittag verzehrt werden, lasse ich die Papierförmchen weg. Die muss man nämlich schon ein bisschen unter der Schokoglasur rausfitzeln.

Im übrigen finde ich, dass Puddingcreme die neue Buttercreme ist! Funktioniert, schmeckt besser und enthält (fast) keine Butter. Und wenn wie in dem Fall das Ganze mit einer knackigen Schokoglasur aus Zartbitterschoki getoppt wird, ist das auch nicht zu süß. Also weg mit den zuckersüßen, fettigen, schweren Cupcakes. Hier kommt die deutsche Version 2.0.

Ich habe jedenfalls schon weitere Cupcake Projekte im Kopf, die ich bald umsetzen werden.

Donauwellen Cupcakes

Vor einem Jahr: Hefekuchenkranz mit Nuss-Schoko-Meringue-Füllung

Donauwellen Cupcakes

Donauwellen Cupcakes


Donauwellen Cupcakes

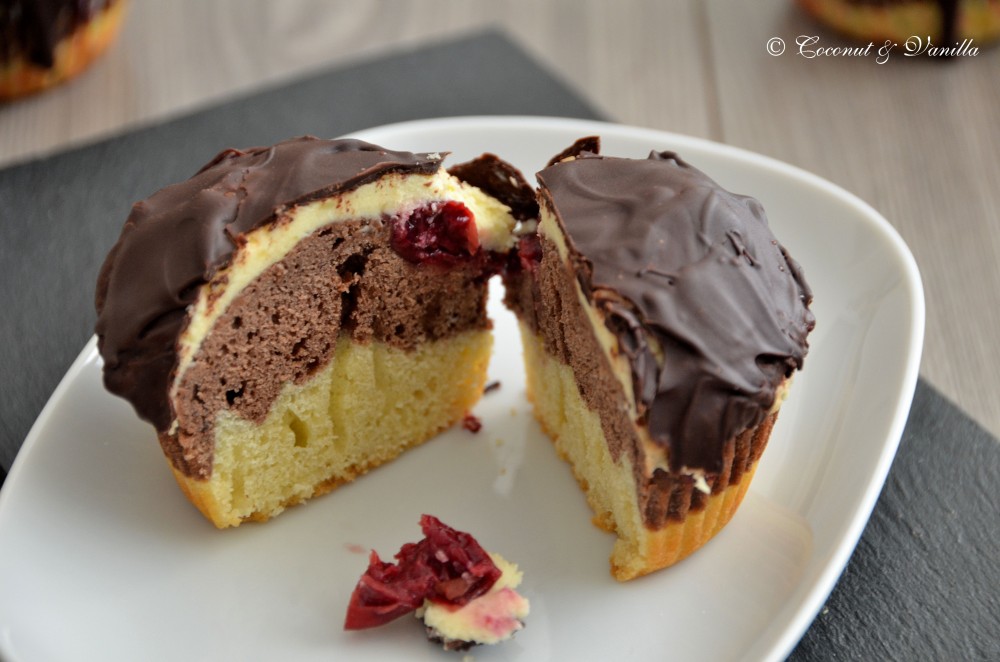
 My first cupcakes on the blog! Hurray! First I have to explain to you, what „Donauwelle“ is. Donauwelle is a typical German cake, which consists of two layers of cake batter, one plain, the other browned with cocoa. On the cocoa cake batter sour cherries are spread. After baking the cake and cooling, a vanilla pudding cream is spread on the cake. Finally the cream is coated with dark chocolate. Heaven’s delight! So you can make a cake instead of these cupcakes, if you are doubling the ingredients you get a whole baking sheet.

But as a piece of Donauwelle cake is heavier than a cupcake and a cupcake looks much sweeter I tried those. And I have to say: they are the best cupcakes I’ve ever made. Ok, I admit it weren’t that many, but this one is definitely the right one to be the first one on the blog.

A really nice bonus, that they are single portions is, that they are really keeping well in the fridge for a few days. This comes from the fact, that the bottom is packed in muffin liners and the top is coated with chocolate. So every cupcake comes fresh out of the fridge.

Donauwellen Cupcakes

I made these as a test run for a wedding party and they passed with flying colours. But as they will be eaten then in one afternoon, I will bake them without cupcake liners, as it’s a bit of puzzle work to remove them from under the chocolate glaze.

As I’m not a fan of those heavy butter creams, loaded with sugar, I’m claiming the pudding cream as the new butter cream! It works great, tastes better and contains (almost) no butter. And if the cream is topped with dark chocolate, like in this case, it’s not to sweet either.  So no more sugar sweet, fat loaded, heavy cupcakes, here comes the german version 2.0.

In any case I have already more cupcake ideas in my mind, which I will bake soon.

Donauwellen Cupcakes

One year ago: Yeasted Meringue Coffee Cake

Donauwellen Cupcakes


Donauwellen Cupcakes

Focacciaschnecke mit Käse, Rucola & getrockneten TomatenRolled Focaccia filled with Cheese, Arugula & Dried Tomatoes

Focacciaschnecke mit Käse, Rucola und getrockneten Tomaten

 Versprochen ist versprochen! Nämlich, dass ich dieses Rezept noch diese Woche blogge. Es kam nämlich bereits auf Facebook so gut an.

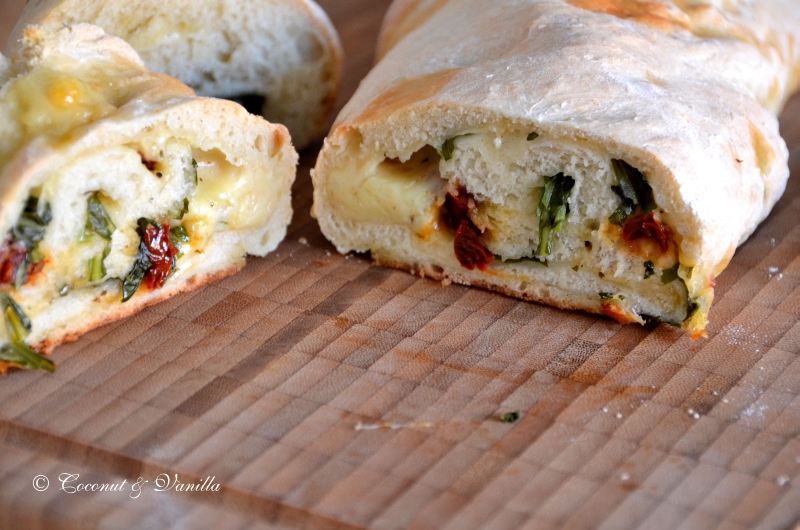
Es war aber auch der Hammer! Das Rezept ist von Jamie Oliver, ich habe es aber natürlich hier und da verändert. Das Brot habe ich zum ersten Grillen der Saison als Beilage gemacht. Und es war eigentlich das Beste am ganzen Essen ;).

Der Brotteig ist wirklich lecker, obwohl ich bei der kurzen Gare eigentlich wenig erwartet hatte. Es hat uns positiv überrascht!

Ich habe eine lange Schnecke gemacht, die kaum aufs Blech gepasst hat. Es empfiehlt sich also den Teig nach dem Ausrollen zu halbieren und zwei Schnecken zu machen, die kann man dann auch prima zusammen auf ein Blech packen. Und für 2 Leute ist die Hälfte des Rezepts voll und ganz ausreichen (und ich hatte das Rezept schon halbiert; wie viele Leute füttert Jamie bitte?!).

Focacciaschnecke mit Käse, Rucola und getrockneten Tomaten

Vor einem Jahr: Hefekuchenkranz mit Nuss-Schoko-Meringue-Füllung

Vor zwei Jahren: Schokoladen-Macarons mit Himbeerfüllung

Vorbereitung des Focaccia


focaccia filled with cheese, arugula and dried tomatoes

 I promised to blog this recipe this week, yet, as the picture itself evoked already excitement on Facebook.

But it was awesome! The recipe is from Jamie Oliver. Of course I altered the recipe here and there. I served the bread as a side dish for the first barbecue this season. And actually it was quite the best food that evening ;).

The bread dough is delicious, although I didn’t had high expectations, because of the short proof. It surprised us positively!

I made one long snail, which almost didn’t fit on the baking sheet. So I recommend to halve the dough after rolling it out and to make two snails, which then will fit perfectly onto one baking sheet. And for two people half the recipe is totally enough (and I already halved the recipe; how many people does Jamie feed?!).

focaccia filled with cheese, arugula and dried tomatoes

One year ago: Yeasted Meringue Coffee Cake

Two years ago: Chocolate Macarons with Raspberry Filling

preparing the focaccia

Blick in meine KücheGlimpse in my kitchen

Steph vom kleinen Kuriositätenladen hat aufgerufen, ihr unsere Küchen zu zeigen. Ich schaue ja liebend gerne in anderer Leute Häuser und besonders gerne in die Küche. Und wer gern schaut, muss eben auch mal schauen lassen.
 
Unsere Küche ist das schönste Zimmer in unserer Wohnung. Das sag ich nicht nur, weil ich gerne in der Küche stehe, nein sie ist es wirklich! Das liegt natürlich auch daran, dass wir vor knapp 2 Jahren, als wir in die Wohnung eingezogen sind uns die Küche neu gekauft. haben. In der Wohnung war keine drin, wir hatten also keine andere Möglichkeit. Und da wir keine halben Sachen machen und ich viel Wert auf die Küche legen und natürlich schon lange von meiner eigenen geträumt habe, haben wir uns eine IKEA Küche gekauft. Ich würde immer noch jederzeit eine IKEA Küche kaufen und auch wieder so wie damals (gut bis auf die blöde Edelstahlspüle auf der man jeden Wasserfleck sieht).
 
Die Küche ist nicht gerade groß und hat vor allem noch eine zweite Tür zu einer Mini-Veranda drin, deshalb war es nicht ganz einfach sie einzurichten und die richtigen Schränke zu finden. Die Tür zum Flur mussten wir auch aushängen, denn sonst hätten wir mindestens 2 Schränke weniger einbauen können. Zudem musste auch noch die Waschmaschine mit rein, weil es sonst keinen Platz für sie gegeben hätte. Man hätte natürlich noch mehr Hängeschränke einbauen können, aber das wollte ich nicht, da mir die Küche sonst zu dunkel geworden wäre und mir zu viele Hängeschränke auch nicht gefallen. Die 2 waren schon ein Zugeständnis an unsere vielen Küchenutensilien und das Geschirr, das sonst nirgends Platz hätte ;).
 
Wirklich lieben tue ich an unserer Küche die Funktionalität und die vielen kleinen angenehmen Einbauten, wie allein die Schubladen- und Türendämpfer oder das IKEA Müllsystem (ja ich liebe sogar unseren Müll!).
 
Fotografiert von der Tür zum Flur. Linke Seite der Küche: Kühlschrank (der sich gerade verabschiedet, blödes Ding), daneben unsere recht neue Spülmaschine und die Waschmaschine, daneben die Spüle. Im Eck Tür zur „Veranda“. An der Wand hinten hängen zwei tolle Baumwollsäcke, mit zwei Öffnungen je, in denen bewahren wir unsere Kartoffeln auf. Seitdem gammeln sie auch nicht mehr.


Blick in meine Küche
 
 
Schrank über Kühlschrank für größere Utensilien, wie Backformen in vielen verschiedenen Formen, die Schachtel in der Mitte links ist voll mit Plätzchenausstecher, Nudelmaschine, Vakuumiermaschine, Gemüsereibe, Gärkörbe. Nicht zu sehen, aber im Schrank: ein Wok!, ein Caquelon (für Käsefondue), Rührgerät und wahrscheinlich noch ein paar Dinge.
 
Blick in meine Küche
 
Rechte Seite der Küche, gegenüber dem Foto oben. Vorne Vorratsschrank mit Auszügen (Blick in den Schrank s.u.). Darüber noch ein Schränkchen, in dem Küchengeräte wie Waffeleisen, Reiskocher, Isi Whip enthalten sind. Dann Schubladen und mehr Schubladen mit Besteck, Schüsseln, Backformen, Tuppern, Kleinkram. Backofen/Herd mit Glasspritzschutz. Unter dem Fenster ein breiter Schrank mit herausziehbarem Rondell in dem alle Töpfe, der Bräter, noch mehr Schüsseln und Siebe untergebracht sind. Links daneben Klappleiter damit ich auch an die hohen Schränke herankomme. An der Decke hängen die Pfannen und feinen Siebe. Das komische Ding in der Plastiktüte ist der Pizzaschieber (Super Peel).
 
Blick in meine Küche
 
Spüle. Links davon der Blender, der eigentlich nie benutzt wird (alle Schaltjahre mal für nen Cocktail). Links ist Arbeitsfläche mit Holzbrett(chen) und Toaster und Brotkorb, genutzt meistens zum Brotschneiden.Über der Spüle Tee- und Trinkschokoladensortiment, sowie Brotaufstriche, die nicht gekühlt werden müssen. In dem wunderschönen Hängekorb befinden sich immer Zwiebeln, Knoblauch und Ingwer.
 
Blick in meine Küche
 
Auf der anderen Seite in der Ecke neben dem Herd befinden sich meine Messerblöcke, der Wasserkocher, die Müslibar, Kochweine, Öle, Salze, was man eben so beim Kochen braucht. In der Etagere befindet sich immer das Obst. An der Wand hängen noch diverse Utensilien, die in keine Schublade mehr gepasst haben. Über all dem hängen die Pfannen und Siebe (s.o.).
 
Blick zur Tür mit KitchenAid und mehr Küchenutensilien, sowie meiner Waage, die man aufhängen kann.
 
Blick in meine Küche
 
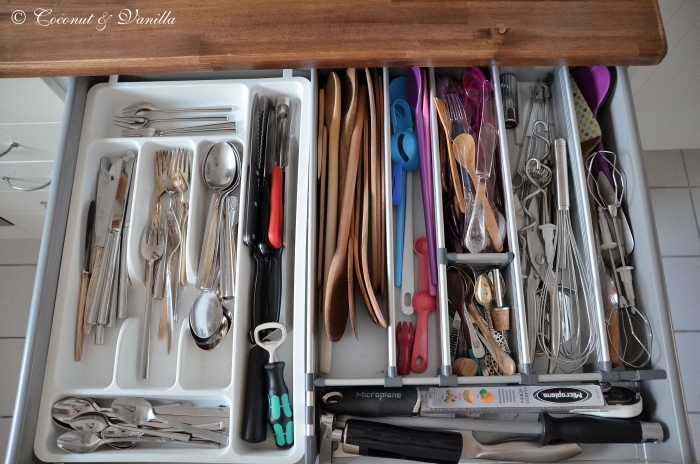
Blick in die obere breite Schublade, gefüllt mit Besteck. Rechte Seite geordnet nach Verwendungszweck bzw. Material (Holz, Plastik, Edelstahl). Cool finde ich unseren Flaschenöffner, der den Griff eines Wera Schraubendrehers hat. Hat nicht jeder! Ich mag besonders Holzbesteck zum Kochen und niemals mehr missen will ich die Microplane Reibe! Die ist so genial.
 
Blick in meine Küche
 
Schublade mit Utensilien, die schwer unterzubringen sind, aber man mehr oder weniger häufig braucht.
 
Blick in meine Küche
 
Nochmal: die KitchenAid.
 
Blick in meine Küche
 
So siehts in meinem einzigen Vorratsschrank in der Küche aus (auf der Veranda ist noch ein Einbauschrank in dem ich Vorräte lagere). Von unten nach oben: Öle, Essige, Soßen, große Container mit Mehl, darüber: Kochlebensmittel, wie Reis, Bohnen, Gries etc, darüber: 2 Auszüge mit Backzutaten, darüber Brühen und Gewürze und nochmal nur Gewürze. Ganz oben: Pasta, diverse Mehle, Backzutaten, Zeugs das seltener gebraucht wird und nicht mehr in die Auszüge gepasst hat.
Am liebsten würde ich alles in schöne Schnappdeckelgläser packen, aber dafür fehlt mir leider der Platz.
 
Blick in meine Küche
 
Ein Blick in meinen oberen Gewürzauszug. Beschriftet sind die Gläser vorne. Da ich es von unten eh nicht sehen kann was drauf steht, weiß ich ungefähr wo welches Gewürz steht und zieh dann das jeweilige Glas heraus.
 
Blick in meine Küche
 
So das war meine Küche und ein paar offene Schubladen und Schränke.
 
Eine ganz tolle Aktion, Steph!

Steph from the kleinen Kuriositätenladen called to show her our kitchens. I love to peek in peoples homes or better the kitchen. And who likes to peek , does have to let peek, too.
 
The kitchen is the most beautiful room in the apartement. I’m not just saying that, because I like to stand in the kitchen, it really is! Almost 2 years ago, as we moved in, there was no kitchen and so we had to buy one. IKEA was our choice and we never regret it (ok besides the dumb stainless steel sink, on which you can see every water stain).
 
The kitchen is really small and besides it has a second door, which leads to a mini veranda, so it wasn’t easy to install and to find the right cabinets. We also had to remove the door to the hall, otherwise we couldn’t have installed two of the cabinets. The washing machine had to be installed in the kitchen, too, since there is no other place for it. Of course we could have installed more hanging cabinets, but I like the kitchen to be light and airy, so two of them was the limit for me.
 
What I really love about the kitchen is it’s functionality and the little details like the door and drawer dampers or the IKEA garbage system (yes I even like our garbage!).
 
Photographed from the door. Left side: fridge, dish washer, washing machine, sink. In the corner door to our „veranda“.
On the wall two great cotton bags where we store our potatoes. Since then we don’t have problems with mould anymore.
 
Glimpse in my kitchen
 
Cuboard above the fridge for larger appliances and utensils, like baking dishes in lots of sizes, the box on the left side in the middle is full with cookie cutters, pasta machine, vacuum device, vegetable grater, fermentation baskets. Things you can’t see, but are also in the cupboard: a large wok (!), a caquelon (a special ceramic pan for cheese fondue), mixer and some more things.
 
Glimpse in my kitchen
 
Right side of the kitchen, opposite the picture above. In the front store cupboard with drawer pull-outs (look in the drawer pictures below). Above of it another cupboard with kitchen appliances like waffle maker, rice cooker, etc.
Next drawers and more drawser with cutlery, bowls, baking dishes, tupperware, small things.
Oven/stove top with glass splash guard on the wall.
Underneath the window a corner cabinet with an pull-out swing-out fitting with all our pots, casserole, more bowls and colanders. Next to it a small folding ladder, so I can also reach the higher cabinets.
Pans and sieves are hanging from the cealing. The strange thing in the plastic bag is a super peel for our pizzas and bread.
 
Glimpse in my kitchen
 
Sink, next to it the blender, whichis almost never used (every year for a cocktail). On the left work space (mostly used for slicing bread) with wooden cutting boards, toaster and bread baskets.
Above the sink tea and drinkg chocolate assortment, as well as spreads, which haven’t to be stored in the fridge.
I store onions, garlic and ginger always in that beautiful hanging basket.
 
Glimpse in my kitchen
 
On the other side in the corner next to the stove are my knife blocks, the granola bar, the kettle, oils, salts, what you need for cooking. In the étagère fruits are stored. On the walls we have more utensils, which didn’t fit in the drawers. Above of all this the pans and sieves.
 
View to the door with the kitchenaid and more appliances, as well as the scale, which can be hang up.
 
Glimpse in my kitchen
 
Glimpse in the upper broad drawer, filled with cutlery. On the right side organized by purpose or material (wood, plastic, steel).
I prefer wood for cooking and I never want to miss my microplane grater anymore!
 
Glimpse in my kitchen
 
Drawer with utensils, which are difficult to store, but are more or less frequently used.
 
Glimpse in my kitchen
 
Again: KitchenAid
 
Glimpse in my kitchen
 
This is what it looks like in my only storage cabinet in the kitchen (we have a built-in cabinet in the veranda, where we store supplies). From bottom to the top: oils, vinegars, sauces, larger boxes with flour, then: food for cooking, like rice, beans, semolina etc, then: 2 drawers with food for baking, then: broths and spices and again just spices. On the very top: pasta, different flours, food for baking, other stuff seldomely used.
I would like to use only glass containers, but as we don’t have much space, it’s not possible here.
 
Glimpse in my kitchen
 
View on my upper spice drawer. The glasses are labeled on the front. As I don’t see  how they are labeled from below, I know more or less where every spice is positioned and I pull out the glasses then.
 
Glimpse in my kitchen
 
This was my kitchen and some open drawers and cabinets.
 
A great event, Steph!

Glutenfreier Orangen-Polenta-KuchenGluten-free Orange-Polenta-Cake

Glutenfreier Orangen-Polenta-Kuchen

 Von meinem Weihnachtsgutschein, den ich von meiner Lieblingstante geschenkt bekommen habe, habe ich mir letzte Woche eine Ladung Kochbücher gekauft. Ein Traum! Vielen Dank nochmal für dieses tolle Geschenk!

Unter dieser Ladung befand sich auch dieses Schätzchen: Red Velvet and Chocolate Heartache von Harry Eastwood. Ich habe eine Rezension bei Valentinas über dieses Backbuch gelesen und war gleich Feuer und Flamme. Das tolle ist nämlich, dass die Autorin (ja Harry ist eine Frau!) Butter, Mehl und Zucker ganz oder teilweise durch gemahlene Nüsse und geriebenes Gemüse ersetzt. Klar ist, dass Gemüse auch Zucker enthält und deshalb braucht man zum Teig schon mal nicht mehr so viel dazugeben. Und wie man das von Karotten- und Zucchinikuchen kennt, werden die immer besonders saftig und bleiben es auch lange! Nun verwendet Harry unter anderem auch Rote Beete oder Pastinaken. Das finde ich spannend! Und für alle die sich glutenfrei ernähren, ist es praktisch, dass das Mehl häufig durch gemahlene Nüsse oder in diesem Fall auch Polenta ersetzt wird. Das ist aber nichts besonderes, es ist einfach so! Als „Normalesser“ ist einem das nicht bewusst, erst wenn man es sich eben überlegt. Erwähnt wird dies im Buch nicht explizit.

Die Aufmachung des Buches ist wie aus einer englischen Teaparty gegriffen. Klassisch verspielt.  Es gibt nicht zu jedem Rezept ein Bild, aber mit ein bisschen Fantasie und mit Hilfe der Einleitung zu jedem Rezept geht es auch so. Es ist stabil gebunden und verfügt über griffige dicke Seiten, was ich liebe. Ich kann dieses Buch jedem empfehlen, der sich von einem englischen Buch nicht abschrecken lässt und einfach mal was Neues ausprobieren möchte.

Glutenfreier Orangen-Polenta-Kuchen

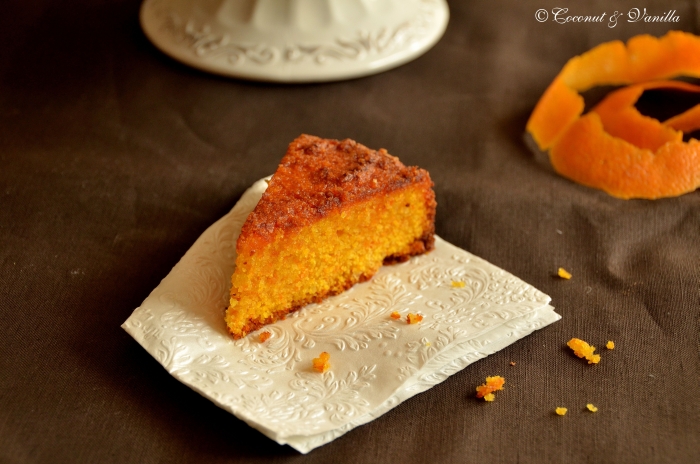
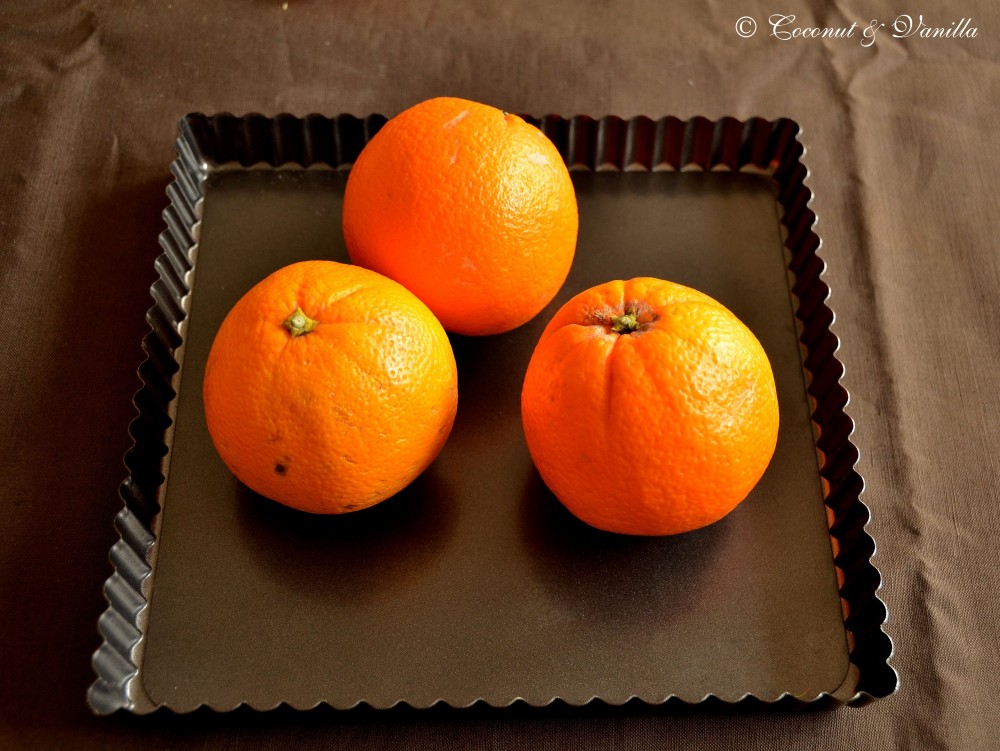
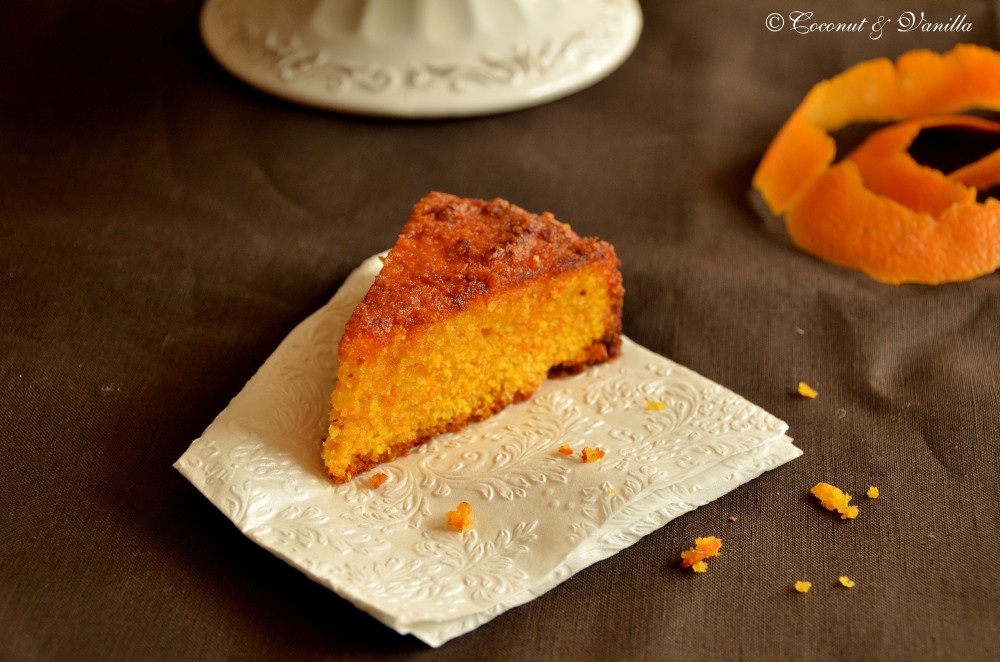
Dieser Kuchen ist ein orangiger Traum. Das liegt auch daran, dass er nochmal mit Orangensirup getränkt wird, ohne aber pappig zu werden. Verwendet werden hier Karotten, es ist also ein Einsteigerrezept. Der Kuchen ist sättigend ohne mächtig zu sein. Es ist daher von Vorteil eine 24 cm Springform oder wie im Rezept empfohlen eine quadratische 22 cm Form zu verwenden. Über die Konsistenz, geschweige denn über den Geschmack des Kuchens auf seine Glutenfreiheit zu schließen wäre im übrigen anmaßend.

Glutenfreier Orangen-Polenta-Kuchen

One year ago: Hackbraten á la Jamie

Two years ago: Überbacke Tofunocken mit Tomatensauce


Glutenfreier Orangen-Polenta-Kuchen

 Thanks to my favourite aunt, who gifted me a voucher for Christmas, I was able to buy a bunch of cookbooks last week. And in between that bunch was that little gem: Red Velvet Chocolate Heartache by Harry Eastwood. I read a review about this book and I was immediately hooked. Great thing about the book is that the author (who is a woman indeed) substitutes butter, flour and sugar completely or in parts with grounded nuts and grated vegetables. It’s for sure that vegetables naturally contain sugar and so it’s easy to omit some of it. And as you know from making carrot or zucchini cake/bread it’s always very luscious and that even after days! But Harry even uses red beets or parsnips. And that sounds amazing to me! As flour is substituted with grounded nuts or as in this case polenta, the recipes are also suitable for everyone living gluten-free. But the cool things is, that’s nothing special. That’s just the way the recipes are. And if you are not aware of that, you won’t even notice, because it’s not mentioned.

The layout of the book is like fresh from an English tea party. Classic, but frisky. Not every recipe comes with a picture, but every recipe comes with a sweet introduction of the sweet bites. So with that and your fantasy you can easily imagine every recipe without a picture. The book is bound solidly and has catchy thick sites, which I love. I overly recommend that book, if you want to try something totally new.

Glutenfreier Orangen-Polenta-Kuchen

The cake is an orange dream. Infusing it with an orange syrup after baking helps, of course, but that doesn’t mean it’s a sticky cake. It’s not. In this cake grated carrots are used, so this is a real beginner cake, speaking of the choice of vegetables. This cake is saturating, without being heavy. So it’s recommended to use a 24 cm spring form or as stated in the original recipe a 22 cm square tin. By the way it would be presumptuous to say that the texture or the taste of the cake would imply that it’s gluten-free. You would never notice.

Glutenfreier Orangen-Polenta-Kuchen

One year ago: Meatloaf á la Jamie

Two years ago: Tofuballs with Tomato Sauce

Belugalinsen mit Cabanossi und Ofen-Rote BeeteBeluga Lentils with Cabanossi and Roasted Beetroots

Belugalinsen mit Cabanossi und Ofen-Rote Beete

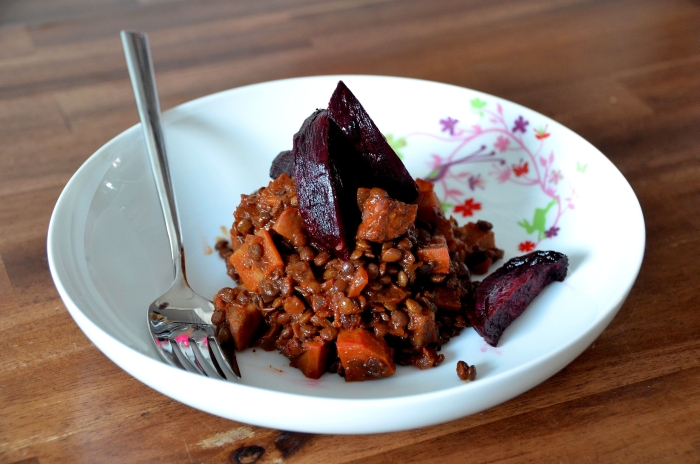
Das ist so richtig schönes Wohlfühlessen für mich! Ich liebe alles in diesem Gericht: Linsen, Cabanossi (die man für die vegetarische Variante natürlich einfach weglassen kann) und im Ofen geröstete Rote Beete, die dadurch am besten schmeckt. Verfeinert mit einem ordentlichen Schluck Rotwein, passierten Tomaten, Karotten- und Selleriewürfeln, Oregano, geräuchertem Paprikapulver (wichtig, da es ein unvergleichliches Aroma gibt) und Chili.
Belugalinsen sehen besonders schön aus, nämlich wie Belugakaviar: klein und schwarz. Aber sie schmecken auch besonders lecker und vor allem behalten sie ihre Form auch noch wenn sie gegart sind. Bei mir müssen sie noch etwas Biss haben. Die Zutaten in diesem Gericht werden durch das Kochen wie eine Einheit. Es gibt keine richtige Soße, die ist eher dicklich geworden und umgibt (großzügig) die Zutaten. Eine kohlenhydrathaltige Sättigungsbeilage ist hierbei nicht von Nöten, man kann die Leckerei auch gleich aus dem Topf löffeln.

Belugalinsen mit Cabanossi und Ofen-Rote Beete

Dadurch, dass wir 6 Wochen im Urlaub waren, habe ich im Gegensatz zu den Daheimgebliebenen das Wintergemüse noch nicht über. Ein echter Vorteil (obwohl ich mich trotzdem auf frisches Frühlingsgemüse freue)! Diesen Herbst sind wir sowieso schon zu großen Rote Beete Fans geworden. Früher kannte ich sie auch nur als Salat und habe sie schon da geliebt! Inzwischen haben wir schon viele Rezepte ausprobiert und alles hat uns begeistert. Am besten ist aber immer noch das einfache Rösten im Ofen mit Olivenöl und Salz, so wie sie als „Sahnehaube“ in diesem Rezept verwendet werden.

Belugalinsen mit Cabanossi und Ofen-Rote Beete

Vor einem Jahr: Haferflorentiner


Beluga Lentils with Cabanossi and Roasted Beetroots

This is my perfect comfort food! I love every detail  in this dish: the lentils, the cabanossi (feel free to omit these for a vegetarian version, it’s still great then) and roasted beetroots, which is the best way to make them. Refined with a decent portion of red wine, pureed tomatoes, carrot and celeriac, oregano, smoked paprika (a great ingredients, because it gives dishes an extraordinary taste) and chilli.

Beluga lentils are beautiful, as they look like beluga caviar: small and black. But they taste also very delicious and they keep their shape very well while cooking. When I cook them they still need to be a bit al dente. The ingredients in this dish will melt together. The sauce will be very thick and surrounds the ingredients. A carbon hydrated side dish isn’t needed here, as you can just eat it by the spoon out of the pot.

Beluga Lentils with Cabanossi and Roasted Beetroots

As we spent 6 weeks in Asia, I’m not yet sick of winter vegetables. A real advantage (of course I’m looking forward to fresh spring vegetables)! This autumn we became huge fans of beetroots. In the past I’ve just known beetroots as salad, which then I already loved! In the mean time we tried a lot of recipes with beetroots and were delighted by all of them. But best is still to roast them in the oven with olive oil and salt, as I made it for this recipe.

Beluga Lentils with Cabanossi and Roasted Beetroots

One year ago: Oat Florentines