[:de]Overnight-Bulgur mit Beeren und Joghurt[:en]Overnight Bulgur with Berries and Yogurt[:]

[:de]

Overnight-Oats (also Haferflocken) sind ja bereits in aller Munde. Nun bin ich kein großer Freund von eingeweichten Haferflocken. Aber man kann nicht nur Haferflocken am Abend vorher einweichen um am nächsten Morgen ein nahrhaftes Frühstück zu haben. Bulgur funkioniert ganz hervorragend und schmeckt köstlich!

Den Bulgur kann man je nach Lust und Laune in einer Flüssigkeit der Wahl einweichen. Fruchtsaft habe ich bereits ausprobiert, aber das fand ich nicht so gut. Milch mag ich und Nussmilch stelle ich mir auch sehr lecker vor. Wer nichts davon daheim hat, kann auch einfach Wasser verwenden.

Ich verwende gerne tiefgefrorene Beeren, diese sind bis ich frühstücke auch aufgetaut. Ansonsten kann rein was das Herz begehrt. Ich hatte in diesem Fall Mango zu Hause, der Rest kam in meinen Lieblingssmoothie.

Für eine erhöhte Eisen- und Eiweißzufuhr geben ich gerne Leinsamen und Weizenkleie dazu. Leinsamen enthalten außerdem große Mengen der gesunden Omega-3-Fettsäuren. Rausschmecken tut man beides nicht. Oben drauf kommen dafür meine geliebten Kokoschips, die ich letzten bei Dr. Goerg entdeckt habe. Die sind soo gut!

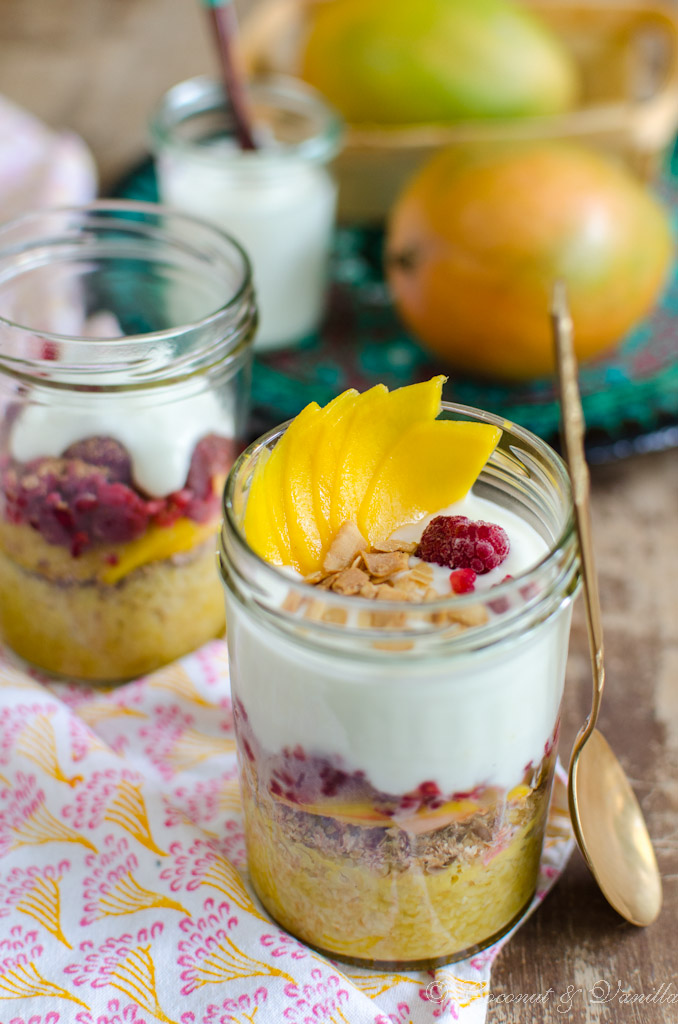
Am nächsten Morgen schichte ich auf den Bulgur noch das Obst und den Joghurt, schraube das Glas zu und nehme es mit zur Arbeit. So einfach!

Overnight-Bulgur mit Mango, Himbeeren und Joghurt by Coconut & Vanilla

Vor einem Jahr: raw! Schokoladenbrownies

Vor zwei Jahren: Rhabarberkuchen upside down

Vor drei Jahren: Rum Alexander & Jamaican Hop

Vor vier Jahren: Rhabarbercrumble mit Pekannuss-Vanille-Eiscreme

Vor fünf Jahren: Rhabarber-Streusel-Tarte

Vor sechs Jahren: Rhabarber-Streusel-Kuchen


[:en]

Overnight oats are on everyone’s lips right now. But I am not a fan of soaked oatmeal. But there is more than oats to soak overnight! Because it is just great to have a nourishing breakfast on the next day I tried some stuff. So bulgur works perfectly and tastes delicious!

The bulgur can be soaked in a liquid of your joice. I tried fruit juice, but didn’t like it much. I like milk, but I imagine nut milk to be blissful, too! If you don’t have anything of the above at home, try water instead.

I like to use frozen berries, which are thawed until I eat. I choose the other ingredients depending on my mood and what I have at home. In this case I had some leftover mango, the rest was used for my favourite smoothie.

For an increased intake of iron and proteins I like to add flaxseeds and wheat bran. Moreover, flaxseeds contain large amounts of omega 3 fats, which are very healthy and rare. You do not taste, either the flaxseeds, nor the wheat bran, so win-win! On top I like to add my beloved coconut chips, which I just discovered from Dr. Goerg. They are just delish!

On the next morning I layer the fruit and yogurt on the bulgur, close the lid tight and run off to work! It can be that easy!

Overnight-Bulgur mit Mango, Himbeeren und Joghurt by Coconut & Vanilla

One year ago: raw! chocolate brownies

Two years ago: rhubarb cake upside down

Three years ago: rum alexander & jamaican hop

Four years ago: rhubarb crumble with pecan vanilla ice cream

Five years ago: rhubarb streusel tart

Six years ago: rhubarb streusel cake

[:]

Selbstgemachte Maistortillas aus der TortillapresseHomemade Corn Tortillas

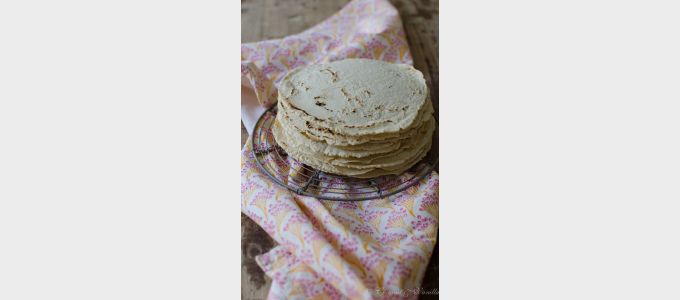
Nachdem ich Weizentortillas schon selbstgemacht habe, wollte ich natürlich auch unbedingt Maistortillas selber herstellen. Nach ein bisschen Recherche entpuppte sich das als komplizierter als gedacht. Man benötigt dazu nämlich Masa Harina, das ist spezielles behandeltes Maismehl, es ist nixtamalisiert. Nix-da-was?

Die Nixtamalisation ist ein traditionelles mexikanisches Verfahren, das nachweislich bereits 1500 v.Chr. angewandt wurde und die Backeigenschaften verbessert, dem Maismehl einen besseren Geschmack verleiht und ihn leichter verdaubar macht. Dazu werden die Körner viele Stunden in einer alkalischen Lösung gekocht. Dadurch löst sich die Hemicellulose, die die Zellwände zusammenhält, auf. Die Körnerschale löst sich und der Kern wird weich. Ein Teil des Maisöls verwandelt sich in emulgierende Verbindungen und die Maisproteine können sich leichter verbinden. Dadurch lässt sich aus nixtamalisiertem Masa Harina mit Wasser ein Teig formen, im Gegensatz zu unbehandeltem Maismehl.

Der bei der Nixtamalisation verwendete Kalk liefert Calcium, das im Mais gebunden wird und somit den Calciumgehalt im Maismehl stark erhöht. Außerdem wird das Vitamin-B Niacin so freigesetzt, dass vom menschlichen Verdauungstrakt aufgenommen werden kann. (Quelle: Wikipedia, Rezepte-Wiki)
Selbstgemachte Maistortillas aus der Tortillapresse

Das Masa Harina ist meistens aus Mexiko importiert und da das in Mexiko meistens niemanden interessiert ist es sehr wahrscheinlich aus GMO-Mais. Meine mexikanische Kollegin bestätigte mir, dass sich um dieses Problem in Mexiko keiner Gedanken macht. In Berlin habe ich dann bei Goldhahn & Sampson zufällig GMO-freies Masa Harina entdeckt! Der Preis war nicht ohne und nachdem ich das Etikett etwas genauer studierte, habe ich entdeckt, dass es aus Würzburg kommt! Ein bisschen googlen und ich fand einen mexikanischen Laden in Würzburg, der dieses GMO-freies Masa Harina für einen akzeptablen Preis verkauft (auch online!). Ich würde auf die Bezeichnung GMO-frei unbedingt achten!

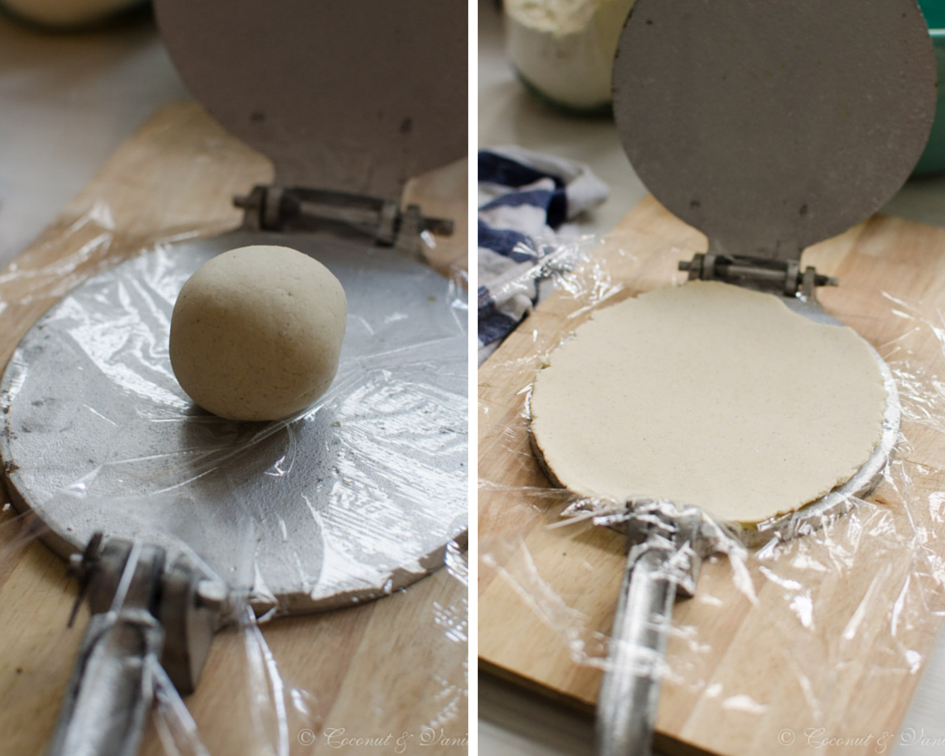
Dann benötigt man eine Tortillapresse. Damit kann man die Tortillas gleichmäßig rund und dünn pressen, ohne dass der Teig zerbröselt. Glücklichweise konnte mir meine mexikanische Kollegin diese leihen (danke!), denn ich wollte mir nicht auf gut Glück eine kaufen. Tortillapressen sind aber auch nicht teuer und man findet sie in den gleichen mexikanischen Läden, die auch das Masa Harina verkaufen.

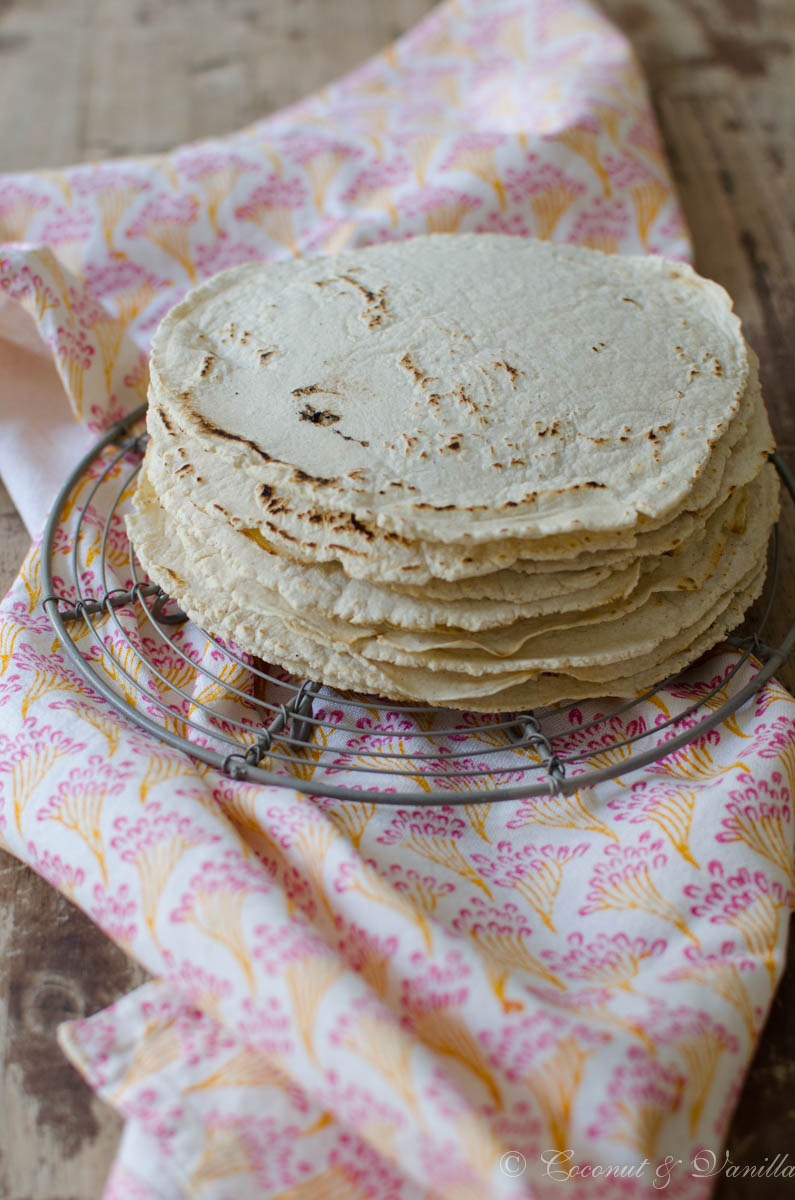
Im Nachhinein war es eine gute Entscheidung, dass ich die Presse nicht gekauft habe, denn ich bevorzuge vom Geruch, Geschmack und Konsistenz eindeutig die Weizentortillas. Gut für mich, denn die sind auch wesentlich einfacher in der Herstellung! Wer jedoch bereits Gefallen an Maistortillas hat oder diese einfach mal ausprobieren möchte, dem empfehle ich unbedingt dieses Rezept auszuprobieren!

Übrigens kann man die Maistortillas auch in Dreiecke schneiden und frittieren und erhält damit Tortillachips! Wenn man sie in Form biegt und bäckt erhält man die typischen Schalen für Tacos.

Ich vakuumiere immer 4 Tortillas zusammen ein und friere sie ein (evtl. ein Stück Butterbrot-/ oder Backpapier zwischen die Tortillas legen um ein Zusammenkleben zu verhindern). So habe ich immer eine Portion für 2 Personen fertig und einige auf Vorrat. 2 Maistortillas sind ausreichend pro Person, da sie mehr sättigen als Weizentortillas, obwohl sie kleiner sind.
Selbstgemachte Maistortillas aus der Tortillapresse

Vor einem Jahr: Selbstgemachte Gemüsebrühe

Vor vier Jahren: Fenchel-Zwiebel-Pizza

Vor fünf Jahren: glutenfreie Graham Cracker


After making my own wheat flour tortillas I wanted to make corn tortillas, of course. After a bit of research it turned out more difficult than expected, because you nead a special flour, called masa harina. Masa harina is a special treated corn flour which is nixtamalizated. Nix-ta-what?

Nixtamalization is a traditonal Mexican process, which is already used since 1500 BC and improves the baking properties, inhances the flavour of the corn flour and makes it easier to digest. Therefore the corn kernels are cooked in a lye for hours so the hemicellulose, which keeps the cell walls together, loosens up. The husks detaches from the kernels and the core softens. A part of the corn oil transforms into emulsifing compounds and the corn proteins can easier link. Because of this a dough can be formed of nixtamalized masa harina and water in contrary to untreated corn flour.

The lime used for the nixtamalization provides calcium, which is bound in the corn and therefore increases the concentration of calcium a lot. Also the vitamin B niacin is released so it can be absorbed of the human digestive tract. (source: Wikipedia, Rezepte-Wiki)

Selbstgemachte Maistortillas aus der Tortillapresse

Masa harina is mostly imported from Mexico and as there isn’t a lot of interest in this issue, it’s mostly GMO corn. My Mexican collague confirmed me that in Mexico almost no one is caring about this issue. Randomly I discovered GMO-free Masa Harina in Berlin at Goldhahn & Sampson. It was quite expensive and as I studied the label more intense I discovered it’s from a store in Würzburg! After some googling I discovered the Mexican store in Würzburg, which also sells this GMO-free Masa Harina for a reasonable price (also online!). I would always make sure it is GMO-free!

Then you need a tortilla press, so your tortillas are evenly thin and round without the dough falling apart in crumbles. Luckily my Mexican collague was so kind to borrow me it. I didn’t wanted to buy one, as I didn’t know, if I really would like corn tortillas! But tortilla presses aren’t expensive at all and you’ll find them in the same Mexican stores next to the Masa Harina.

In the end it was a good decision not to buy a press, because I prefer wheat flour tortillas, because of the texture, taste and flavour. Lucky me they are also easier to handle! But if you are already a fan of corn tortillas or like to give them a try, I can definetely recommend this recipe!

By the way, you can also cut the corn tortillas into triangles and fry them! Homemade tortilla chips! And if you form them and bake them you get those typical taco cups!

I like to evacuate 4 tortillas together and freeze them (maybe place a piece of parchment paper between them to prevent sticking). Like this I always have a portion for 2 persons ready and some in stock. 2 corn tortillas are enough per person as they make very full, more than wheat flour tortillas, although they are smaller.

Selbstgemachte Maistortillas aus der Tortillapresse

One year ago: homemade vegetable broth

Two years ago: onion fennel pizza

Five years ago: gluten-free graham cracker


Grießbrei mit Chaitee-QuittenSemolina Porridge with Chai-Tea Quinces

Ich hatte schon mal erwähnt, dass ich gerne frühstücke. Nur habe ich dafür keine Zeit. Ich muss nämlich stattdessen schlafen. Jedenfalls unter der Woche. Deshalb esse ich dann meistens nur einen Joghurt auf der Arbeit. Geht auch, ist aber nicht so optimal. Und weil ich ganz schön mäkelig anspruchsvoll bin was Joghurt anbelangt (nicht von den großen Firmen kaufen, keine Fruchtstücke, kein aufgeweichtes Müsli, keine künstlichen Aromen, also meistens bio), gehen mir langsam die Sorten aus (ich möchte nämlich nicht jeden Tag die gleiche Sorte Joghurt essen).

Müsli ist auch nicht. Weil ich habe Kiefer, statt Rücken (meistens) und Kopf und manchmal Nacken. Schnitten erinnern mich an Pausenbrot in der Schule, das muss ich auch nicht mehr haben. 13 Jahre waren genug Pausenbrot. Mir als Frostbeule würde zudem entgegenkommen, wenn das Frühstück warm ist. Tatsächlich kann man viele tolle warme Gerichte zum Frühstück machen, die auch schnell gehen und einfach sind. Zum Beispiel Grießbrei!

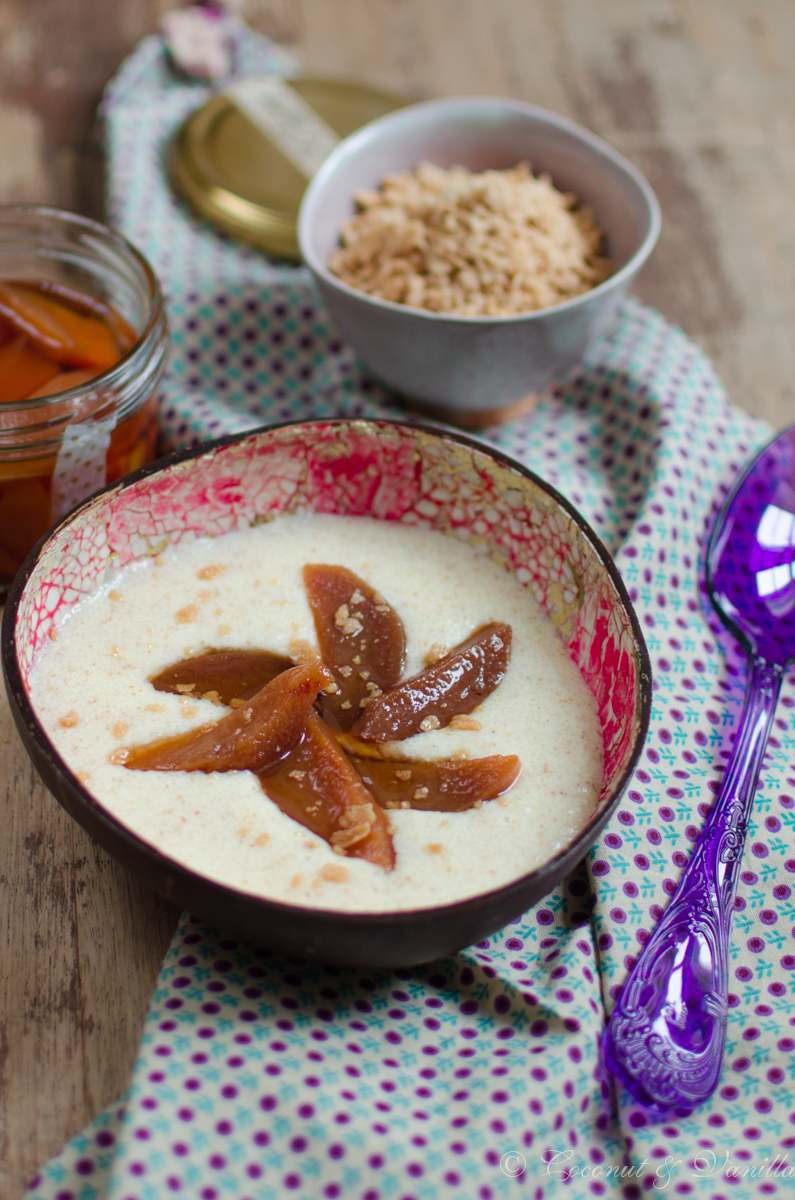
Ein köstliches Relikt meiner Kindheit, das ich immer wieder gerne aufwärme (nur im übertragenen Sinne!). 5 Minuten braucht der und man benötigt nur Grieß und Milch (oder andere Flüssigkeit, die hartgesottenen verwenden vielleicht sogar nur Wasser). Dazu etwas Obst. Kein frisches für mich. Ja, ich esse auch nur sehr selten Frischobst!

Ich mag es lieber gegart, gerne auch warm. Wärmt halt auch von innen! Eingemachtes Obst ist ganz toll und praktisch! Man kann im Winter Kirschen essen und im Frühjahr Quitten. Eingelegt in einem leckeren Gewürzsirup, der dann auch noch den Grießbrei oder jeden anderen Frühstücksbrei süßt! Das perfekte schnelle, wärmende Frühstück!

PS: Lässt sich auch gut als Mittagessen für Kinder kochen! Ohne Obst hab das sogar ich als Kind gegessen ;).

 Sweet Things von Annie Rigg

Vor vier Jahren: Pasta mit Pilzen

Vor fünf Jahren: Heidelbeer-Buttermilch-Panna Cotta


Some time ago I told you that I love to have breakfast. Just, I don’t have time for that. I want to sleep instead. At least in the week. So mostly I eat a yogurt at work and that’s it. That’s ok, but not the best. And because I’m a bit fastidious demanding about yogurt (don’t buy the big brands, no fruit pieces, no softened granola, no artifical flavours, so mostly organic) I don’t have a lot to choose anymore, as I don’t want to eat the same sort of yogurt every day.

Granola isn’t working for me either, because I have jaw problems. Sometimes also back or head and sometimes neck. Sandwiches remind me of school and I don’t need that anymore. 13 years of school sandwiches, no thanks! As I feel the cold I prefer a warm breakfast. Indeed a lot of breakfasts can be perfectly served warm and are easy and quick to prepare. Like semolina porridge!

A delicious relict of my childhood, which I like to make all over again. Semolina only needs milk and 5 minutes (or another fluid, hard-nosed people may just use water). Add some fruit. No fresh fruit for me. Yes, I also eat fresh fruit very rarely!

I prefer it cooked, with pleasure also still warm. Also warms from the inside! Preserved fruit is so great and handy! You can eat cherries in winter and quinces in the spring! Preserved in a delicious spiced syrup it also sweetenes the porridge. The perfect quick and warming breakfast!

PS: You can also cook this for children for lunch! Without fruit even I ate it as a child ;)!

Grießbrei mit Chaitee-Quitten

Four years ago: pasta with mushrooms

Five years ago: blueberry buttermilk panna cotta


Amaranthporridge mit karamellisierten Bananen und PekannüssenAmaranth Porridge with caramelized Bananas and Pecans

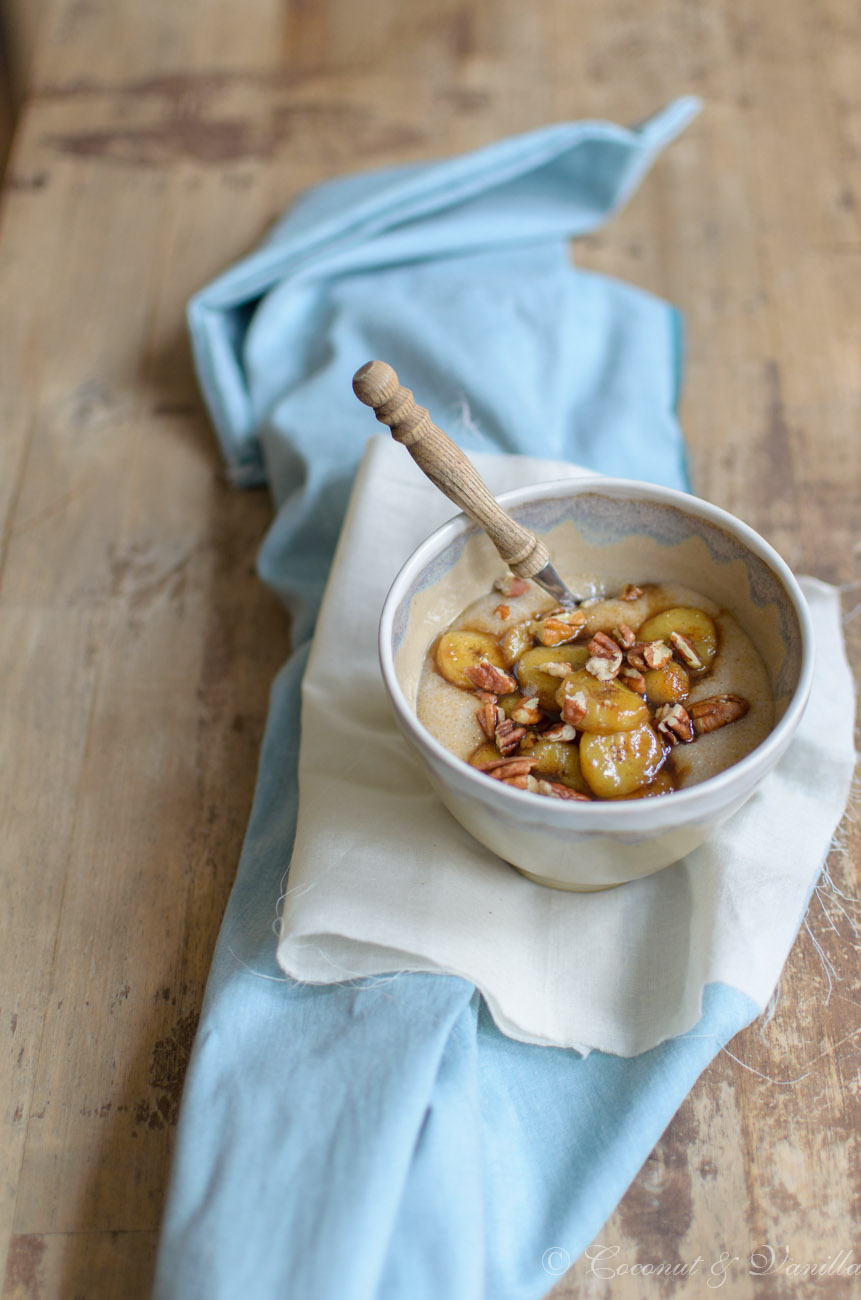
Bevor ihr bei dem Wort „Porridge“ gleich wegklickt: Moment! Der hier ist hammer lecker und auf gar keinen Fall wie ein Haferflockenporridge! Und wer kann bei karamellisierten Bananen und gerösteten Pekannüssen nein sagen? Eben! Niemand!

Und solltet ihr seltsamerweise ein Bananen und/oder Pekannussverweigerer sein könnt ihr immer noch anderes Obst und/oder Nüsse verwenden. Das ist ja nur ein (zugegegebenmaßen ziemlich göttlicher!) Vorschlag!

Alle die auf Gluten verzichten müssen, können sich an dieser Stelle auch freuen, denn dieses sättigende köstliche Frühstück ist durchweg glutenfrei! Amaranth macht’s möglich!

Was ist denn eigentlich Amaranth? Amaranth ist ein Pseudogetreide (also kein echtes Getreide und daher auch glutenfrei) und zählt zu den Fuchsschwanzgewächsen. Amaranth weist hohe Eisen-, Magnesium- und Calciumgehalte auf und ist außerdem eine gute Eiweißquelle. Es wurde bereits vor 9000 Jahren in Mexiko angebaut und gehörte bei den Azteken, Inkas und Mayas neben Quinoa und Mais zu den Hauptnahrungsmitteln.

Ich mag den etwas nussigen Geschmack und die witzige kugelige Konsistenz. Auch wenn ich mich mit Amaranth als Sättigungsbeilage noch nicht anfreunden konnte (bisher zu matschig, allerdings möche ich es mal mit dem Kochen im Reiskocher ausprobieren), finde ich es als Frühstücksbrei genau richtig. Der Amaranthporridge sättigt nämlich ohne zu stopfen, was mich bei Haferflocken stört. Dazu die in Ahornsirup, Zimt und Haselnussöl karamellisierten Bananenscheiben und meine Lieblingsnüsse und das Frühstück ist perfekt!

Den Amaranth kann man übrigens auch unter der Woche morgens kochen, während man sich im Bad fertig macht. Nüsse anrösten und Banane karamellisieren geht ja eh ganz fix. Für mich ist das hin und wieder die Rettung, wenn das Brot morgens aus ist und ich keine Lust habe zum Bäcker zu gehen!

Amaranthporridge mit karamellisierten Bananen und Pekannüssen glutenfrei

Vor einem Jahr: rotes Thai-Curry

Vor zwei Jahren: Orangen-Polenta-Kuchen (glutenfrei)

Vor drei Jahren: Hackbraten à la Jamie

Vor vier Jahren: Überbackene Tofunocken mit Tomatensauce


Before you close the blog, because of the word „porridge“: take a moment, because this one is really delicious and has nothing in common with oat porridge! And who can say no to caramelized bananas and roasted pecans? You see? No one! And if you dislike bananas and/or pecans you can also use some other fruit and/or nuts you like. It’s just a suggestion (admittetely a very good one!)! 

All of you who have to avoid gluten can enjoy this scrumptious and filling breakfast, too, because it’s totally gluten-free! Amaranth makes it possible!

What is amaranth, by the way? Amaranth is a pseudo cereal (so not a real cereal and therefore gluten-free) and belongs to the amaranth family.  Amaranth contains a lot of iron, magnesium and calcium and is also a great source for proteins. It was already cultivated 9000 years ago in Mexico and was the main dietary staple for the aztecs, mayas and incas besides corn and quinoa.

I like the slightly nutty flavour and the funny spherical texture. Although I couldn’t make friends with amaranth as a side dish (it’s too mushy for me, but I want to try it with the rice cooker soon), I think it’s just right as a breakfast porridge. The amaranth porridge fills your stomach without making you too full, which I don’t like about oats. With in maple syrup, cinnamon and hazelnut oil caramelized banana slices and my favourite nuts it’s the perfect breakfast!

You can also make the amaranth on a weekday morning and cook it while you are preparing yourself in the bathroom. Roasting nuts and caramelizing the banana only needs a few minutes afterwards! This porridge is my safety net, when I have no more bread at home and I’m too lazy to go to the bakery! 

amaranth porridge with caramelized bananas and pecans gluten-free

One year ago: red thai curry

Two years ago: orange polenta cake (gluten-free)

Three years ago: meat loaf à la Jamie

Four years ago: tofuballs mit tomato sauce 

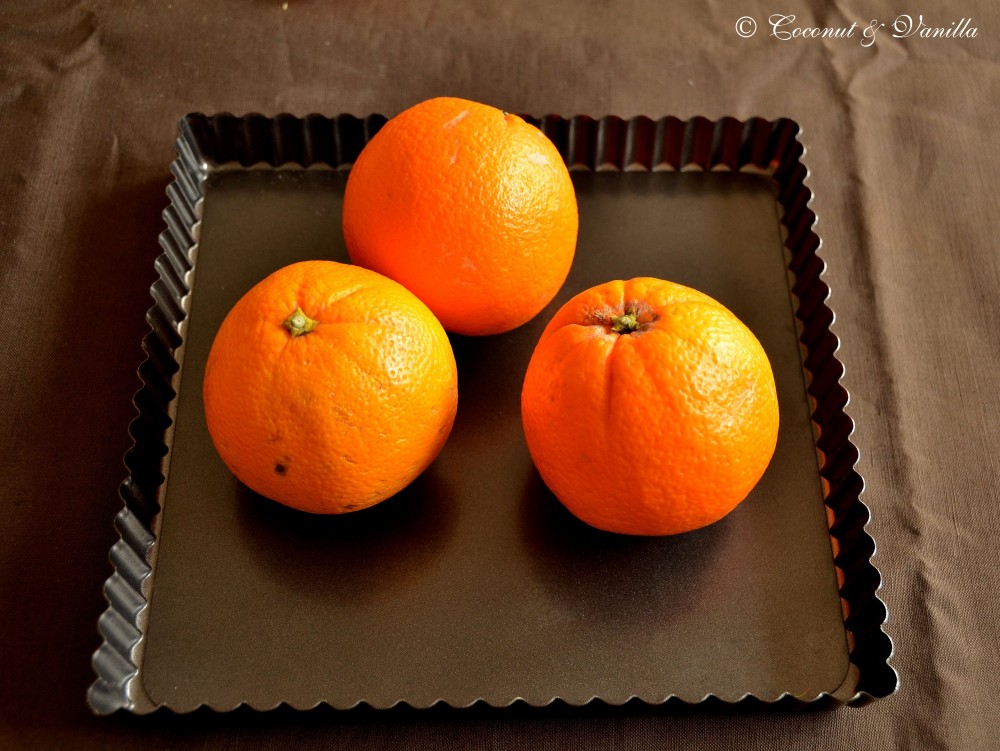
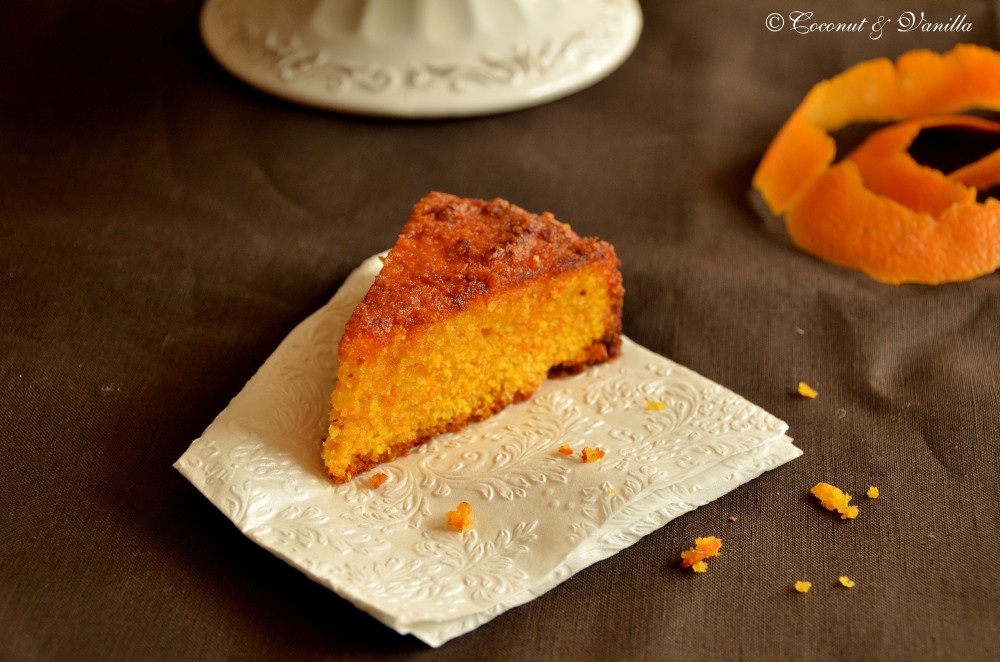
Glutenfreier Orangen-Polenta-KuchenGluten-free Orange-Polenta-Cake

Glutenfreier Orangen-Polenta-Kuchen

 Von meinem Weihnachtsgutschein, den ich von meiner Lieblingstante geschenkt bekommen habe, habe ich mir letzte Woche eine Ladung Kochbücher gekauft. Ein Traum! Vielen Dank nochmal für dieses tolle Geschenk!

Unter dieser Ladung befand sich auch dieses Schätzchen: Red Velvet and Chocolate Heartache von Harry Eastwood. Ich habe eine Rezension bei Valentinas über dieses Backbuch gelesen und war gleich Feuer und Flamme. Das tolle ist nämlich, dass die Autorin (ja Harry ist eine Frau!) Butter, Mehl und Zucker ganz oder teilweise durch gemahlene Nüsse und geriebenes Gemüse ersetzt. Klar ist, dass Gemüse auch Zucker enthält und deshalb braucht man zum Teig schon mal nicht mehr so viel dazugeben. Und wie man das von Karotten- und Zucchinikuchen kennt, werden die immer besonders saftig und bleiben es auch lange! Nun verwendet Harry unter anderem auch Rote Beete oder Pastinaken. Das finde ich spannend! Und für alle die sich glutenfrei ernähren, ist es praktisch, dass das Mehl häufig durch gemahlene Nüsse oder in diesem Fall auch Polenta ersetzt wird. Das ist aber nichts besonderes, es ist einfach so! Als „Normalesser“ ist einem das nicht bewusst, erst wenn man es sich eben überlegt. Erwähnt wird dies im Buch nicht explizit.

Die Aufmachung des Buches ist wie aus einer englischen Teaparty gegriffen. Klassisch verspielt.  Es gibt nicht zu jedem Rezept ein Bild, aber mit ein bisschen Fantasie und mit Hilfe der Einleitung zu jedem Rezept geht es auch so. Es ist stabil gebunden und verfügt über griffige dicke Seiten, was ich liebe. Ich kann dieses Buch jedem empfehlen, der sich von einem englischen Buch nicht abschrecken lässt und einfach mal was Neues ausprobieren möchte.

Glutenfreier Orangen-Polenta-Kuchen

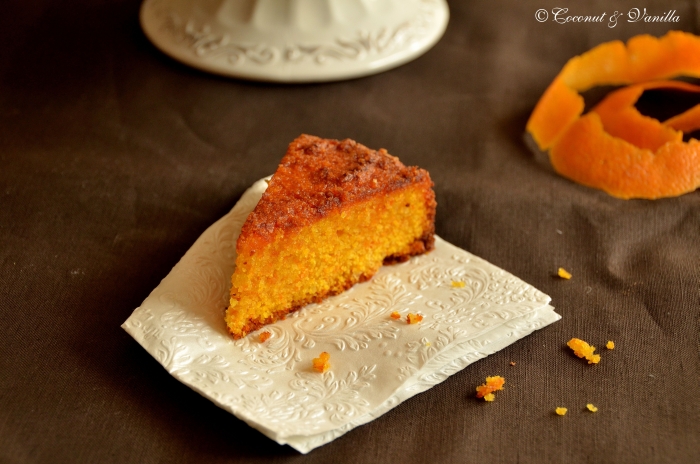
Dieser Kuchen ist ein orangiger Traum. Das liegt auch daran, dass er nochmal mit Orangensirup getränkt wird, ohne aber pappig zu werden. Verwendet werden hier Karotten, es ist also ein Einsteigerrezept. Der Kuchen ist sättigend ohne mächtig zu sein. Es ist daher von Vorteil eine 24 cm Springform oder wie im Rezept empfohlen eine quadratische 22 cm Form zu verwenden. Über die Konsistenz, geschweige denn über den Geschmack des Kuchens auf seine Glutenfreiheit zu schließen wäre im übrigen anmaßend.

Glutenfreier Orangen-Polenta-Kuchen

One year ago: Hackbraten á la Jamie

Two years ago: Überbacke Tofunocken mit Tomatensauce


Glutenfreier Orangen-Polenta-Kuchen

 Thanks to my favourite aunt, who gifted me a voucher for Christmas, I was able to buy a bunch of cookbooks last week. And in between that bunch was that little gem: Red Velvet Chocolate Heartache by Harry Eastwood. I read a review about this book and I was immediately hooked. Great thing about the book is that the author (who is a woman indeed) substitutes butter, flour and sugar completely or in parts with grounded nuts and grated vegetables. It’s for sure that vegetables naturally contain sugar and so it’s easy to omit some of it. And as you know from making carrot or zucchini cake/bread it’s always very luscious and that even after days! But Harry even uses red beets or parsnips. And that sounds amazing to me! As flour is substituted with grounded nuts or as in this case polenta, the recipes are also suitable for everyone living gluten-free. But the cool things is, that’s nothing special. That’s just the way the recipes are. And if you are not aware of that, you won’t even notice, because it’s not mentioned.

The layout of the book is like fresh from an English tea party. Classic, but frisky. Not every recipe comes with a picture, but every recipe comes with a sweet introduction of the sweet bites. So with that and your fantasy you can easily imagine every recipe without a picture. The book is bound solidly and has catchy thick sites, which I love. I overly recommend that book, if you want to try something totally new.

Glutenfreier Orangen-Polenta-Kuchen

The cake is an orange dream. Infusing it with an orange syrup after baking helps, of course, but that doesn’t mean it’s a sticky cake. It’s not. In this cake grated carrots are used, so this is a real beginner cake, speaking of the choice of vegetables. This cake is saturating, without being heavy. So it’s recommended to use a 24 cm spring form or as stated in the original recipe a 22 cm square tin. By the way it would be presumptuous to say that the texture or the taste of the cake would imply that it’s gluten-free. You would never notice.

Glutenfreier Orangen-Polenta-Kuchen

One year ago: Meatloaf á la Jamie

Two years ago: Tofuballs with Tomato Sauce

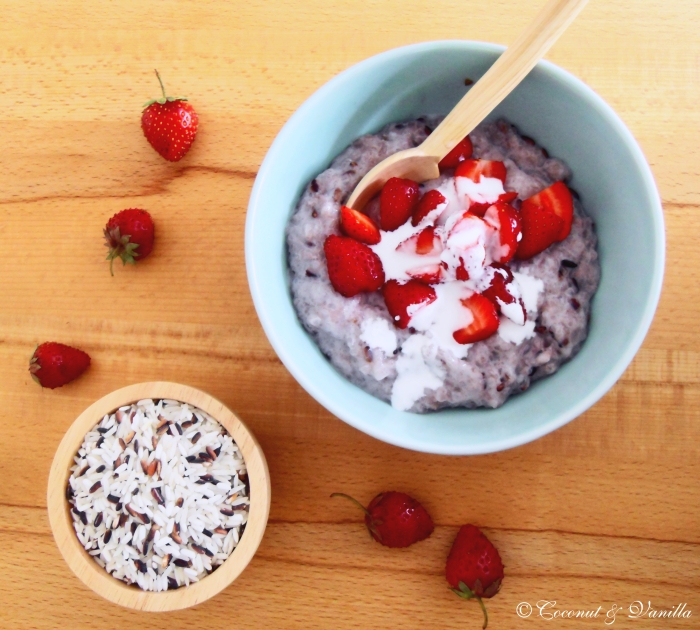
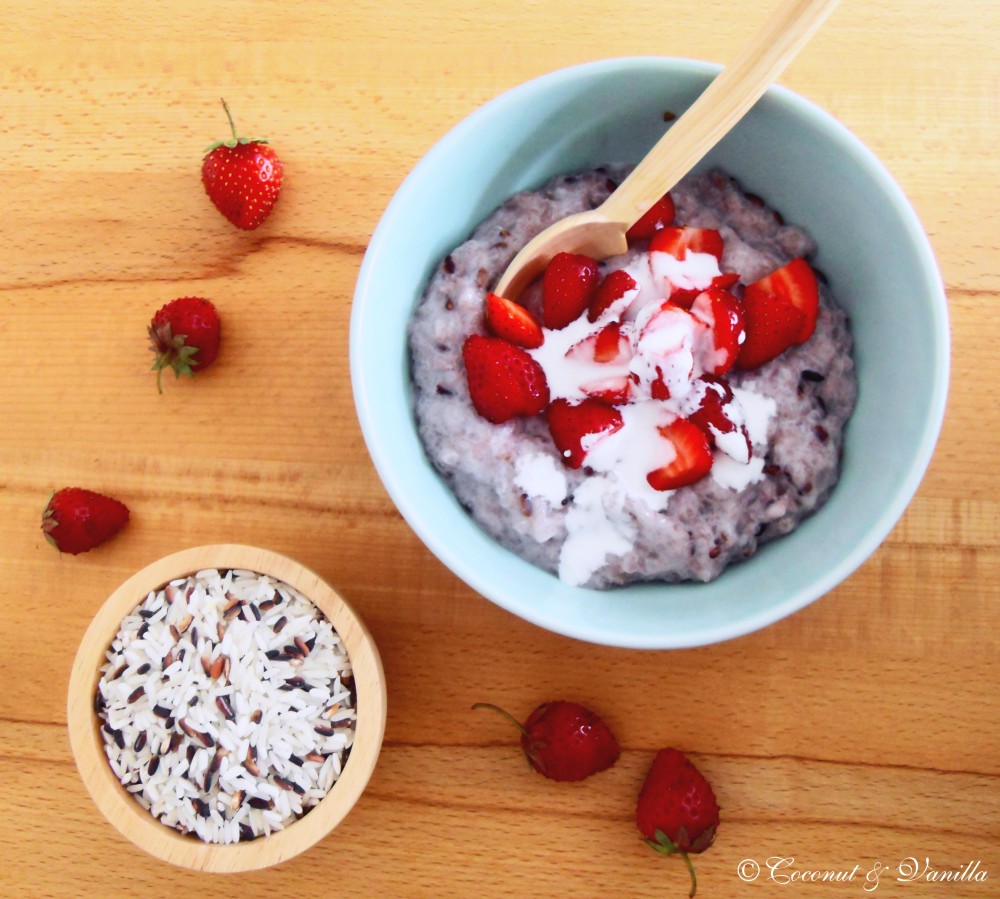
Lila MilchreisPurple Rice Pudding

Lila Milchreis

Meinen 2. Bloggeburstag feiere ich mit einem Milchreis. Nicht mit irgendeinem Milchreis – nein mit lila Milchreis! Ich fände auch normalen Milchreis schon einen Grund zum feiern. Denn (natürlich selbstmacht) da kann ich mich einfach reinlegen. Notiz machen: mal wieder Milchreis kochen.

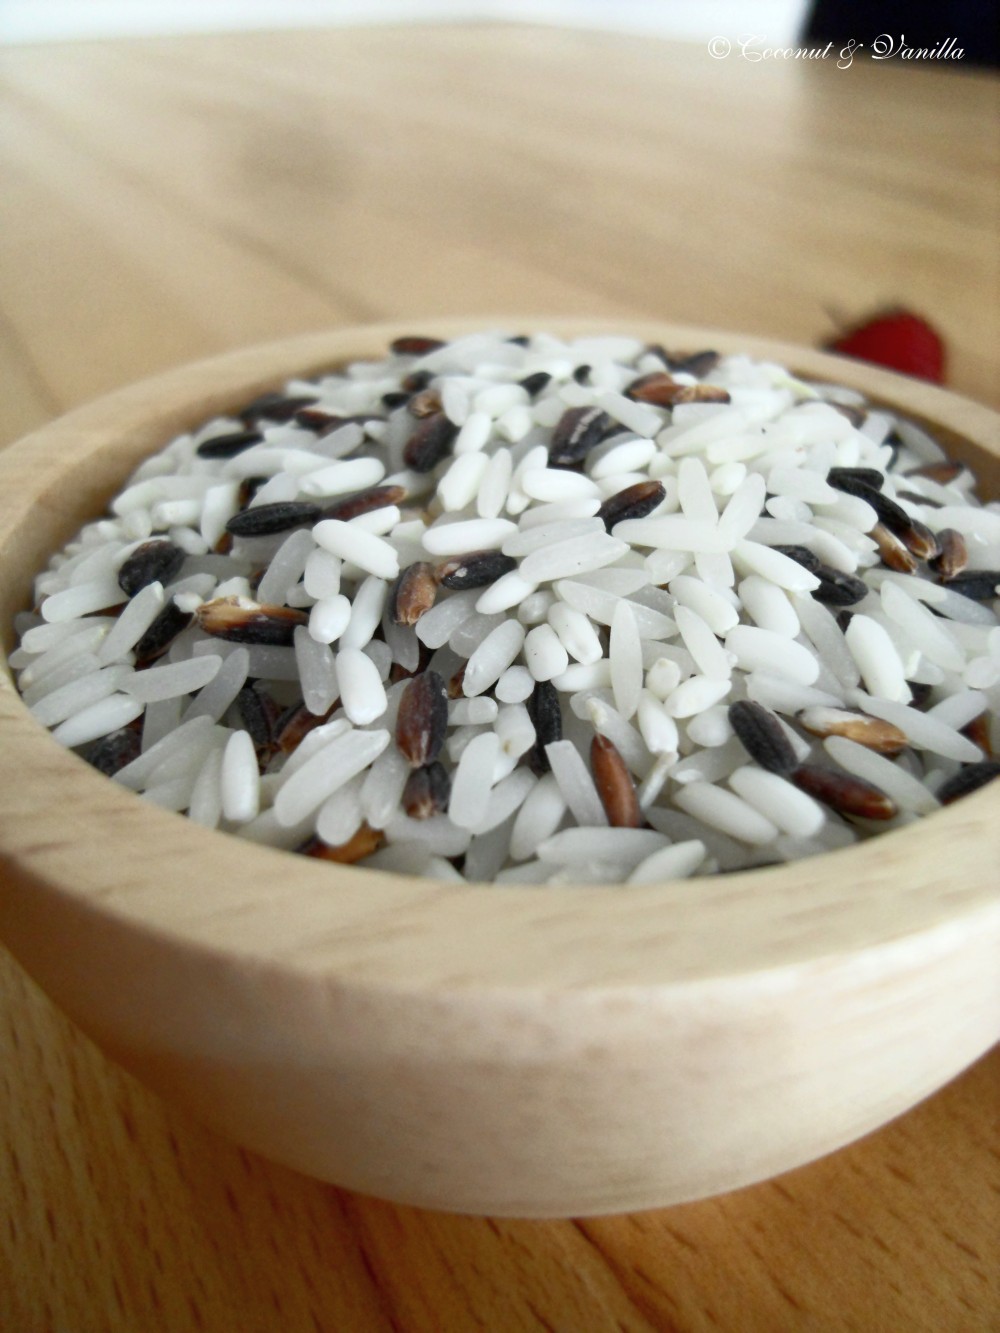
Vor 1,5 Jahren schickte mir meine Mutter ein Päckchen mit lauter Fairtrade-Produkten von der GEPA, darunter war auch eine Reismischung, die lila Reis enthält (klickst du hier). Ich mag zwar außergewöhnliche Zutaten, trotzdem weiß ich nicht mit allem gleich was anzufangen. Deswegen hat es auch 1,5 Jahre gedauert bis ich die Verbindung zu einem Rezept in meinem Lieblings-Thailand-Kochbuch hergestellt hatte. Da aus diesem Kochbuch einfach alles köstlich schmeckt und auch einfach zu kochen ist (es ist wirklich ständig seit Jahren in Benutzung – Empfehlung!), habe ich dann dieses Rezept in Angriff genommen.

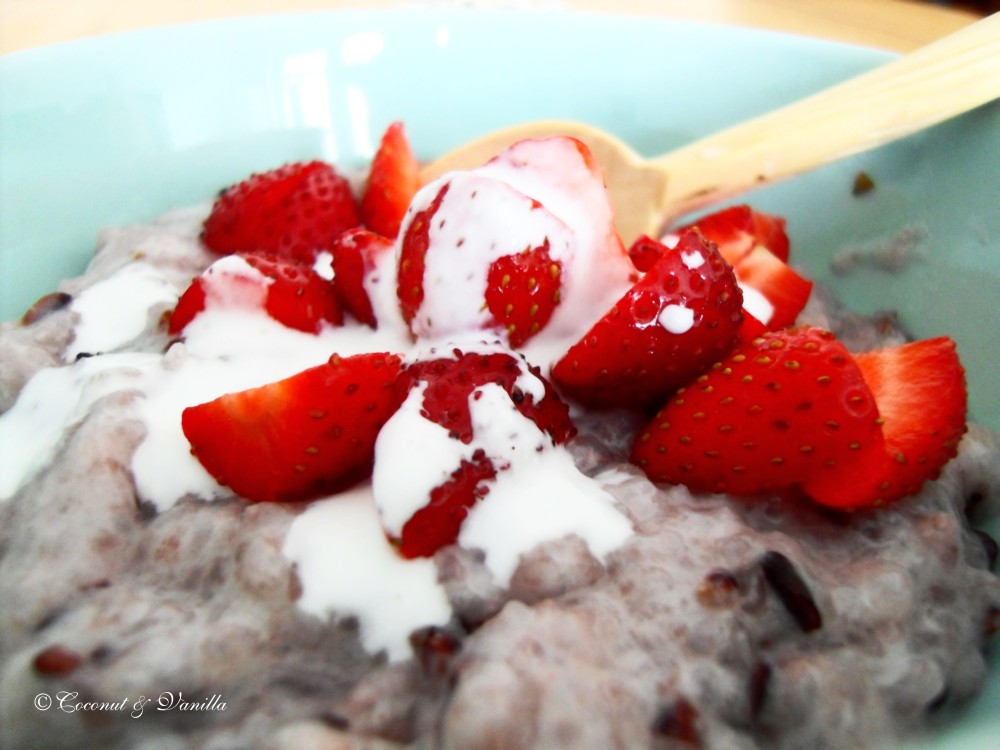
Und es ist göttlich! Erst kocht man den Reis in Wasser bis er gar ist und die richtige Milchreiskonsistenz erreicht hat (was bei mir länger gedauert hat, als im Buch angegeben). Und dann rührt man lecker Kokosmilch und Zucker darunter. Und ja die Menge des Zuckers ist gut so, auch wenn es einem viel vor kommt. Getoppt wird das ganze mit leckerem Obst (bei mir Erdbeeren, aber Mango oder Pfirsiche passen sicher auch gut) und dem dicklichen Teil der Kokosmilch – gesalzen. Ja richtig! Und das macht die perfekte Kombination aus in diesem Dessert! Vertraut mir.

Wer beim Original bleiben will nimmt übrigens Jackfruit als Obst. Hatte ich aber keine Lust zu suchen (mal abgesehen davon, dass ich gar nicht weiß wie es schmeckt und Dosenzeugs kam nicht in Frage). Und natürlich kann man das Ganze auch mit weißem Klebreis machen (auch wenn ich es nicht versucht habe bisher).

Im Urlaub vor 3 Jahren auf Bali habe ich ein ähnliches Dessert genossen. Dort auch diese leckere Süß-Salzig-Kombi, nur ohne Reis, sondern ich glaub es war Tapioca. Tja ich kann mich nicht mehr erinnern.

Aber was gibt es besseres als den 2. Blog-Geburtstag mit einem mit Erinnerungen an Urlaub verbundenes Dessert zu feiern?! Danke, dass ihr so fleißig und wiederkehrend (!) meinen Blog besucht! Seit gewiss, es folgen weitere Rezepte).

Lila Milchreis
 
Vor zwei Jahren: Wachteln, kalt und warm
 
Lila Milchreis mit Erdbeeren
 
aus dem Kochbuch Thailand
  • 250 g lila Reis Mischung
  • eine Dose Kokosnussmilch, nicht geschüttelt
  • 2 Prisen Salz
  • 200 g Zucker
  • 250 g Erdbeeren (oder anderes Obst, nach Gusto)
Den Reis waschen und 3 Stunden in kaltes Wasser legen. Den Reis abgießen und mit 300 ml frischem Wasser zum Kochen bringen und bei kleiner Hitze garen. Er sollte Milchreiskonsistenz haben. Eventuell Wasser nachgießen, wenn nötig. Das ganze dauert 20 bis 30 Minuten, je nach Reissorte (echter Milchreis dauert länger).
 
Die Erdbeeren waschen und in Scheiben schneiden.
 
Von der Kokosmilch den dickflüssigen Teil abnehmen, etwa 8 Esslöffel. Den Rest mit dem Zucker verrühren. Die dickflüssige Milch mit dem Salz verrühren. Man sollte das Salz herausschmecken. Die gezuckerte Kokosmilch unter den Reis rühren. Auf Dessertschalen verteilen und mit den Erdbeeren und der salzigen Kokosmilch garnieren.

 
Lila Milchreis


Purple Rice Pudding

I have a Thai cookbook, that accompanies me already some years and I love it ever since. Everything in there is delicious and easy to cook! It’s an all-time favourite.

There I spotted the recipe for the purple rice pudding. Years ago, too, of course. But I’ve never made it, although it’s easy and delicious. Again. Ok, the purple rice may be a drawback. Over 1,5 years ago my mother send me a parcel with fair-trade products, In there was also a package with purple rice, or at least a mixture containing purple rice. It took 1,5 years to draw the connection.

Of course you can also make this rice pudding with some sticky white rice. I truly recommend it, because it’s that delicious!

The rice pudding is cooked in water, until it reaches the right texture, which depends on the kind of rice you are using. Afterwards you mix it with coconut milk and sugar  and serve it with some fruit and the salted thick part of the coconut milk. The saltiness pairs perfect with the sweet rice pudding and the fruits. I used strawberries, because they were perfect in season, but feel free to substitute, for instance with peach or mango. The original recipe recommends jackfruit, which was to complicated for me to get and I didn’t wanted to use any fruit from cans.

3 years ago on a holiday on Bali, I ate a dessert that was quite similar to this, because of the sweet- and saltiness. Different because it wasn’t made of rice. Although I can’t remember anymore what was used instead.

A delicate dessert connected with some memories, perfect to celebrate my second blogaversary! Thanks for visiting my blog! I hope you enjoyed the time ever since on my blog and I’m happy to provide you with more upcoming recipes!

Purple Rice Pudding
 
Two years ago: Quails, warm and cold
 
Purple Rice Pudding with Strawberries
 
from the cookbook Thailand
 
Ingredients:
  • 250 g purple rice mixture
  • 400 g coconut milk (one can, not shaken)
  • 2 pinches of salt
  • 200 g sugar
  • 250 g strawberries (or some other fruit you like)
Rinse the purple rice and soak it 3 hours in cold water. Strain off the water, and cook it on low heat with 600 ml of water, until it reaches the perfect texture for rice pudding (soft, but a bit firm to the bite). Add more water if needed. It takes about 20 to 30 minutes, depending on the sort of rice, you are using.
 
Wash the strawberries and cut them into slices.
 
Remove the upper thicker part from the coconut milk. About 8 Tbsp. Mix with the salt. You should taste the salt. Stir the sugar in the rest of the coconut milk. Stir in the rice. Arrange on dessert bowls and top with strawberries and the salted coconut milk.

 
Purple Rice Pudding

Couscous-Avocado-SalatCouscous-Avocado-Salad

Update: Für das deutsche Rezept nach unten scrollen!

Just another comfort food. Just another perfect summer dish. Just a perfect snack. Just a perfect everyday dish. Just a perfect picnic dish. Just a perfect side dish for grilling. Just so many options for eating this wonderful, delicious and easy salad.

Couscous-Avocado-Salad

It hasn’t deserved the word salad. I mean salad is something, that involves some lousy leaves of some green plant. It’s something, that doesn’t saturate. Attributes that have nothing to do with that „salad“. You can serve the salad immediately warm, or cold or at room temperature. So versatile again.

Couscous-Avocado-Salad

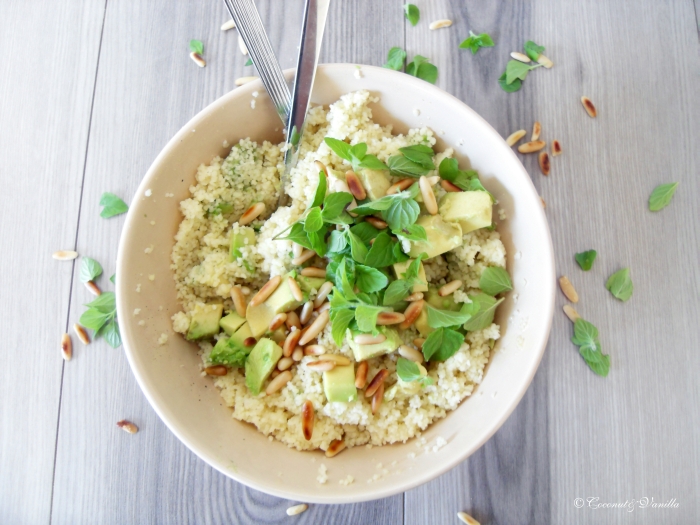
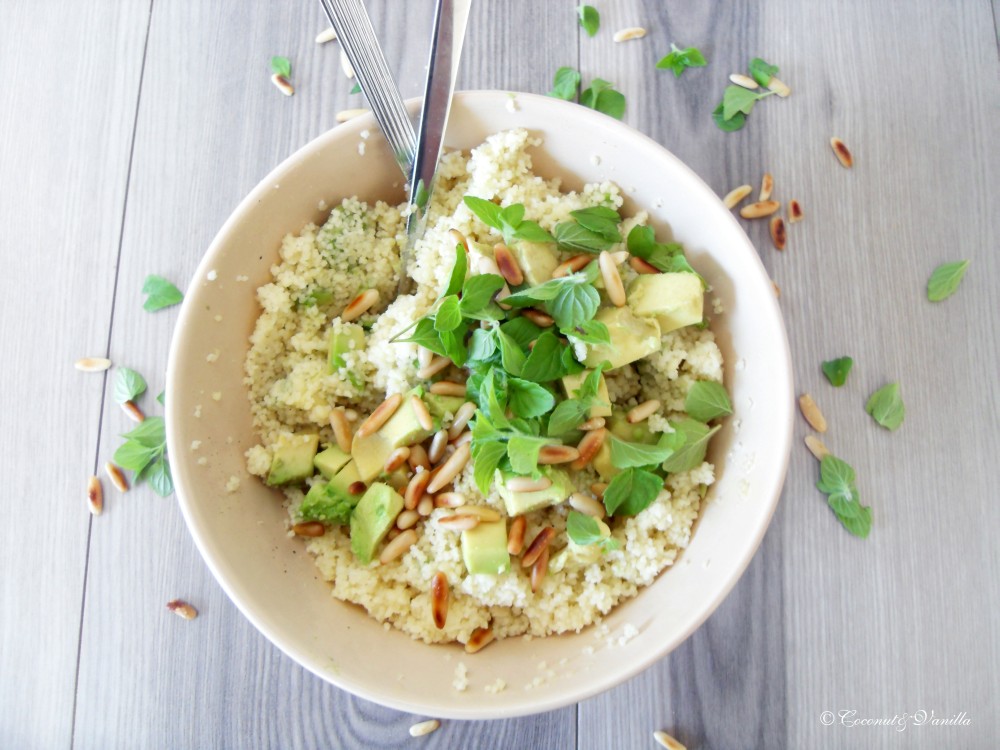
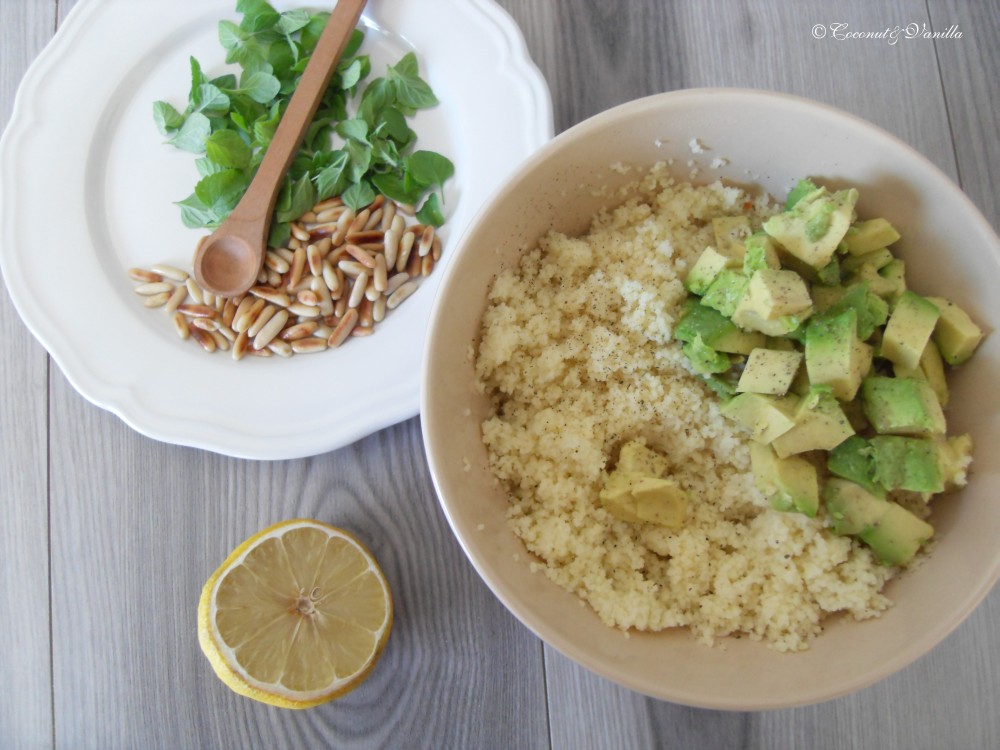
This dish involves only delicious ingredients. Couscous, avocado, pine nuts, mint, honey. The product has to be luscious. And it is! So next time you go by an avocado, buy it and remember this dish.

I’m looking forward to tomorrow, since then we’ll be going to the market again. Maybe I’m making some photos then and a bit of story telling about it next time. We will definitely go to our favourite market stall again, buy vegetables, especially those great tomatoes, buy some bread at the bread stall, cheese and maybe some flowers. Some of the flowers, which we bought last Saturday and I showed you in the last post are still vivid, like the beautiful orange lilies and the gerbera. 

Couscous-Avocado-Salad

Vor einem Jahr: Death by Chocolate


Just another comfort food. Just another perfect summer dish. Just a perfect snack. Just a perfect everyday dish. Just a perfect picnic dish. Just a perfect side dish for grilling. Just so many options for eating this wonderful, delicious and easy salad.

Couscous-Avocado-Salad

It hasn’t deserved the word salad. I mean salad is something, that involves some lousy leaves of some green plant. It’s something, that doesn’t saturate. Attributes that have nothing to do with that „salad“. You can serve the salad immediately warm, or cold or at room temperature. So versatile again.

Couscous-Avocado-Salad

This dish involves only delicious ingredients. Couscous, avocado, pine nuts, mint, honey. The product has to be luscious. And it is! So next time you go by an avocado, buy it and remember this dish.

I’m looking forward to tomorrow, since then we’ll be going to the market again. Maybe I’m making some photos then and a bit of story telling about it next time. We will definitely go to our favourite market stall again, buy vegetables, especially those great tomatoes, buy some bread at the bread stall, cheese and maybe some flowers. Some of the flowers, which we bought last Saturday and I showed you in the last post are still vivid, like the beautiful orange lilies and the gerbera.


Couscous-Avocado-Salad

One year ago: Death by Chocolate

Arroz Con Leche… Lo Mejor

Updaten: Für das deutsche Rezept nach unten scrollen!

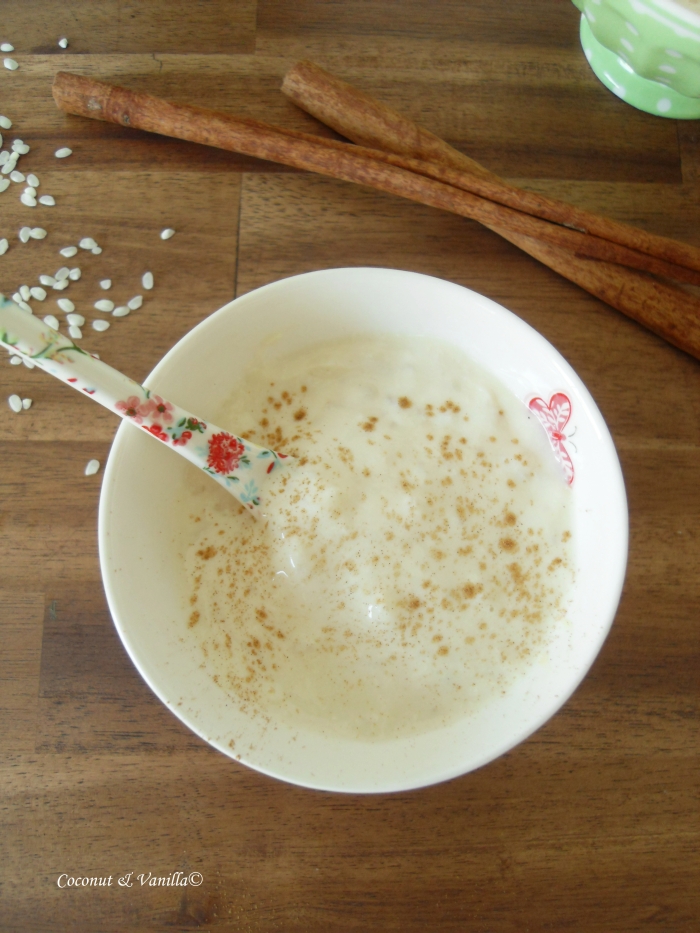
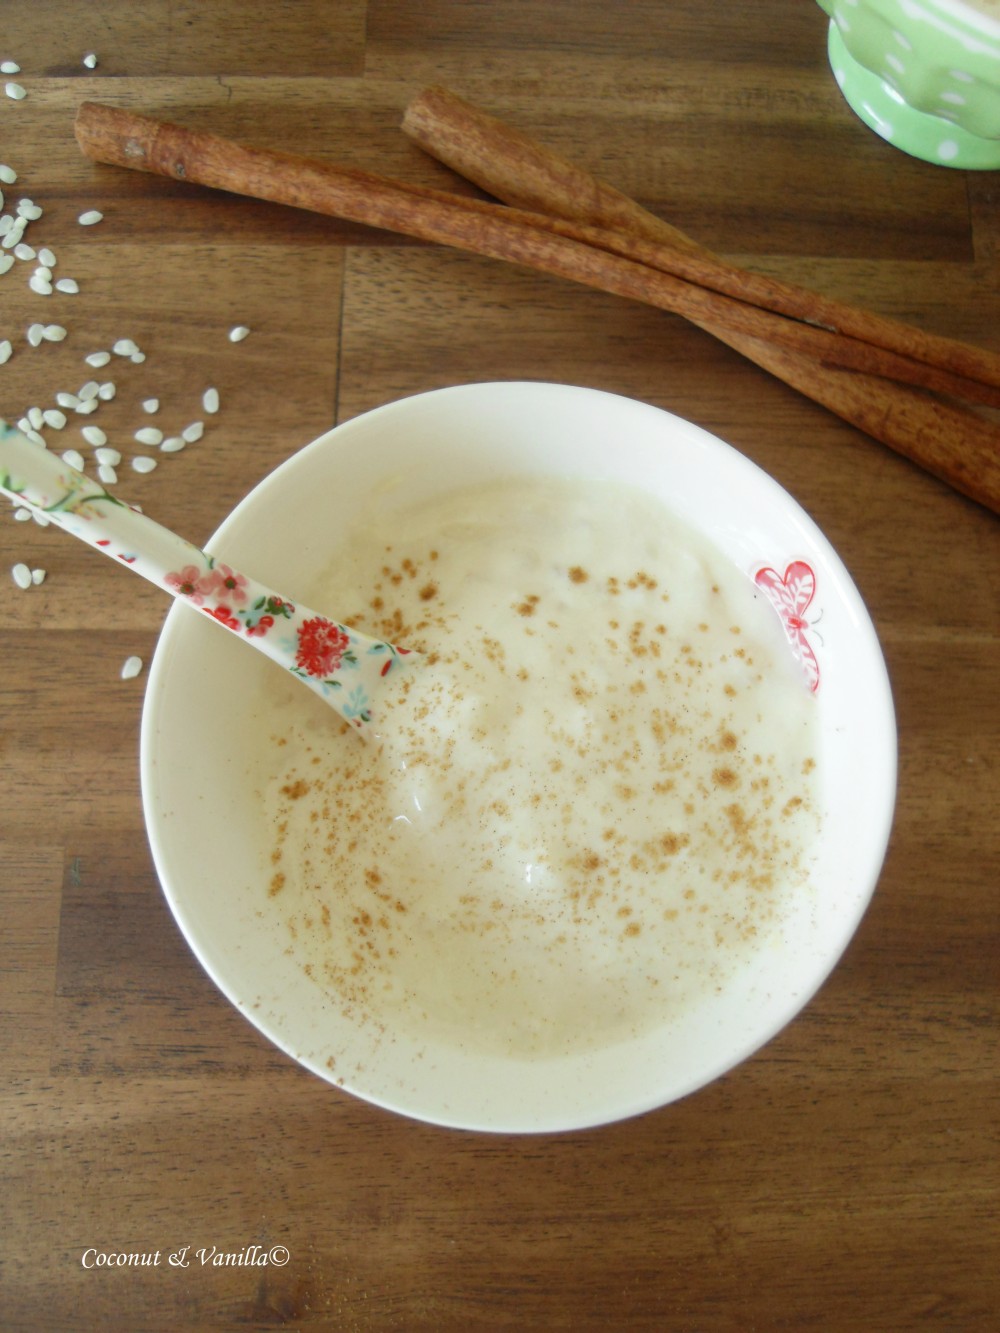
Since I was in Spain as a child ( to be more precise in Andalucía), I was craving for the arroz con leche I ate there. It has to be cold or be at room temperature and should be creamy or even slightly fluid. Not that mush you are getting here. Also it has to have this delightful taste of cinnamon.

I was looking for the recipe a very long time. Some day I was looking through Aran’s blog and I found a recipe. A recipe, which called for 50g rice per 1 l milk! I was a bit irritated, but after all Aran is Basque and so I trusted her, that she can produce real good spanisch arroz con leche. And I wasn’t disappointed.

Arroz Con Leche

In english you would say rice pudding, in german “Milchreis”. But you can’t compare those with arroz con leche. So arroz con leche is arroz con leche. It’s just different. But better in any way. MUCH better. So give it a try and don’t let yourself put off by the hour you have to invest!

Arroz Con Leche

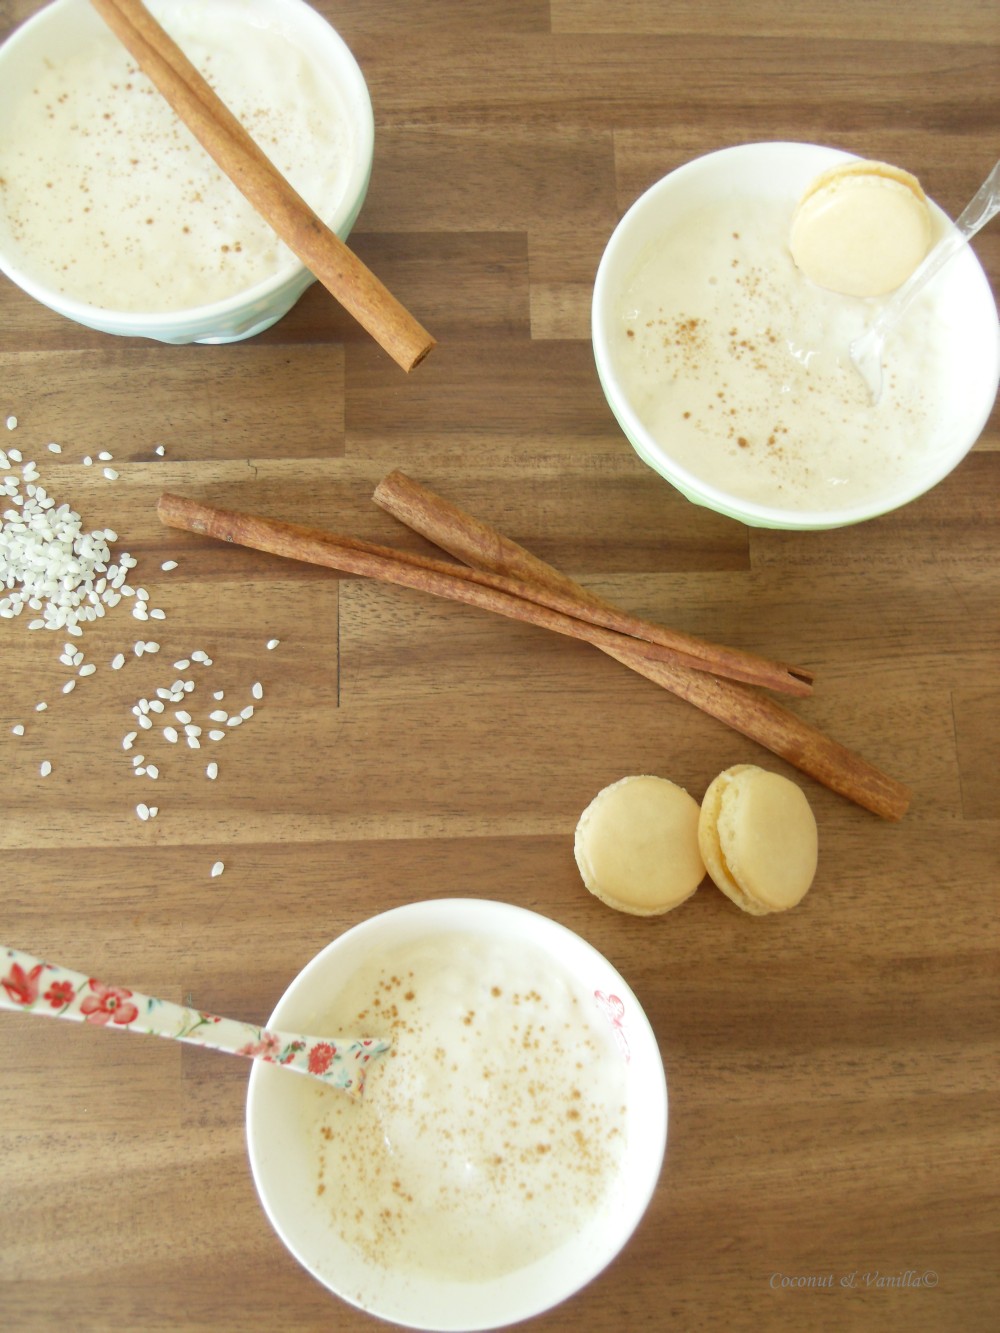
As you see in the pictures I also made some macarons. I had so much leftover egg whites and the only thing I know to do with them is macarons. So I made a doubled batch (maybe not the best idea) and made two different fillings. One was a white chocolate-peach-ganache, the other one was lemon curd. Both are very refreshing in the summer heat, as a snack in between. If you have summer heat in your area. Ours is just gone – 15 °C – that’s no fun!

Arroz Con Leche

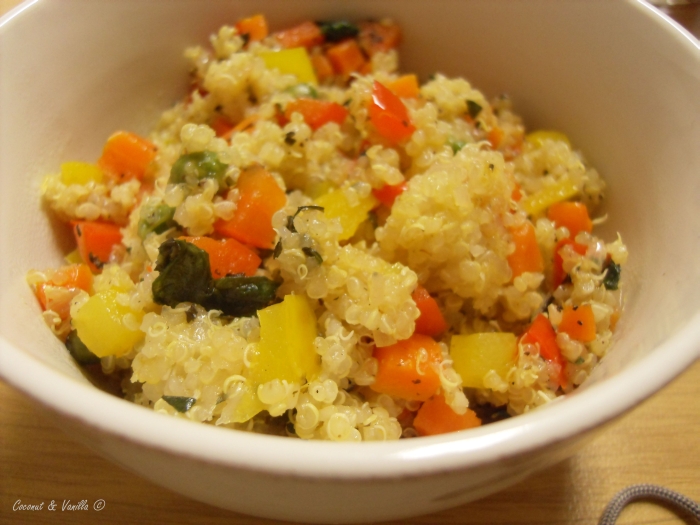
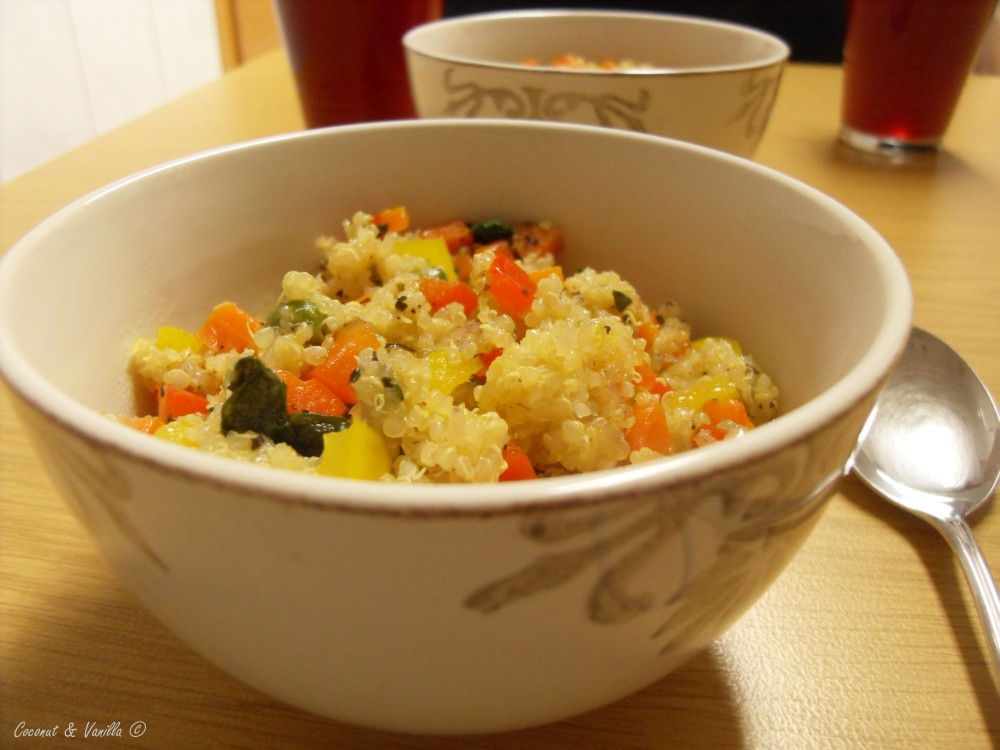
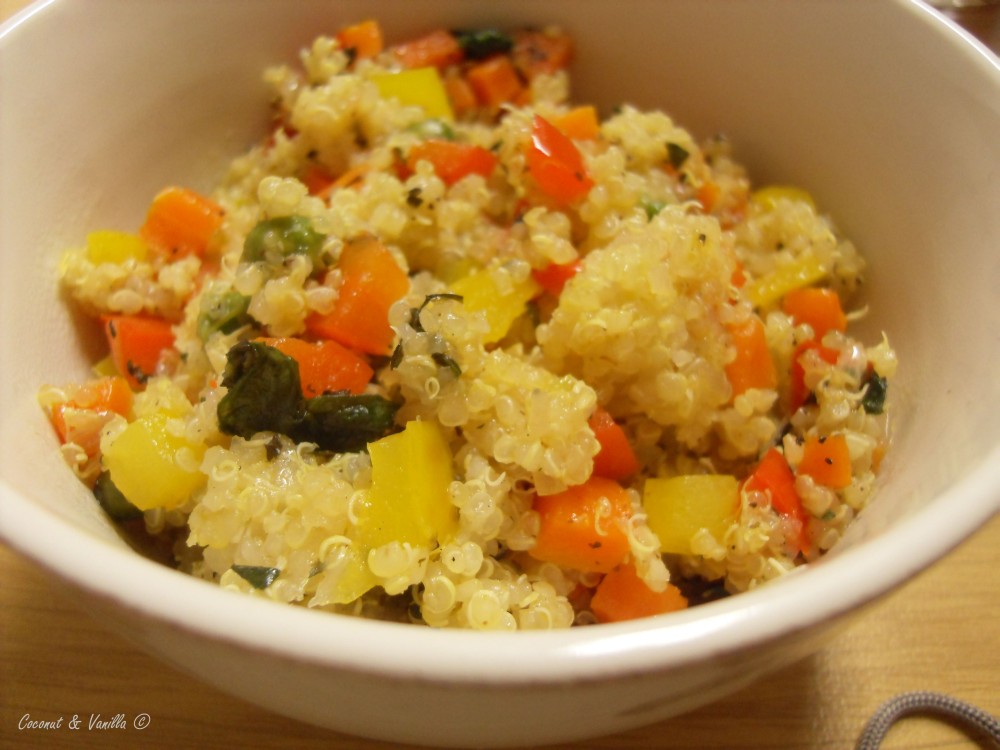
Gemüse mit QuinoaVegetables with Quinoa

Update: Für das deutsche Rezept nach unten scrollen!

Gemüse mit Quinoa

Feeling like spring is coming over. Unfortunately winter in Germany is not thinking the same. We had a lot of problems with the masses of snow in Germany, up to the icebound island of Hiddensee. I’m sick of winter and snow and the cold!

Since I cannot do anything about that, I make myself a little bit warmer with food feeling like spring. Less meat, more vegetables.
And I’m juggling with trying new things, like quinoa. So it occurs, that this dish is gluten-free. Just another coincidence. If you do not have quinoa, you can also make some rice, maybe some wild rice? But I recommend you the quinoa. It gives you another flavour. A slightly flavour of nuts. Also it’s kinda lighter. I can’t describe it really, you have to taste!

Gemüse mit Quinoa

For making the quinoa I used my rice cooker, which worked perfect. But if you don’t have one, you can just make it in a saucepan on the stove.

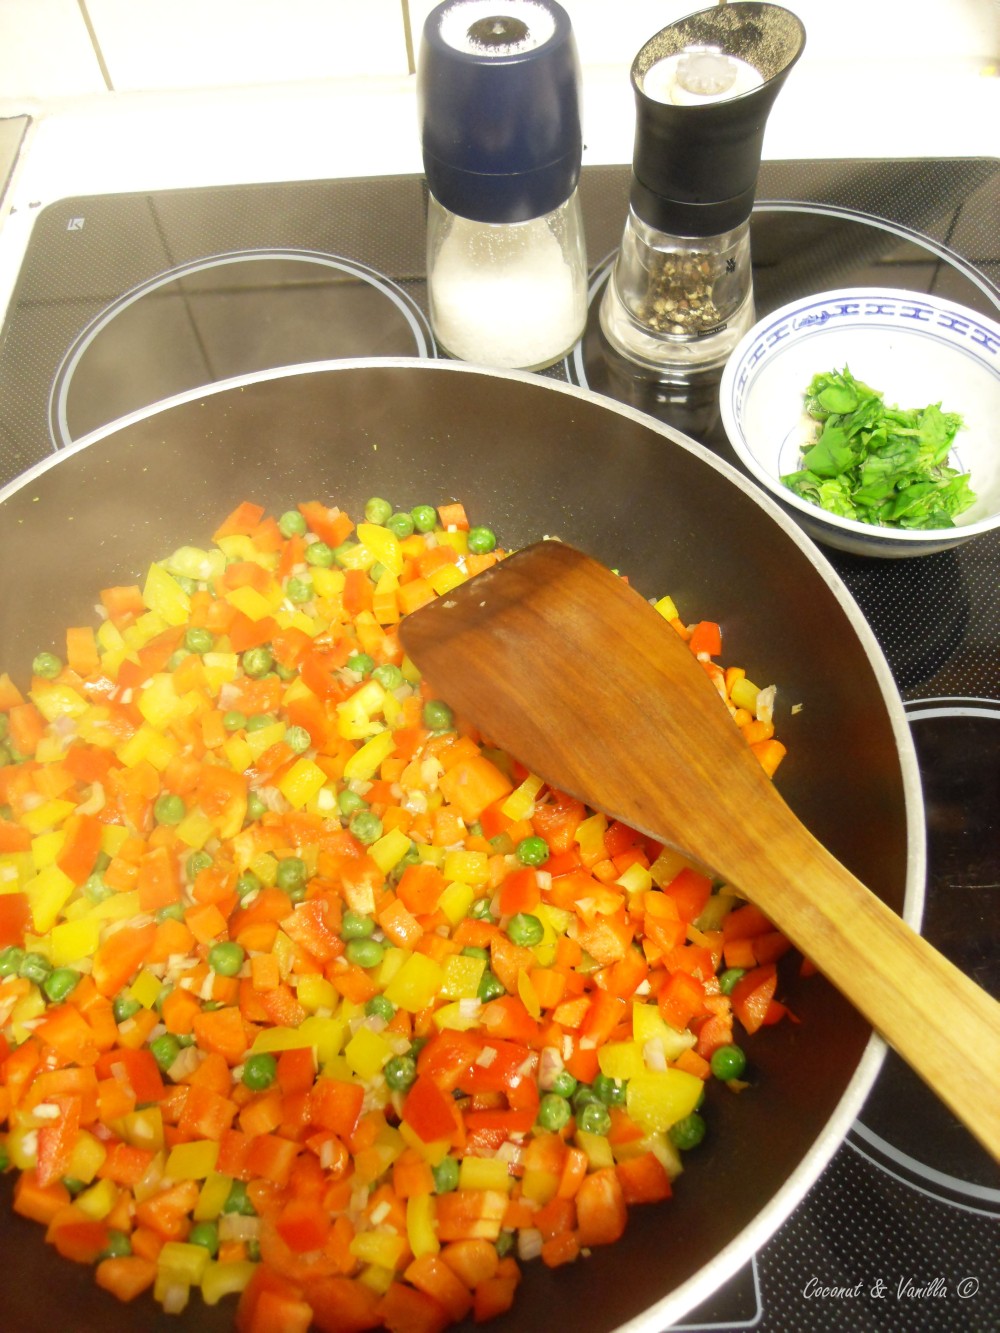
You can vary the vegetables you use. Also available and fitting now are mushrooms, fennel or some squash for example. In summer you can use zucchini, tomatoes or cucumber and you can eat it cold as a salad with some fruit vinegar like quince vinegar. See, I’m already dreaming of summer!

Gemüse mit Quinoa

vegetables with quinoa

Feeling like spring is coming over. Unfortunately winter in Germany is not thinking the same. We had a lot of problems with the masses of snow in Germany, up to the icebound island of Hiddensee. I’m sick of winter and snow and the cold!

Since I cannot do anything about that, I make myself a little bit warmer with food feeling like spring. Less meat, more vegetables.
And I’m juggling with trying new things, like quinoa. So it occurs, that this dish is gluten-free. Just another coincidence. If you do not have quinoa, you can also make some rice, maybe some wild rice? But I recommend you the quinoa. It gives you another flavour. A slightly flavour of nuts. Also it’s kinda lighter. I can’t describe it really, you have to taste!

vegetables with quinoa

For making the quinoa I used my rice cooker, which worked perfect. But if you don’t have one, you can just make it in a saucepan on the stove.

You can vary the vegetables you use. Also available and fitting now are mushrooms, fennel or some squash for example. In summer you can use zucchini, tomatoes or cucumber and you can eat it cold as a salad with some fruit vinegar like quince vinegar. See, I’m already dreaming of summer!

vegetables with quinoa

Selbstgemachtes MüsliHomemade Granola

Update: Nach unten scrollen für das deutsche Rezept!

Happy new year everybody!

Selbstgemachtes Müsli

Thank you for your visits and supports in my first months of blogging! I’m always afraid and happy, when I read your comments. I’m always pleased to return the favour and visit your blogs! Some of them have already found their way in my daily reading list.

I hope you enjoyed my new blog last year. I will do my very best this year, too.

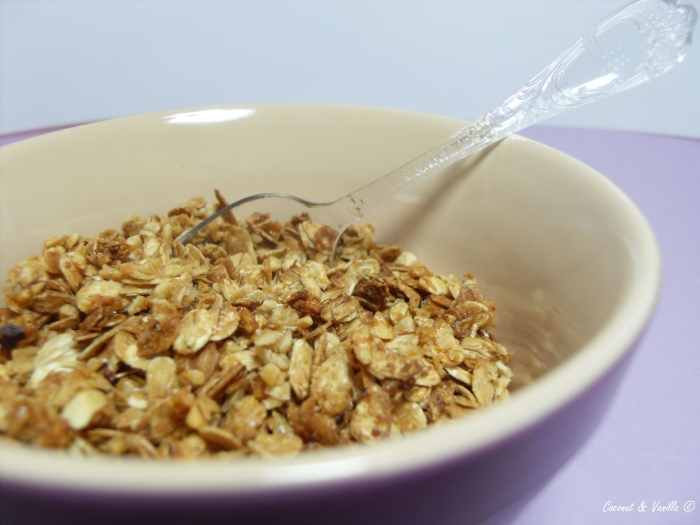
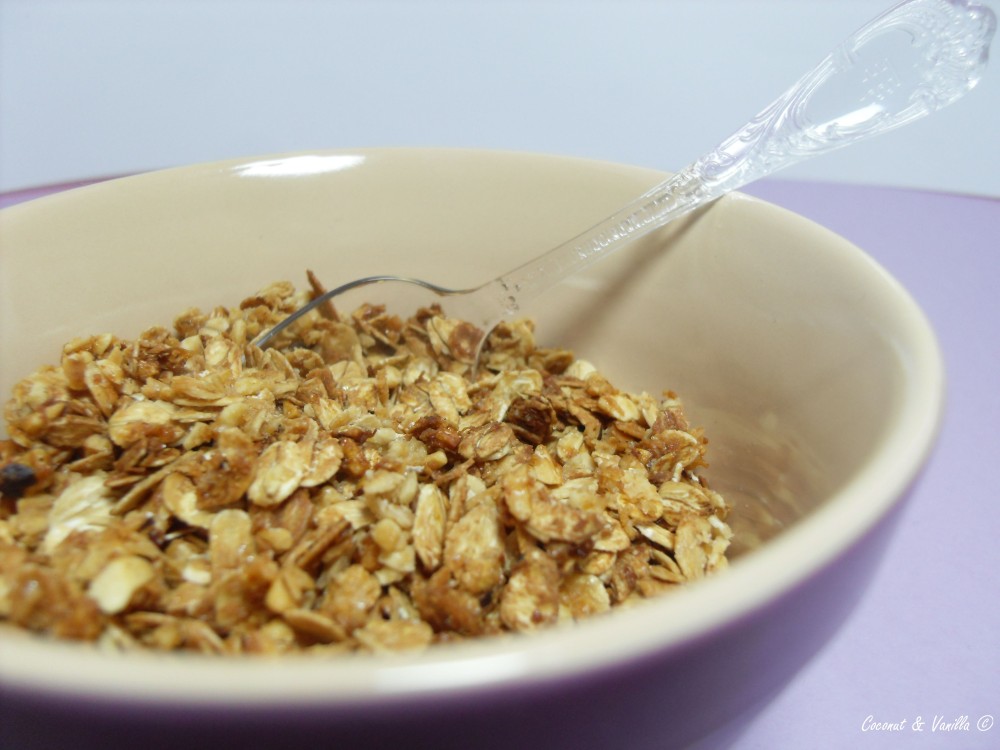
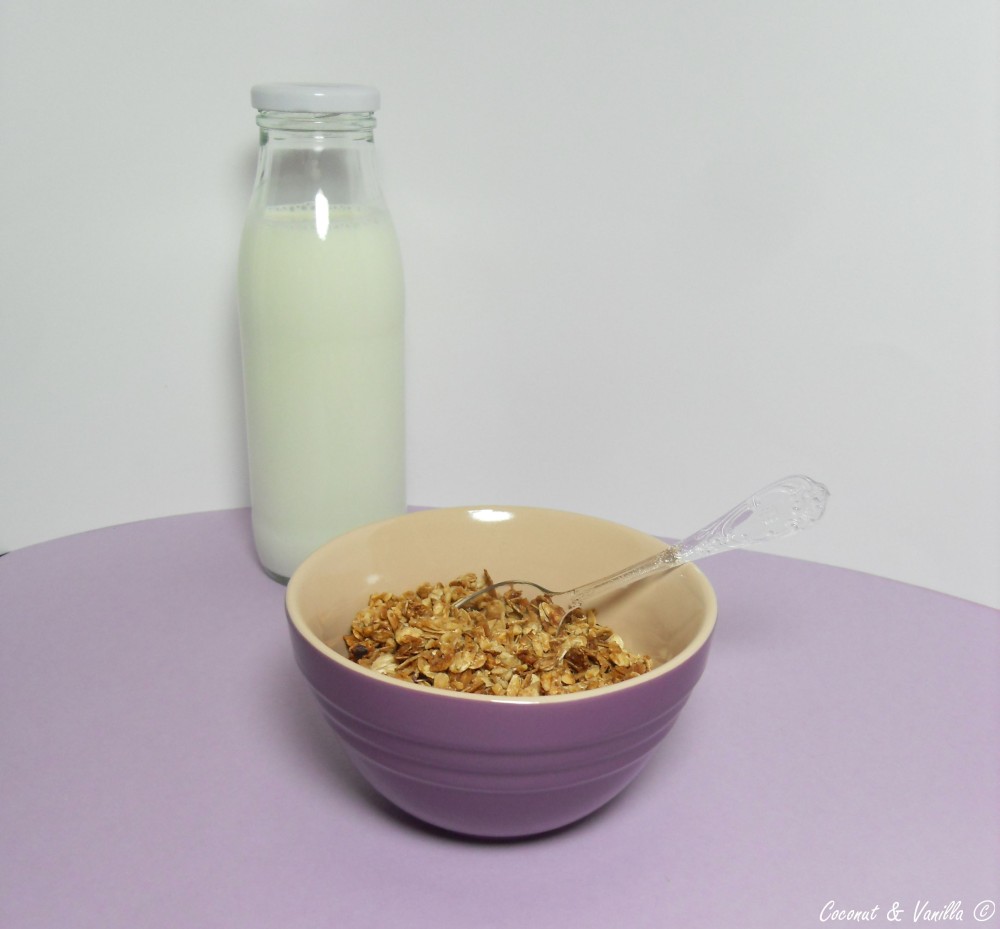
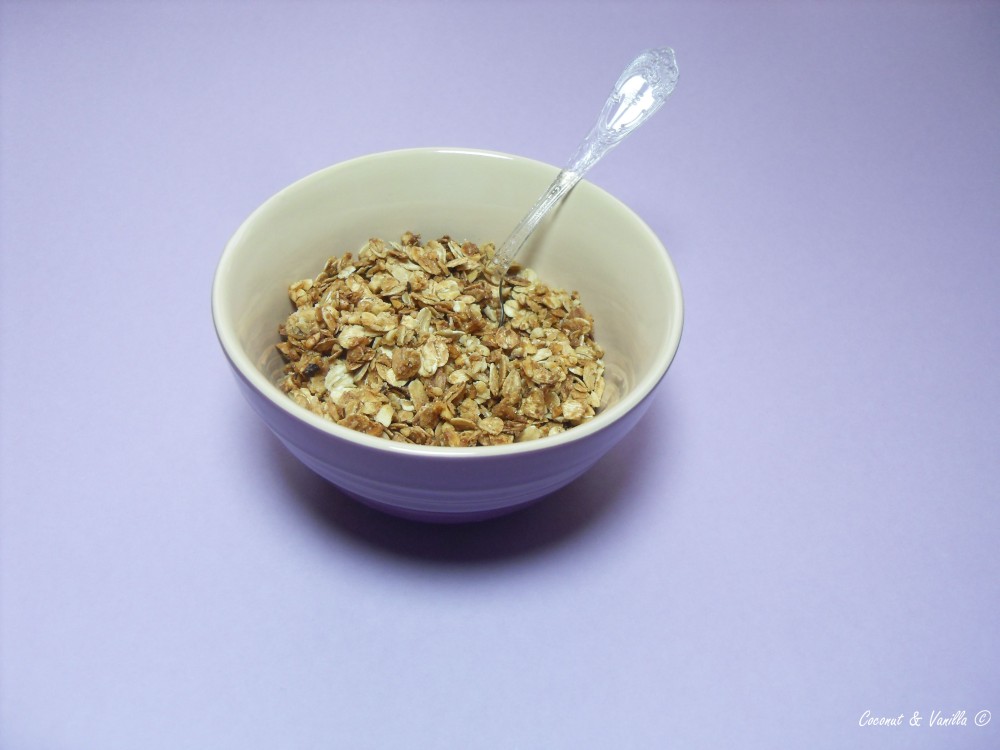
I want to start this year with some homemade muesli. I already produced it in the end-terms of last year, but I first tasted it this morning for breakfast. As I thought of eating this muesli for breakfast, I remembered, that some photos of the making are waiting to be blogged. So I took these photos this morning.

Selbstgemachtes Müsli

I like the idea of selfmade granola. I’m not a fan of bought one’s. For me, they are not crispy enough or too crispy, full of raisins, which I don’t like or dried fruits, which I do not like, too. I’ve only once seen a muesli, with freeze-dried fruits and that was tasty. Neither I like that cheap chocolate pieces in bought muesli.

The benefits of an selfmade muesli are – amongst others – , that you can put in what you like: favourite nuts, favourite fruits, favourite chocolate, favourite cereals. And everytime you can try another combination!

Don’t be scared of making your own granola! It’s fun, very easy and doesn’t take a lot of time.

Over- and underneath you see the granola on a baking sheet, after combining the ingredients. Underneath I put some anti-stick coated aluminium foil from Toppits® . If something like that is not available you can also use normal baking paper or grease the baking sheet lightly. But I admit that this aluminium foil is very handy.

The recipe is enough for about 10 smaller portions (like on my photos). So if you are a muesli-fancier, consider doubling the recipe. One recipe is suitable for one baking sheet.

I like to use whole nuts, peel them, roast them in a pan and chop them then. But feel free to use already chopped nuts.

Selbstgemachtes Müsli


Happy new year everybody!

homemade granola

Thank you for your visits and supports in my first months of blogging! I’m always afraid and happy, when I read your comments. I’m always pleased to return the favour and visit your blogs! Some of them have already found their way in my daily reading list.

I hope you enjoyed my new blog last year. I will do my very best this year, too.

I want to start this year with some homemade muesli. I already produced it in the end-terms of last year, but I first tasted it this morning for breakfast. As I thought of eating this muesli for breakfast, I remembered, that some photos of the making are waiting to be blogged. So I took these photos this morning.

homemade granola

I like the idea of selfmade granola. I’m not a fan of bought one’s. For me, they are not crispy enough or too crispy, full of raisins, which I don’t like or dried fruits, which I do not like, too. I’ve only once seen a muesli, with freeze-dried fruits and that was tasty. Neither I like that cheap chocolate pieces in bought muesli.

The benefits of an selfmade muesli are – amongst others – , that you can put in what you like: favourite nuts, favourite fruits, favourite chocolate, favourite cereals. And everytime you can try another combination!

Don’t be scared of making your own granola! It’s fun, very easy and doesn’t take a lot of time.

Over- and underneath you see the granola on a baking sheet, after combining the ingredients. Underneath I put some anti-stick coated aluminium foil from Toppits® . If something like that is not available you can also use normal baking paper or grease the baking sheet lightly. But I admit that this aluminium foil is very handy.

The recipe is enough for about 10 smaller portions (like on my photos). So if you are a muesli-fancier, consider doubling the recipe. One recipe is suitable for one baking sheet.

I like to use whole nuts, peel them, roast them in a pan and chop them then. But feel free to use already chopped nuts.

homemade granola