Bruschetta Bruschetta – perfect summer snack

 Update: Für das deutsche Rezept nach unten scrollen!

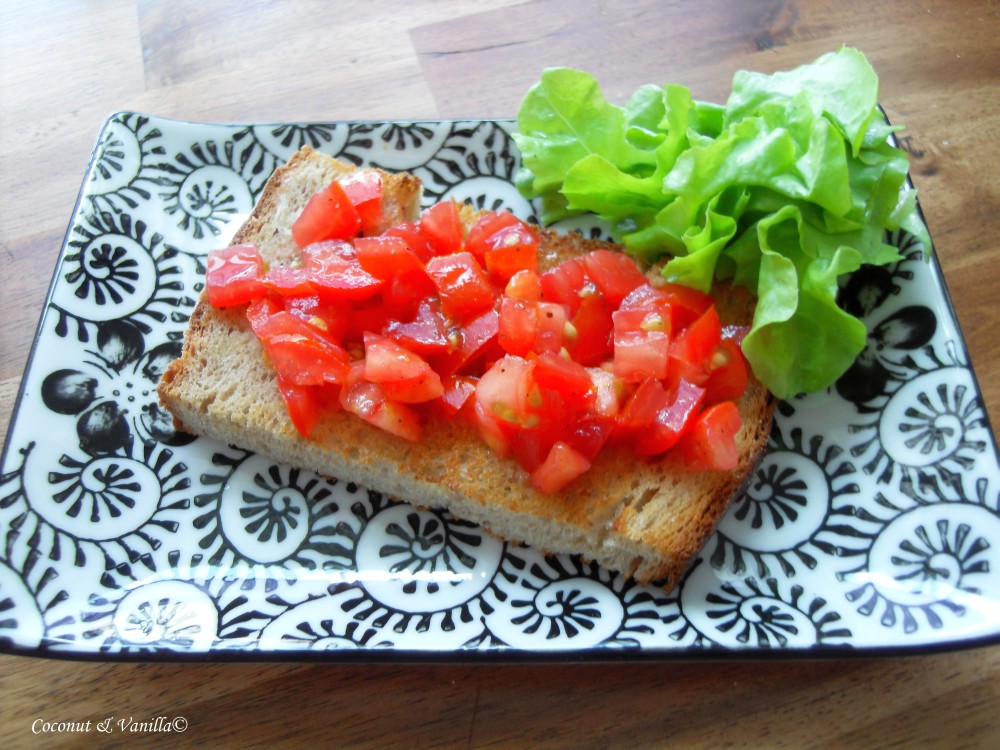
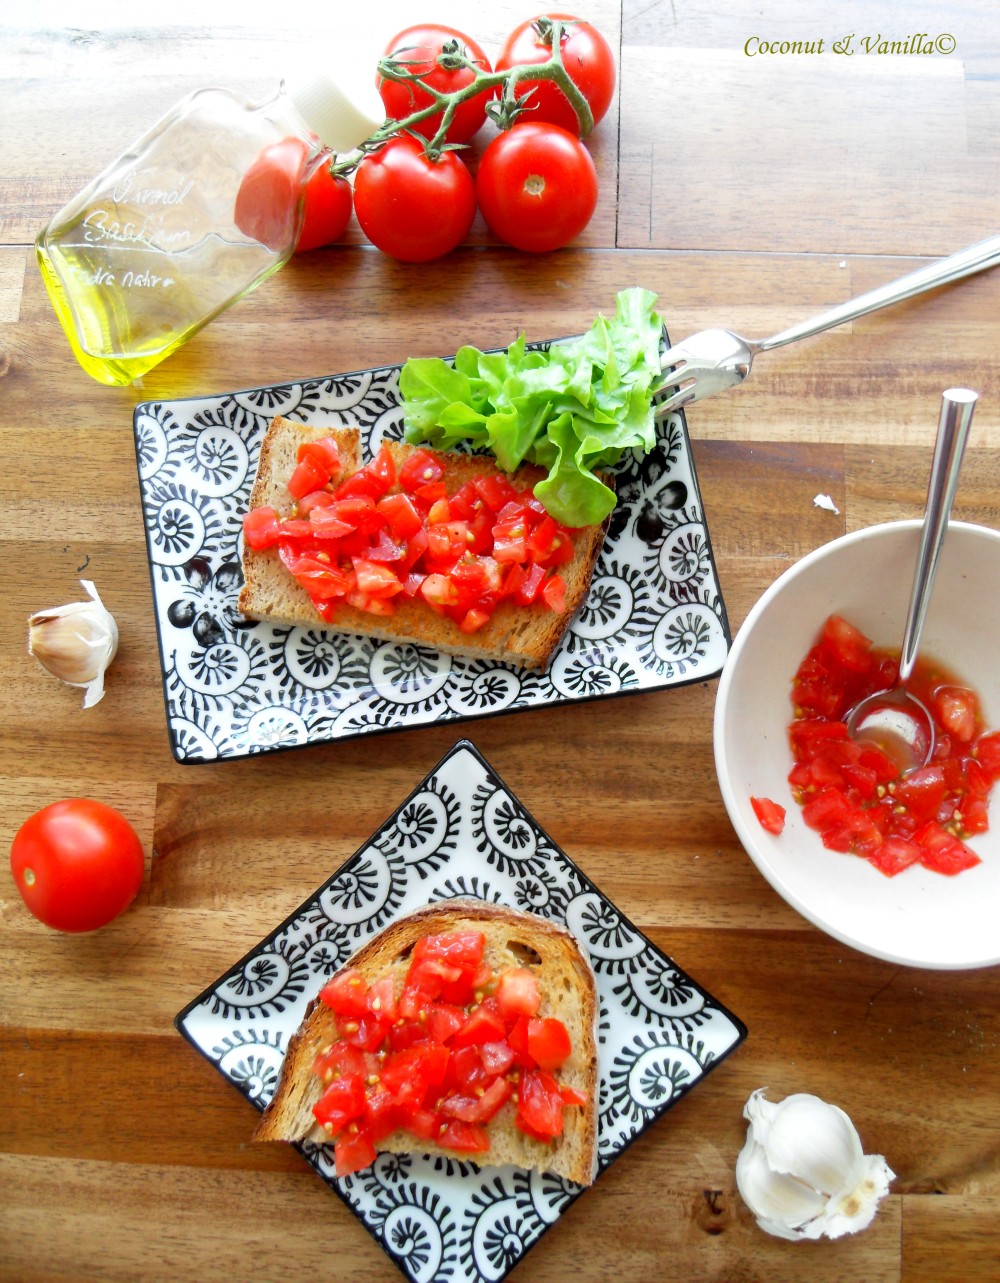
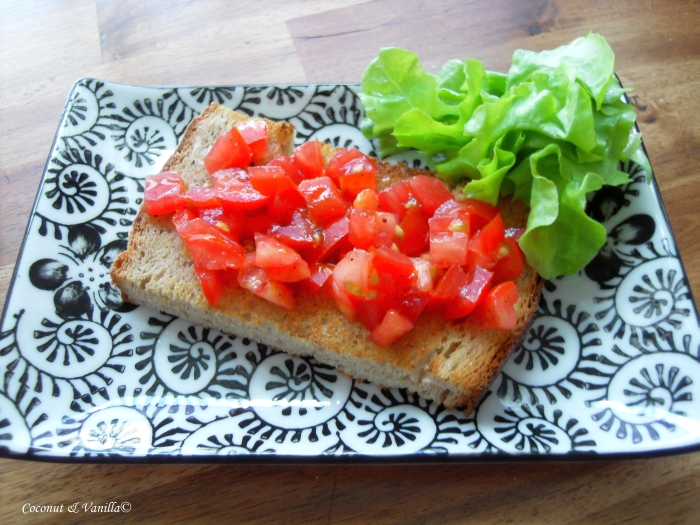
As we are all drooling over some easy light and cold! snack, I made some bruschetta today. You only have to take yourself 10 minutes and a toaster! I made mine classic. But if you have some goats cheese or mozzarella hanging ‘round in your fridge, feel free to add some. Sounds nice to me. I love goats cheese, but do you think I have ever some at home…?

Bruschetta

I paired mine with some green salad with a simple dressing containing quince vinegar. If you’re living in Germany I urgently recommend you to go to Vom Fass. There you can get all sorts of vinegar and oils and a lot more liquids. They are really really good. And everything you are interested in, you can taste. So you won’t buy things, that you won’t use, because you don’t like the taste. I know, that there are similar shops existing in Germany, but down here it’s first choice.

Bruschetta

MeloneneisMelon Ice Cream

Update: Für das deutsche Rezept nach unten scrollen!

There’s nothing much to say or to do these days. One word is enough. HOT! About 37°C every day, since two weeks. I do not complain, as we didn’t had any real spring this year, nor often really hot summers. And summers are short and I don’t like winter. I really prefer summer. Every bite of it. So I’m not complaining. But to boost my study work, I beg for some rain, so the apartment can again cool down a bit.

Meloneneis

The heat also makes me sad a little bit… I am not able to use the stove, or even the oven. It’s just not possible. I’m looking for refreshments all day, be it for dessert or lunch or dinner, where the oven/stove can be kept off or at least used at its minimum. Feel free to share any good recipes. I’m looking forward to that!

Meloneneis

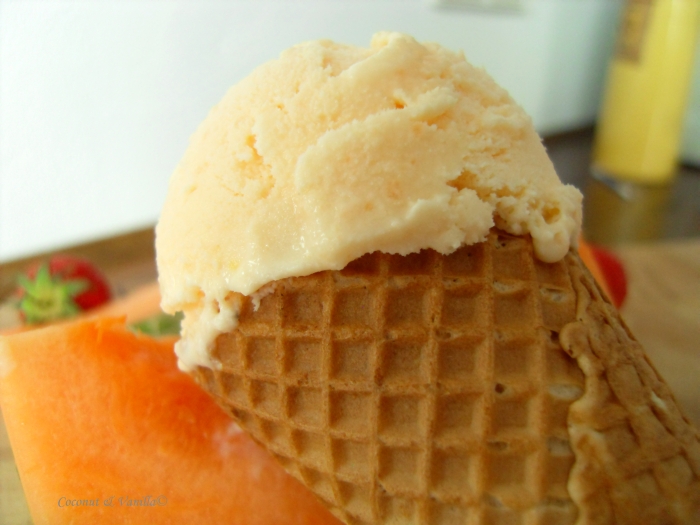
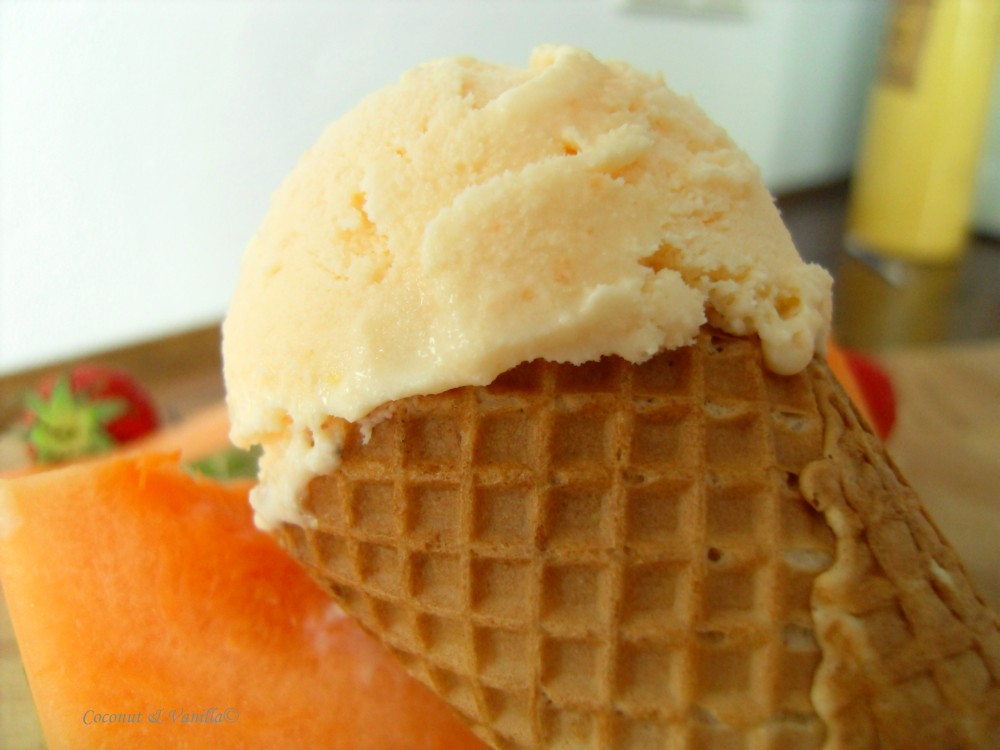
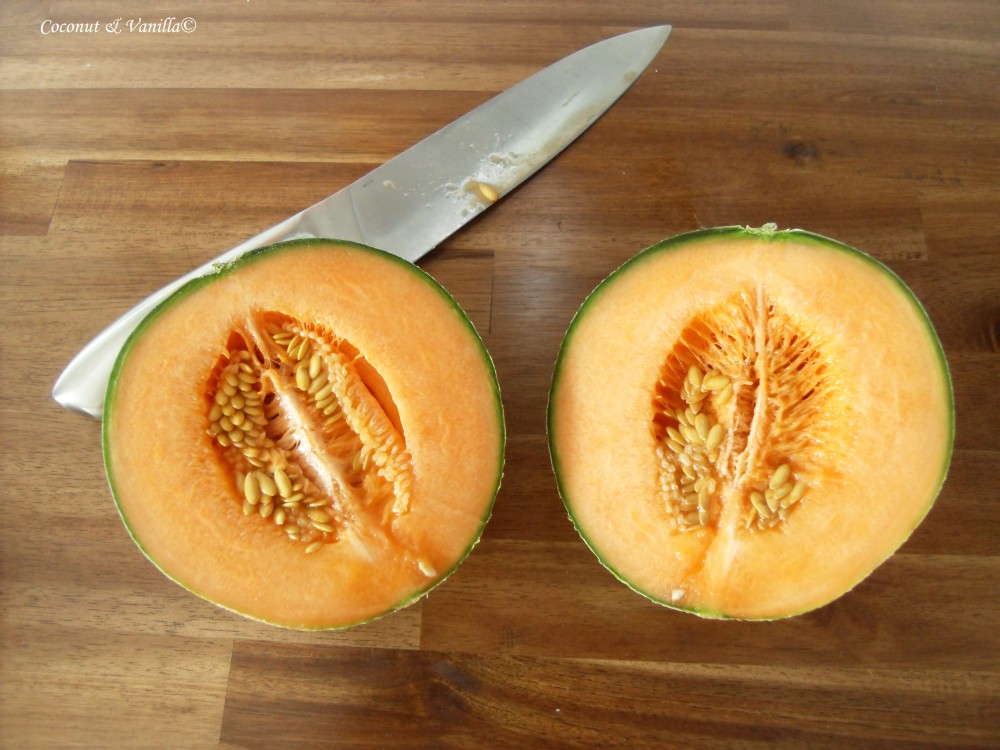
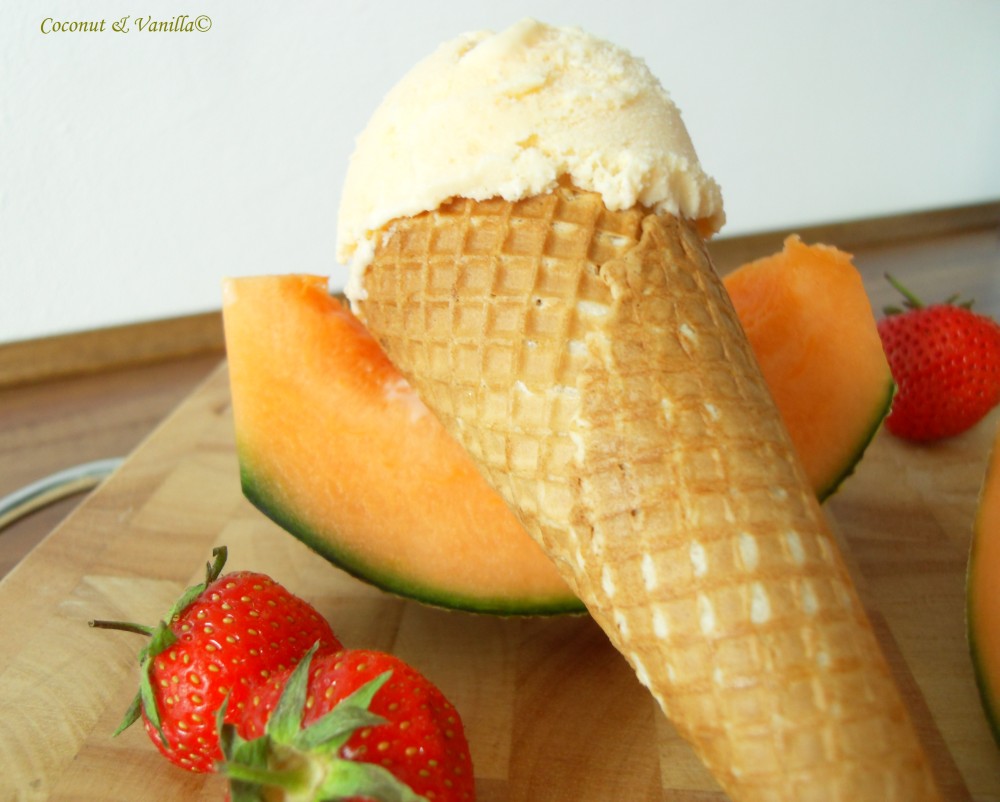
I offer you a really delicious refreshment: Melon Ice Cream. I don’t know, if it works without an ice cream maker. But take it as a sign and buy yourself one (at least, if you’re an ice cream lover, as we are). It’s easy and you will never return to bought one. It’s just better! You can make whatever ice cream you like… I mean who wouldn’t want to have chocolate-coated peanut-bites in his ice cream? Ok ok… at least me. So after my anthem on ice cream makers, I won’t disturb you any longer and give you the recipe.

Meloneneis

There’s nothing much to say or to do these days. One word is enough. HOT! About 37°C every day, since two weeks. I do not complain, as we didn’t had any real spring this year, nor often really hot summers. And summers are short and I don’t like winter. I really prefer summer. Every bite of it. So I’m not complaining. But to boost my study work, I beg for some rain, so the apartment can again cool down a bit.

Melon Ice Cream

The heat also makes me sad a little bit… I am not able to use the stove, or even the oven. It’s just not possible. I’m looking for refreshments all day, be it for dessert or lunch or dinner, where the oven/stove can be kept off or at least used at its minimum. Feel free to share any good recipes. I’m looking forward to that!

Melon Ice Cream

I offer you a really delicious refreshment: Melon Ice Cream. I don’t know, if it works without an ice cream maker. But take it as a sign and buy yourself one (at least, if you’re an ice cream lover, as we are). It’s easy and you will never return to bought one. It’s just better! You can make whatever ice cream you like… I mean who wouldn’t want to have chocolate-coated peanut-bites in his ice cream? Ok ok… at least me. So after my anthem on ice cream makers, I won’t disturb you any longer and give you the recipe.

Melon Ice Cream

Erdbeer-Melonen-SüppchenStrawberry Melon Soup

Update: Für das deutsche Rezept nach unten scrollen!

Erdbeer-Melonen-Süppchen

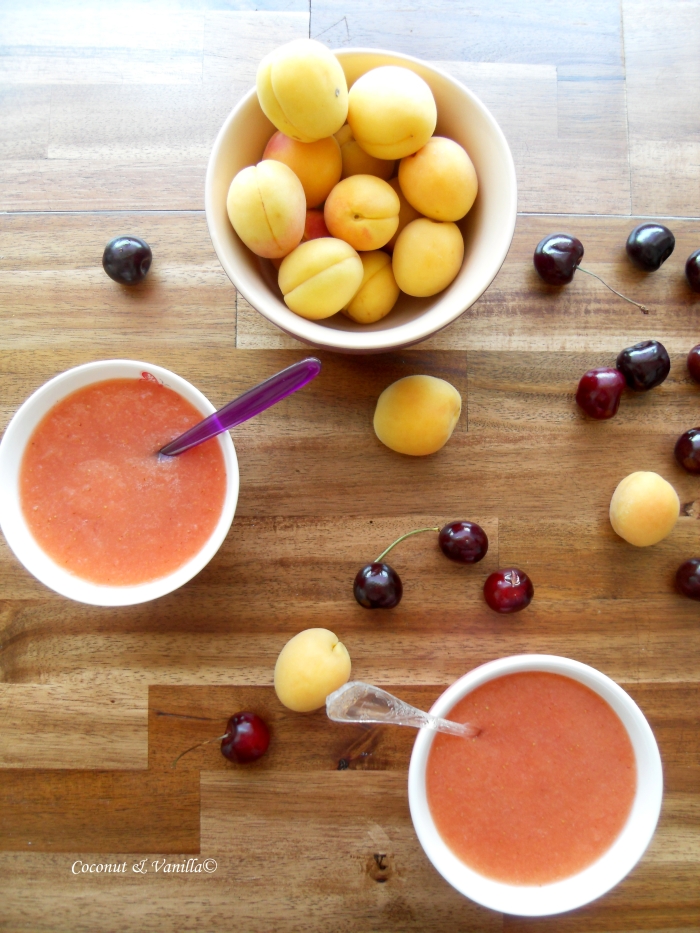
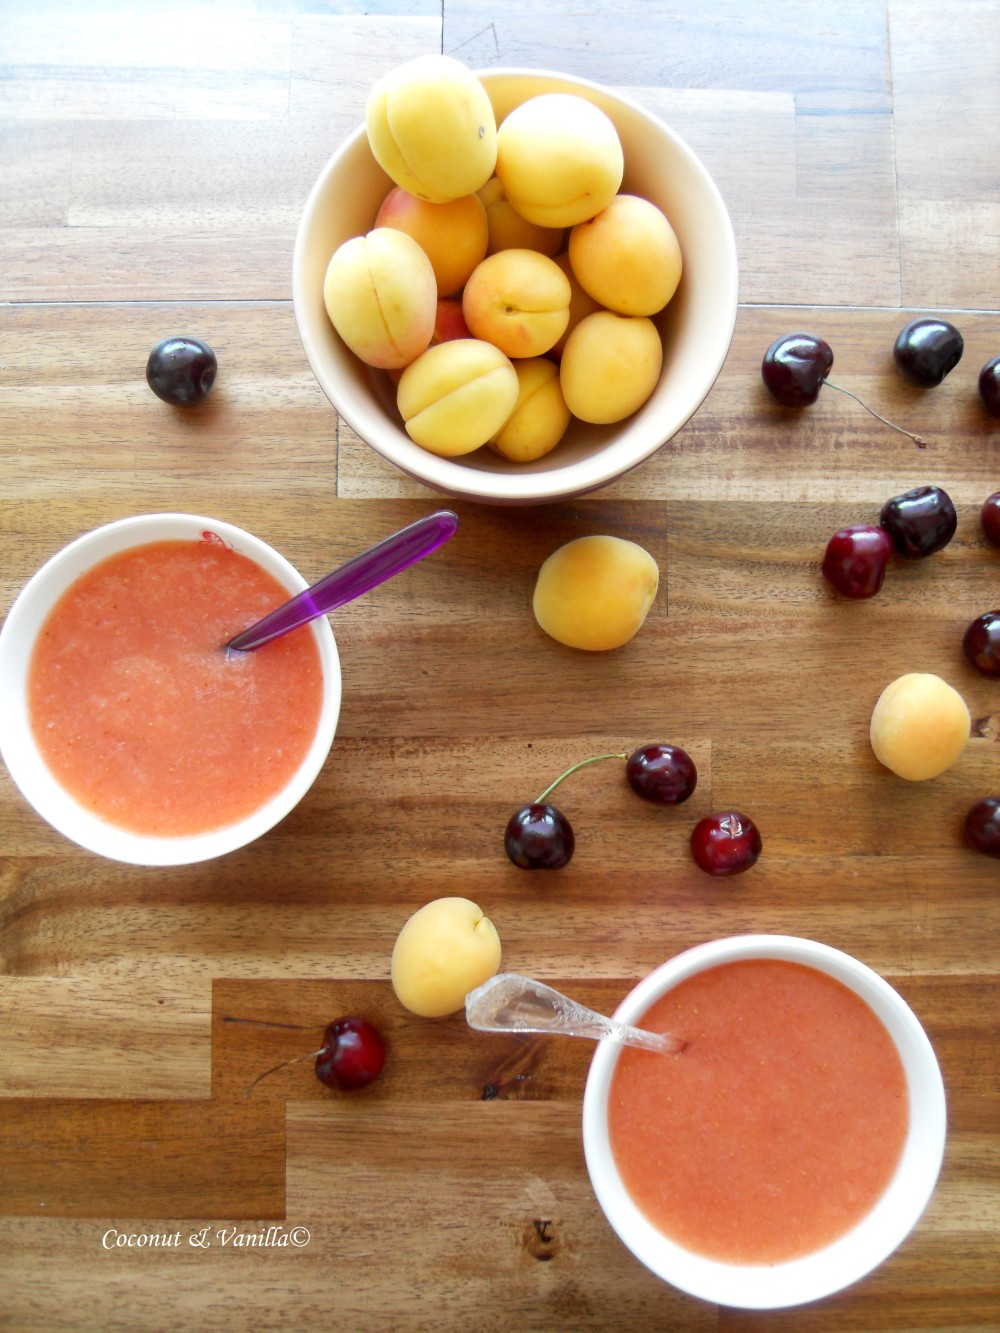
Today would be the perfect alibi for a big cake or even torte. But I’m not a fan of the big desserts, I’m more for smaller ones. But then a lot. Not to mention the high temperatures, that are dominating the country these days. So I’m presenting you with a refreshing delicate easy-to-make fruit soup. With this fruit soup, a mini barbecue tonight, some apricot tartelettes (which will be following here), sparkling wine and watching Germany win, we’ll be celebrating my becoming of a quarter of a century. If you have some sparkling wine near you, grab it and I invite you to raise your glasses with us. Also you can drop a teaspoon full of your fruit soup in it – yum.

For this soup almost every fruit is possible. Choose what you like and what you can get. If you prefer something to chew, keep some chopped fruit back and give it in your soup right before serving.

Strawberry-Melon-Soup

Today would be the perfect alibi for a big cake or even torte. But I’m not a fan of the big desserts, I’m more for smaller ones. But then a lot. Not to mention the high temperatures, that are dominating the country these days. So I’m presenting you with a refreshing delicate easy-to-make fruit soup. With this fruit soup, a mini barbecue tonight, some apricot tartelettes (which will be following here), sparkling wine and watching Germany win, we’ll be celebrating my becoming of a quarter of a century. If you have some sparkling wine near you, grab it and I invite you to raise your glasses with us. Also you can drop a teaspoon full of your fruit soup in it – yum.

For this soup almost every fruit does go. Choose what you like and what you can get. If you prefer something to chew, keep some chopped fruit back and give it in your soup right before serving.

Friandaises mit roten JohannisbeerenRed Currant Friandaises

Update: Für das deutsche Rezept nach unten scrollen!

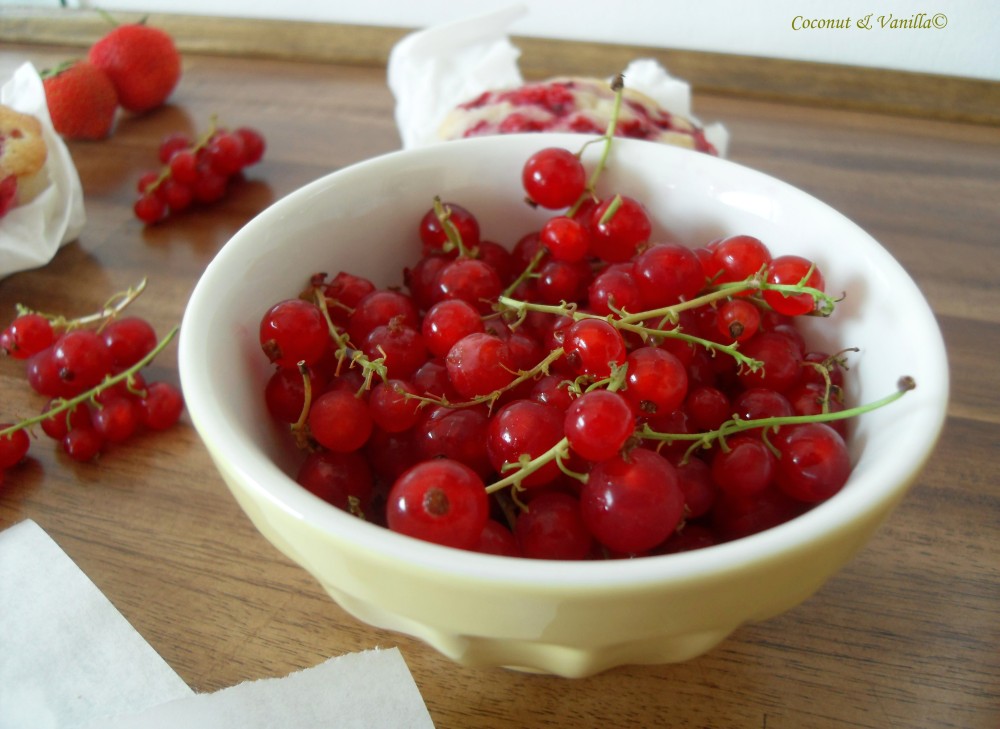
When I remember of red currants, I think of me as a child, standing in front of the red currant bushes in the garden of my relatives in Coburg. Just plucking and nibbling one after the other with pleasure. Really loved that time of year, since I’m still loving it today. And I’m still in love with red currants.

Friandaises mit roten Johannisbeeren

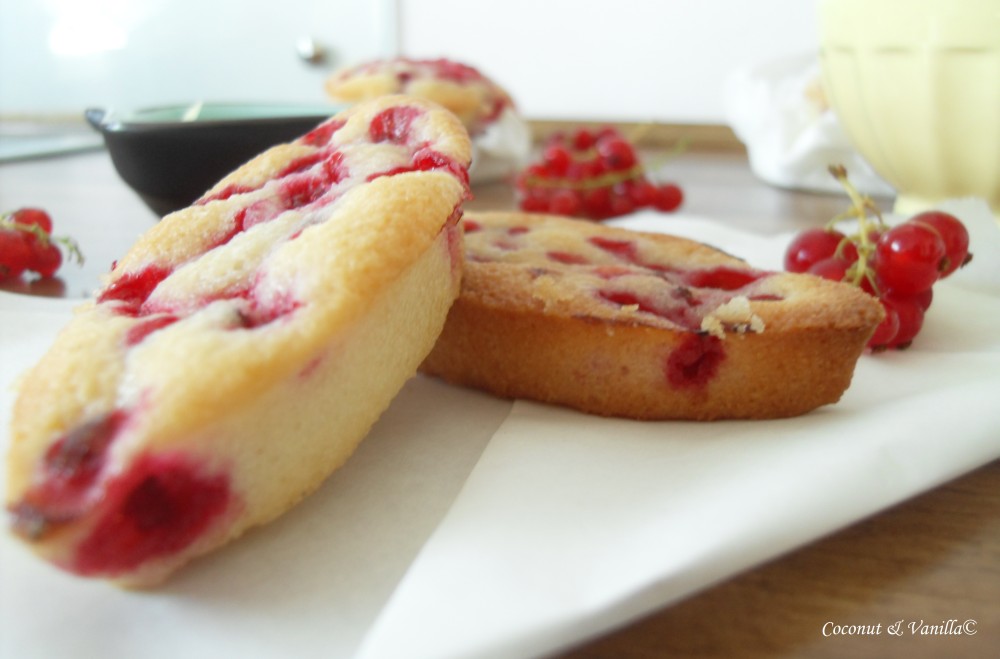
Unfortunately we don’t have a garden, so no nibbling them straight from the bushes for me. But by the time you buy them and they are coming in boxes, it isn’t so tempting anymore to eat them straight away. So I thought about what I could do with them anyway. Since I was also looking for something, which uses up some of my left over egg whites, I just thought of friandaises. Usually I make them with flaked almonds. The friandaises are light and mellow pastries with crunchy edges. They are divine! And they use up 6 egg whites!

Friandaises mit roten Johannisbeeren

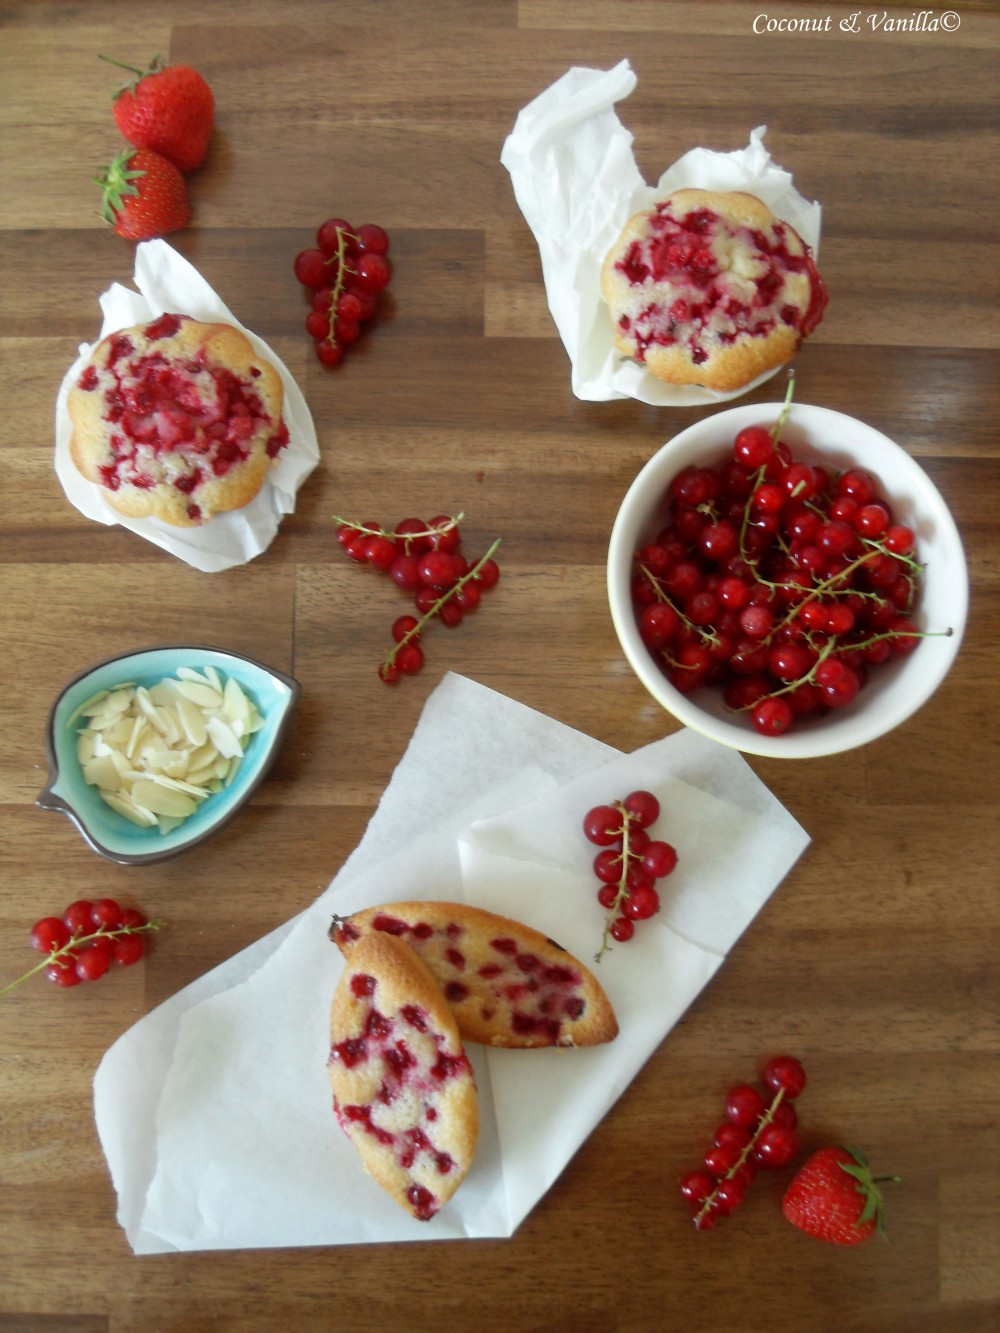
I substituted the almond flakes with red currants. The red currants are really pairing well in the friandaises! I’m evenly surprised, how good the red currants come of in pastry in general. So maybe there will be coming up more with them!

Friandaises mit roten Johannisbeeren

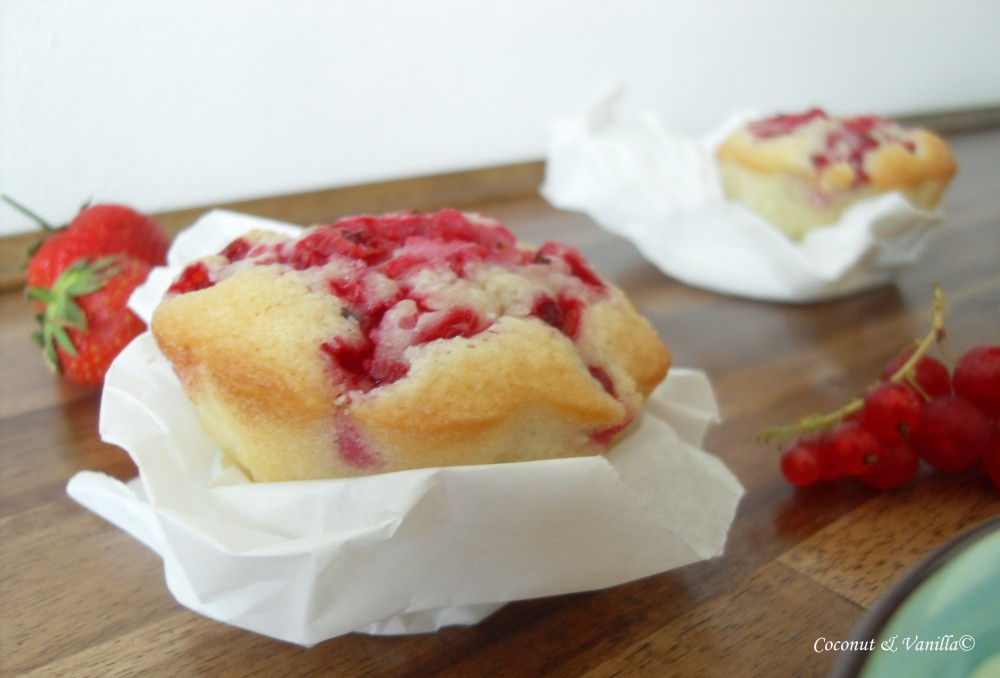
Traditionally friandaises are baked in little moulds formed like ships. But since It’s a lot of dough just for the ships I also put some dough in moulds, that were about the same size like muffin moulds. In the smaller moulds your friandaises will become more crispy, which I prefer. Another good option may be moulds for madeleines, since they are also very small.

Friandaises mit roten Johannisbeeren

Friandaises mit roten Johannisbeeren

When I remember of red currants, I think of me as a child, standing in front of the red currant bushes in the garden of my relatives in Coburg. Just plucking and nibbling one after the other with pleasure. Really loved that time of year, since I’m still loving it today. And I’m still in love with red currants.

Red Currant Friandaises

Unfortunately we don’t have a garden, so no nibbling them straight from the bushes for me. But by the time you buy them and they are coming in boxes, it isn’t so tempting anymore to eat them straight away. So I thought about what I could do with them anyway. Since I was also looking for something, which uses up some of my left over egg whites, I just thought of friandaises. Usually I make them with flaked almonds. The friandaises are light and mellow pastries with crunchy edges. They are divine! And they use up 6 egg whites!

Red Currant Friandaises

I substituted the almond flakes with red currants. The red currants are really pairing well in the friandaises! I’m evenly surprised, how good the red currants come of in pastry in general. So maybe there will be coming up more with them!

Red Currant Friandaises

Traditionally friandaises are baked in little moulds formed like ships. But since It’s a lot of dough just for the ships I also put some dough in moulds, that were about the same size like muffin moulds. In the smaller moulds your friandaises will become more crispy, which I prefer. Another good option may be moulds for madeleines, since they are also very small.

Red Currant Friandaises

Red Currant Friandaises

Arroz Con Leche… Lo Mejor

Updaten: Für das deutsche Rezept nach unten scrollen!

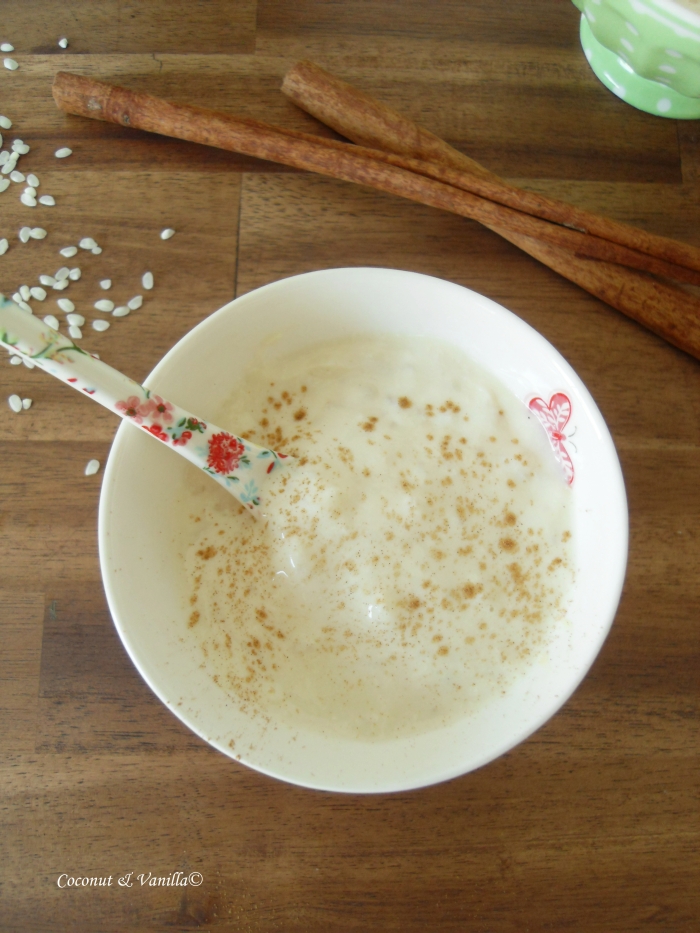
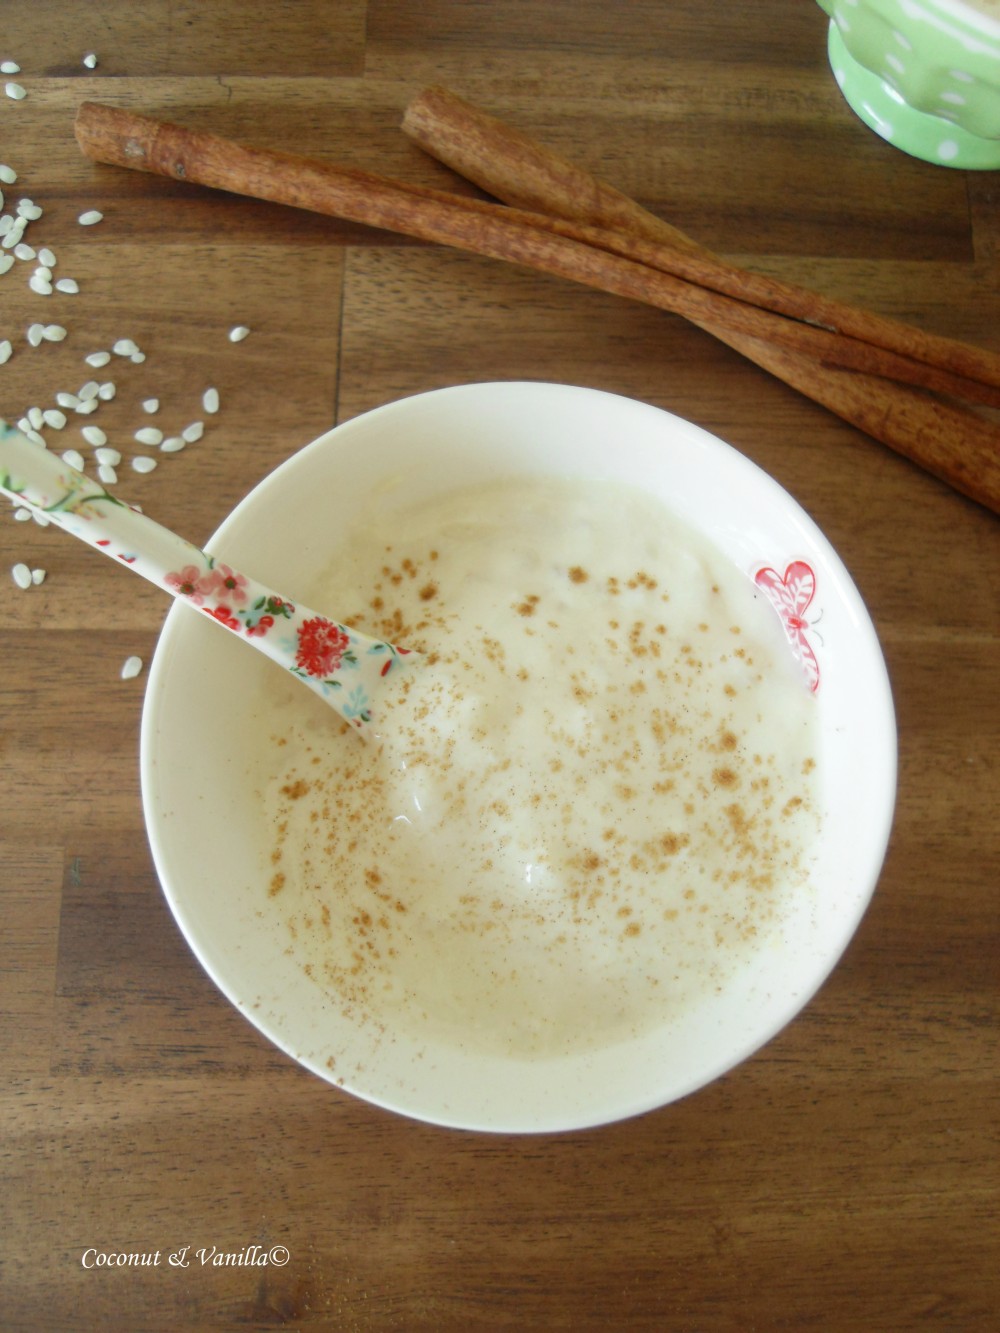
Since I was in Spain as a child ( to be more precise in Andalucía), I was craving for the arroz con leche I ate there. It has to be cold or be at room temperature and should be creamy or even slightly fluid. Not that mush you are getting here. Also it has to have this delightful taste of cinnamon.

I was looking for the recipe a very long time. Some day I was looking through Aran’s blog and I found a recipe. A recipe, which called for 50g rice per 1 l milk! I was a bit irritated, but after all Aran is Basque and so I trusted her, that she can produce real good spanisch arroz con leche. And I wasn’t disappointed.

Arroz Con Leche

In english you would say rice pudding, in german “Milchreis”. But you can’t compare those with arroz con leche. So arroz con leche is arroz con leche. It’s just different. But better in any way. MUCH better. So give it a try and don’t let yourself put off by the hour you have to invest!

Arroz Con Leche

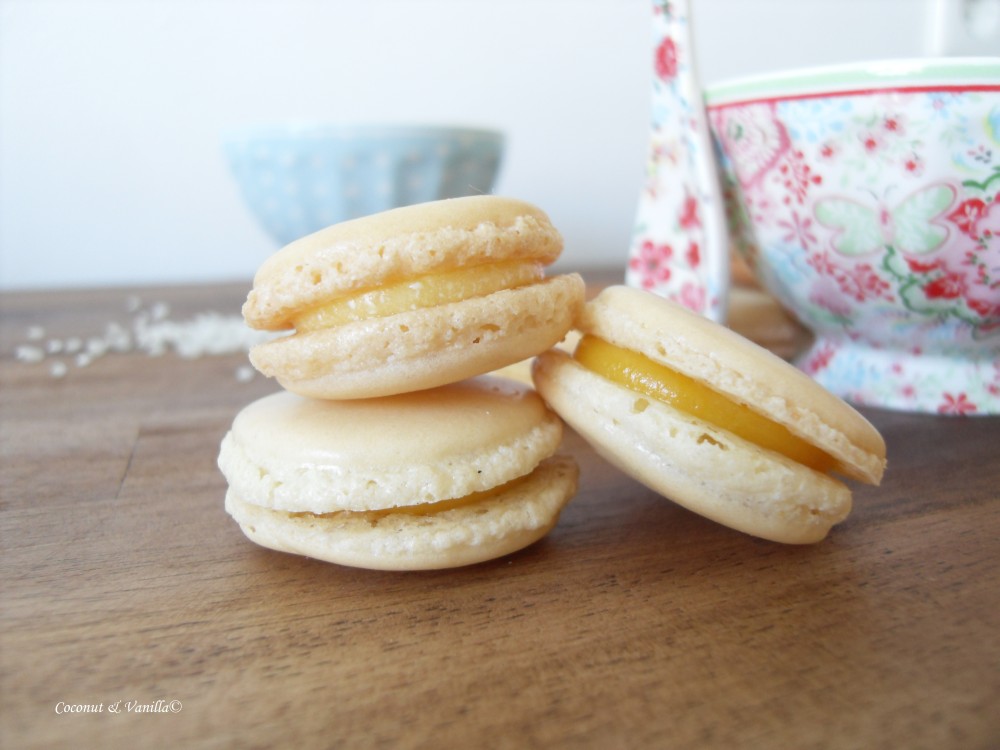
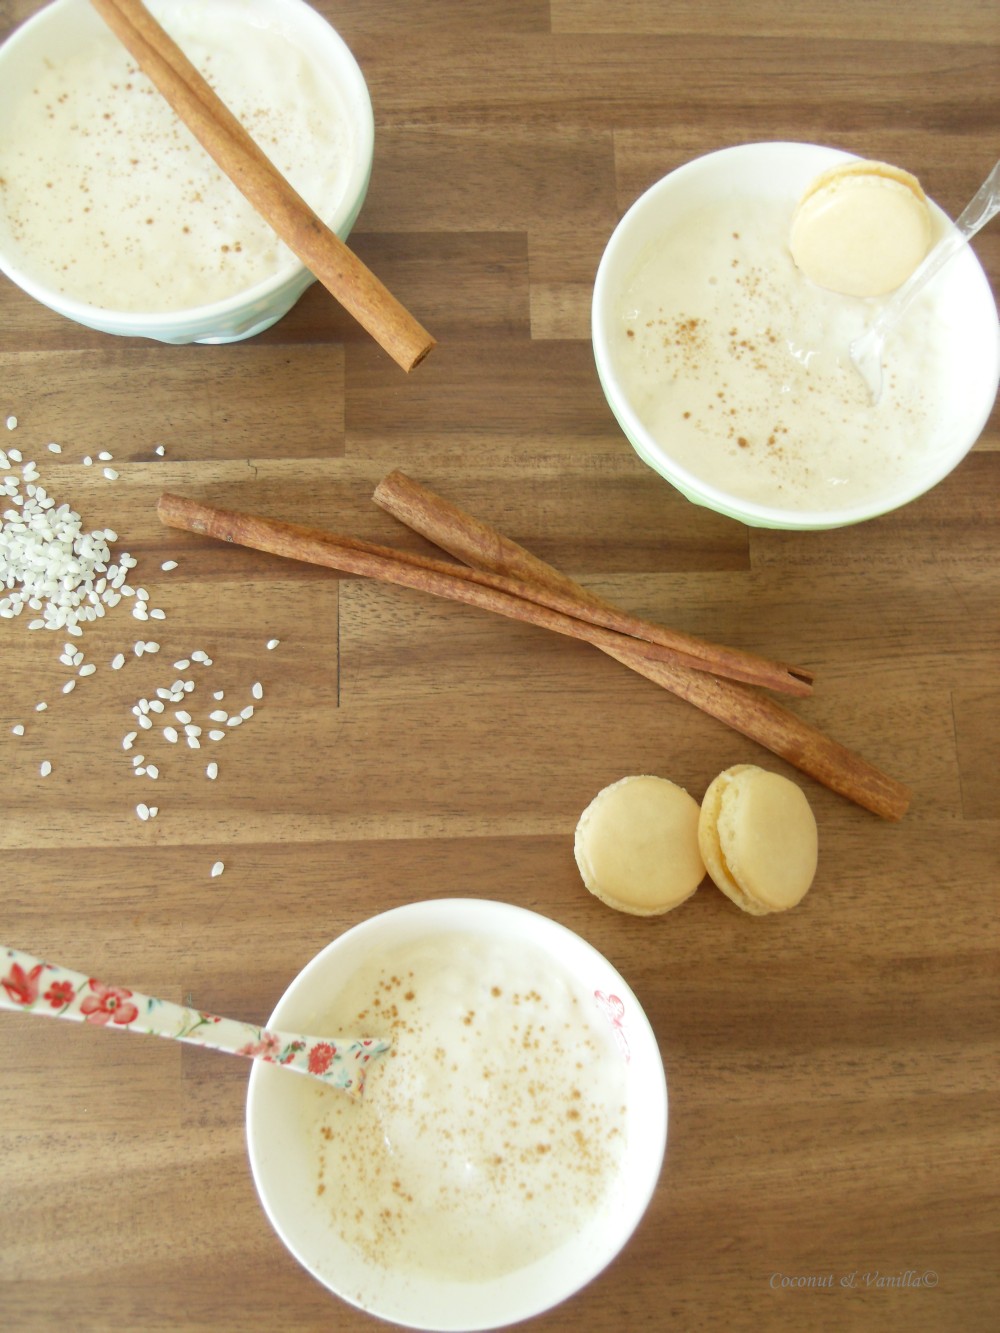
As you see in the pictures I also made some macarons. I had so much leftover egg whites and the only thing I know to do with them is macarons. So I made a doubled batch (maybe not the best idea) and made two different fillings. One was a white chocolate-peach-ganache, the other one was lemon curd. Both are very refreshing in the summer heat, as a snack in between. If you have summer heat in your area. Ours is just gone – 15 °C – that’s no fun!

Arroz Con Leche

Himbeer-Schokoladen-EisRaspberry-Chocolate Ice Cream

Update: Für das deutsche Rezept nach unten scrollen!

Himbeer-Schokoladen-Eis

Finally we also have hot hot hot summer weather. To enjoy and celebrate this duly it’s time for some Gelato.

Some weeks ago I bought David Lebovitz‚ book The Perfect Scoop, which was a perfect purchase. Even if you are not in making some ice cream it is just a pleasure to read it.

Himbeer-Schokoladen-Eis

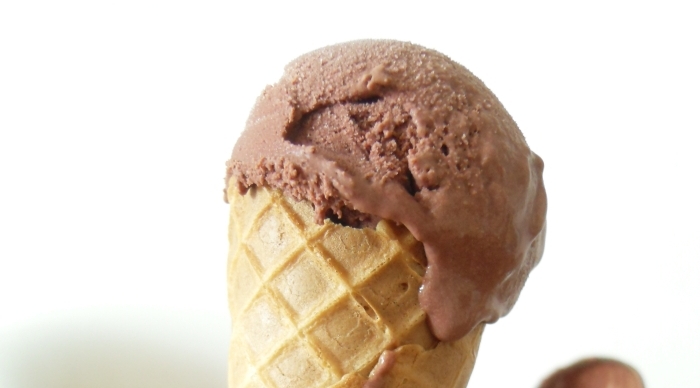
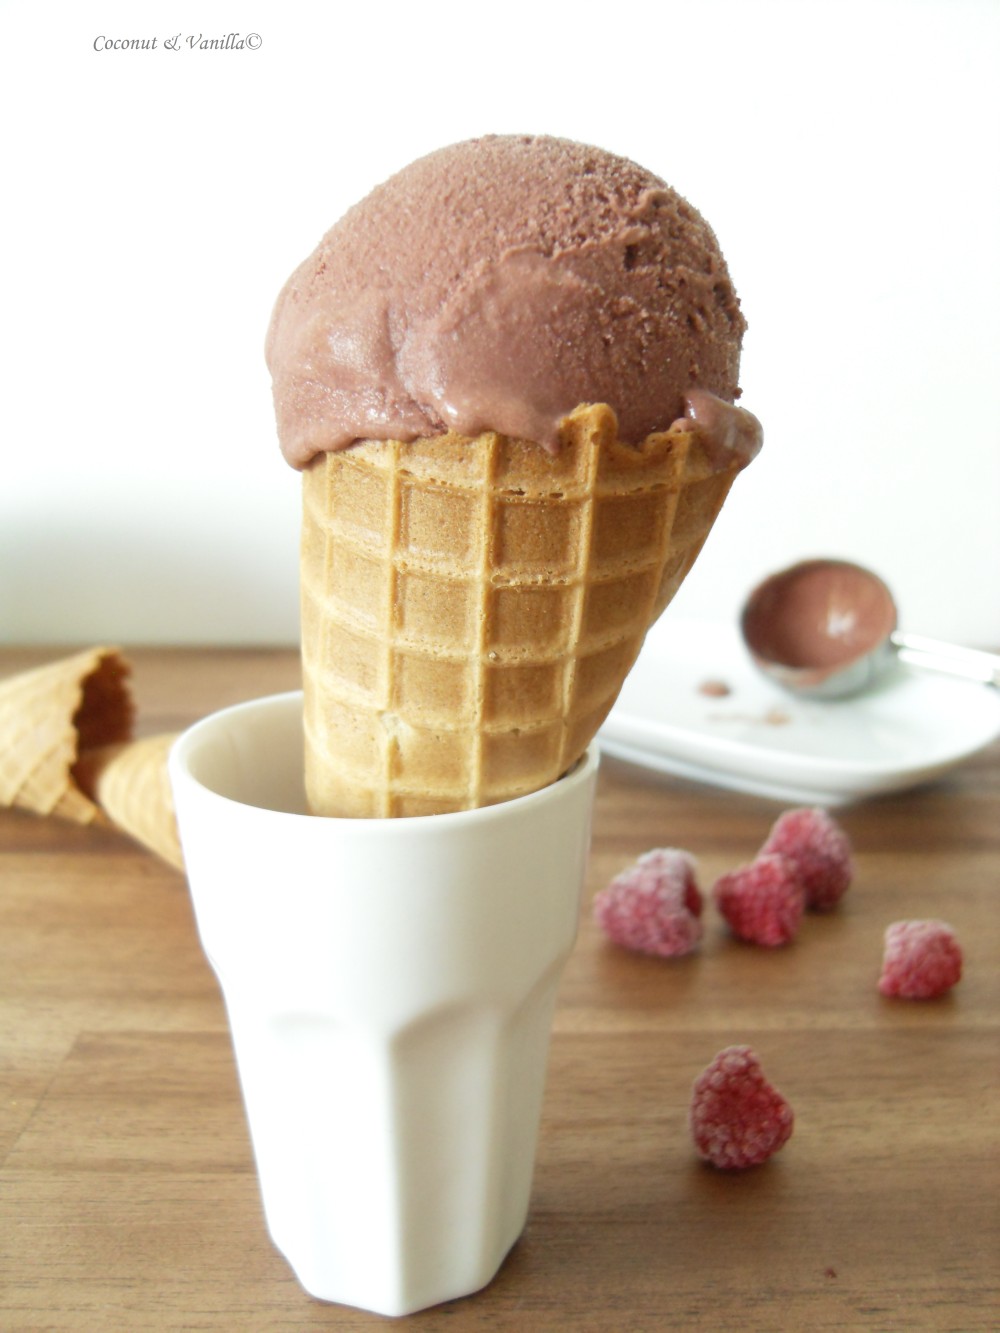
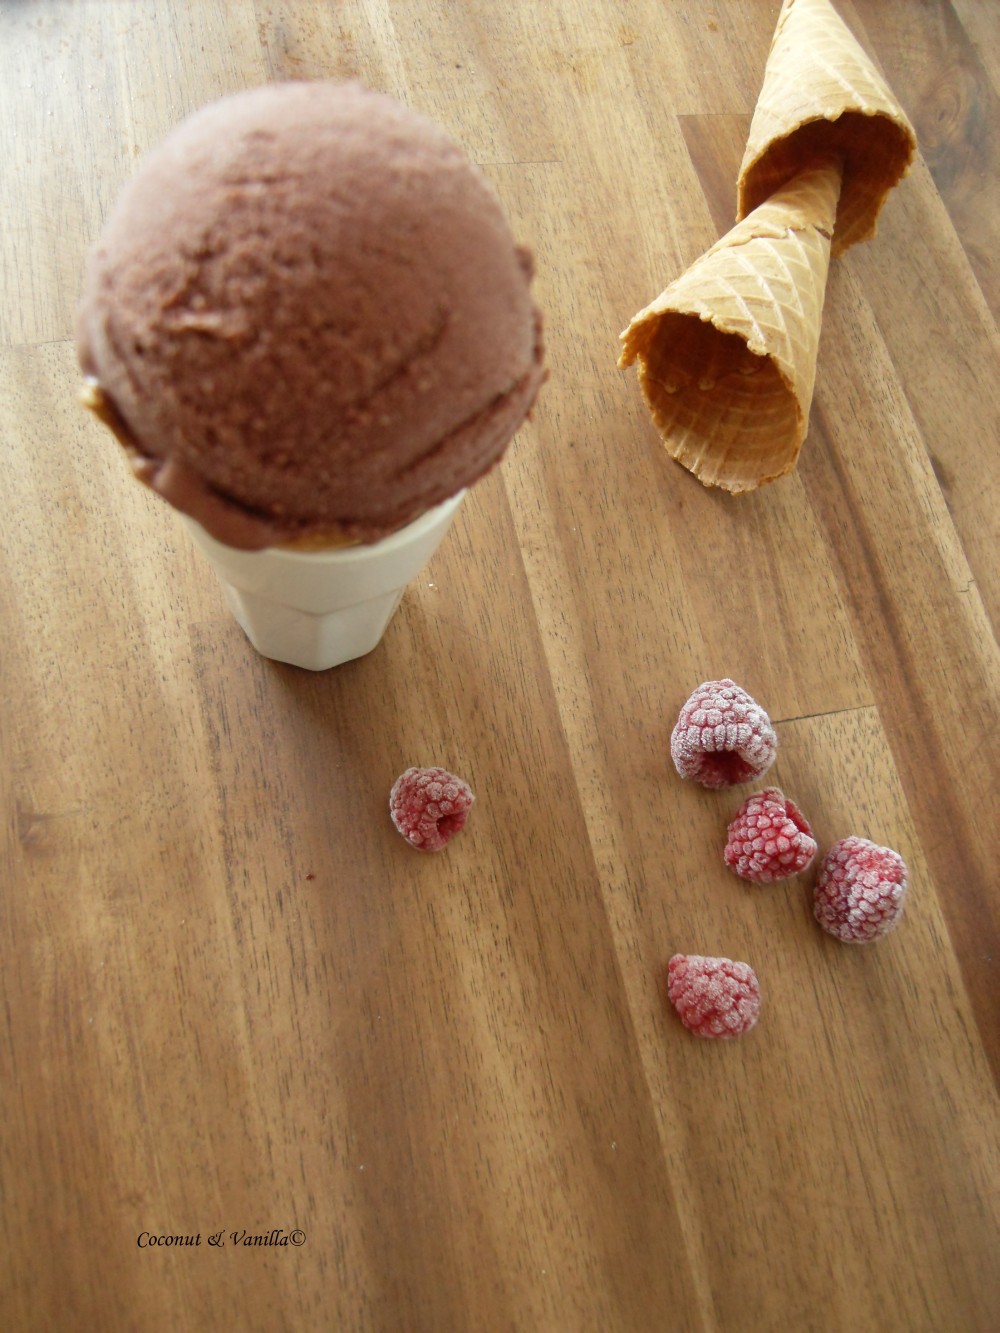
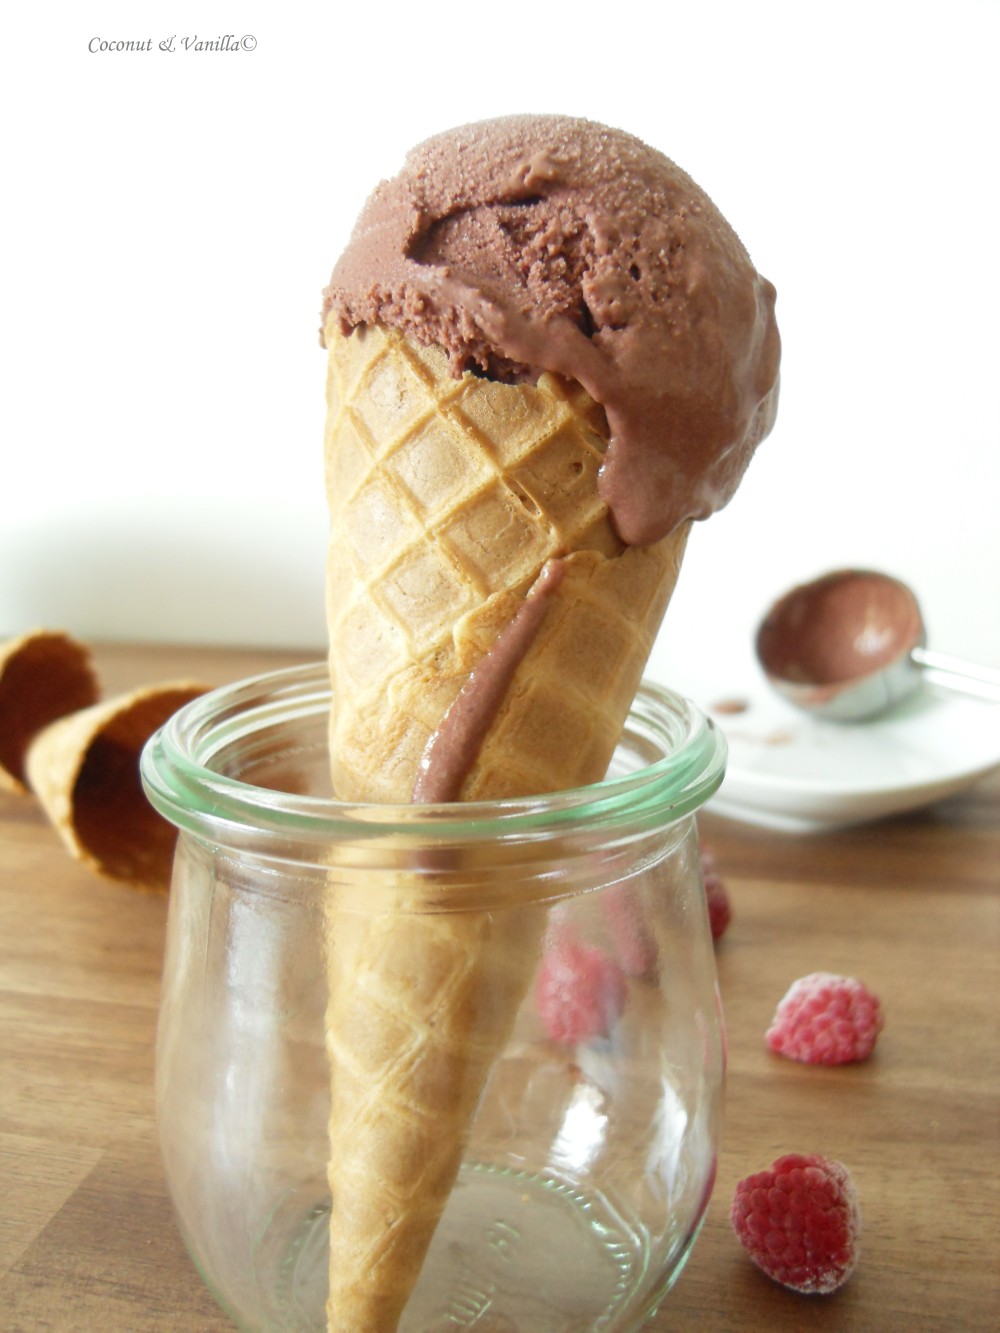
But back to the ice cream. We decided to try the raspberry-chocolate one first, because I LOVE the combination. David uses cocoa powder, but next time I will try it with some melted milk chocolate, which I prefer. But it is already very good with cocoa powder. Unfortunately it didn’t freeze in the ice cream maker. Don’t know why?! So I just popped it in a container in the freezer and oh wonder! it’s good anyway! That’s a good gelato! So I think, it will work properly even without the machine. But if you are using one, be sure the mixture is really cold before you put it in the machine, maybe then you have a chance and it freezes in there.

Oh, and I really recommend you to use some good-quality ice cream cones with it! It’s worth it! But I’m one of those people, who could just eat the cone! I love ice cream cones… yum!

Himbeer-Schokoladen-Eis

Raspberry-Chocolate Ice Cream

Finally we also have hot hot hot summer weather. To enjoy and celebrate this duly it’s time for some Gelato.

Some weeks ago I bought David Lebovitz‚ book The Perfect Scoop, which was a perfect purchase. Even if you are not in making some ice cream it is just a pleasure to read it.

Raspberry-Chocolate Ice Cream

But back to the ice cream. We decided to try the raspberry-chocolate one first, because I LOVE the combination. David uses cocoa powder, but next time I will try it with some melted milk chocolate, which I prefer. But it is already very good with cocoa powder. Unfortunately it didn’t freeze in the ice cream maker. Don’t know why?! So I just popped it in a container in the freezer and oh wonder! it’s good anyway! That’s a good gelato! So I think, it will work properly even without the machine. But if you are using one, be sure the mixture is really cold before you put it in the machine, maybe then you have a chance and it freezes in there.

Oh, and I really recommend you to use some good-quality ice cream cones with it! It’s worth it! But I’m one of those people, who could just eat the cone! I love ice cream cones… yum!

Raspberry-Chocolate Ice Cream

Zitronen-Rosmarin-KekseLemon-Rosemary-Cookies

Update: Für das deutsche Rezept nach unten scrollen!

Zitronen-Rosmain-Kekse

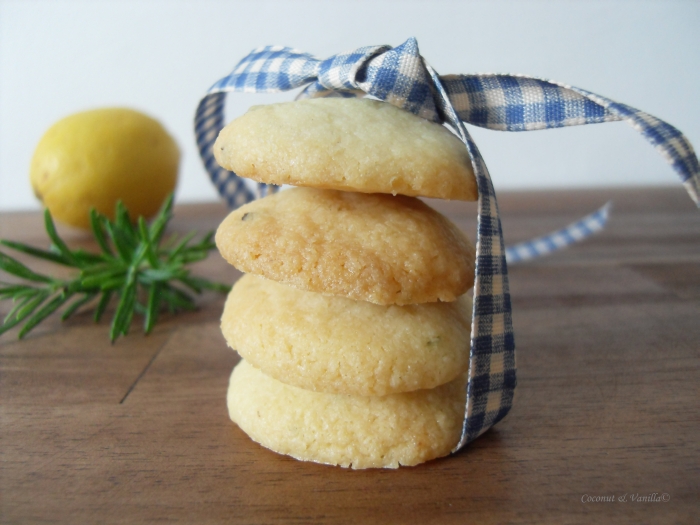
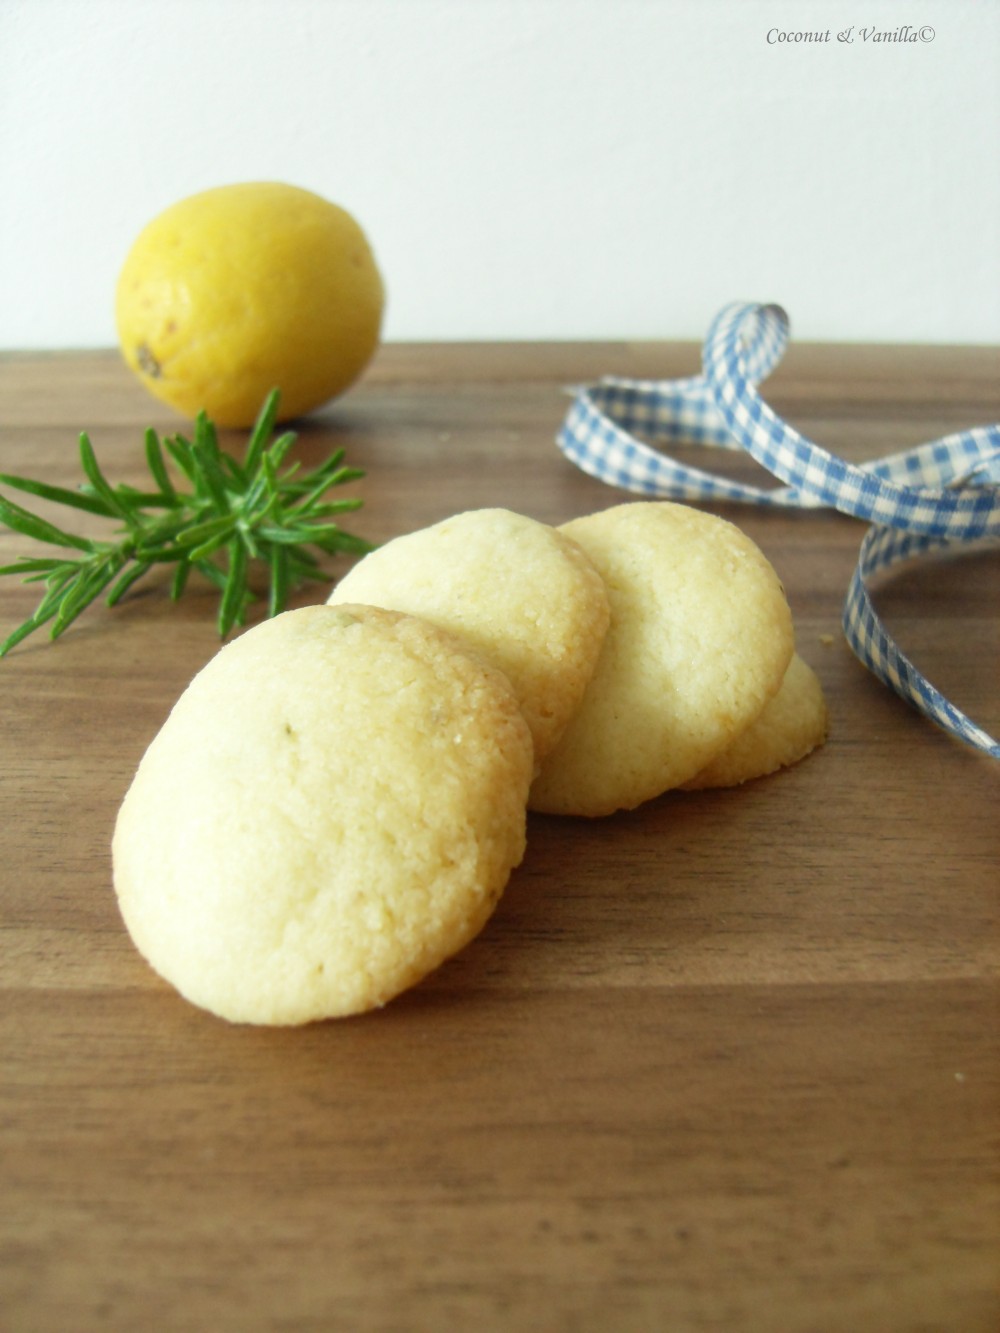
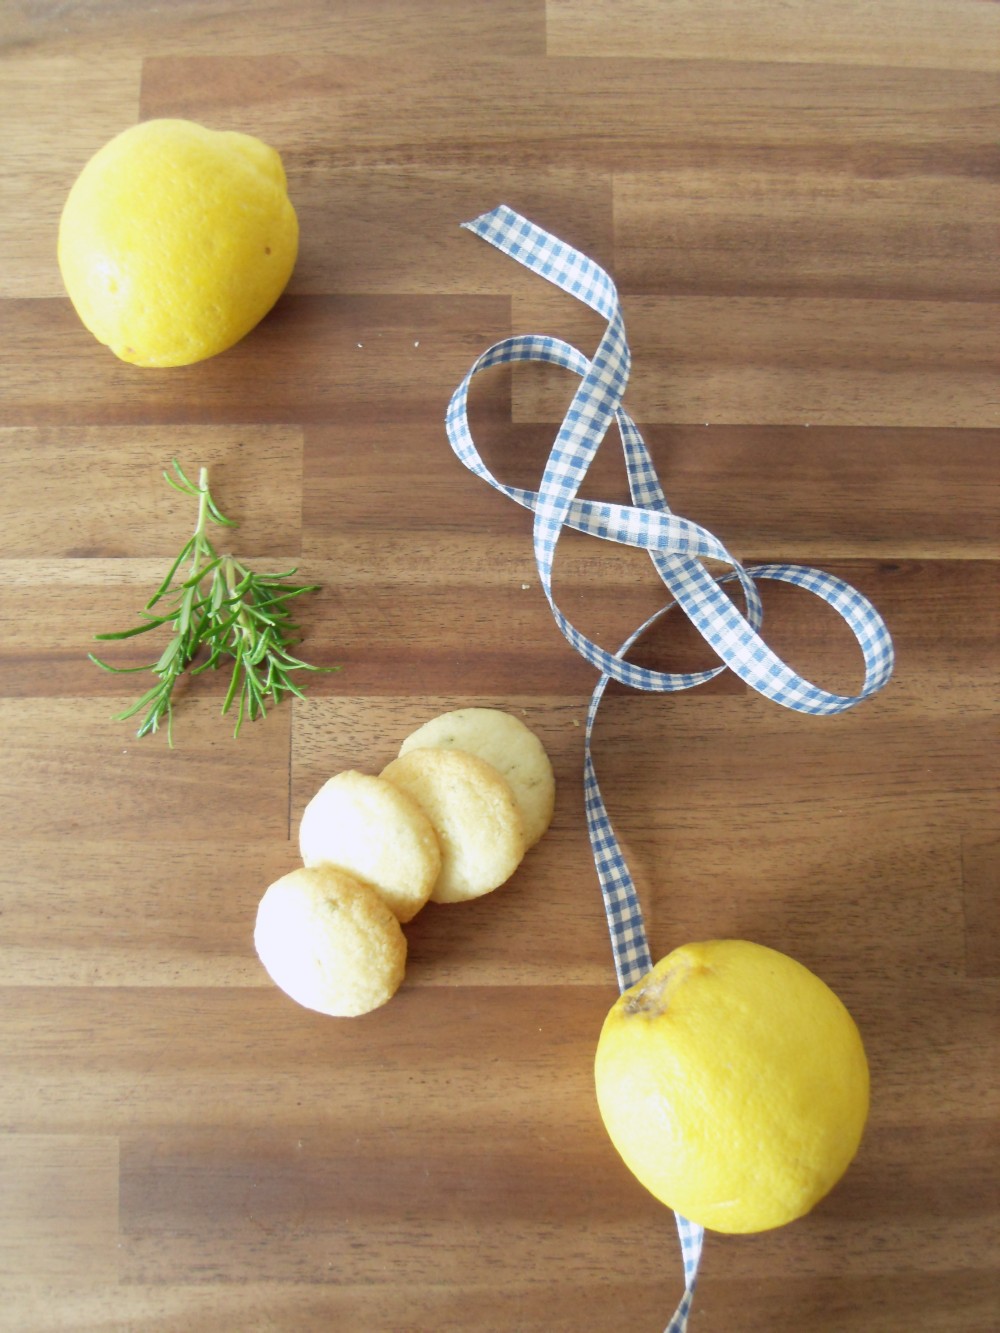
 I love some particular cookies, which are unfortunately very pricey and so I don’t buy them very often. For truth never. They are made of spelt flour; lemon and rosemary are added.

By chance I tried a recipe last week, out of which came my almost beloved cookies. It wasn’t my intention to do so. But it was a nice discovery.

Zitronen-Rosmain-Kekse

 I used a recipe from Joy. I adapted it a bit while making the dough, since I didn’t like the original consistency and taste of the dough. The original recipe called for rolling out the dough and cut cookies out with cookies cutters. Well it wasn’t possible. Not nearly. The dough was very soft. Although I already added flour. But next time I will try to get the texture for rolling it out, since I want to shape the cookies like small leaves – like my favourite cookies. This time I worked with wheat flour, but next time I will use spelt flour, too. Maybe that also helps with the texture, since spelt flour adsorbs more moisture.

Zitronen-Rosmain-Kekse

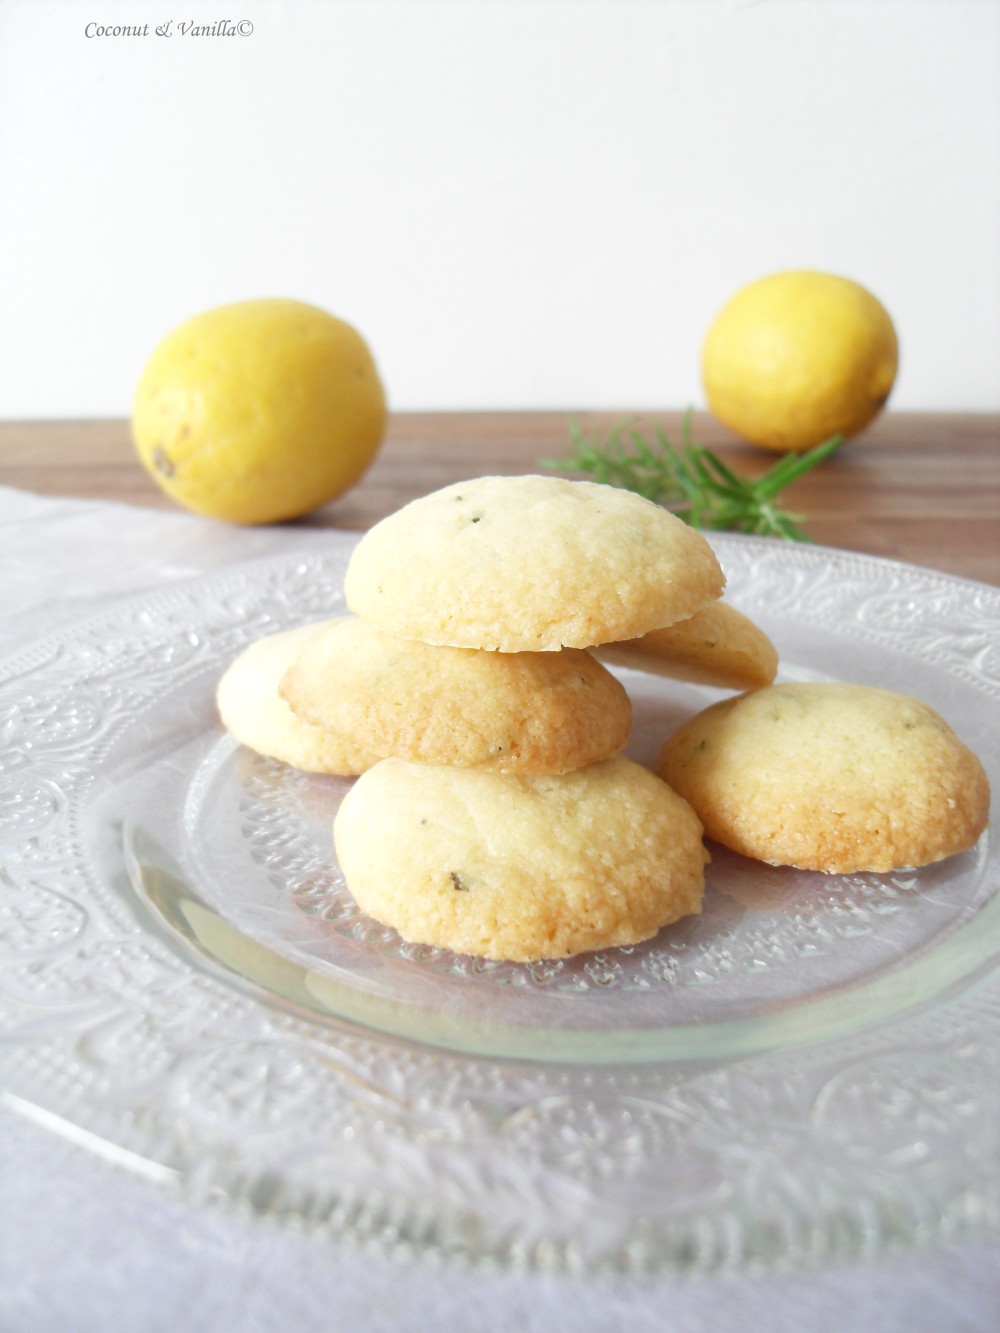
But apart from the texture (and that’s only a thing of what cookie shape you like more in the end) the cookies are great! They are so flaky! And its just are heavenly combination: lemon and rosemary.

Zitronen-Rosmain-Kekse


Lemon-Rosemary-Cookies

I love some particular cookies, which are unfortunately very pricey and so I don’t buy them very often. For truth never. They are made of spelt flour; lemon and rosemary are added.

By chance I tried a recipe last week, out of which came my almost beloved cookies. It wasn’t my intention to do so. But it was a nice discovery.

Lemon-Rosemary-Cookies

I used a recipe from Joy. I adapted it a bit while making the dough, since I didn’t like the original consistency and taste of the dough. The original recipe called for rolling out the dough and cut cookies out with cookies cutters. Well it wasn’t possible. Not nearly. The dough was very soft. Although I already added flour. But next time I will try to get the texture for rolling it out, since I want to shape the cookies like small leaves – like my favourite cookies. This time I worked with wheat flour, but next time I will use spelt flour, too. Maybe that also helps with the texture, since spelt flour adsorbs more moisture.

Lemon-Rosemary-Cookies

But apart from the texture (and that’s only a thing of what cookie shape you like more in the end) the cookies are great! They are so flaky! And its just are heavenly combination: lemon and rosemary.

Lemon-Rosemary-Cookies

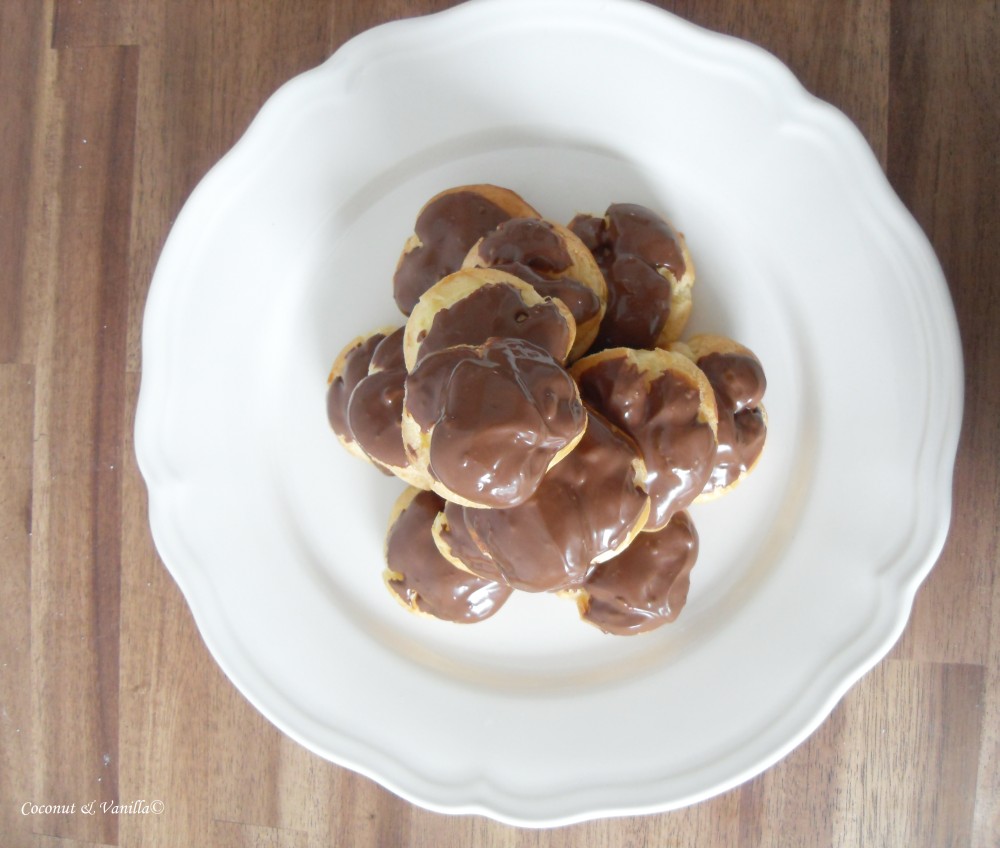
Piece Monteé Piece Monteé

The May 2010 Daring Bakers’ challenge was hosted by Cat of Little Miss Cupcake. Cat challenged everyone to make a piece montée, or croquembouche, based on recipes from Peter Kump’s Baking School in Manhattan and Nick Malgieri.

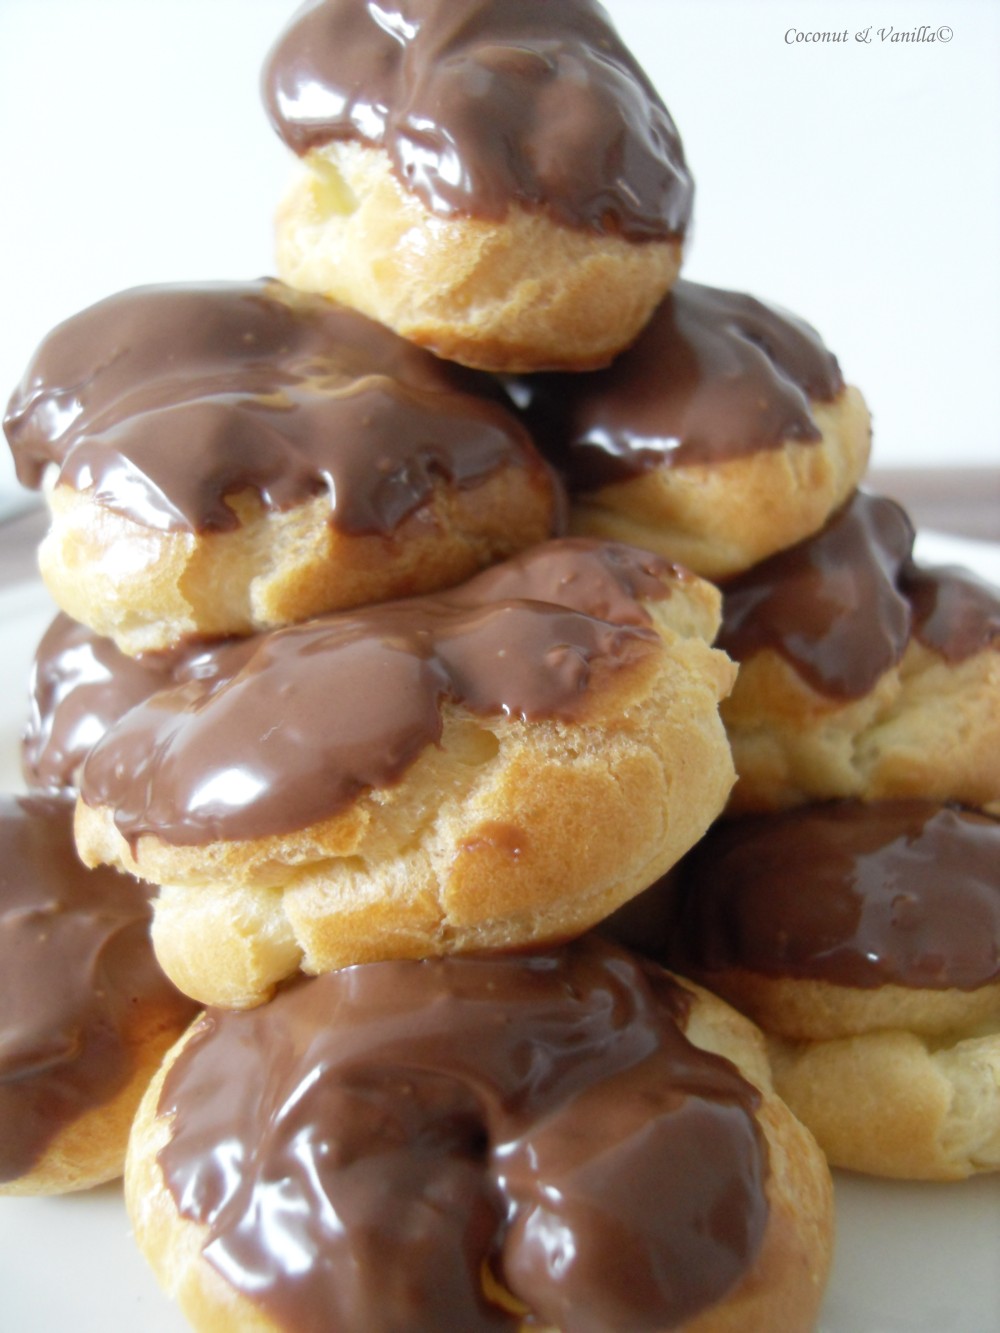
Piece Monteé

This month’s challenge was a challenge for me, not because of the recipe, but because we moved this month to a new flat, where we renovated a lot ourselves. Additionally we bought our first own kitchen, which had to be build up. We also took charge of the water supply, which was half a disaster, but now it works properly.

So kitchen is just (mostly) completely built up since yesterday, and also the water supply for the sink, the dishwasher and the washing machine.

But I managed to cook the crème patissiere the day before yesterday and baked today the choux. So I’m a day late, but I’m very proud, that I managed it anyway.

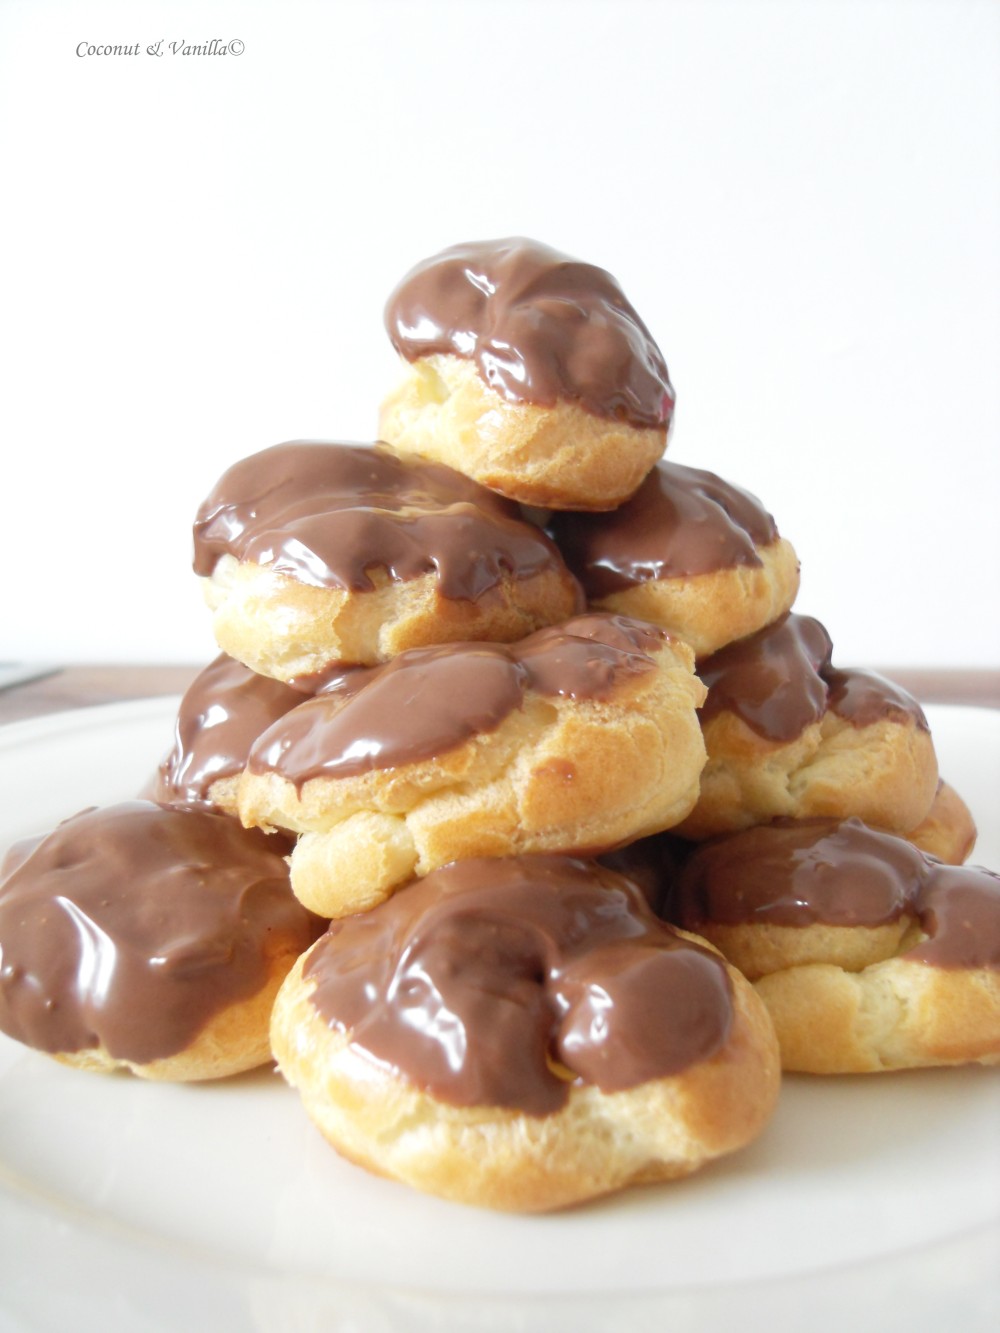
Piece Monteé

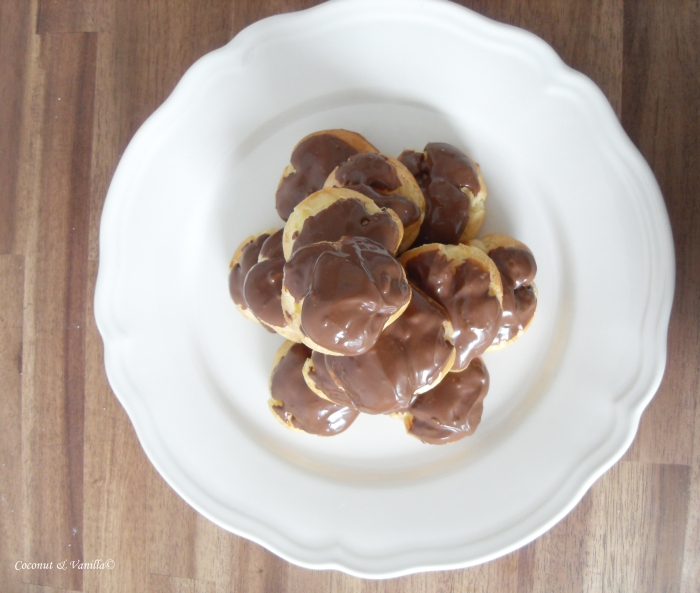
The recipe was very easy, although the choux were very flat, because the dough was too runny. The just flattened, after I piped them on the baking sheet. I didn’t taste the piece montée alltogether, because it’s our dessert after dinner later. But I tasted the choux with the chocolate glaze, which is very good, just as well as the vanilla crème patissier. So we are really looking forward to this evenings dessert!

I will definitely make this recipe again, because it’s easy and tasty. Although I won’t assemble the choux to a mount. They are good to eat just one or two in between.

I made the recipe, as it stands below. You get as much filled choux as you see in my picture (for a small mount). But I had double as much choux leftover without filling (very sad). So if you want to fill them all instantly, make the doubled batch crème patissiere. Or otherwise keep the leftover choux until you want to fill them in an airtight container and the make another batch crème patissiere to fill them right away, when you need them.

Piece Monteé

Recipe

Piece Montée

Vanilla Crème Patissiere (Half Batch)

Ingredients:

1 cup (225 ml.) whole milk
2 Tbsp. cornstarch
6 Tbsp. (100 g.) sugar
1 large egg
2 large egg yolks
2 Tbsp. (30 g.) unsalted butter
1 Tsp. Vanilla

Dissolve cornstarch in ¼ cup of milk. Combine the remaining milk with the sugar in a saucepan; bring to boil; remove from heat.

Beat the whole egg, then the yolks into the cornstarch mixture. Pour 1/3 of boiling milk into the egg mixture, whisking constantly so that the eggs do not begin to cook.

Return the remaining milk to boil. Pour in the hot egg mixture in a stream, continuing whisking.

Continue whisking (this is important – you do not want the eggs to solidify/cook) until the cream thickens and comes to a boil. Remove from heat and beat in the butter and vanilla.

Pour cream into a stainless steel/ceramic bowl. Press plastic wrap firmly against the surface. Chill immediately and until ready to use.

For Chocolate Pastry Cream (Half Batch Recipe):
Bring ¼ cup (about 50 cl.) milk to a boil in a small pan; remove from heat and add in 3 ounces (about 80 g.) semisweet chocolate, finely chopped, and mix until smooth. Whisk into pastry cream when you add the butter and vanilla.


Pate a Choux

Yield: About 28

Ingredients:


  • ¾ cup (175 ml.) water
  • 6 Tbsp. (85 g.) unsalted butter
  • ¼ Tsp. salt
  • 1 Tbsp. sugar
  • 1 cup (125 g.) all-purpose flour
  • 4 large eggs
  • for Egg Wash: 1 egg and pinch of salt

Pre-heat oven to 425◦F/220◦C degrees. Line two baking sheets with parchment paper.

Preparing batter:
Combine water, butter, salt and sugar in a saucepan over medium heat. Bring to a boil and stir occasionally. At boil, remove from heat and sift in the flour, stirring to combine completely.

Return to heat and cook, stirring constantly until the batter dries slightly and begins to pull away from the sides of the pan.

Transfer to a bowl and stir with a wooden spoon 1 minute to cool slightly.

Add 1 egg. The batter will appear loose and shiny. As you stir, the batter will become dry-looking like lightly buttered mashed potatoes.

It is at this point that you will add in the next egg. Repeat until you have incorporated all the eggs.

Piping:
Transfer batter to a pastry bag fitted with a large open tip (I piped directly from the bag opening without a tip). Pipe choux about 1 inch-part in the baking sheets. Choux should be about 1 inch high about 1 inch wide.

Using a clean finger dipped in hot water, gently press down on any tips that have formed on the top of choux when piping. You want them to retain their ball shape, but be smoothly curved on top.

Brush tops with egg wash (1 egg lightly beaten with pinch of salt).

Baking:
Bake the choux at 425◦F/220◦C degrees until well-puffed and turning lightly golden in color, about 10 minutes.

Lower the temperature to 350◦F/180◦C degrees and continue baking until well-colored and dry, about 20 minutes more. Remove to a rack and cool.

Can be stored in a airtight box overnight.

Filling:
When you are ready to assemble your piece montée, using a plain pastry tip, pierce the bottom of each choux. Fill the choux with pastry cream using either the same tip or a star tip, and place on a paper-lined sheet. Choux can be refrigerated briefly at this point while you make your glaze.

Use one of these to top your choux and assemble your piece montée.

Chocolate Glaze:

  • 8 ounces/200 g. finely chopped chocolate (use the finest quality you can afford as the taste will be quite pronounced; I recommend semi-sweet)

Melt chocolate in microwave or double boiler. Stir at regular intervals to avoid burning. Use the best quality chocolate you can afford. Use immediately.

Wien und Macarons!Vienna and Macarons!

Yesterday I promised you, that I will tell you soon about Vienna and show you my photos of course. Never been so fast answering my own posts… well doesn’t happen so often either that I answer my own posts…

Macarons

First Vienna was very restorative. Just what I needed. The city itself is nice – lots of old beautiful buildings – but for me it’s too crowdy, too smelly and unfortunately old buildings just don’t stand for themselves, they need to be maintained. What really pays off in that city is the food. What a relieve!

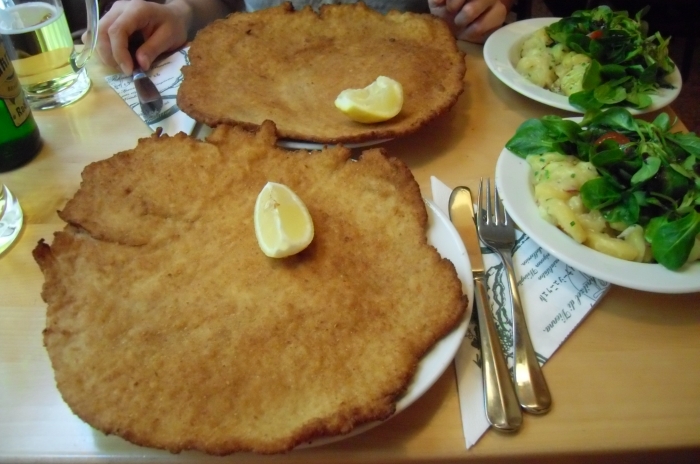
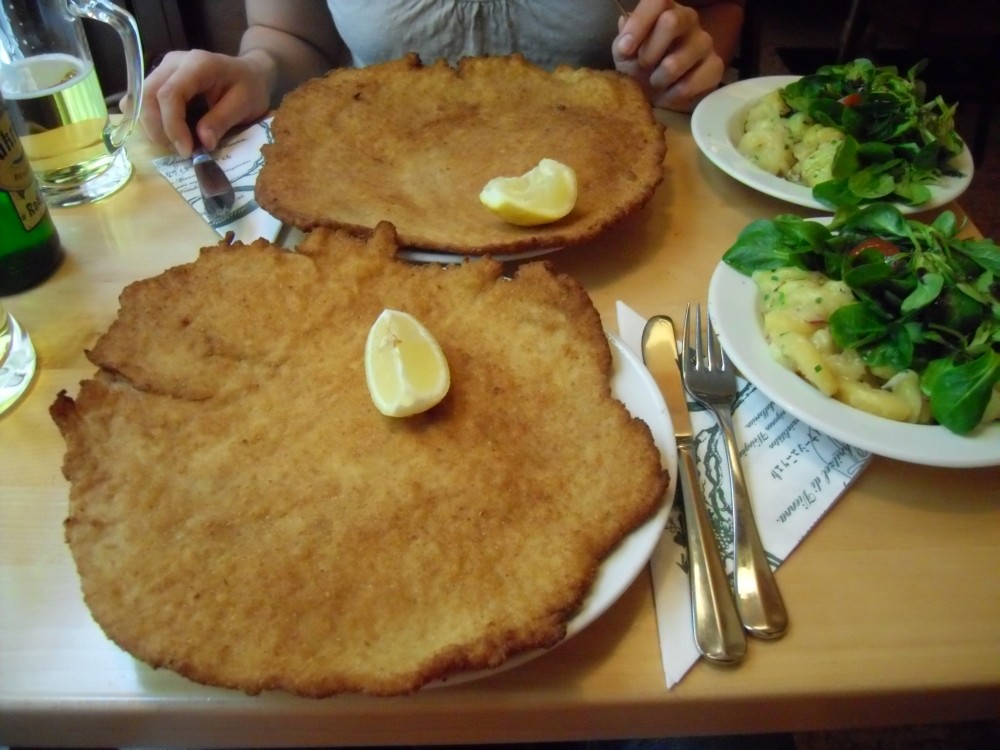
We had the famous biggest Schnitzel of town at Figlmüller.

Figlmüller Schnitzel

They were outstanding big and so thin, they were delicious! Just a recommendation, if you will ever visiting Vienna.

Another night we ate at the restaurant “Holler”, which only serves vegetarian food. Don’t have pictures from our food, cause really I don’t like it to sit in a restaurant and take pictures of my food. I’m just feeling awkward then. I had some delicious homemade wild garlic (Bärlauch) gnocchi with paprika sauce and something else (sorry don’t remember at the moment), Frank had homemade saffron pasta with asparagus. As starters we had a hot Tibetan soup and wild garlic crepes with cream cheese filling.

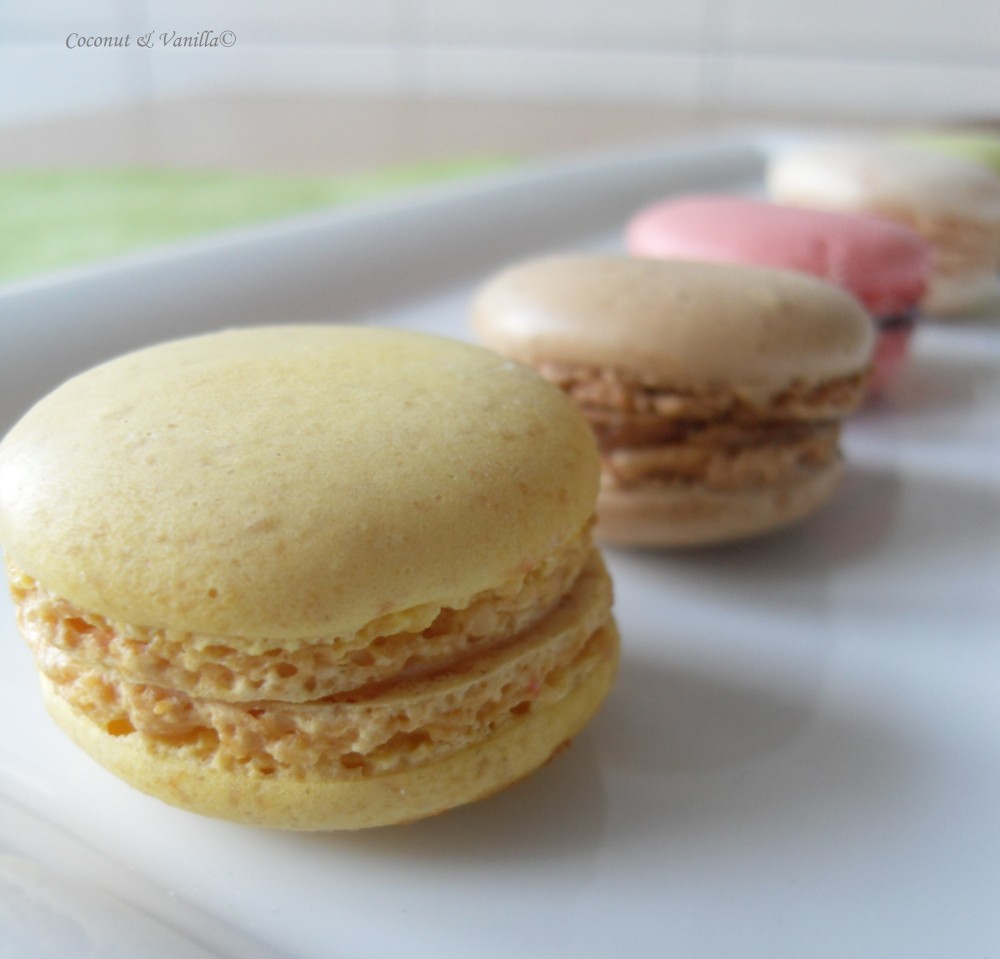
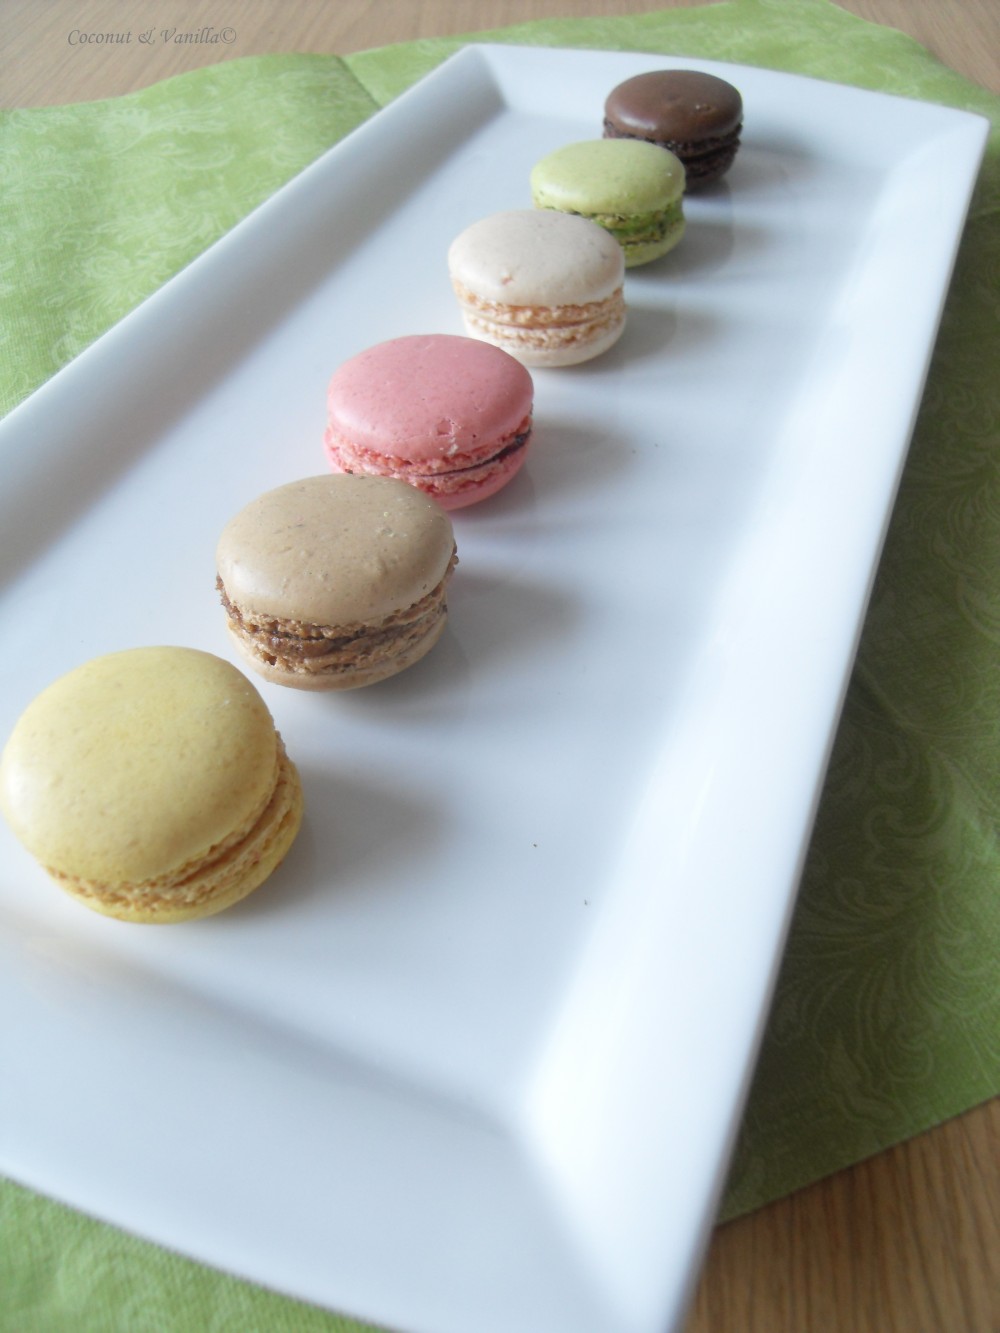
So if you’re in Vienna you have to visit one of those Kaffeehäuser. I wanted to go to the Demel Café, which is famous for, well everything. But of course it was full and we wanted to sit outside (the weather was great), so we went to the Café Gerstner, which I already knew, because I bought there some macarons the day before! Yes, macarons! I just saw them by chance and bought two of every flavour. Couldn’t believe it. Below you see from the front to the back: lemon – coffee – raspberry – vanilla – pistachio and chocolate

Macarons

At the Café Gerstner I ate a Dobos torte. Had to try it, because it was the challenge, before I joined the Daring Bakers (otherwise I wouldn’t have known it). I (almost) never make torte at home and that’s better so, because after half of the piece I was full. And that means a lot! But I liked it, mainly because of the many many layers of cake batter filled with crème.

If you’ll ever be in Vienna my recommendations, what you should visit and what I liked best are the Schloss Schönbrunn (castle Schönbrunn) and more important the associated park (picture below and that’s not the castle, just a part of the park), the Hundertwasser house and the Naschmarkt. The Naschmarkt is a huge market (2km long I guess), where you can buy every food you want. Unfortunately I couldn’t take home some fish…

Schönbrunn

Rhabarber-Streusel-KuchenRhubarb Streusel Cake

Update: Für das deutsche Rezept nach unten scrollen!

Finally I’m done with my oral exam and back from Vienna! The exam was just fine and I will be writing and showing you my photos of Vienna soon!

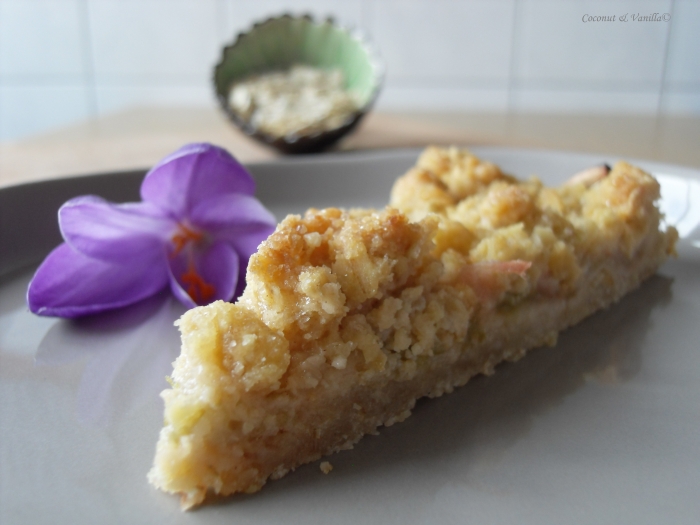
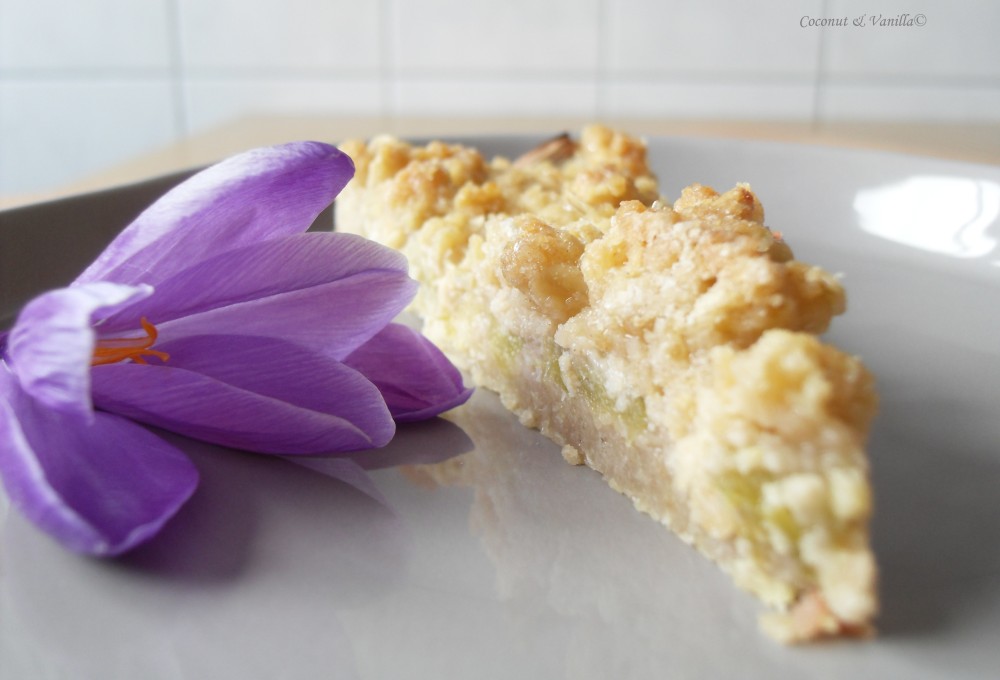
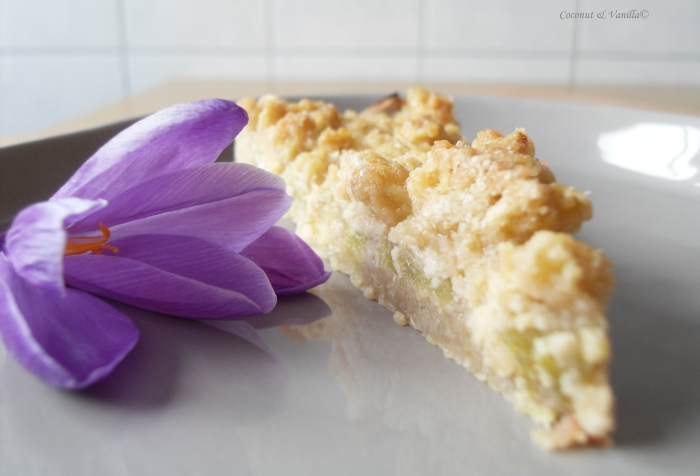
But first I will show you more about that cake, that I gave you hint of in my last post. Because it’s easy-peasy, quickly done and mouth-watering. I mean it’s containing streusel! Everything with streusel is yummy! The cake is so mouth-watering and fast, that I’ve done it two times in two weeks! Which is often, since I’m not repeating cake recipes that often.

Rhabarber-Streusel-Kuchen

The first time I used some leftover frozen rhubarb from last summer from Elke and Martin’s garden – relatives of mine. The second time I saw the first German rhubarb and consequently I had to buy it. I cannot stand the first rhubarb of the year or rhubarb at all. I love it like all seasonal fruits and vegetables… I’m really looking forward to asparagus!

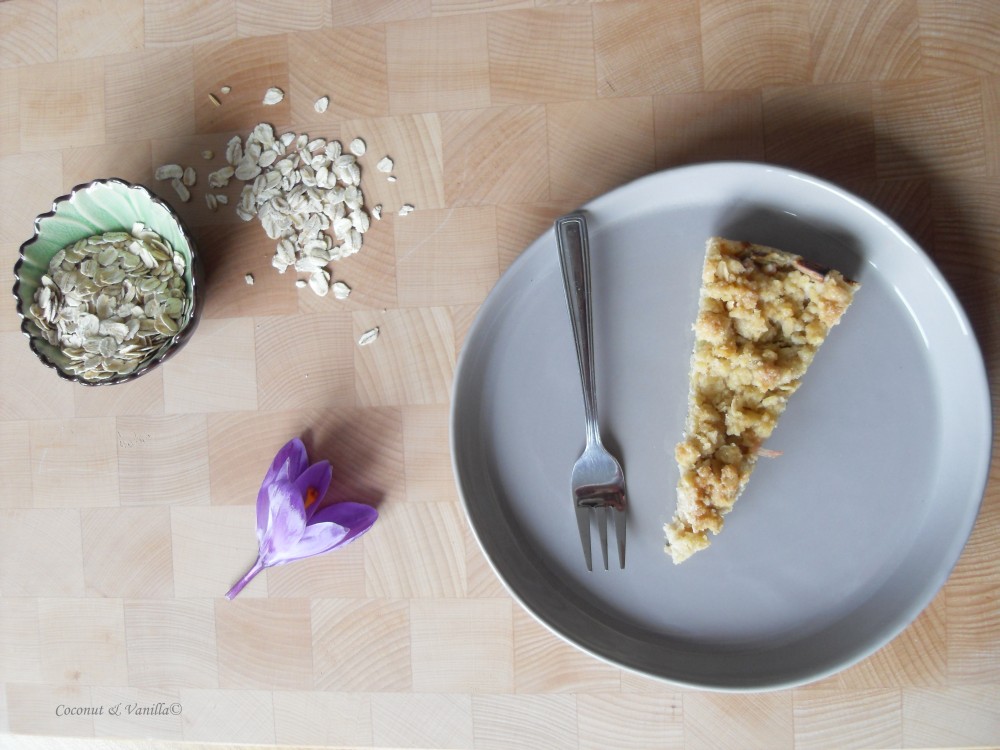
What’s also great with that cake is, that you only need a handful ingredients: Flour, rolled oats, butter, sugar, spices and of course rhubarb.

Rhabarber-Streusel-Kuchen

Just put all the ingredients, expect the rhubarb in your kitchen machine, let it do the work and the wonder is almost done. Some baking and your home is smelling so darn good. So grab yourself some rhubarb (if it’s too much for one batch, freeze the rest for another time, when you are craving for some cake), invest 10 minutes, wait until it’s baked golden-brown and enjoy!


Finally I’m done with my oral exam and back from Vienna! The exam was just fine and I will be writing and showing you my photos of Vienna soon!

But first I will show you more about that cake, that I gave you hint of in my last post. Because it’s easy-peasy, quickly done and mouth-watering. I mean it’s containing streusel! Everything with streusel is yummy! The cake is so mouth-watering and fast, that I’ve done it two times in two weeks! Which is often, since I’m not repeating cake recipes that often.

Rhubarb Streusel Cake

The first time I used some leftover frozen rhubarb from last summer from Elke and Martin’s garden – relatives of mine. The second time I saw the first German rhubarb and consequently I had to buy it. I cannot stand the first rhubarb of the year or rhubarb at all. I love it like all seasonal fruits and vegetables… I’m really looking forward to asparagus!

What’s also great with that cake is, that you only need a handful ingredients: Flour, rolled oats, butter, sugar, spices and of course rhubarb.

Rhubarb Streusel Cake

Just put all the ingredients, expect the rhubarb in your kitchen machine, let it do the work and the wonder is almost done. Some baking and your home is smelling so darn good. So grab yourself some rhubarb (if it’s too much for one batch, freeze the rest for another time, when you are craving for some cake), invest 10 minutes, wait until it’s baked golden-brown and enjoy!

Wien, ich komme!Vienna I’m coming!

I should not write this and I should not even think about doing this. Because at this moment I should study! I know! Unfortunately I’m very easy to distract from studying. Especially if it’s ongoing for some weeks. But the appointment is coming nearer and nearer. And hopefully that’s just good (should go back to work then).

But I have a good excuse why I have to write. Right after my oral exam, my boyfriend and I are going to Vienna for some days! Just some relaxing time. At least for me, he has to work, too (but not at the weekend fortunately).

So now I want to hear from you, what we must do in Vienna, or where we need to go or eat or buy food (important!). We have 3 days and 4 evenings/nights. Give me your advice, I’m looking forward to it.

Sorry, that I do not have the time for posting a recipe. But as an excuse I give you a picture , so you can look forward to something, too.

Rhabarber Streusel Kuchen

Mmmh rhubarb…

I should not write this and I should not even think about doing this. Because at this moment I should study! I know! Unfortunately I’m very easy to distract from studying. Especially if it’s ongoing for some weeks. But the appointment is coming nearer and nearer. And hopefully that’s just good (should go back to work then).

But I have a good excuse why I have to write. Right after my oral exam, my boyfriend and I are going to Vienna for some days! Just some relaxing time. At least for me, he has to work, too (but not at the weekend fortunately).

So now I want to hear from you, what we must do in Vienna, or where we need to go or eat or buy food (important!). We have 3 days and 4 evenings/nights. Give me your advice, I’m looking forward to it.

Sorry, that I do not have the time for posting a recipe. But as an excuse I give you a picture , so you can look forward to something, too.

Rhubarb Streusel Cake

Mmmh rhubarb…

Blutorangen-Tian mit weißer SchokoladeBlood Orange and White Chocolate Tian

Blutorangen-Tian mit weißer Schokolade

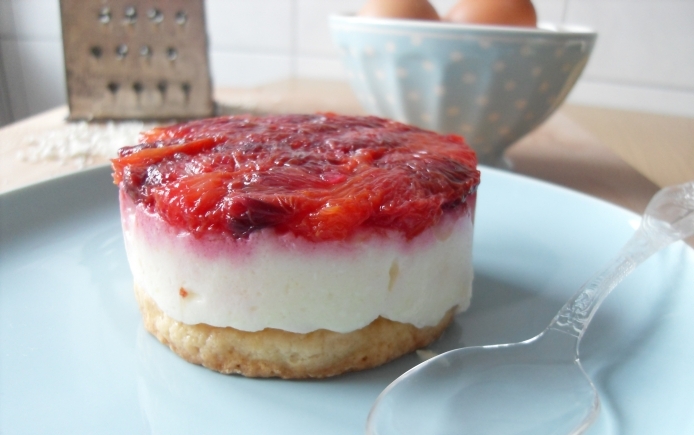
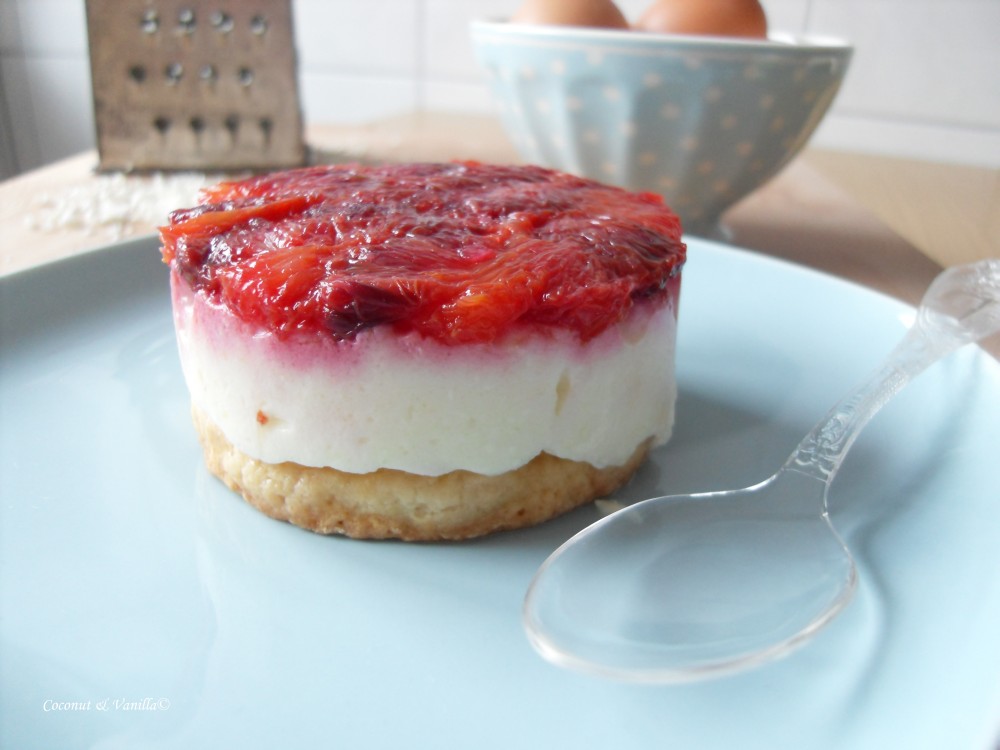
I know the reveal date for the Daring Bakers challenge was 4 days ago. Since I was in Nuremberg again for family festivities, I didn’t had the time to post it. Since I’m still short in time because of learning, I hope you will forgive me, that this is not the best and longest post. But I’m feeling guilty. And since I’d done the challenge in time, I must blog it.

The 2010 March Daring Baker’s challenge was hosted by Jennifer of Chocolate Shavings. She chose Orange Tian as the challenge for this month, a dessert based on a recipe from Alain Ducasse’s Cooking School in Paris.
Blutorangen-Tian mit weißer Schokolade

As I read the challenge a month ago, I was disappointed. Whipped cream with some citrus isn’t something I would eat or order or bake. But a challenge also means to try things you normally wouldn’t. So I gave it a try. For safety reasons I only made the half amount.

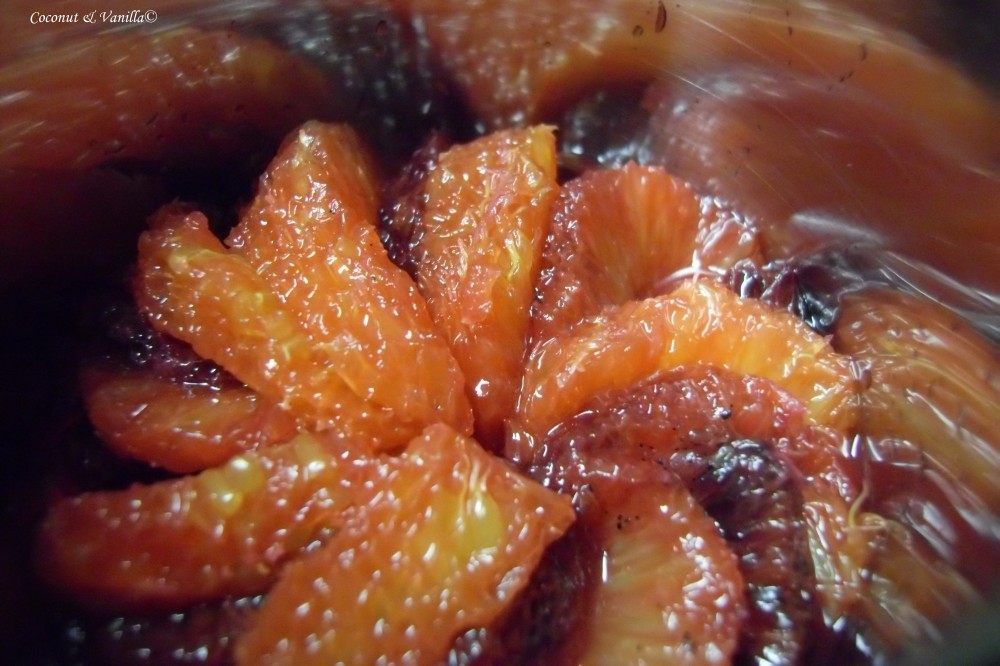
Making the (blood) orange marmalade was easy. I used Gelierzucker (jam sugar), instead of sugar and pectin. Gelierzucker is common here in Germany and always used for making jam. I wouldn’t have known where to buy pectin (and it’s already in the Gelierzucker).

The marmalade tasted very good, not a hint of bitterness. It smells intensive of oranges. Unfortunately it smells more as it tastes of oranges. Maybe because of the blanching.
Blutorangen-Tian mit weißer Schokolade

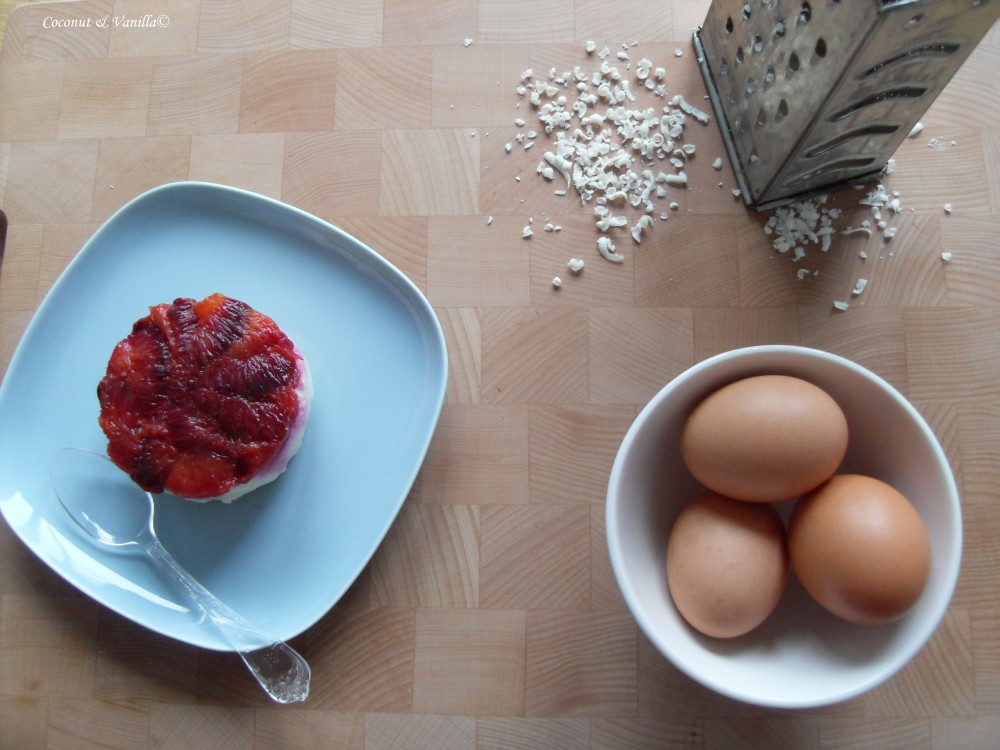
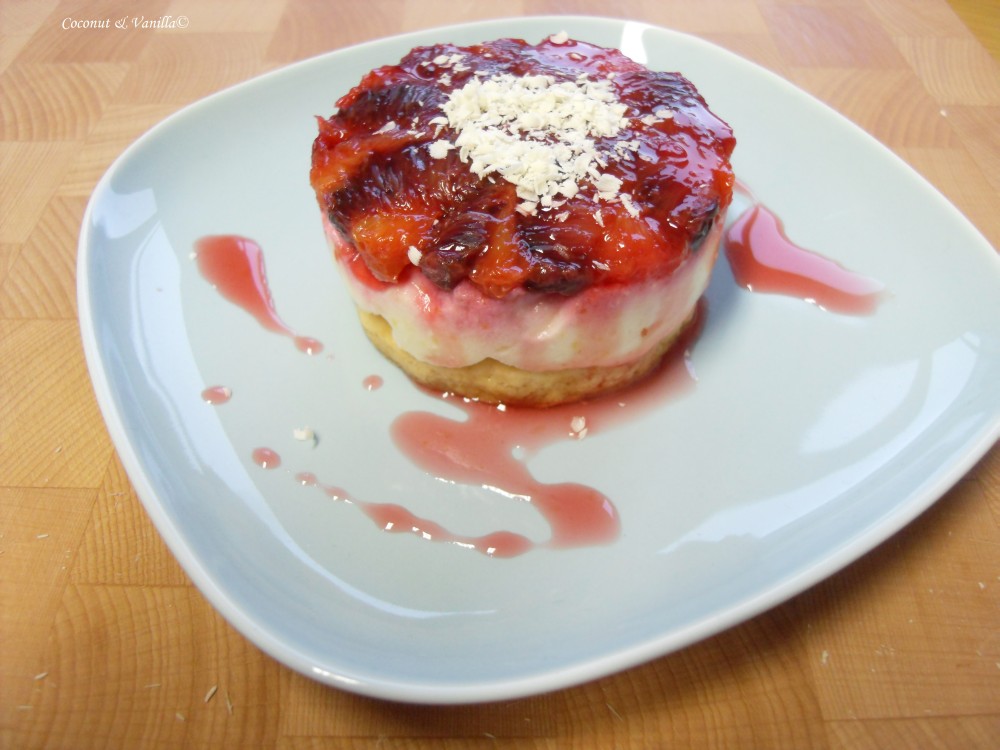
I don’t know why, but my paté shrunk in the oven and so it was a bit too small for my cookie cutters. I added some shredded white chocolate in the whipped cream (of which I used the double amount, since it was not enough), which added a nice, slightly sweet flavour. The hardening of the cream with the gelatine didn’t really work. I used leaves instead of powder, but I cannot imagine, that this was the mistake. So I added a sachet of Sahnesteif (stabilizer for whipping cream) for more stiffness and let it stay some more time in the freezer.

In the end it tasted good and it was a light dessert. You could have eaten two in a row. But we didn’t ;-).

But probably I won’t do it again. It costs a lot of time just for this small dessert, which is eaten in no time and not as satisfying, as what I would expect from a good dessert. But anyway it was fun to do and to learn something new.
Blutorangen-Tian mit weißer Schokolade

Recipe

Orange Tian

for the pate sablee

Ingredients:

  • 2 medium-sized egg yolks at room temperature
  • granulated sugar 80 grams
  • vanilla extract ½ teaspoon
  • Unsalted butter 100 grams ice cold, cubed
  • Salt 1/3 teaspoon
  • All-purpose flour 200 grams
  • baking powder 1 teaspoon

Directions: Put the flour, baking powder, ice cold cubed butter and salt in a food processor fitted with a steel blade.

In a separate bowl, add the eggs yolks, vanilla extract and sugar and beat with a whisk until the mixture is pale. Pour the egg mixture in the food processor.

Process until the dough just comes together. If you find that the dough is still a little too crumbly to come together, add a couple drops of water and process again to form a homogenous ball of dough. Form into a disc, cover with plastic wrap and leave to rest in the fridge for 30 minutes. Preheat your oven to 350 degree Fahrenheit.

Roll out the dough onto a lightly floured surface until you obtain a ¼ inch thick circle.

Using your cookie cutter, cut out circles of dough and place on a parchment (or silicone) lined baking sheet. Bake for 20 minutes or until the circles of dough are just golden.


for the marmalade

Ingredients:

  • Freshly pressed orange juice ¼ cup + 3 tablespoons; 3.5 oz; 100 grams
  • 1 large orange used to make orange slices
  • cold water to cook the orange slices
  • pectin 5 grams
  • granulated sugar: use the same weight as the weight of orange slices once they are cooked

Finely slice the orange. Place the orange slices in a medium-sized pot filled with cold water. Simmer for about 10 minutes, discard the water, re-fill with cold water and blanch the oranges for another 10 minutes.

Blanch the orange slices 3 times. This process removes the bitterness from the orange peel, so it is essential to use a new batch of cold water every time when you blanch the slices.

Once blanched 3 times, drain the slices and let them cool.

Once they are cool enough to handle, finely mince them (using a knife or a food processor).

Weigh the slices and use the same amount of granulated sugar . If you don’t have a scale, you can place the slices in a cup measurer and use the same amount of sugar.

In a pot over medium heat, add the minced orange slices, the sugar you just weighed, the orange juice and the pectin. Cook until the mixture reaches a jam consistency (10-15 minutes).

Transfer to a bowl, cover with plastic wrap and put in the fridge.


for the orange segments

For this step you will need 8 oranges.

Cut the oranges into segments over a shallow bowl and make sure to keep the juice. Add the segments to the bowl with the juice.


for the caramel

Ingredients:

  • granulated sugar 200 grams
  • orange juice 1.5 cups + 2 tablespoons; 400 grams

Place the sugar in a pan on medium heat and begin heating it.

Once the sugar starts to bubble and foam, slowly add the orange juice. As soon as the mixture starts boiling, remove from the heat and pour half of the mixture over the orange segments.

Reserve the other half of the caramel mixture in a small bowl — you will use this later to spoon over the finished dessert. When the dessert is assembled and setting in the freezer, heat the kept caramel sauce in a small saucepan over low heat until it thickens and just coats the back of a spoon (about 10 minutes). You can then spoon it over the orange tians.

[Tip: Be very careful when making the caramel — if you have never made caramel before, I would suggest making this step while you don’t have to worry about anything else. Bubbling sugar is extremely, extremely hot, so make sure you have a bowl of ice cold water in the kitchen in case anyone gets burnt!]


for the whipped cream

Ingredients:

  • heavy whipping cream 200 grams
  • 3 tablespoons of hot water
  • 1 tsp Gelatine
  • 1 tablespoon of confectioner’s sugar
  • orange marmalade 1 tablespoon

In a small bowl, add the gelatine and hot water, stirring well until the gelatine dissolves. Let the gelatine cool to room temperature while you make the whipped cream. Combine the cream in a chilled mixing bowl. Whip the cream using a hand mixer on low speed until the cream starts to thicken for about one minute. Add the confectioner sugar. Increase the speed to medium-high. Whip the cream until the beaters leave visible (but not lasting) trails in the cream, then add the cooled gelatine slowly while beating continuously. Continue whipping until the cream is light and fluffy and forms soft peaks. Transfer the whipped cream to a bowl and fold in the orange marmalade. [Tip: Use an ice cold bowl to make the whipped cream in. You can do this by putting your mixing bowl, cream and beater in the fridge for 20 minutes prior to whipping the cream.]


Assembling the Dessert:

Make sure you have some room in your freezer. Ideally, you should be able to fit a small baking sheet or tray of desserts to set in the freezer.

Line a small tray or baking sheet with parchment paper or a silicone sheet. Lay out 6 cookie cutters onto the parchment paper/silicone.

Drain the orange segments on a kitchen towel.

Have the marmalade, whipped cream and baked circles of dough ready to use.

Arrange the orange segments at the bottom of each cookie cutter. Make sure the segments all touch either and that there are no gaps. Make sure they fit snuggly and look pretty as they will end up being the top of the dessert. Arrange them as you would sliced apples when making an apple tart.

Once you have neatly arranged one layer of orange segments at the bottom of each cookie cutter, add a couple spoonfuls of whipped cream and gently spread it so that it fills the cookie cutter in an even layer. Leave about 1/4 inch at the top so there is room for dough circle.

Using a butter knife or small spoon, spread a small even layer of orange marmalade on each circle of dough.

Carefully place a circle of dough over each ring (the side of dough covered in marmalade should be the side touching the whipping cream). Gently press on the circle of dough to make sure the dessert is compact.

Place the desserts to set in the freezer to set for 10 minutes.

Using a small knife, gently go around the edges of the cookie cutter to make sure the dessert will be easy to unmold. Gently place your serving plate on top of a dessert (on top of the circle of dough) and turn the plate over. Gently remove the cookie cutter, add a spoonful of caramel sauce and serve immediately.

Blood Orange and White Chocolate Tian

I know the reveal date for the Daring Bakers challenge was 4 days ago. Since I was in Nuremberg again for family festivities, I didn’t had the time to post it. Since I’m still short in time because of learning, I hope you will forgive me, that this is not the best and longest post. But I’m feeling guilty. And since I’d done the challenge in time, I must blog it.

The 2010 March Daring Baker’s challenge was hosted by Jennifer of Chocolate Shavings. She chose Orange Tian as the challenge for this month, a dessert based on a recipe from Alain Ducasse’s Cooking School in Paris.

Blood Orange and White Chocolate Tian

As I read the challenge a month ago, I was disappointed. Whipped cream with some citrus isn’t something I would eat or order or bake. But a challenge also means to try things you normally wouldn’t. So I gave it a try. For safety reasons I only made the half amount.

Making the (blood) orange marmalade was easy. I used Gelierzucker (jam sugar), instead of sugar and pectin. Gelierzucker is common here in Germany and always used for making jam. I wouldn’t have known where to buy pectin (and it’s already in the Gelierzucker).

The marmalade tasted very good, not a hint of bitterness. It smells intensive of oranges. Unfortunately it smells more as it tastes of oranges. Maybe because of the blanching.

Blood Orange and White Chocolate Tian

I don’t know why, but my paté shrunk in the oven and so it was a bit too small for my cookie cutters. I added some shredded white chocolate in the whipped cream (of which I used the double amount, since it was not enough), which added a nice, slightly sweet flavour. The hardening of the cream with the gelatine didn’t really work. I used leaves instead of powder, but I cannot imagine, that this was the mistake. So I added a sachet of Sahnesteif (stabilizer for whipping cream) for more stiffness and let it stay some more time in the freezer.

In the end it tasted good and it was a light dessert. You could have eaten two in a row. But we didn’t ;-).

But probably I won’t do it again. It costs a lot of time just for this small dessert, which is eaten in no time and not as satisfying, as what I would expect from a good dessert. But anyway it was fun to do and to learn something new.

Blood Orange and White Chocolate Tian

Recipe

Orange Tian

for the pate sablee

Ingredients:

  • 2 medium-sized egg yolks at room temperature
  • granulated sugar 80 grams
  • vanilla extract ½ teaspoon
  • Unsalted butter 100 grams ice cold, cubed
  • Salt 1/3 teaspoon
  • All-purpose flour 200 grams
  • baking powder 1 teaspoon

Directions: Put the flour, baking powder, ice cold cubed butter and salt in a food processor fitted with a steel blade.

In a separate bowl, add the eggs yolks, vanilla extract and sugar and beat with a whisk until the mixture is pale. Pour the egg mixture in the food processor.

Process until the dough just comes together. If you find that the dough is still a little too crumbly to come together, add a couple drops of water and process again to form a homogenous ball of dough. Form into a disc, cover with plastic wrap and leave to rest in the fridge for 30 minutes. Preheat your oven to 350 degree Fahrenheit.

Roll out the dough onto a lightly floured surface until you obtain a ¼ inch thick circle.

Using your cookie cutter, cut out circles of dough and place on a parchment (or silicone) lined baking sheet. Bake for 20 minutes or until the circles of dough are just golden.

for the marmalade

Ingredients:

  • Freshly pressed orange juice ¼ cup + 3 tablespoons; 3.5 oz; 100 grams
  • 1 large orange used to make orange slices
  • cold water to cook the orange slices
  • pectin 5 grams
  • granulated sugar: use the same weight as the weight of orange slices once they are cooked

Finely slice the orange. Place the orange slices in a medium-sized pot filled with cold water. Simmer for about 10 minutes, discard the water, re-fill with cold water and blanch the oranges for another 10 minutes.

Blanch the orange slices 3 times. This process removes the bitterness from the orange peel, so it is essential to use a new batch of cold water every time when you blanch the slices.

Once blanched 3 times, drain the slices and let them cool.

Once they are cool enough to handle, finely mince them (using a knife or a food processor).

Weigh the slices and use the same amount of granulated sugar . If you don’t have a scale, you can place the slices in a cup measurer and use the same amount of sugar.

In a pot over medium heat, add the minced orange slices, the sugar you just weighed, the orange juice and the pectin. Cook until the mixture reaches a jam consistency (10-15 minutes).

Transfer to a bowl, cover with plastic wrap and put in the fridge.

for the orange segments

For this step you will need 8 oranges.

Cut the oranges into segments over a shallow bowl and make sure to keep the juice. Add the segments to the bowl with the juice.

for the caramel

Ingredients:

  • granulated sugar 200 grams
  • orange juice 1.5 cups + 2 tablespoons; 400 grams

Place the sugar in a pan on medium heat and begin heating it.

Once the sugar starts to bubble and foam, slowly add the orange juice. As soon as the mixture starts boiling, remove from the heat and pour half of the mixture over the orange segments.

Reserve the other half of the caramel mixture in a small bowl — you will use this later to spoon over the finished dessert. When the dessert is assembled and setting in the freezer, heat the kept caramel sauce in a small saucepan over low heat until it thickens and just coats the back of a spoon (about 10 minutes). You can then spoon it over the orange tians.

[Tip: Be very careful when making the caramel — if you have never made caramel before, I would suggest making this step while you don’t have to worry about anything else. Bubbling sugar is extremely, extremely hot, so make sure you have a bowl of ice cold water in the kitchen in case anyone gets burnt!]

for the whipped cream

Ingredients:

  • heavy whipping cream 200 grams
  • 3 tablespoons of hot water
  • 1 tsp Gelatine
  • 1 tablespoon of confectioner’s sugar
  • orange marmalade 1 tablespoon

In a small bowl, add the gelatine and hot water, stirring well until the gelatine dissolves. Let the gelatine cool to room temperature while you make the whipped cream. Combine the cream in a chilled mixing bowl. Whip the cream using a hand mixer on low speed until the cream starts to thicken for about one minute. Add the confectioner sugar. Increase the speed to medium-high. Whip the cream until the beaters leave visible (but not lasting) trails in the cream, then add the cooled gelatine slowly while beating continuously. Continue whipping until the cream is light and fluffy and forms soft peaks. Transfer the whipped cream to a bowl and fold in the orange marmalade. [Tip: Use an ice cold bowl to make the whipped cream in. You can do this by putting your mixing bowl, cream and beater in the fridge for 20 minutes prior to whipping the cream.]
Assembling the Dessert:

Make sure you have some room in your freezer. Ideally, you should be able to fit a small baking sheet or tray of desserts to set in the freezer.

Line a small tray or baking sheet with parchment paper or a silicone sheet. Lay out 6 cookie cutters onto the parchment paper/silicone.

Drain the orange segments on a kitchen towel.

Have the marmalade, whipped cream and baked circles of dough ready to use.

Arrange the orange segments at the bottom of each cookie cutter. Make sure the segments all touch either and that there are no gaps. Make sure they fit snuggly and look pretty as they will end up being the top of the dessert. Arrange them as you would sliced apples when making an apple tart.

Once you have neatly arranged one layer of orange segments at the bottom of each cookie cutter, add a couple spoonfuls of whipped cream and gently spread it so that it fills the cookie cutter in an even layer. Leave about 1/4 inch at the top so there is room for dough circle.

Using a butter knife or small spoon, spread a small even layer of orange marmalade on each circle of dough.

Carefully place a circle of dough over each ring (the side of dough covered in marmalade should be the side touching the whipping cream). Gently press on the circle of dough to make sure the dessert is compact.

Place the desserts to set in the freezer to set for 10 minutes.

Using a small knife, gently go around the edges of the cookie cutter to make sure the dessert will be easy to unmold. Gently place your serving plate on top of a dessert (on top of the circle of dough) and turn the plate over. Gently remove the cookie cutter, add a spoonful of caramel sauce and serve immediately.