Schokoladen Macarons mit HimbeerfüllungChocolate Macarons with Raspberry Filling

Update: Für das deutsche Rezept nach unten scrollen!

Schokoladen Macarons mit Himbeerfüllung

Since on the 20. March was Macaron Day I decided to show you my latest accomplishment in macarons.

Yes, there exists a special day for macarons! In Paris are special shops, that sell macarons all day long and on macarons day you can get some free! Unfortunately I never had the chance to be there (on macarons day or sometime else). As macarons are not very popular in Germany, ok unknown would be the better word… I mean most people don’t even know what cupcakes are… so you couldn’t say macarons are the new cupcakes ;). Anyway what I wanted to say is, that there won’t be shops in Germany, that sell macarons.

Schokoladen Macarons mit Himbeerfüllung

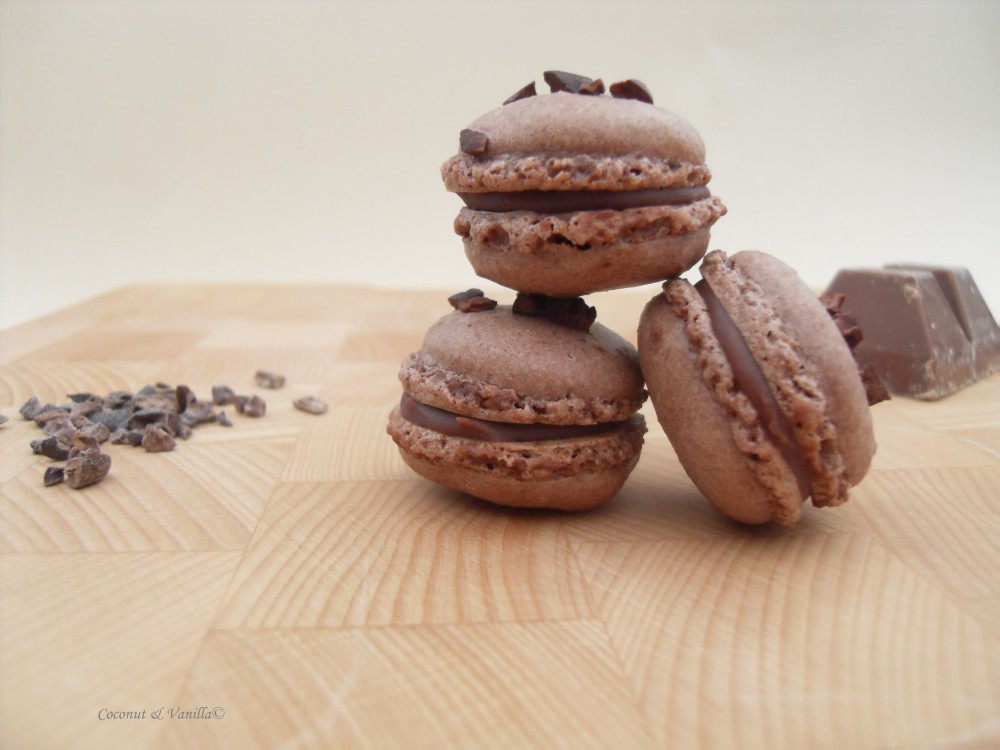
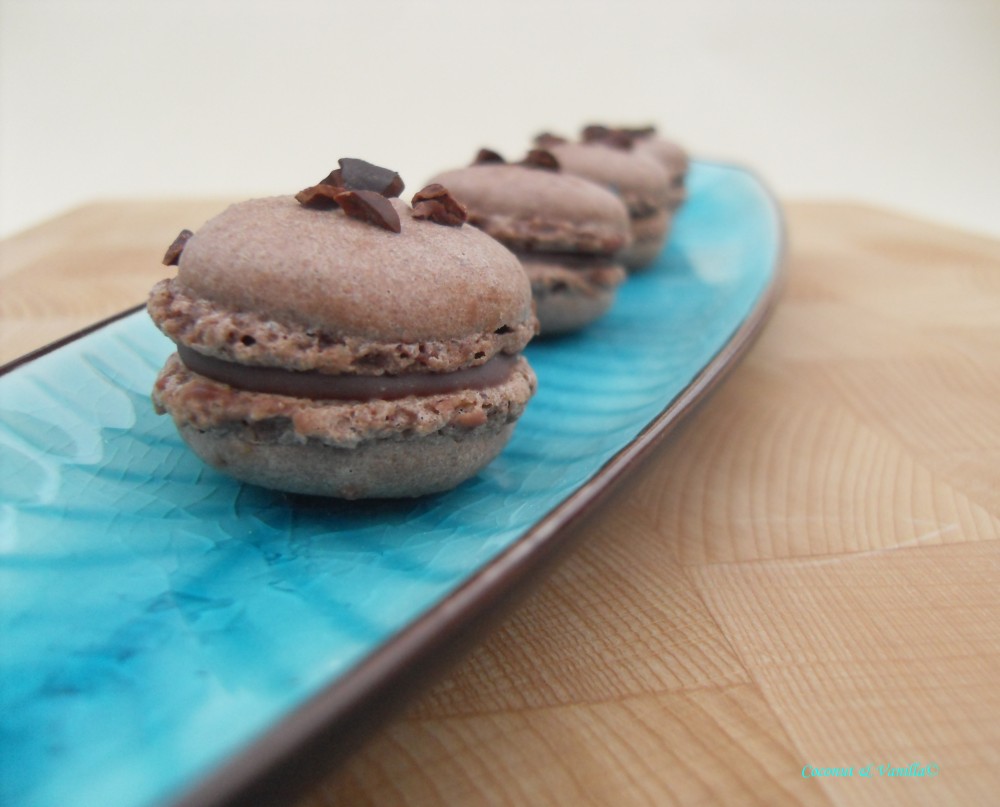
But most often I think anyway it’s better and more fun to do it myself. I mean look at those little beauties. Just want to grab one immediately and stuff it into my mouth.

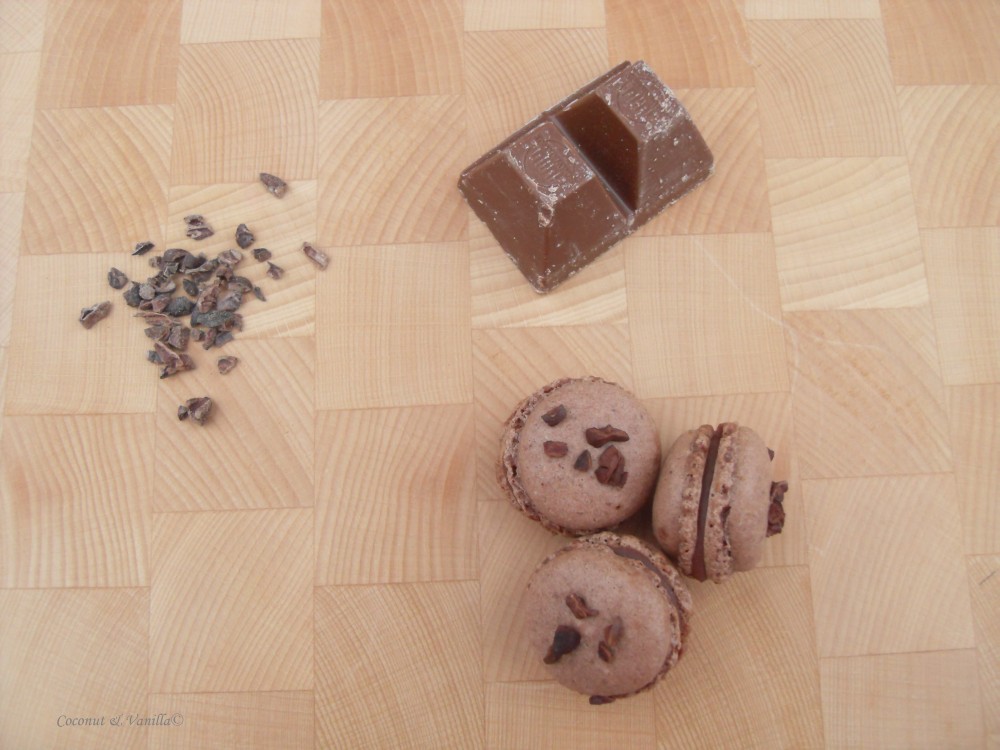
And in your mouth you have the rich chocolate flavour and now you think “yeah and in the middle even more boring chocolate”… haha no! In the middle is chocolate (and do use the good one!) with raspberry puree! It’s soo delicious.

Schokoladen Macarons mit Himbeerfüllung

So if you didn’t do it, celebrate macarons day with some lovely macarons. Even more if you have some egg whites sitting in your fridge and you don’t know what do to with them. So you have to make some macarons, because it would be a pity to throw all the egg whites away. And you will feel a lot better, when you use them up and they are not looking at you anymore out of the fridge, making you guilty, because you don’t know what to do with them. Believe me, what a relief to make macarons!

And it is not difficult. Ok my first try wasn’t what I expected. They tasted good, but they didn’t look like macarons. So for some tipps, you can look up my first post with macarons.

Schokoladen Macarons mit Himbeerfüllung

Don’t be worried, if my post is looking some what different, because I’m trying it the first time with Windows Live Writer, instead of that Google crap. Yeah, you read right. It’s just driven me into insanity some times. So maybe that here works better. I’m yet “astonished” by the amount of fonts and options to embed my pictures. You see, after Google I’m very easy to impress.

But don’t want to bore you with that theoretical things.

Schokoladen Macarons mit Himbeerfüllung

chocolate macarons with raspberry filling

Since on the 20. March was Macaron Day I decided to show you my latest accomplishment in macarons.

Yes, there exists a special day for macarons! In Paris are special shops, that sell macarons all day long and on macarons day you can get some free! Unfortunately I never had the chance to be there (on macarons day or sometime else). As macarons are not very popular in Germany, ok unknown would be the better word… I mean most people don’t even know what cupcakes are… so you couldn’t say macarons are the new cupcakes ;). Anyway what I wanted to say is, that there won’t be shops in Germany, that sell macarons.

chocolate macarons with raspberry filling

But most often I think anyway it’s better and more fun to do it myself. I mean look at those little beauties. Just want to grab one immediately and stuff it into my mouth.

And in your mouth you have the rich chocolate flavour and now you think “yeah and in the middle even more boring chocolate”… haha no! In the middle is chocolate (and do use the good one!) with raspberry puree! It’s soo delicious.

chocolate macarons with raspberry filling

So if you didn’t do it, celebrate macarons day with some lovely macarons. Even more if you have some egg whites sitting in your fridge and you don’t know what do to with them. So you have to make some macarons, because it would be a pity to throw all the egg whites away. And you will feel a lot better, when you use them up and they are not looking at you anymore out of the fridge, making you guilty, because you don’t know what to do with them. Believe me, what a relief to make macarons!

And it is not difficult. Ok my first try wasn’t what I expected. They tasted good, but they didn’t look like macarons. So for some tipps, you can look up my first post with macarons.

chocolate macarons with raspberry filling

Don’t be worried, if my post is looking some what different, because I’m trying it the first time with Windows Live Writer, instead of that Google crap. Yeah, you read right. It’s just driven me into insanity some times. So maybe that here works better. I’m yet “astonished” by the amount of fonts and options to embed my pictures. You see, after Google I’m very easy to impress.

But don’t want to bore you with that theoretical things.

chocolate macarons with raspberry filling

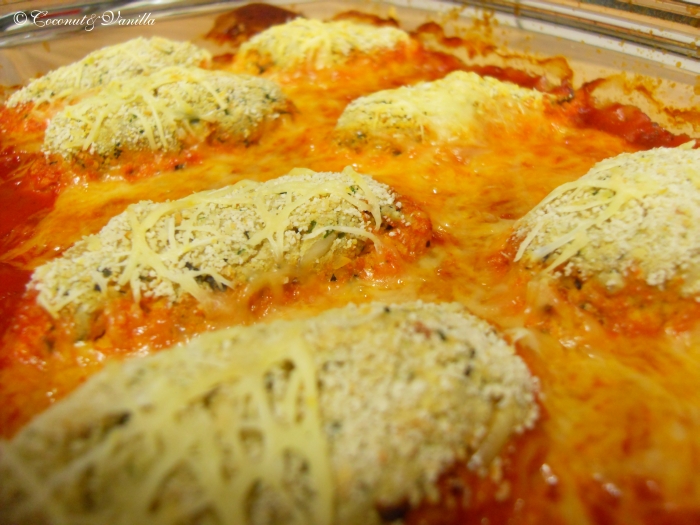
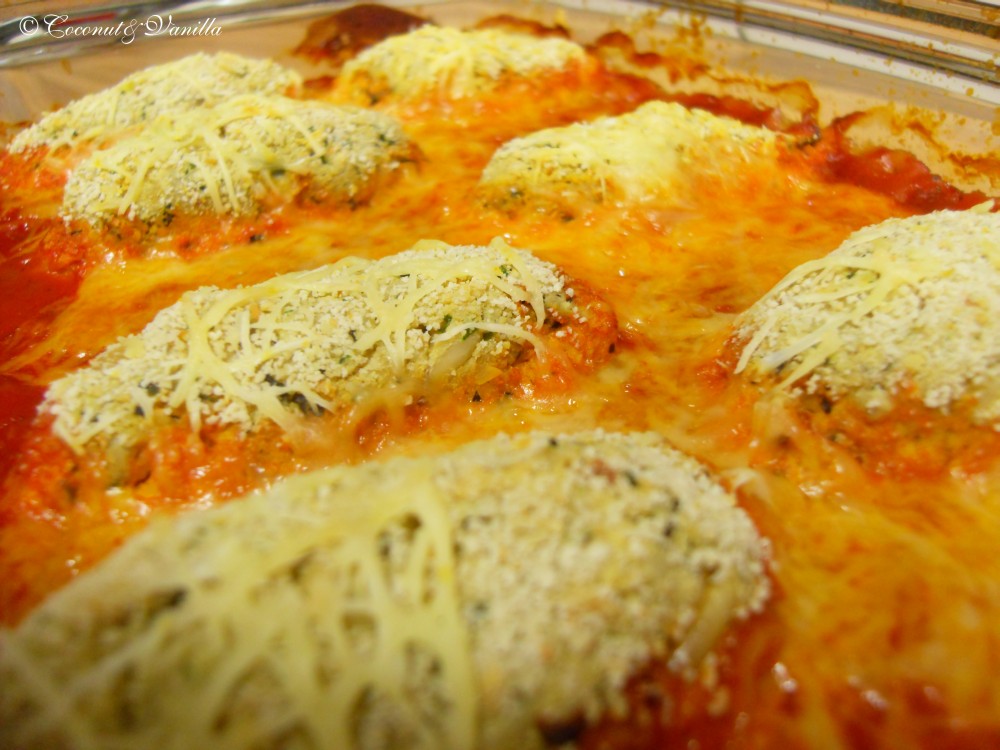
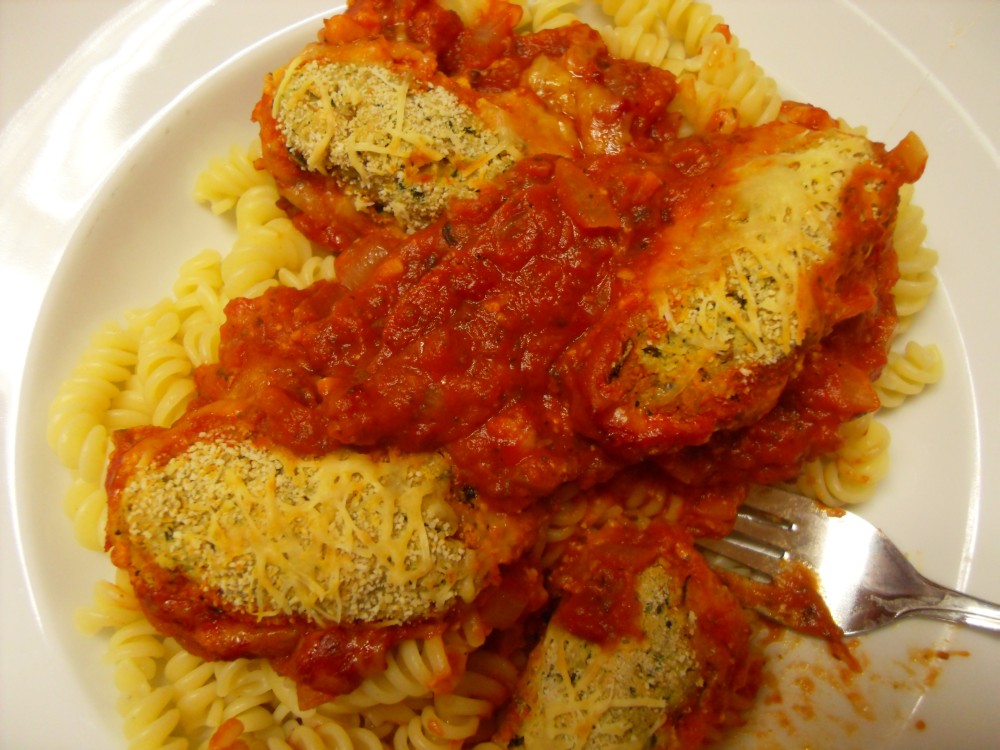
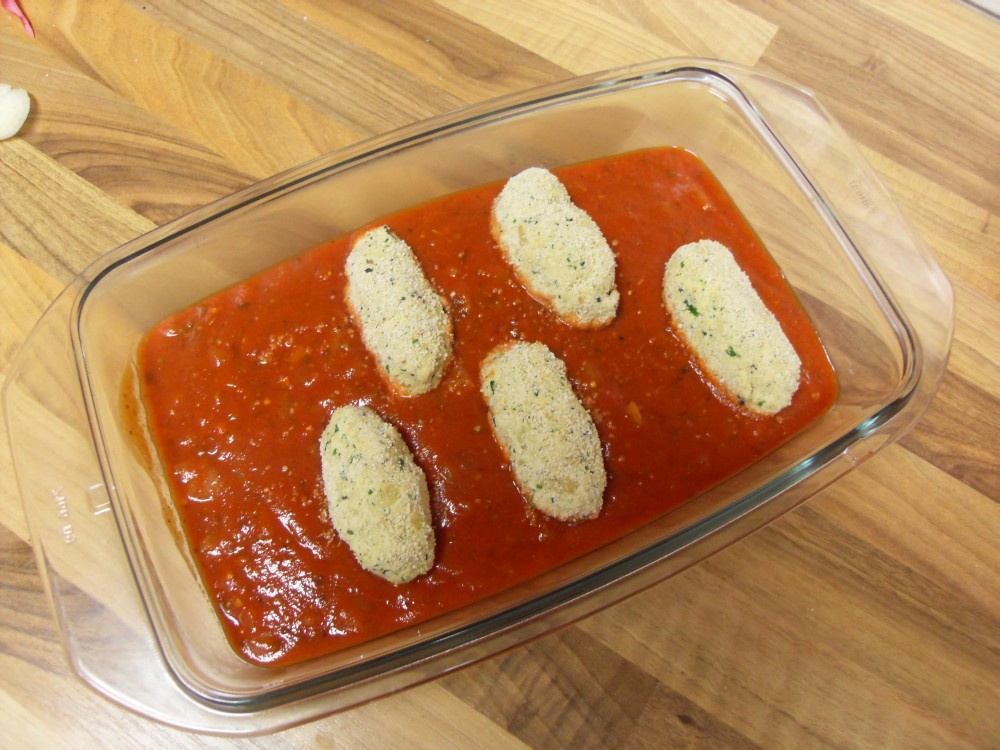
Überbackene Tofunocken mit TomatensauceTofuballs with Tomato Sauce

Update: Für das deutsche Rezept nach unten scrollen!

Überbackene Tofunocken mit Tomatensauce

Since I’m really a bit out of time… with EVERYTHING, I hardly find the time to blog.

Actually I want to write about icecream, but I haven’t seen through the photos yet and some are still on the camera waiting to be downloaded.

Actually I have to learn. Don’t say something! Foodmicrobiology… Right. Slightly unmotivated, but interested. That’s what I am at the moment. Difficult mixture. But if you could see how much it is to learn and how slooooowly I’m getting forward…

Actually I really would like to give you the recipe of the cake in the kitchen. Freshly baked, warm and smelling of lemons all the way through. Mmmh yummy. It’s an old recipe of my grandma. And I would tell you, but it’s for work tomorrow and it’s not nice to cut one piece out. People would ask where the one piece is gone. And if I say then „Oh I had to photograph it.“, they would think I’m gone crazy. The other way would only be… well I could’nt wait and ate the piece. So no options for me. And for you. Until I bake it again. Or if there’s a rest tomorrow. Haha, you don’t know my collagues at work ;)!

Actually I have promised some people out there, that I will post that recipe soon, because it’s so delicious. Even if you don’t like tofu! Ok, that was about 6 weeks ago.

Actually the time has come to share this recipe with you, which I adapted from the lovely book Meine Sonnenküche by Virginie Besançon. It’s a book full of vegetarian recipes from the region of south France or just with the typical ingredients. First I just wanted the book, because of it’s pictures ;). But what I really like, is that there are recipes with ingredients typical for every season.

Überbackene Tofunocken mit Tomatensauce

I know there are lot of people out there, who say „urgh tofu, don’t eat/like it“. But believe me, try this recipe and you will be surprised , how good tofu can taste. And it’s not just the taste, that is convincing, it’s also the texture of the balls. The balls come along with a tasty tomatoe sauce a la provençal. I made my own one, but you can also use bought one in glasses or your canned own one, if you have.

Überbackene Tofunocken mit Tomatensauce

tofuballs with tomato sauce

Since I’m really a bit out of time… with EVERYTHING, I hardly find the time to blog.

Actually I want to write about icecream, but I haven’t seen through the photos yet and some are still on the camera waiting to be downloaded.

Actually I have to learn. Don’t say something! Foodmicrobiology… Right. Slightly unmotivated, but interested. That’s what I am at the moment. Difficult mixture. But if you could see how much it is to learn and how slooooowly I’m getting forward…

Actually I really would like to give you the recipe of the cake in the kitchen. Freshly baked, warm and smelling of lemons all the way through. Mmmh yummy. It’s an old recipe of my grandma. And I would tell you, but it’s for work tomorrow and it’s not nice to cut one piece out. People would ask where the one piece is gone. And if I say then „Oh I had to photograph it.“, they would think I’m gone crazy. The other way would only be… well I could’nt wait and ate the piece. So no options for me. And for you. Until I bake it again. Or if there’s a rest tomorrow. Haha, you don’t know my collagues at work ;)!

Actually I have promised some people out there, that I will post that recipe soon, because it’s so delicious. Even if you don’t like tofu! Ok, that was about 6 weeks ago.

Actually the time has come to share this recipe with you, which I adapted from the lovely book Meine Sonnenküche by Virginie Besançon. It’s a book full of vegetarian recipes from the region of south France or just with the typical ingredients. First I just wanted the book, because of it’s pictures ;). But what I really like, is that there are recipes with ingredients typical for every season.

tofuballs with tomato sauce

I know there are lot of people out there, who say „urgh tofu, don’t eat/like it“. But believe me, try this recipe and you will be surprised , how good tofu can taste. And it’s not just the taste, that is convincing, it’s also the texture of the balls. The balls come along with a tasty tomatoe sauce a la provençal. I made my own one, but you can also use bought one in glasses or your canned own one, if you have.

tofuballs with tomato sauce

Tiramisu mit den the Daring Bakers Tiramisu with the Daring Bakers

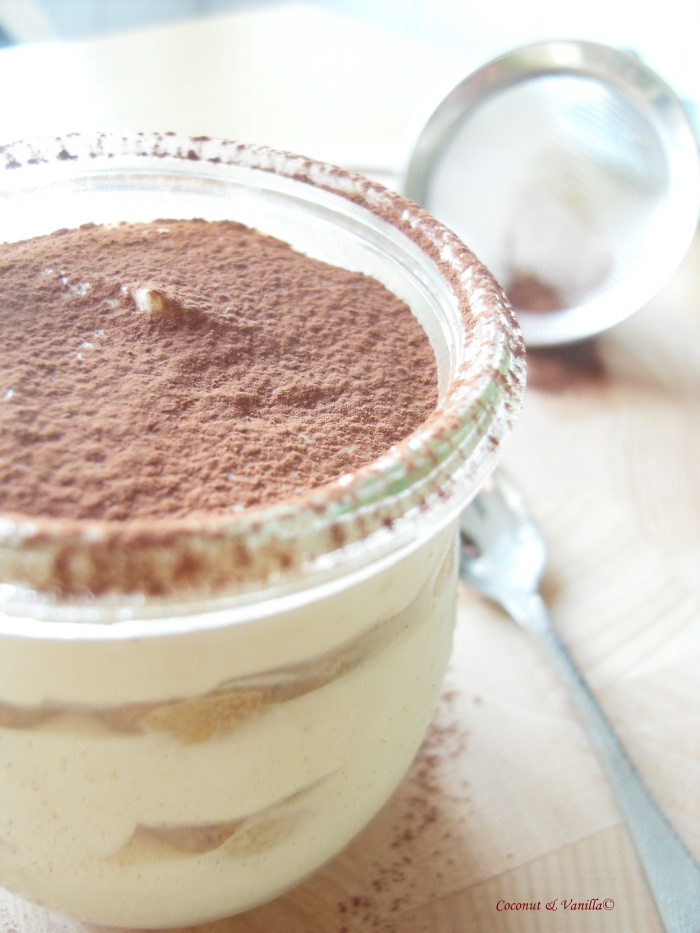
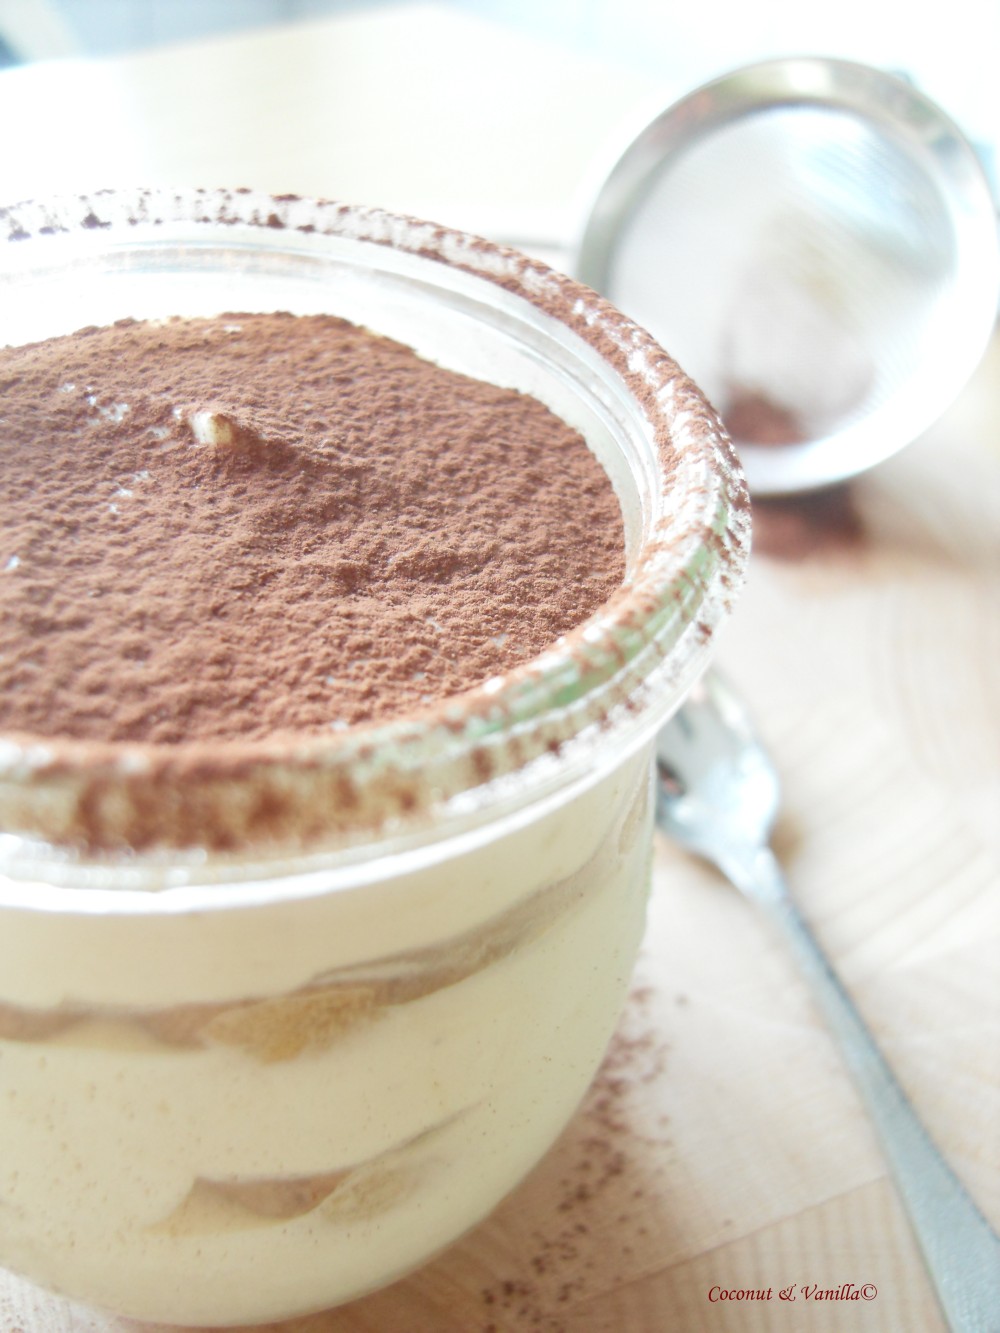
tiramisu

Finally I get myself to write about the Daring Baker’s challenge in February. I got a bit under time pressure in the end and so I wasn’t able to post my Tiramisu yesterday on the reveal date.

The February 2010 Daring Bakers’ challenge was hosted by Aparna of My Diverse Kitchen and Deeba of Passionate About Baking. They chose Tiramisu as the challenge for the month. Their challenge recipe is based on recipes from The Washington Post, Cordon Bleu at Home and Baking Obsession.
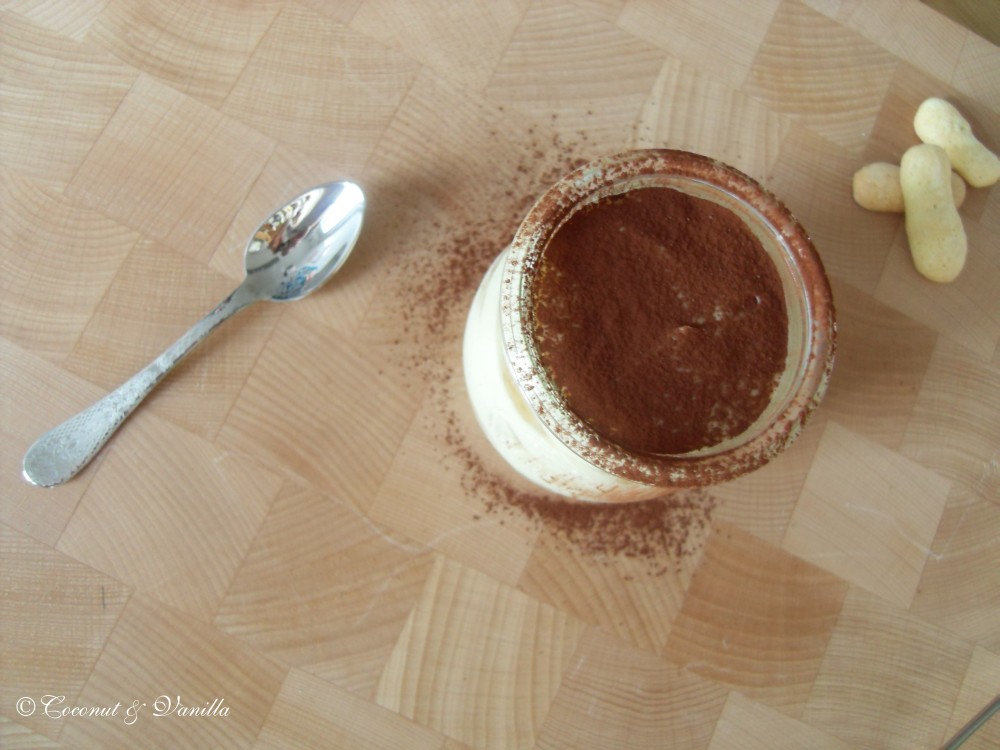
tiramisu

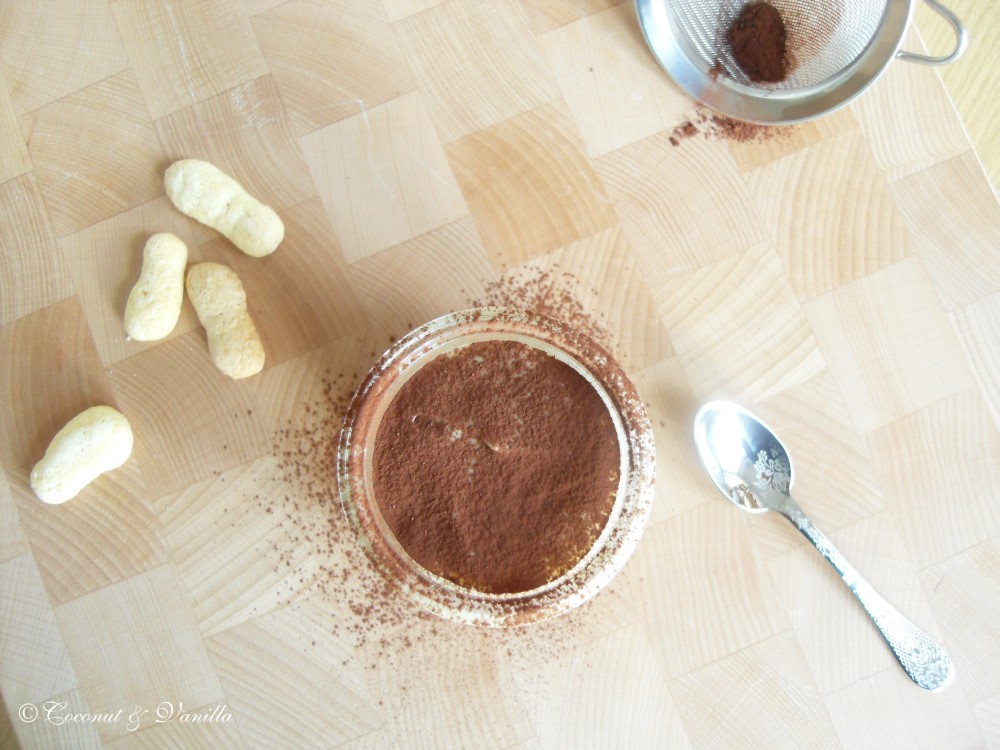
It wasn’t just the challenge to make Tiramisu. Since I had made this several times it wouldn’t be one. But we had to make our own Ladyfingers (Löffelbiskuits) and our own Mascarpone cheese for the Tiramisu. It was likely easy to make the Ladyfingers and the Mascarpone. What really took time was to make the creams. Yes creams! Two creams and whipped cream additionally. Then assembly those. I only know Tiramisu with a lot of mascarpone and little else. I think most people – or at least germans – will agree to that. The challenge recipe is totally different to that. You only use a little amount of mascarpone and more whipped cream and other ingredients. The good thing is, it is a lot lighter than the fat only-mascarpone-version. You can eat more tiramisu. Really good, hah?!
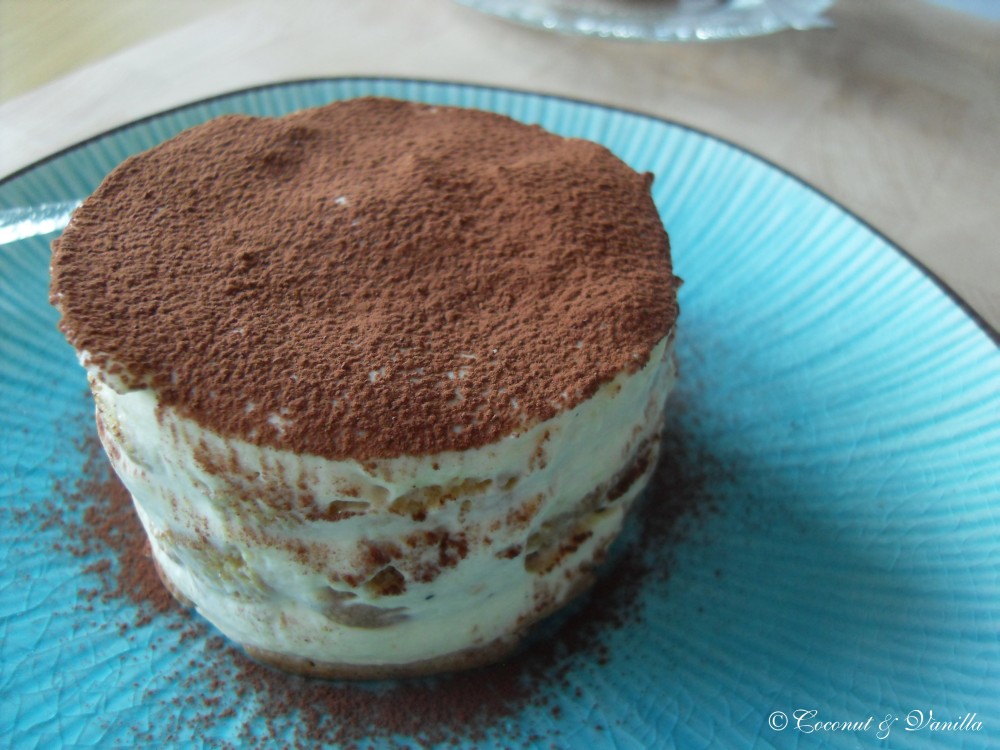
tiramisu

The bad thing is it takes a lot of time to make it. And for truth – really – it doesn’t taste much different. As I would say identical. But if you love tiramisu, I would go for the lighter eat-more-takes-more-time-version.

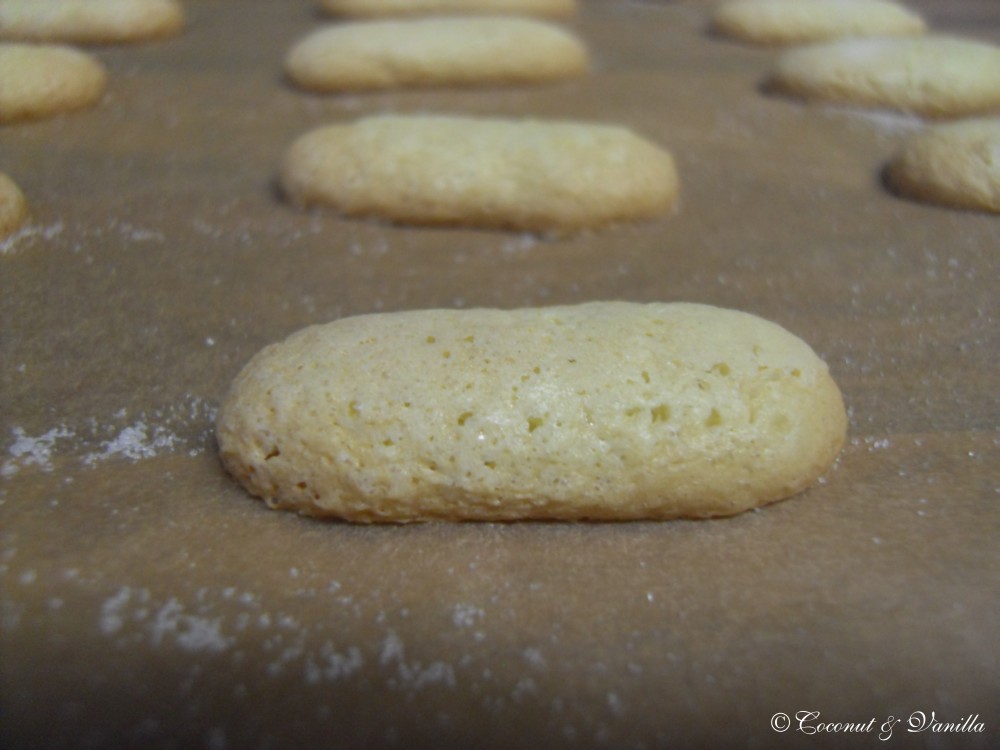
The ladyfingers turned out great. But I baked them several times before, just for my own indulgence. My mascarpone turned out, just like mascarpone you can buy. I left mine two days in the fridge, since after one day it wasn’t firm enough. My cheesecloth was thicker, than it should have been, but it worked just fine, too. But for taste, I really think it tastes the same if you use bought ladyfingers and bought mascarpone. The difference just makes the cream. But better you work it out and form your own opinion about that.

In the end definitely a delicious dessert!
tiramisu

Recipes

Mascarpone cheese

This recipe makes 12oz/ 340gm of mascarpone cheese

Ingredients:

  • 500ml whipping cream
  • 1 tablespoon fresh lemon juice

Bring 2 cm of water to a boil in a wide skillet. Reduce the heat to medium-low so the water is barely simmering. Pour the cream into a medium heat-resistant bowl, then place the bowl into the skillet. Heat the cream, stirring often, to 88°C. If you do not have a thermometer, wait until small bubbles keep trying to push up to the surface.

It will take about 15 minutes of delicate heating. Add the lemon juice and continue heating the mixture, stirring gently, until the cream curdles. Do not expect the same action as you see during ricotta cheese making. All that the whipping cream will do is become thicker, like a well-done crème anglaise. It will cover a back of your wooden spoon thickly. You will see just a few clear whey streaks when you stir. Remove the bowl from the water and let cool for about 20 minutes. Meanwhile, line a sieve with four layers of dampened cheesecloth and set it over a bowl. Transfer the mixture into the lined sieve. Do not squeeze the cheese in the cheesecloth or press on its surface (be patient, it will firm up after refrigeration time). Once cooled completely, cover with plastic wrap and refrigerate (in the sieve) overnight or up to 24 hours.

Vera’s notes: The first time I made mascarpone I had all doubts if it’d been cooked enough, because of its custard-like texture. Have no fear, it will firm up beautifully in the fridge, and will yet remain lusciously creamy.

Keep refrigerated and use within 3 to 4 days.


Ladyfingers

Ingredients:

  • 3 eggs, separated
  • 75gms granulated sugar
  • 95gms cake flour, sifted (or 3/4 cup all purpose flour + 2 tbsp corn starch)
  • 50gms confectioner’s sugar

Preheat your oven to 175 °C degrees, then lightly brush 2 baking sheets with oil or softened butter and line with parchment paper.

Beat the egg whites using a hand held electric mixer until stiff peaks form. Gradually add granulate sugar and continue beating until the egg whites become stiff again, glossy and smooth.

In a small bowl, beat the egg yolks lightly with a fork and fold them into the meringue, using a wooden spoon. Sift the flour over this mixture and fold gently until just mixed. It is important to fold very gently and not overdo the folding. Otherwise the batter would deflate and lose volume resulting in ladyfingers which are flat and not spongy.

Fit a pastry bag with a plain tip (or just snip the end off; you could also use a Ziploc bag) and fill with the batter. Pipe the batter into 5″ long and 3/4″ wide strips leaving about 1″ space in between the strips.

Sprinkle half the confectioner’s sugar over the ladyfingers and wait for 5 minutes. The sugar will pearl or look wet and glisten. Now sprinkle the remaining sugar. This helps to give the ladyfingers their characteristic crispness.

Hold the parchment paper in place with your thumb and lift one side of the baking sheet and gently tap it on the work surface to remove excess sprinkled sugar.

Bake the ladyfingers for 10 minutes, then rotate the sheets and bake for another 5 minutes or so until the puff up, turn lightly golden brown and are still soft.

Allow them to cool slightly on the sheets for about 5 minutes and then remove the ladyfingers from the baking sheet with a metal spatula while still hot, and cool on a rack.

Store them in an airtight container till required. They should keep for 2 to 3 weeks.
tiramisu

Tiramisu

Ingredients:

zabaglione

  • 2 large egg yolks
  • 50gms sugar
  • 60ml Marsala wine (or port or coffee)
  • 1/4 teaspoon vanilla extract
  • 1/2 teaspoon finely grated lemon zest

vanilla pastry cream

  • 55gms sugar1 tablespoon all purpose flour
  • 1/2 teaspoon finely grated lemon zest
  • 1/2 teaspoon vanilla extract
  • 1 large egg yolk
  • 175ml whole milk

whipped cream

  • 235ml chilled heavy cream
  • 55gms sugar
  • 1/2 teaspoon vanilla extract

for assembling

  • 470ml brewed espresso, warmed (you may use less)
  • 5ml rum
  • 110gms sugar
  • 75gms mascarpone cheese
  • 36 ladyfinger biscuits (you may use less)
  • 2 tablespoons unsweetened cocoa powder

For the zabaglione:

Heat water in a double boiler. If you don’t have a double boiler, place a pot with about an inch of water in it on the stove. Place a heat-proof bowl in the pot making sure the bottom does not touch the water.

In a large mixing bowl (or stainless steel mixing bowl), mix together the egg yolks, sugar, the Marsala (or espresso/ coffee), vanilla extract and lemon zest. Whisk together until the yolks are fully blended and the mixture looks smooth.

Transfer the mixture to the top of a double boiler or place your bowl over the pan/ pot with simmering water. Cook the egg mixture over low heat, stirring constantly, for about 8 minutes or until it resembles thick custard. It may bubble a bit as it reaches that consistency.

Let cool to room temperature and transfer the zabaglione to a bowl. Cover and refrigerate at least 4 hours or overnight, until thoroughly chilled.

For the pastry cream:

Mix together the sugar, flour, lemon zest and vanilla extract in a medium heavy-bottomed saucepan. To this add the egg yolk and half the milk. Whisk until smooth.

Now place the saucepan over low heat and cook, stirring constantly to prevent the mixture from curdling.

Add the remaining milk a little at a time, still stirring constantly. After about 12 minutes the mixture will be thick, free of lumps and beginning to bubble. (If you have a few lumps, don’t worry. You can push the cream through a fine-mesh strainer.)

Transfer the pastry cream to a bowl and cool to room temperature. Cover with plastic film and refrigerate at least 4 hours or overnight, until thoroughly chilled. For the whipped cream:

Combine the cream, sugar and vanilla extract in a mixing bowl. Beat with an electric hand mixer or immersion blender until the mixture holds stiff peaks. Set aside.

To assemble the tiramisu:

Have ready a rectangular serving dish (about 8″ by 8″ should do) or one of your choice.

Mix together the warm espresso, rum extract and sugar in a shallow dish, whisking to mix well. Set aside to cool.

In a large bowl, beat the mascarpone cheese with a spoon to break down the lumps and make it smooth. This will make it easier to fold. Add the prepared and chilled zabaglione and pastry cream, blending until just combined. Gently fold in the whipped cream. Set this cream mixture aside. Now to start assembling the tiramisu.

Workings quickly, dip 12 of the ladyfingers in the sweetened espresso, about 1 second per side. They should be moist but not soggy. Immediately transfer each ladyfinger to the platter, placing them side by side in a single row. You may break a lady finger into two, if necessary, to ensure the base of your dish is completely covered.

Spoon one-third of the cream mixture on top of the ladyfingers, then use a rubber spatula or spreading knife to cover the top evenly, all the way to the edges.

Repeat to create 2 more layers, using 12 ladyfingers and the cream mixture for each layer. Clean any spilled cream mixture; cover carefully with plastic wrap and refrigerate the tiramisu overnight.

To serve, carefully remove the plastic wrap and sprinkle the tiramisu with cocoa powder using a fine-mesh strainer or decorate as you please. Cut into individual portions and serve.

tiramisu

Finally I get myself to write about the Daring Baker’s challenge in February. I got a bit under time pressure in the end and so I wasn’t able to post my Tiramisu yesterday on the reveal date.

The February 2010 Daring Bakers’ challenge was hosted by Aparna of My Diverse Kitchen and Deeba of Passionate About Baking. They chose Tiramisu as the challenge for the month. Their challenge recipe is based on recipes from The Washington Post, Cordon Bleu at Home and Baking Obsession.

tiramisu

It wasn’t just the challenge to make Tiramisu. Since I had made this several times it wouldn’t be one. But we had to make our own Ladyfingers (Löffelbiskuits) and our own Mascarpone cheese for the Tiramisu. It was likely easy to make the Ladyfingers and the Mascarpone. What really took time was to make the creams. Yes creams! Two creams and whipped cream additionally. Then assembly those. I only know Tiramisu with a lot of mascarpone and little else. I think most people – or at least germans – will agree to that. The challenge recipe is totally different to that. You only use a little amount of mascarpone and more whipped cream and other ingredients. The good thing is, it is a lot lighter than the fat only-mascarpone-version. You can eat more tiramisu. Really good, hah?!

tiramisu

 The bad thing is it takes a lot of time to make it. And for truth – really – it doesn’t taste much different. As I would say identical. But if you love tiramisu, I would go for the lighter eat-more-takes-more-time-version.

The ladyfingers turned out great. But I baked them several times before, just for my own indulgence. My mascarpone turned out, just like mascarpone you can buy. I left mine two days in the fridge, since after one day it wasn’t firm enough. My cheesecloth was thicker, than it should have been, but it worked just fine, too. But for taste, I really think it tastes the same if you use bought ladyfingers and bought mascarpone. The difference just makes the cream. But better you work it out and form your own opinion about that.

In the end definitely a delicious dessert!

tiramisu

Recipes

Mascarpone cheese

This recipe makes 12oz/ 340gm of mascarpone cheese

Ingredients:

  • 500ml whipping cream
  • 1 tablespoon fresh lemon juice

Bring 2 cm of water to a boil in a wide skillet. Reduce the heat to medium-low so the water is barely simmering. Pour the cream into a medium heat-resistant bowl, then place the bowl into the skillet. Heat the cream, stirring often, to 88°C. If you do not have a thermometer, wait until small bubbles keep trying to push up to the surface.

It will take about 15 minutes of delicate heating. Add the lemon juice and continue heating the mixture, stirring gently, until the cream curdles. Do not expect the same action as you see during ricotta cheese making. All that the whipping cream will do is become thicker, like a well-done crème anglaise. It will cover a back of your wooden spoon thickly. You will see just a few clear whey streaks when you stir. Remove the bowl from the water and let cool for about 20 minutes. Meanwhile, line a sieve with four layers of dampened cheesecloth and set it over a bowl. Transfer the mixture into the lined sieve. Do not squeeze the cheese in the cheesecloth or press on its surface (be patient, it will firm up after refrigeration time). Once cooled completely, cover with plastic wrap and refrigerate (in the sieve) overnight or up to 24 hours.

Vera’s notes: The first time I made mascarpone I had all doubts if it’d been cooked enough, because of its custard-like texture. Have no fear, it will firm up beautifully in the fridge, and will yet remain lusciously creamy.

Keep refrigerated and use within 3 to 4 days.


Ladyfingers

Ingredients:

  • 3 eggs, separated
  • 75gms granulated sugar
  • 95gms cake flour, sifted (or 3/4 cup all purpose flour + 2 tbsp corn starch)
  • 50gms confectioner’s sugar

Preheat your oven to 175 °C degrees, then lightly brush 2 baking sheets with oil or softened butter and line with parchment paper.

Beat the egg whites using a hand held electric mixer until stiff peaks form. Gradually add granulate sugar and continue beating until the egg whites become stiff again, glossy and smooth.

In a small bowl, beat the egg yolks lightly with a fork and fold them into the meringue, using a wooden spoon. Sift the flour over this mixture and fold gently until just mixed. It is important to fold very gently and not overdo the folding. Otherwise the batter would deflate and lose volume resulting in ladyfingers which are flat and not spongy.

Fit a pastry bag with a plain tip (or just snip the end off; you could also use a Ziploc bag) and fill with the batter. Pipe the batter into 5″ long and 3/4″ wide strips leaving about 1″ space in between the strips.

Sprinkle half the confectioner’s sugar over the ladyfingers and wait for 5 minutes. The sugar will pearl or look wet and glisten. Now sprinkle the remaining sugar. This helps to give the ladyfingers their characteristic crispness.

Hold the parchment paper in place with your thumb and lift one side of the baking sheet and gently tap it on the work surface to remove excess sprinkled sugar.

Bake the ladyfingers for 10 minutes, then rotate the sheets and bake for another 5 minutes or so until the puff up, turn lightly golden brown and are still soft.

Allow them to cool slightly on the sheets for about 5 minutes and then remove the ladyfingers from the baking sheet with a metal spatula while still hot, and cool on a rack.

Store them in an airtight container till required. They should keep for 2 to 3 weeks.

tiramisu

Tiramisu

Ingredients:

zabaglione

  • 2 large egg yolks
  • 50gms sugar
  • 60ml Marsala wine (or port or coffee)
  • 1/4 teaspoon vanilla extract
  • 1/2 teaspoon finely grated lemon zest

vanilla pastry cream

  • 55gms sugar1 tablespoon all purpose flour
  • 1/2 teaspoon finely grated lemon zest
  • 1/2 teaspoon vanilla extract
  • 1 large egg yolk
  • 175ml whole milk

whipped cream

  • 235ml chilled heavy cream
  • 55gms sugar
  • 1/2 teaspoon vanilla extract

for assembling

  • 470ml brewed espresso, warmed (you may use less)
  • 5ml rum
  • 110gms sugar
  • 75gms mascarpone cheese
  • 36 ladyfinger biscuits (you may use less)
  • 2 tablespoons unsweetened cocoa powder

For the zabaglione:

Heat water in a double boiler. If you don’t have a double boiler, place a pot with about an inch of water in it on the stove. Place a heat-proof bowl in the pot making sure the bottom does not touch the water.

In a large mixing bowl (or stainless steel mixing bowl), mix together the egg yolks, sugar, the Marsala (or espresso/ coffee), vanilla extract and lemon zest. Whisk together until the yolks are fully blended and the mixture looks smooth.

Transfer the mixture to the top of a double boiler or place your bowl over the pan/ pot with simmering water. Cook the egg mixture over low heat, stirring constantly, for about 8 minutes or until it resembles thick custard. It may bubble a bit as it reaches that consistency.

Let cool to room temperature and transfer the zabaglione to a bowl. Cover and refrigerate at least 4 hours or overnight, until thoroughly chilled.

For the pastry cream:

Mix together the sugar, flour, lemon zest and vanilla extract in a medium heavy-bottomed saucepan. To this add the egg yolk and half the milk. Whisk until smooth.

Now place the saucepan over low heat and cook, stirring constantly to prevent the mixture from curdling.

Add the remaining milk a little at a time, still stirring constantly. After about 12 minutes the mixture will be thick, free of lumps and beginning to bubble. (If you have a few lumps, don’t worry. You can push the cream through a fine-mesh strainer.)

Transfer the pastry cream to a bowl and cool to room temperature. Cover with plastic film and refrigerate at least 4 hours or overnight, until thoroughly chilled. For the whipped cream:

Combine the cream, sugar and vanilla extract in a mixing bowl. Beat with an electric hand mixer or immersion blender until the mixture holds stiff peaks. Set aside.

To assemble the tiramisu:

Have ready a rectangular serving dish (about 8″ by 8″ should do) or one of your choice.

Mix together the warm espresso, rum extract and sugar in a shallow dish, whisking to mix well. Set aside to cool.

In a large bowl, beat the mascarpone cheese with a spoon to break down the lumps and make it smooth. This will make it easier to fold. Add the prepared and chilled zabaglione and pastry cream, blending until just combined. Gently fold in the whipped cream. Set this cream mixture aside. Now to start assembling the tiramisu.

Workings quickly, dip 12 of the ladyfingers in the sweetened espresso, about 1 second per side. They should be moist but not soggy. Immediately transfer each ladyfinger to the platter, placing them side by side in a single row. You may break a lady finger into two, if necessary, to ensure the base of your dish is completely covered.

Spoon one-third of the cream mixture on top of the ladyfingers, then use a rubber spatula or spreading knife to cover the top evenly, all the way to the edges.

Repeat to create 2 more layers, using 12 ladyfingers and the cream mixture for each layer. Clean any spilled cream mixture; cover carefully with plastic wrap and refrigerate the tiramisu overnight.

To serve, carefully remove the plastic wrap and sprinkle the tiramisu with cocoa powder using a fine-mesh strainer or decorate as you please. Cut into individual portions and serve.
Zurück von der Biofach mit ein paar ImpressionenBack from the Biofach with some impressions

Biofach 2010 Nuremberg

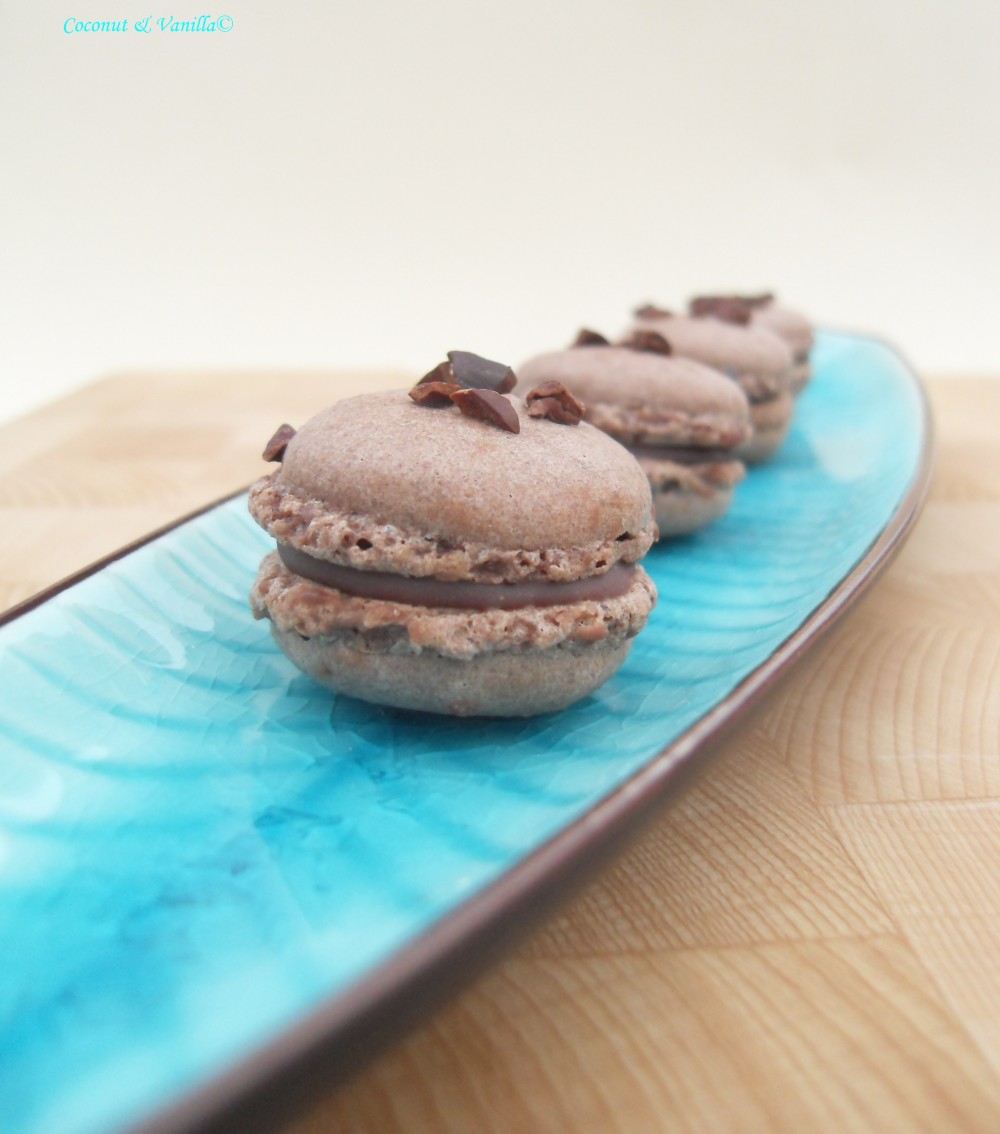
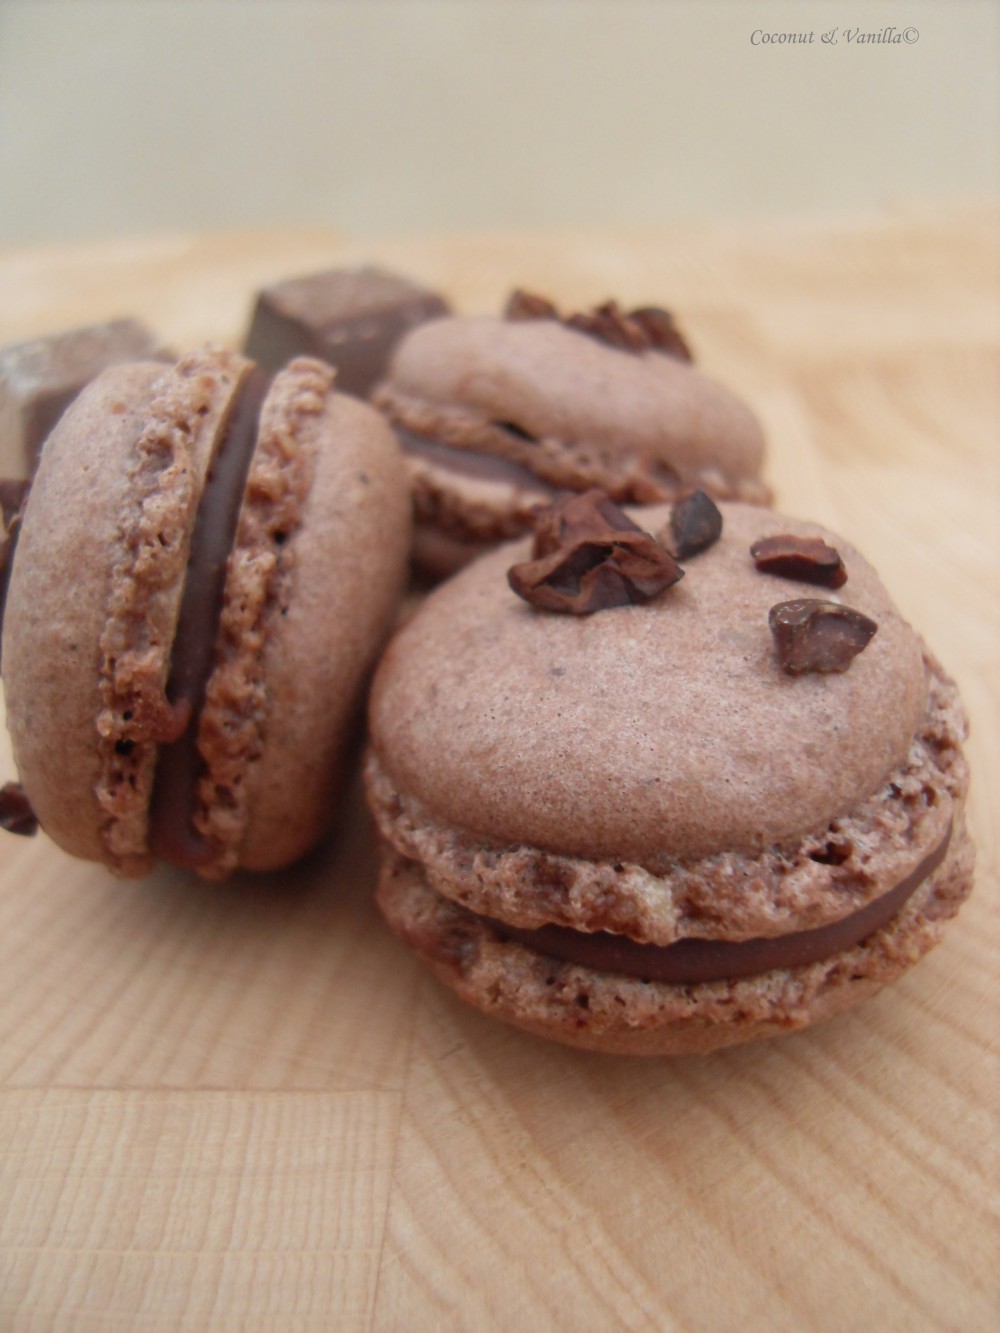
Last week I told you, that I will visit the Biofach in Nürnberg. On Thursday the day came… I went there with my mother and we walked a marathon there… in about 5 hours. Exhausting!

It was very interesting to see all the new innovations and to talk to some people about them. So on the one hand it was technical interesting and on the other hand it was personally interesting, as a food lover ;-).
There are at least 10 halls at the Biofach with exhibitors. Though we were ready after the big two important ones with food and drinks predominantly for Germany.

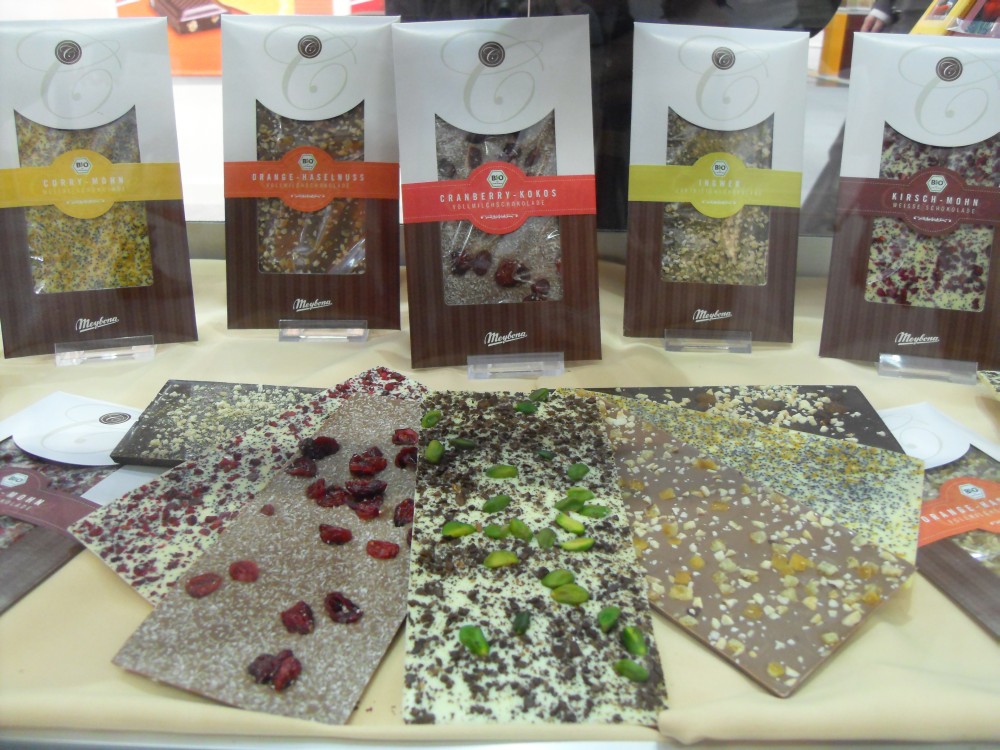
I do not understand how anyone could buy there something to eat or to drink, as you can taste different food and drinks everywhere. After half the time we couldn’t see anymore chocolate, it was just too much of it.

Biofach 2010 Nuremberg

We tasted very very good cookies from Sommer & Co. They tasted all very good, but the best were some with tigernuts (Erdmandeln). They were so mellow, crispy and light. Unfortunately the internet site does not have them online, like so many others. And unfortunately I didn’t found the most cookies at sale.

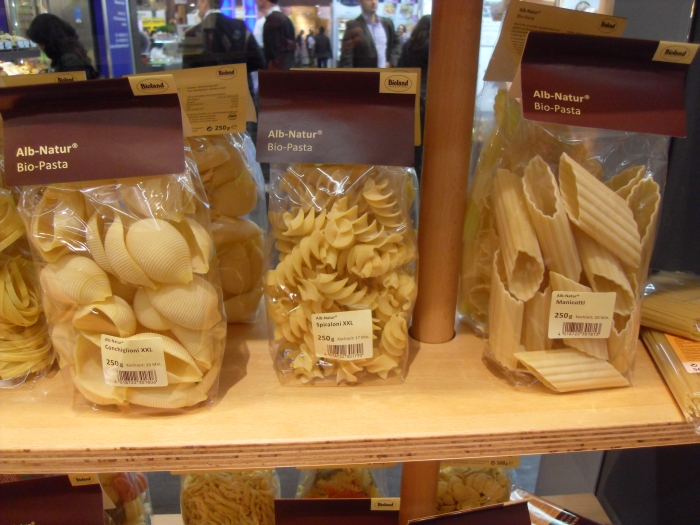
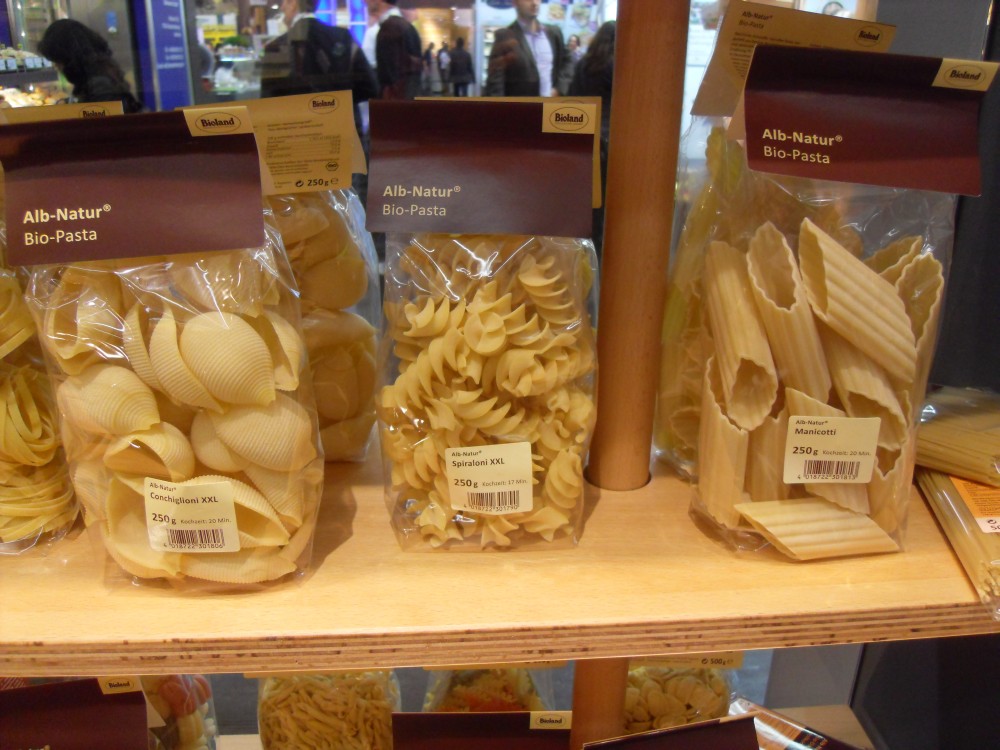
I saw fantastic pasta. Just BIG! Have to get them from Alb Gold, next time we drive near the production.

Biofach 2010 Nuremberg

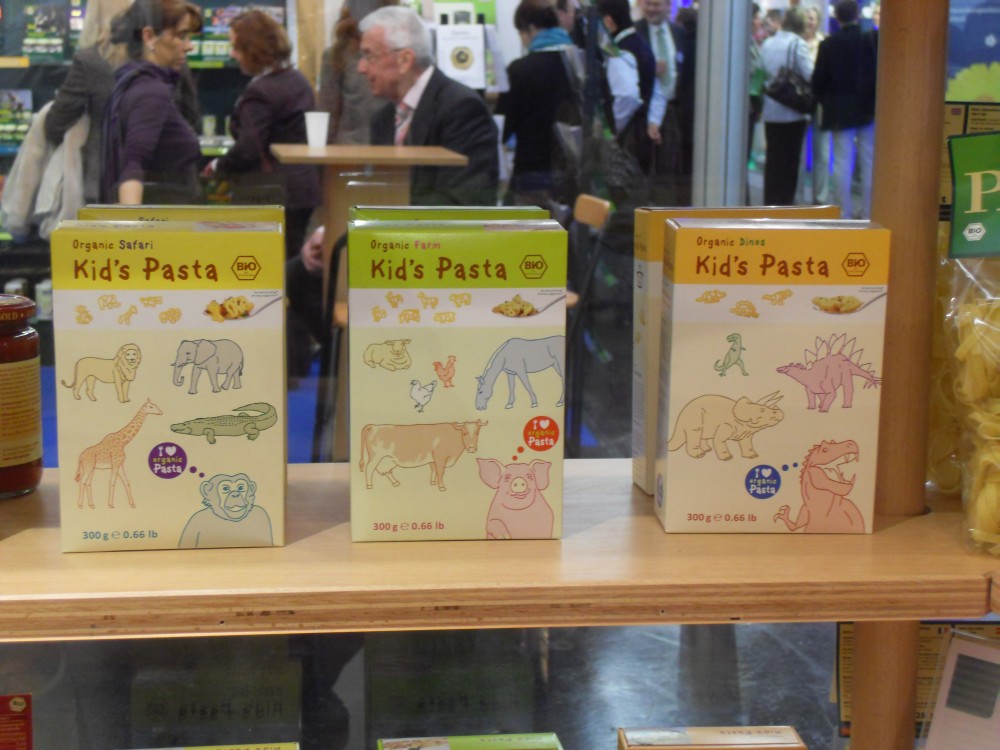
They exhibit also very funny kids pasta:

Biofach 2010 Nuremberg

Very delicious were freeze-dried fruits (strawberries and rasberries), that were covered with very fine chocolate. They are produced from an austrian company, which I can’t remember the name. But I have never seen them in Germany before…

Another delicious lactose-free drink – which we will presumably never get in Germany – was a hazelnut milk from a spain company. I would like to try some dessert, like arroz con leche, with hazelnut milk.

Further we tasted very good tea, a delicious muesli with Chai taste from Bolsener Mühle, which will just hit the market the next time (I will definitely buy it, if I get it – it was sooooo good), very good fine sparkling mineral water, with a hint of elderberry or red currants from Neumarkter Lammsbräu, who by the way makes a very good beer. We tasted spritzer (Weinschorle) in small bottles, already mixed. Yum. It’s called 8° and an innovation of students from Heilbronn.
Can’t remember all the foods and drinks on the fair, but as I remember, everything was good or at least very good. Sadly I forgot to take pictures of everything, but it were just too much impressions. I couldn’t cope with that and take pictures every 3 metres. And sometime we were just going through the rows, marking off our targets.

Hope I could get you some impressions of the largest organic fair (at least in Europe). Don’t take this as a commercial for some special products. There a lot more delicious things I know. Just take it as a hint what could come next or what is hiding in some wholefood supermarkets and what you can explore.

Biofach 2010 Nuremberg

Last week I told you, that I will visit the Biofach in Nürnberg. On Thursday the day came… I went there with my mother and we walked a marathon there… in about 5 hours. Exhausting!

It was very interesting to see all the new innovations and to talk to some people about them. So on the one hand it was technical interesting and on the other hand it was personally interesting, as a food lover ;-).
There are at least 10 halls at the Biofach with exhibitors. Though we were ready after the big two important ones with food and drinks predominantly for Germany.

I do not understand how anyone could buy there something to eat or to drink, as you can taste different food and drinks everywhere. After half the time we couldn’t see anymore chocolate, it was just too much of it.

Biofach 2010 Nuremberg

We tasted very very good cookies from Sommer & Co. They tasted all very good, but the best were some with tigernuts (Erdmandeln). They were so mellow, crispy and light. Unfortunately the internet site does not have them online, like so many others. And unfortunately I didn’t found the most cookies at sale.

I saw fantastic pasta. Just BIG! Have to get them from Alb Gold, next time we drive near the production.

Biofach 2010 Nuremberg

They exhibit also very funny kids pasta:

Biofach 2010 Nuremberg

Very delicious were freeze-dried fruits (strawberries and rasberries), that were covered with very fine chocolate. They are produced from an austrian company, which I can’t remember the name. But I have never seen them in Germany before…

Another delicious lactose-free drink – which we will presumably never get in Germany – was a hazelnut milk from a spain company. I would like to try some dessert, like arroz con leche, with hazelnut milk.

Further we tasted very good tea, a delicious muesli with Chai taste from Bolsener Mühle, which will just hit the market the next time (I will definitely buy it, if I get it – it was sooooo good), very good fine sparkling mineral water, with a hint of elderberry or red currants from Neumarkter Lammsbräu, who by the way makes a very good beer. We tasted spritzer (Weinschorle) in small bottles, already mixed. Yum. It’s called 8° and an innovation of students from Heilbronn.
Can’t remember all the foods and drinks on the fair, but as I remember, everything was good or at least very good. Sadly I forgot to take pictures of everything, but it were just too much impressions. I couldn’t cope with that and take pictures every 3 metres. And sometime we were just going through the rows, marking off our targets.

Hope I could get you some impressions of the largest organic fair (at least in Europe). Don’t take this as a commercial for some special products. There a lot more delicious things I know. Just take it as a hint what could come next or what is hiding in some wholefood supermarkets and what you can explore.

Blätterteigtarte mit WurzelgemüsePuff Pastry Tart with Root Vegetables

Update: Für das deutsche Rezept nach unten scrollen!

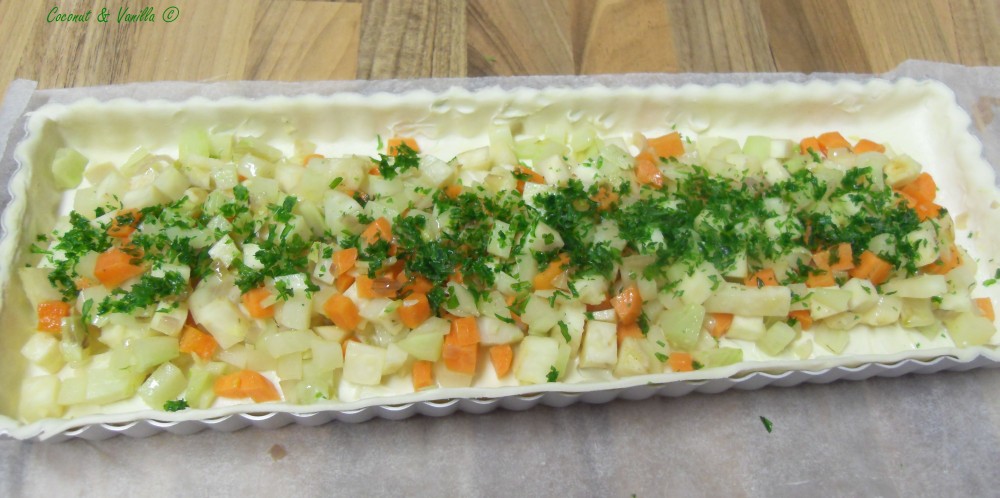
puff pastry tart with root vegetables

Tomorrow I will take a few days off and go home to Nuremberg. There I will visit the Biofach. The Biofach is a fair, where producers of organic food, clothes, cosmetic and body care products expose their (new) products. You can taste new products and see products, that are not on the market yet. I’m very looking forward to that event, since I haven’t been there yet and I ‚d heared, that it is very interesting.
I will tell you!

puff pastry tart with root vegetables

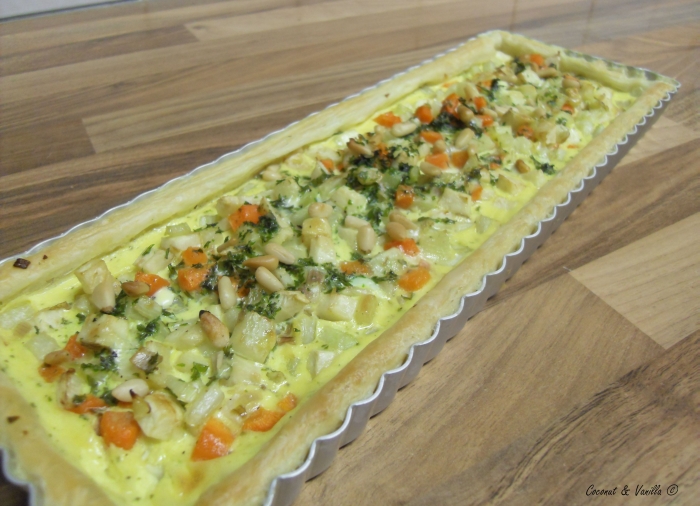
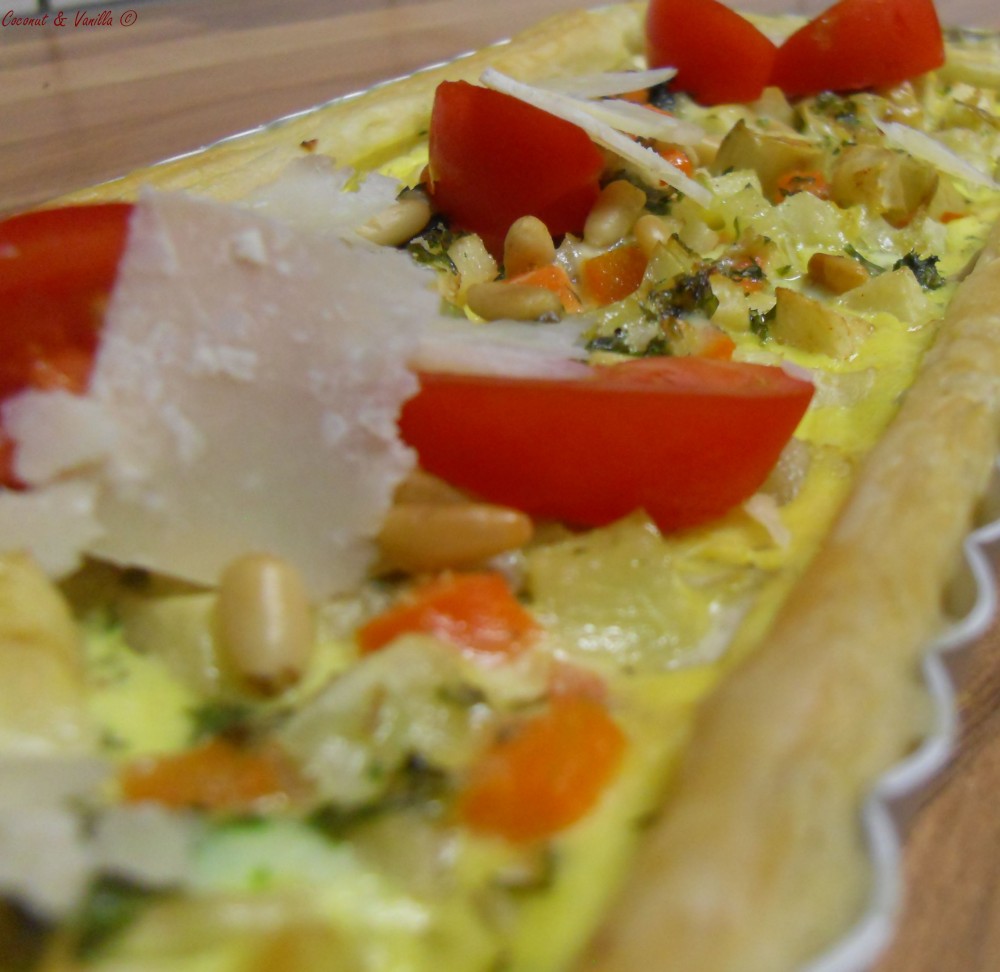
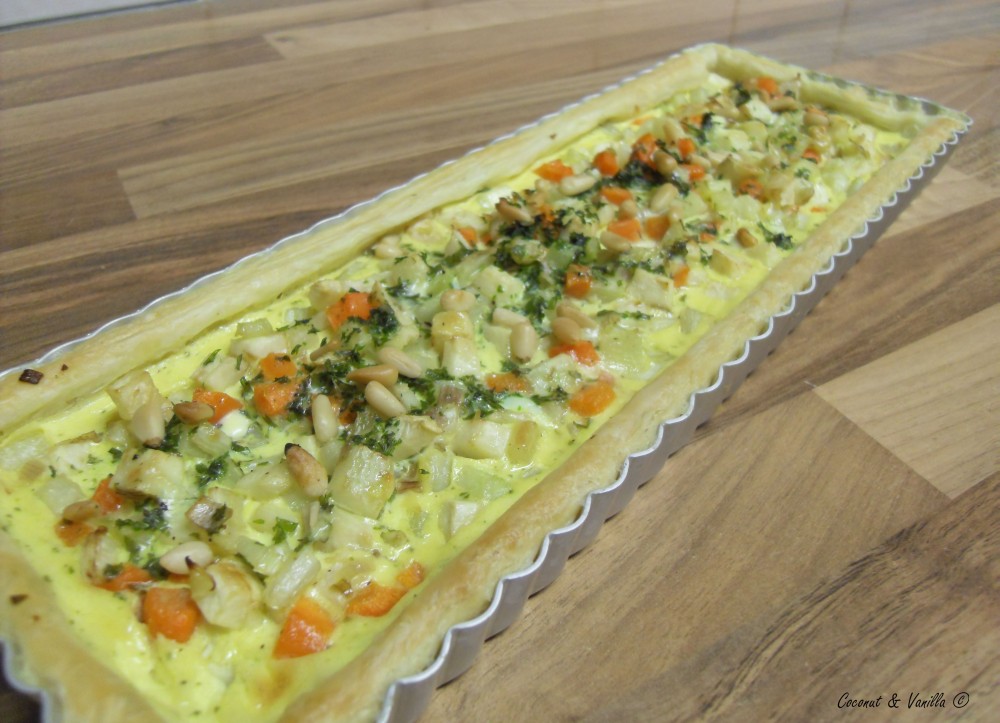
So before I leave tomorrow, I will give you a freshly experienced recipe on the way. I just tried it last week and I was totally hooked. It’s a puff pastry tart with root vegetables. It’s very simple and easy. It’s fresh and you can vary the vegetables with the season. I recommend you making the double amount of tart, I wished I had! You can eat the leftovers the next day, warm or even cold (at room temperature). I topped mine with some tomatoes and parmesan grates, just before serving. The cold tomatoes gave the tarte a fresh touch. And then you just enjoy the tart and let it melt in your mouth. Believe me, it melts!

puff pastry tart with root vegetables

puff pastry tart with root vegetables

Tomorrow I will take a few days off and go home to Nuremberg. There I will visit the Biofach. The Biofach is a fair, where producers of organic food, clothes, cosmetic and body care products expose their (new) products. You can taste new products and see products, that are not on the market yet. I’m very looking forward to that event, since I haven’t been there yet and I ‚d heared, that it is very interesting.
I will tell you!

puff pastry tart with root vegetables

So before I leave tomorrow, I will give you a freshly experienced recipe on the way. I just tried it last week and I was totally hooked. It’s a puff pastry tart with root vegetables. It’s very simple and easy. It’s fresh and you can vary the vegetables with the season. I recommend you making the double amount of tart, I wished I had! You can eat the leftovers the next day, warm or even cold (at room temperature). I topped mine with some tomatoes and parmesan grates, just before serving. The cold tomatoes gave the tarte a fresh touch. And then you just enjoy the tart and let it melt in your mouth. Believe me, it melts!

puff pastry tart with root vegetables

Gemüse mit QuinoaVegetables with Quinoa

Update: Für das deutsche Rezept nach unten scrollen!

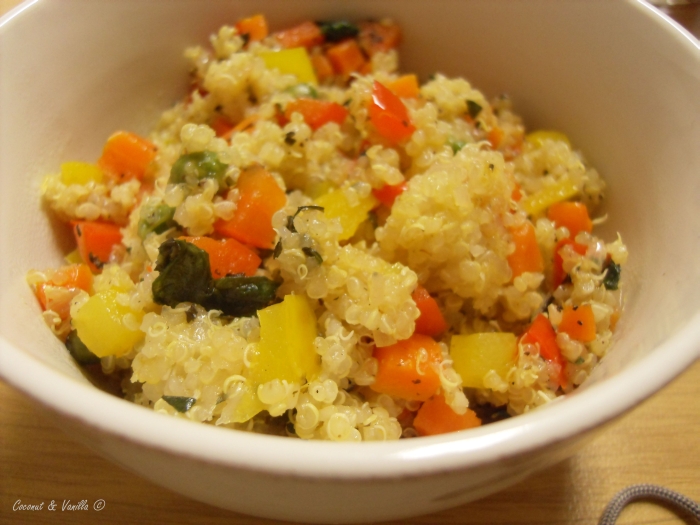
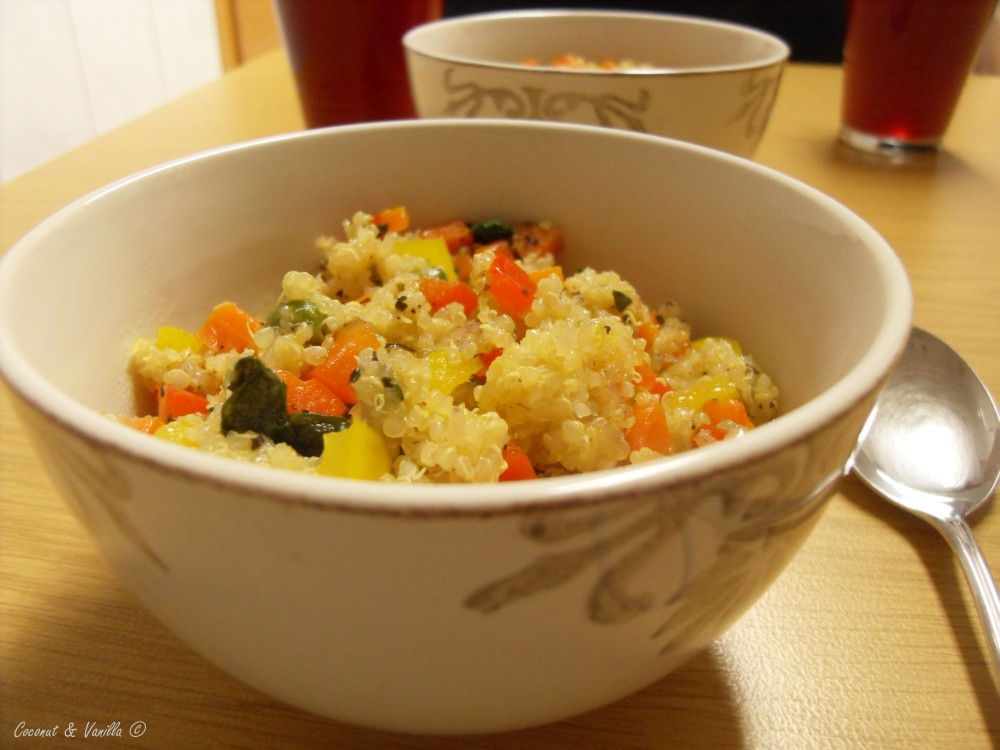
Gemüse mit Quinoa

Feeling like spring is coming over. Unfortunately winter in Germany is not thinking the same. We had a lot of problems with the masses of snow in Germany, up to the icebound island of Hiddensee. I’m sick of winter and snow and the cold!

Since I cannot do anything about that, I make myself a little bit warmer with food feeling like spring. Less meat, more vegetables.
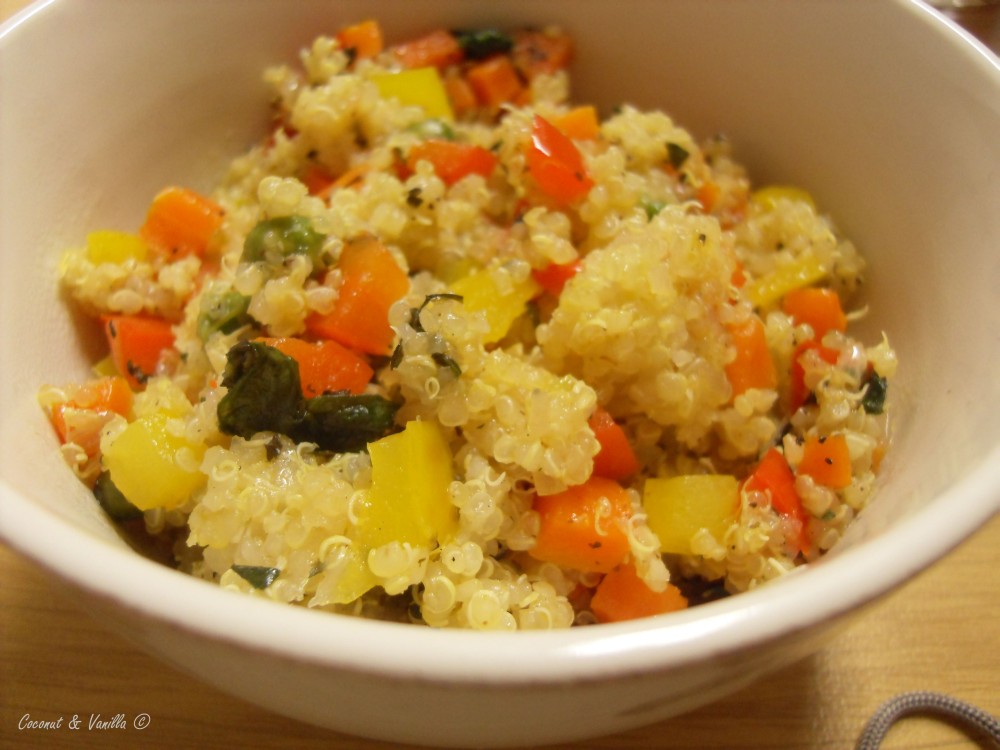
And I’m juggling with trying new things, like quinoa. So it occurs, that this dish is gluten-free. Just another coincidence. If you do not have quinoa, you can also make some rice, maybe some wild rice? But I recommend you the quinoa. It gives you another flavour. A slightly flavour of nuts. Also it’s kinda lighter. I can’t describe it really, you have to taste!

Gemüse mit Quinoa

For making the quinoa I used my rice cooker, which worked perfect. But if you don’t have one, you can just make it in a saucepan on the stove.
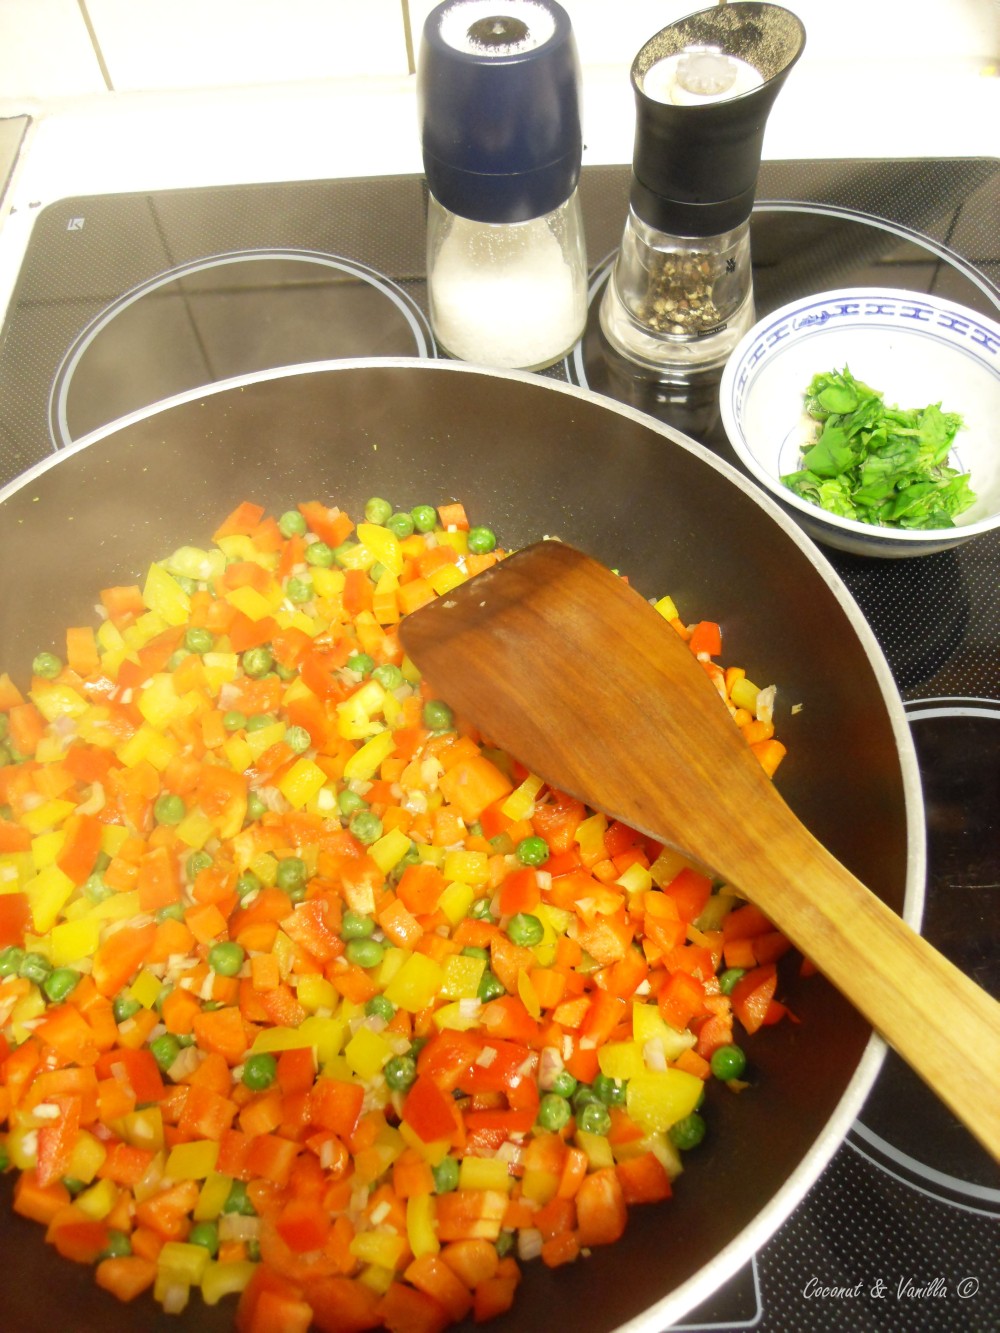
You can vary the vegetables you use. Also available and fitting now are mushrooms, fennel or some squash for example. In summer you can use zucchini, tomatoes or cucumber and you can eat it cold as a salad with some fruit vinegar like quince vinegar. See, I’m already dreaming of summer!
Gemüse mit Quinoa

vegetables with quinoa

Feeling like spring is coming over. Unfortunately winter in Germany is not thinking the same. We had a lot of problems with the masses of snow in Germany, up to the icebound island of Hiddensee. I’m sick of winter and snow and the cold!

Since I cannot do anything about that, I make myself a little bit warmer with food feeling like spring. Less meat, more vegetables.
And I’m juggling with trying new things, like quinoa. So it occurs, that this dish is gluten-free. Just another coincidence. If you do not have quinoa, you can also make some rice, maybe some wild rice? But I recommend you the quinoa. It gives you another flavour. A slightly flavour of nuts. Also it’s kinda lighter. I can’t describe it really, you have to taste!

vegetables with quinoa

For making the quinoa I used my rice cooker, which worked perfect. But if you don’t have one, you can just make it in a saucepan on the stove.

You can vary the vegetables you use. Also available and fitting now are mushrooms, fennel or some squash for example. In summer you can use zucchini, tomatoes or cucumber and you can eat it cold as a salad with some fruit vinegar like quince vinegar. See, I’m already dreaming of summer!

vegetables with quinoa

glutenfreie Graham Crackergluten-free Graham Cracker

Update: Für das deutsche Rezept nach unten scrollen!

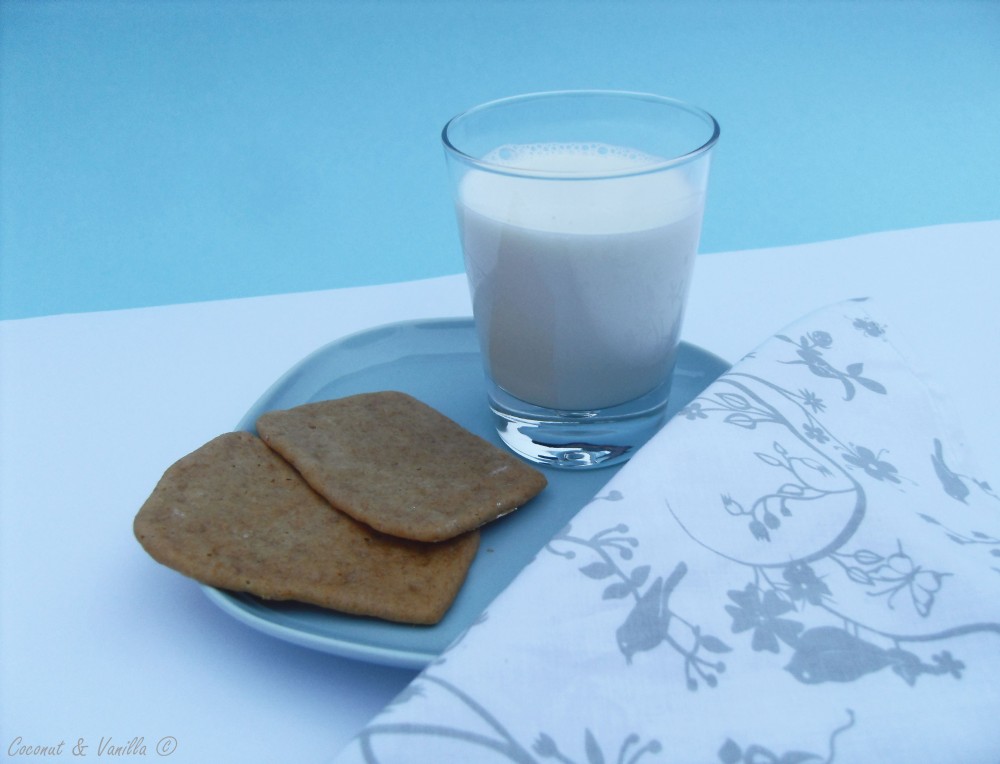
Last week I wrote about the Daring Baker’s challenge Nanaimo Bars, which were gluten-free. For that I needed gluten-free Graham Cracker, which I also made. And I promised they are worth an extra post. Here they are!

glutenfreie Graham Cracker

I loved the „Cracker“(which are another type of cookies and have nothing in common with other savoury crackers), since I tasted the dough out of the kitchen machine. It tasted full, but not heavy, little bit sweet and remembered me of some taste in my childhood… but I didn’t get it until now. I believe this special flavours comes from the sorghum flour I used.
You need rice, tapioca and sorghum flour. The rice and tapioca flour you can buy in an Asian store. The sorghum flour was much more difficult to found. But I discovered it in a large wholefood supermarket (Alnatura). They also had much more gluten-free flours.

By the way, does anyone know what you can bake with teff flour?

glutenfreie Graham Cracker

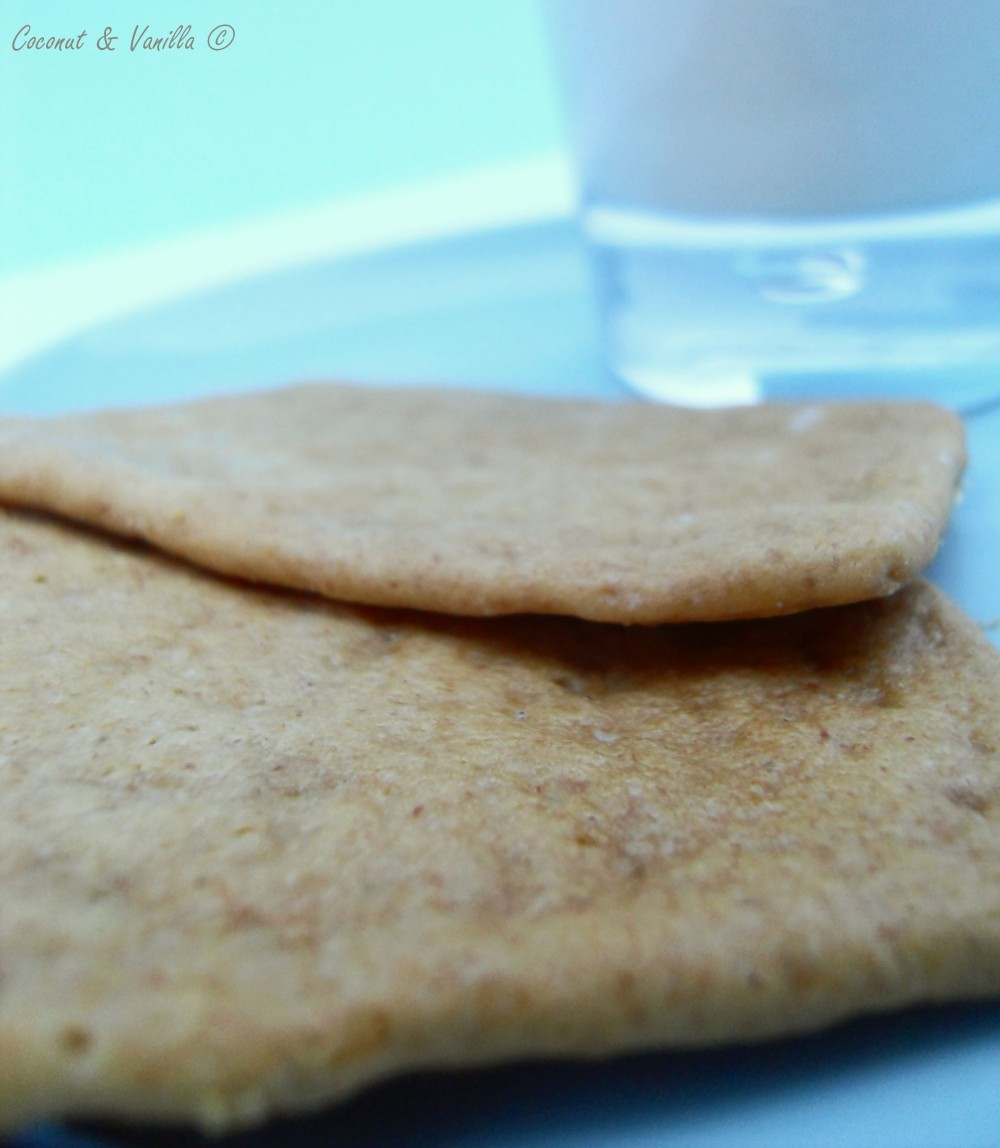
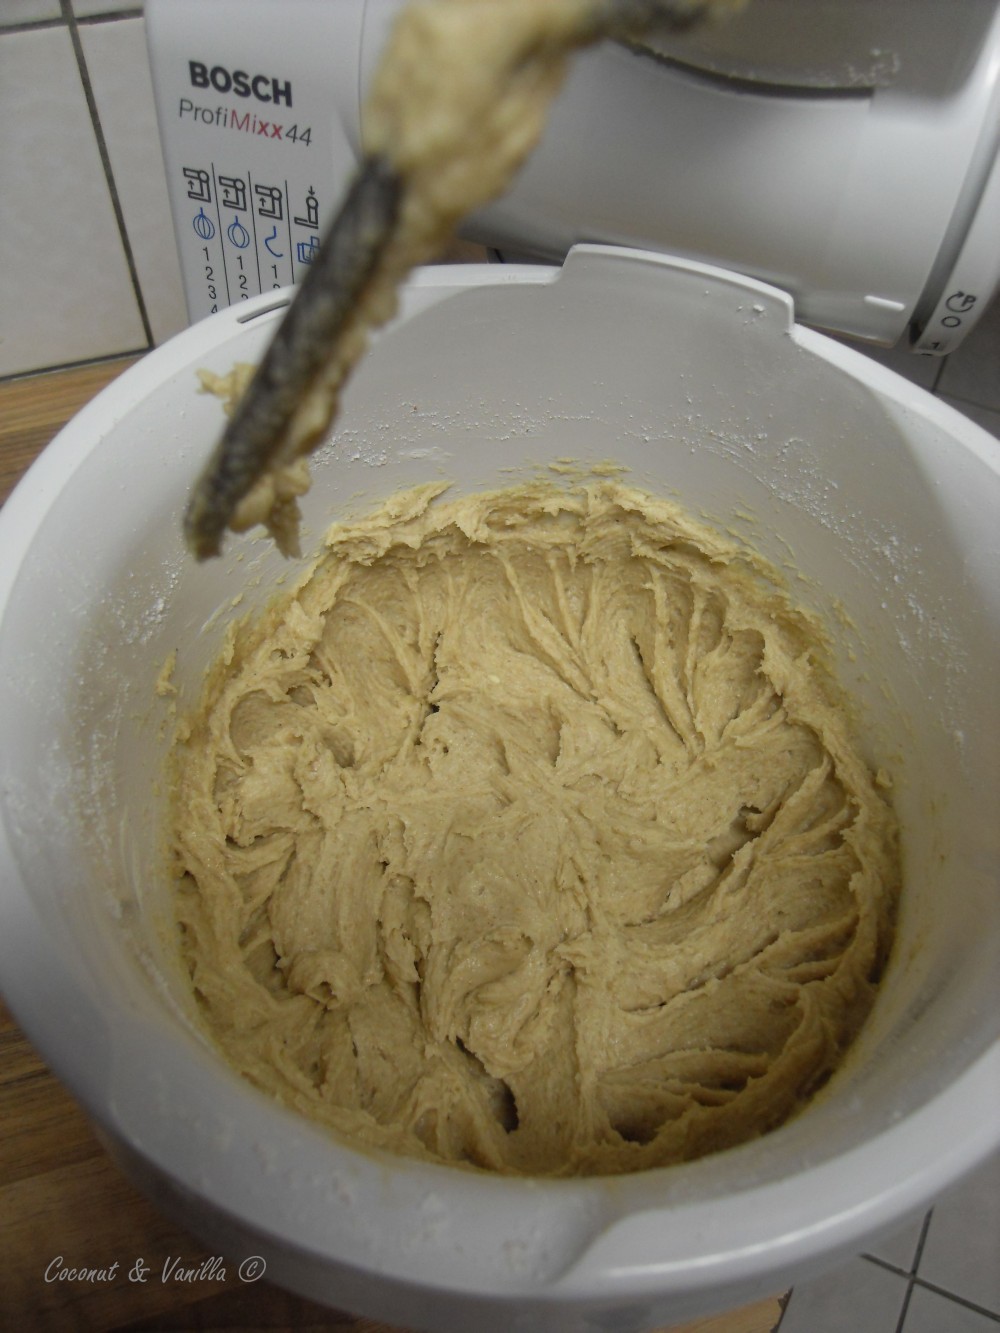
The dough was a little bit difficult to handle, because it was very sticky. More like a dough for a cake. But with a lot of rice flour for rolling it out, it’s no problem. You see that my cookies are not looking that beautiful. I hadn’t had the patience. Next time they will be prettier. But hey… shape’s not everything! Important is, that they taste fantastic!

In the picture below you see the finished dough in my kitchen machine.

glutenfreie Graham Cracker

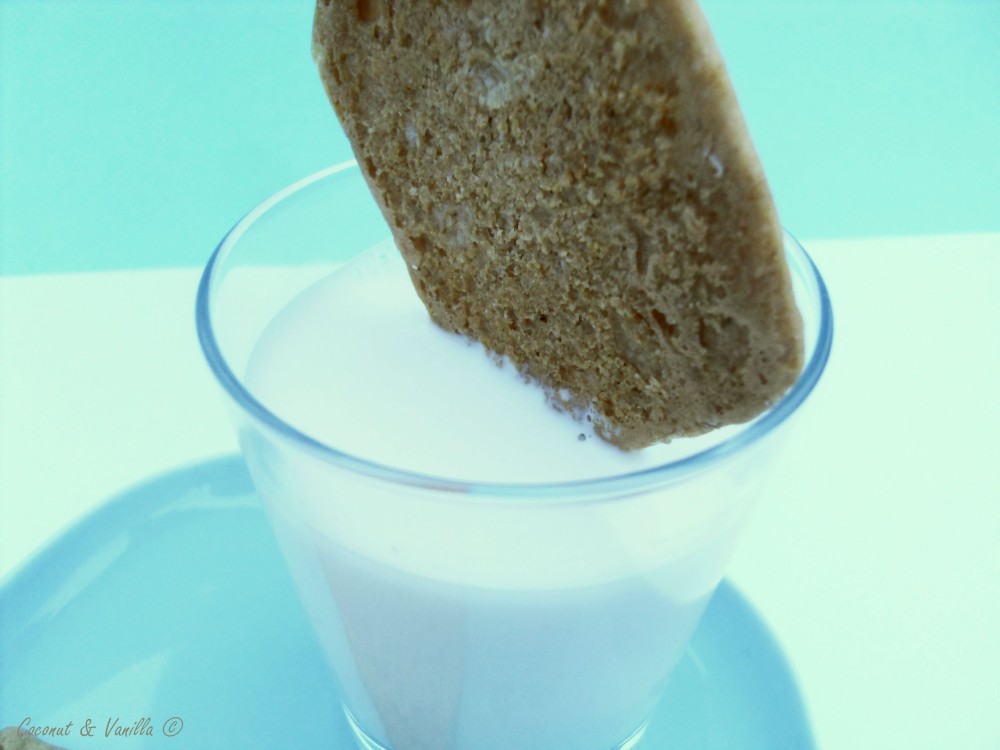
After baking I stored them in an airtight container. If you let them cool completely after baking, they will get crisp. Because I didn’t wait, mine were a bit chewy. But for me that’s perfect for that cookie. The chewiness fits perfect with the flavour. Mine were also very thin, so if you like it thicker, go ahead! And do not forget to leave some space between the crackers, because they will expand while baking.
Of course you can change the gluten-free flours with normal wheat flours. I didn’t tried, but I wouldn’t, because they are great as they are!

glutenfreie Graham Cracker

Last week I wrote about the Daring Baker’s challenge Nanaimo Bars, which were gluten-free. For that I needed gluten-free Graham Cracker, which I also made. And I promised they are worth an extra post. Here they are!

gluten-free graham cracker

I loved the „Cracker“(which are another type of cookies and have nothing in common with other savoury crackers), since I tasted the dough out of the kitchen machine. It tasted full, but not heavy, little bit sweet and remembered me of some taste in my childhood… but I didn’t get it until now. I believe this special flavours comes from the sorghum flour I used.
You need rice, tapioca and sorghum flour. The rice and tapioca flour you can buy in an Asian store. The sorghum flour was much more difficult to found. But I discovered it in a large wholefood supermarket (Alnatura). They also had much more gluten-free flours.

By the way, does anyone know what you can bake with teff flour?

gluten-free graham cracker

The dough was a little bit difficult to handle, because it was very sticky. More like a dough for a cake. But with a lot of rice flour for rolling it out, it’s no problem. You see that my cookies are not looking that beautiful. I hadn’t had the patience. Next time they will be prettier. But hey… shape’s not everything! Important is, that they taste fantastic!

In the picture below you see the finished dough in my kitchen machine.

gluten-free graham cracker

After baking I stored them in an airtight container. If you let them cool completely after baking, they will get crisp. Because I didn’t wait, mine were a bit chewy. But for me that’s perfect for that cookie. The chewiness fits perfect with the flavour. Mine were also very thin, so if you like it thicker, go ahead! And do not forget to leave some space between the crackers, because they will expand while baking.
Of course you can change the gluten-free flours with normal wheat flours. I didn’t tried, but I wouldn’t, because they are great as they are!

gluten-free graham cracker

glutenfreie Nanaimo Barsgluten-free Nanaimo Bars

Update: Für das deutsche Rezept nach unten scrollen!

glutenfreie Nanaimo Bars

The January 2010 Daring Bakers’ challenge was hosted by Lauren of Celiac Teen. Lauren chose Gluten-Free Graham Wafers and Nanaimo Bars as the challenge for the month. The sources she based her recipe on are 101 Cookbooks and www.nanaimo.ca.

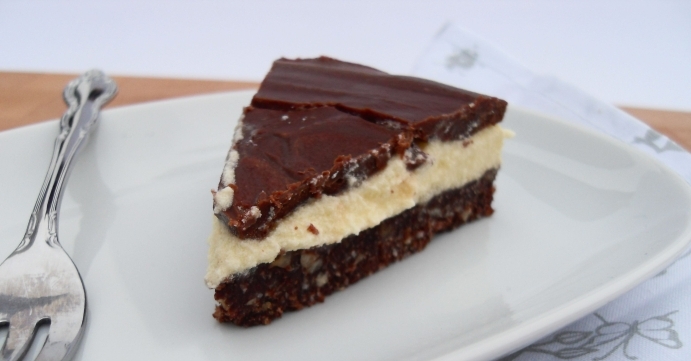
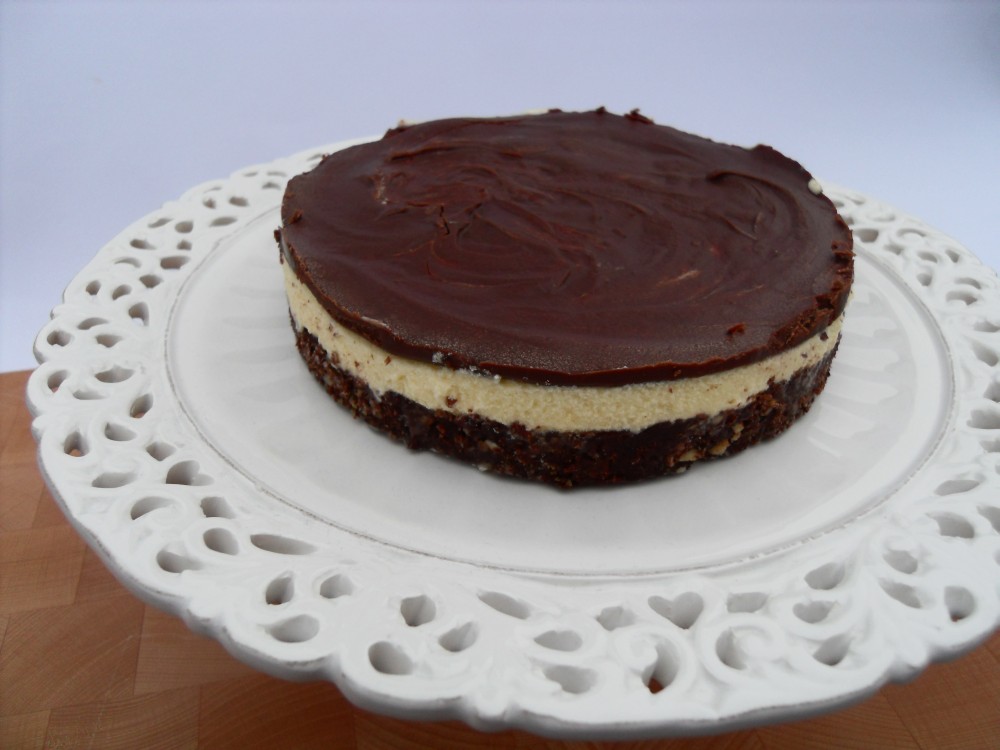
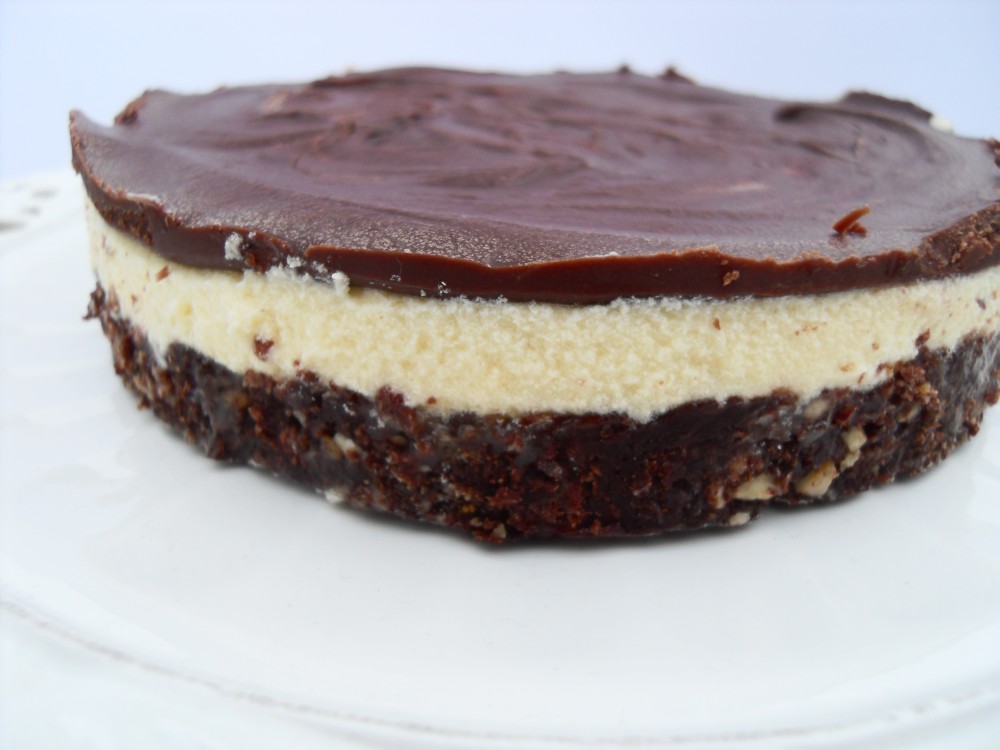
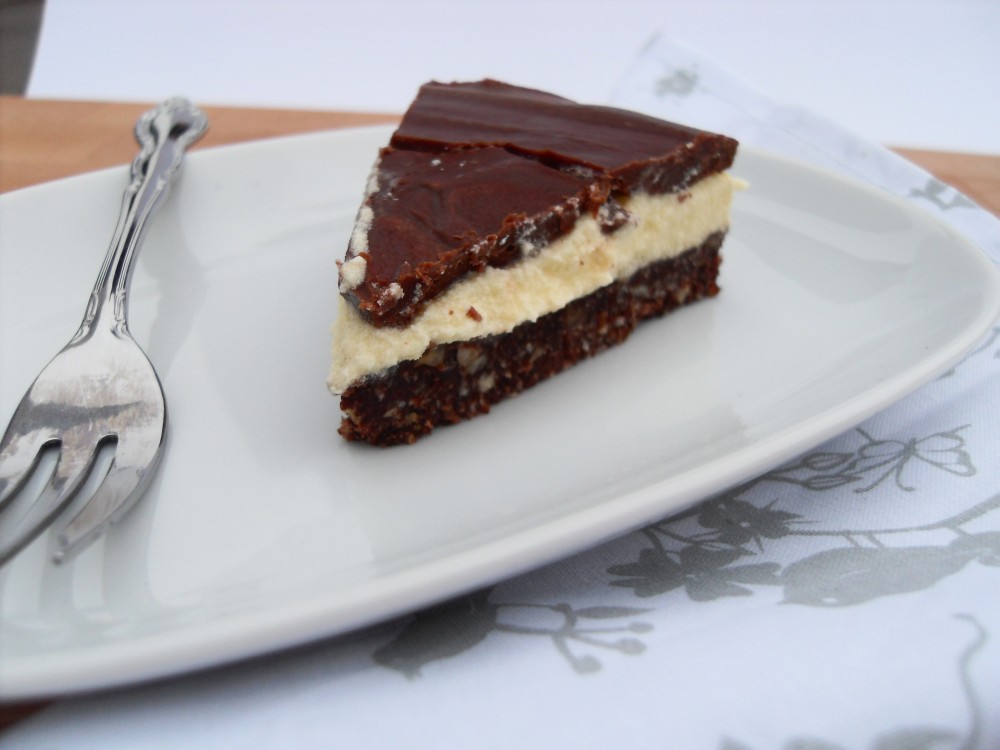
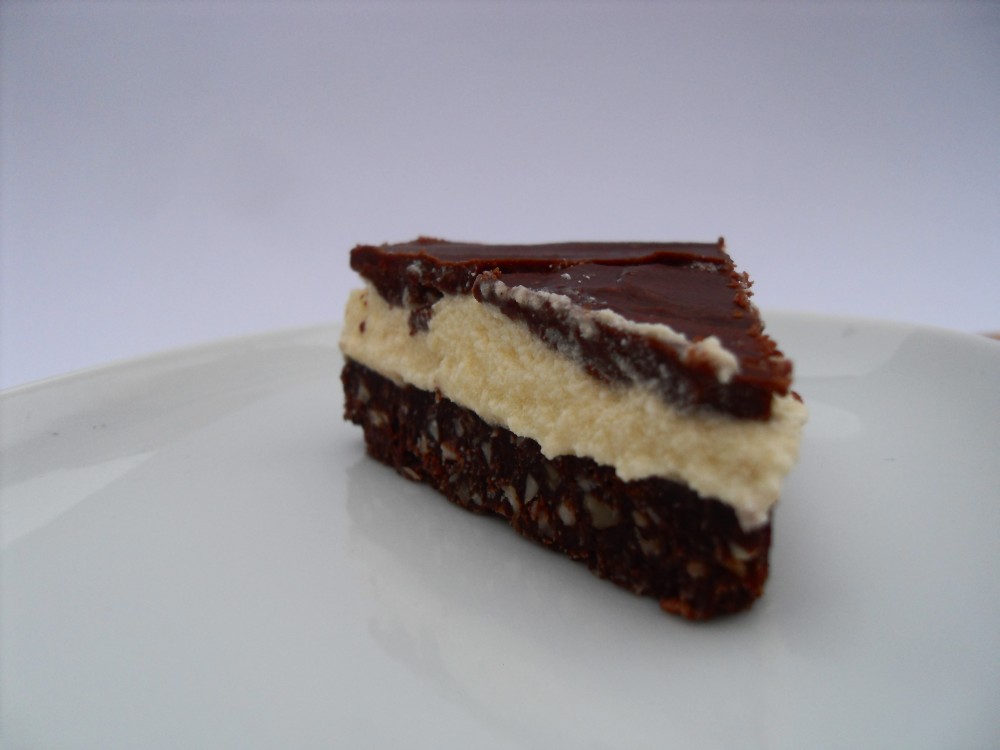
This month challenge was to make a classic Canadian dessert to savour the Olympic Winter Games in Canada this year. This dessert consists of three layers. A base containing crumbles of Graham Crackers, coconut, cocoa and almonds. A middle custard layer and a chocolate topping.
Since Lauren is suffering under celiac disease (dt. Zöliakie) the challenge was to bake the Graham Crackers yourself and gluten-free. Ever I was interested to try some gluten-free recipe. Finally I had the chance!
A lot of people in the world (also in Germany, yes!) have to live gluten-free, as if they wouldn’t, their villi lining the small intestine would be trancated. This reaction is caused by proteins, found in wheat, rye, barley and other crops of the tribe Triticeae.

glutenfreie Nanaimo Bars

First it was very difficult to find the needed flours. We needed rice flour, tapioca flour and sorghum flour (dt. Braunhirsemehl). Rice flour I had already at home. Tapioca flour (or starch), I found in a local Asian supermarket. The sorghum flour was much more difficult. But in a larger wholefood supermarket I didn’t just found sorghum flour, but a lot of more gluten-free flours.

I will make an extra post for the Graham Crackers, because I really like them! I do not know how they taste with normal wheat flour, but actually I don’t really want to know… they are just great as they are and I think that special flavour comes from the sorghum flour. I will definitely bake them again!

Which I can’t say from Nanaimo Bars. I wasn’t so excited about that part of the challenge, as I would never make something like that for myself, as I do not like those sort of things. It’s just too much, too heavy for me.

glutenfreie Nanaimo Bars

I also made some differences regarding to the original recipe. I substituted the almonds with hazelnuts and since in Germany something like custard powder does not exist, I made a mixture of vanilla pudding powder, crème fraîche, butter, icing sugar and a lot of vanilla aroma, because it didn’t taste like vanilla after all and it was just too sweet.

I made just half the recipe and it’s still enough and to spare. Is used an adjustable cake setting ring with 16 cm in diametre.
If I would try it another time (I won’t, but IF), I would leave out the coconut and cocoa from the bottom layer, because the main taste is coconut and cocoa. Just too much of it!
Be cautious! The vanilla pudding powder, as well as the chocolate you take for the topping has to be gluten-free as well, if you want to make it all gluten-free!

glutenfreie Nanaimo Bars

gluten-free nanaimo bars

The January 2010 Daring Bakers’ challenge was hosted by Lauren of Celiac Teen. Lauren chose Gluten-Free Graham Wafers and Nanaimo Bars as the challenge for the month. The sources she based her recipe on are 101 Cookbooks and www.nanaimo.ca.

This month challenge was to make a classic Canadian dessert to savour the Olympic Winter Games in Canada this year. This dessert consists of three layers. A base containing crumbles of Graham Crackers, coconut, cocoa and almonds. A middle custard layer and a chocolate topping.
Since Lauren is suffering under celiac disease (dt. Zöliakie) the challenge was to bake the Graham Crackers yourself and gluten-free. Ever I was interested to try some gluten-free recipe. Finally I had the chance!
A lot of people in the world (also in Germany, yes!) have to live gluten-free, as if they wouldn’t, their villi lining the small intestine would be trancated. This reaction is caused by proteins, found in wheat, rye, barley and other crops of the tribe Triticeae.

gluten-free nanaimo bars

First it was very difficult to find the needed flours. We needed rice flour, tapioca flour and sorghum flour (dt. Braunhirsemehl). Rice flour I had already at home. Tapioca flour (or starch), I found in a local Asian supermarket. The sorghum flour was much more difficult. But in a larger wholefood supermarket I didn’t just found sorghum flour, but a lot of more gluten-free flours.

I will make an extra post for the Graham Crackers, because I really like them! I do not know how they taste with normal wheat flour, but actually I don’t really want to know… they are just great as they are and I think that special flavour comes from the sorghum flour. I will definitely bake them again!

Which I can’t say from Nanaimo Bars. I wasn’t so excited about that part of the challenge, as I would never make something like that for myself, as I do not like those sort of things. It’s just too much, too heavy for me.

gluten-free nanaimo bars

 I also made some differences regarding to the original recipe. I substituted the almonds with hazelnuts and since in Germany something like custard powder does not exist, I made a mixture of vanilla pudding powder, crème fraîche, butter, icing sugar and a lot of vanilla aroma, because it didn’t taste like vanilla after all and it was just too sweet.

I made just half the recipe and it’s still enough and to spare. Is used an adjustable cake setting ring with 16 cm in diametre.
If I would try it another time (I won’t, but IF), I would leave out the coconut and cocoa from the bottom layer, because the main taste is coconut and cocoa. Just too much of it!
Be cautious! The vanilla pudding powder, as well as the chocolate you take for the topping has to be gluten-free as well, if you want to make it all gluten-free!

gluten-free nanaimo bars

Selbstgemachte GemüsebouillonpasteHomemade Bouillon Paste

 Upate: Für das deutsche Rezept nach unten scrollen!

Selbstgemachte Gemüsebouillonpaste

As I was ill the last two weeks, I wanted to do more for my blog. I made some things – I swear! But it happened, that those things were not good enough for my blog. Unfortunately.

Now that I’m back to work, I’ve done some great things and even more great photos of it! But just no time to write. So this evening I just take the time.

In my ill-time I had a lot of time to read lots of blogs, recipes and other interesting things. I got hold on a simple recipe making your own bouillon paste of vegetables. Since I’m very into making everything on my own, I was thrilled.

Selbstgemachte Gemüsebouillonpaste

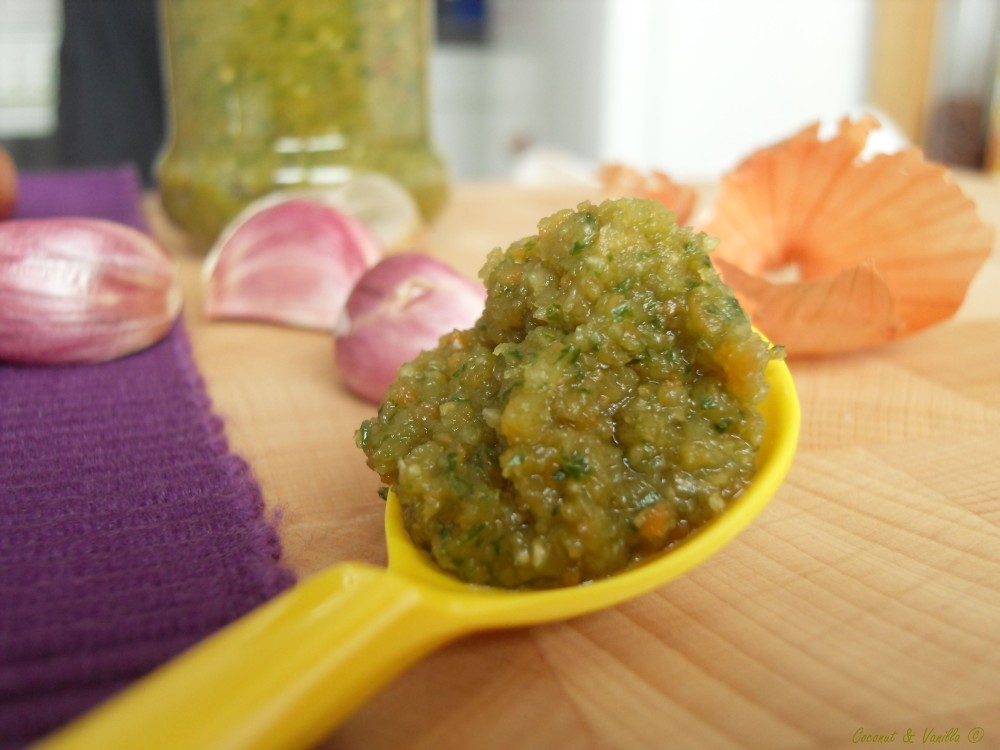
Since I’m not a fan of glutamate in food, I’m using only organic granulated bouillon, because it never contains glutamate. But it can contain other things that you don’t want in there, for example gluten or allergens. So making your own paste, disposes this problem. And of course it’s just great to make your own bouillon, without making a real stock!

Selbstgemachte Gemüsebouillonpaste

I adapted the recipe from 101 Cookbooks. You can vary, which vegetables you use and also the ratio. I do not like celery stalks. But I like the root. So I just used that. Equally I do not like cilantro, thus I used just parsley. However It would be interesting to add some basil the next time or parsnips.

Selbstgemachte Gemüsebouillonpaste

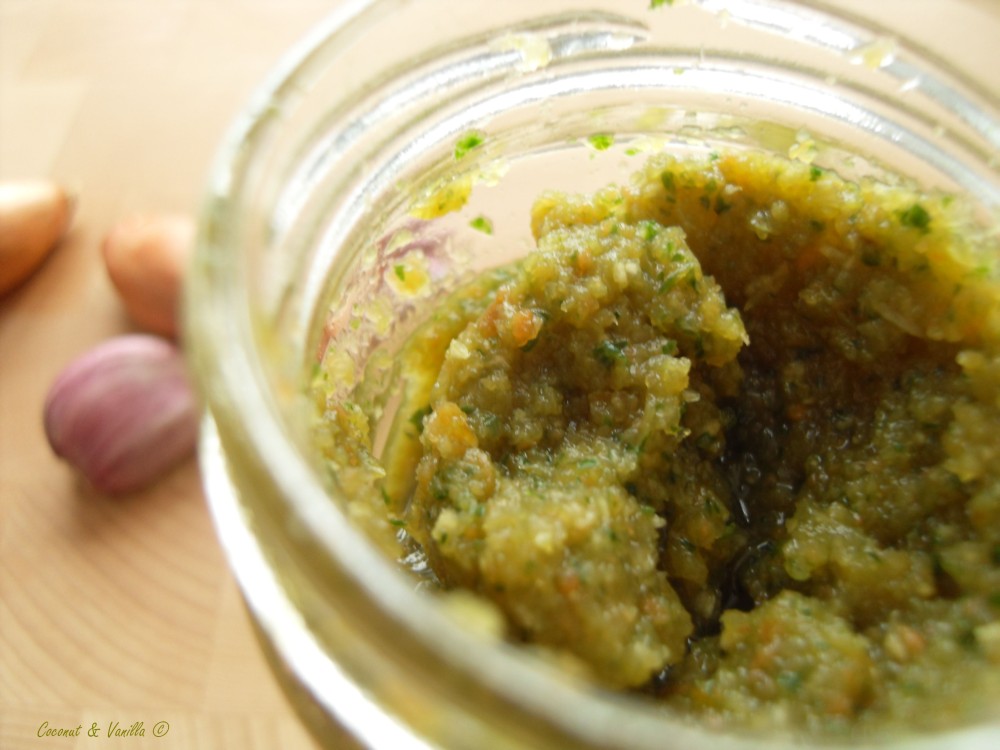
It’s recommended to use a food processor. As I do not have one, I thought optimistic and use my blender. Hmmm… wasn’t that good idea. It didn’t get the leek and the carrots alright. Celery was good with it. In the end I used my immersion blender. It took some time longer I think (since I can’t compare), but it worked very well and I got a moist paste. I didn’t used as much salt, as stated in the „original“ recipe. Maybe that leads rather to a „creamy“ paste, than a loose paste. For me it’s salty enough and if not, adding salt is less a problem, than to withdraw some.

My recommendation is to dissolve 2,5 tsp. per 250 ml (1 cup). It dissolves very good, if you wonder ;-).

I put one jar of the bouillon in the fridge and froze the rest in portions. If you are not using that much bouillon, you can freeze it in ice cube trays, so your portions to thaw are very small. I froze the rest in three portions, every equal to the amount in my fridge. It yields about four 200ml jars.

Selbstgemachte Gemüsebouillonpaste

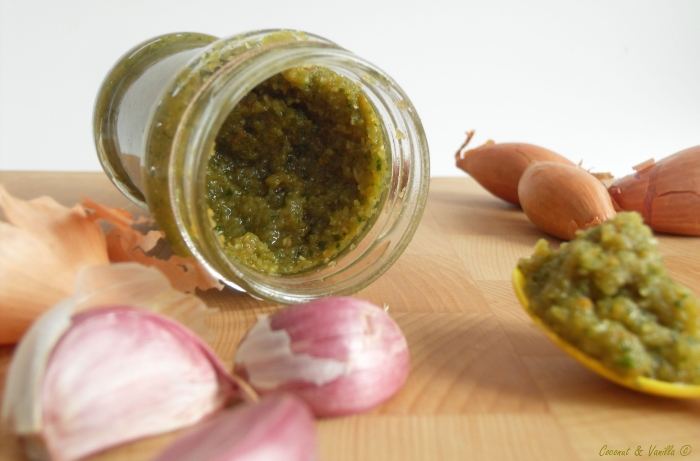
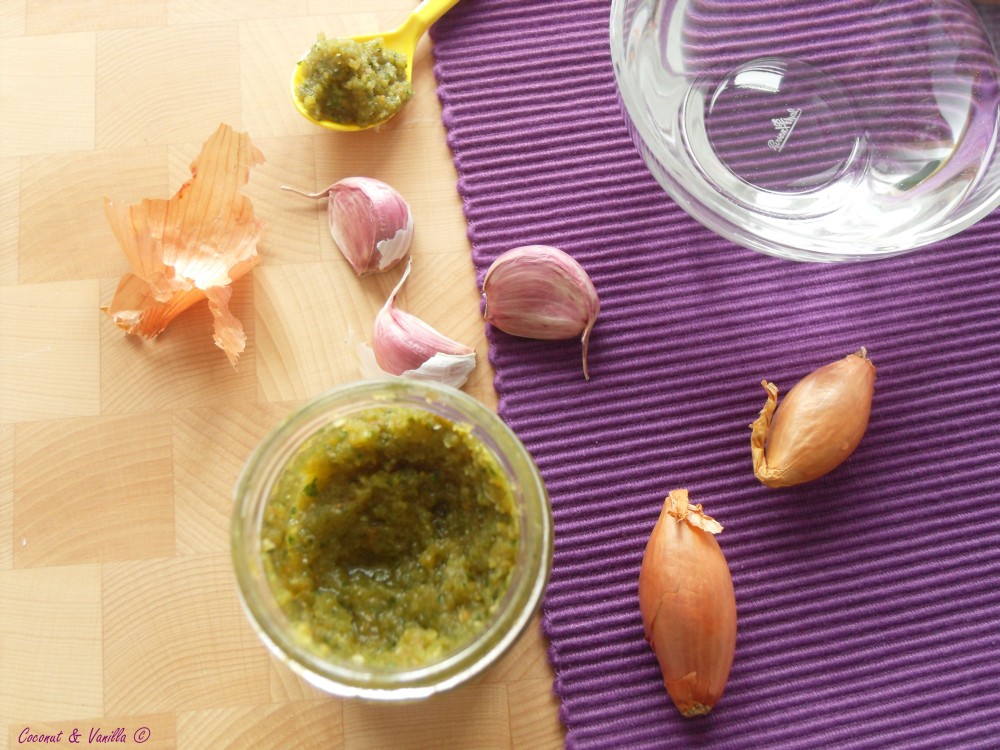
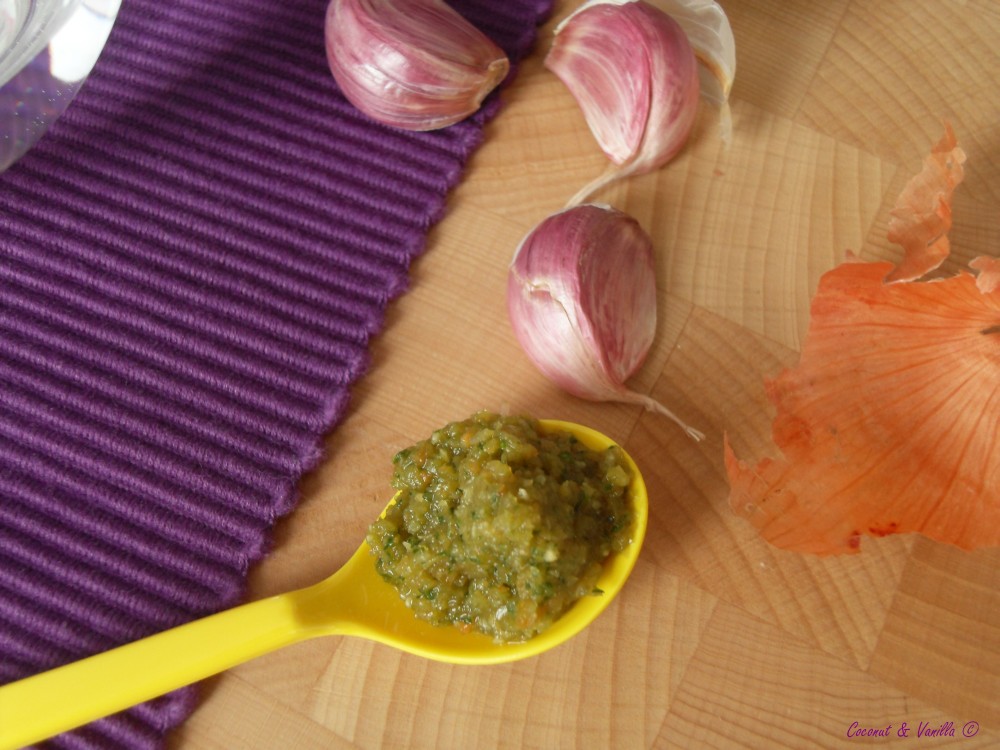
homemade bouillon paste

As I was ill the last two weeks, I wanted to do more for my blog. I made some things – I swear! But it happened, that those things were not good enough for my blog. Unfortunately.

Now that I’m back to work, I’ve done some great things and even more great photos of it! But just no time to write. So this evening I just take the time.

In my ill-time I had a lot of time to read lots of blogs, recipes and other interesting things. I got hold on a simple recipe making your own bouillon paste of vegetables. Since I’m very into making everything on my own, I was thrilled.

homemade bouillon paste

Since I’m not a fan of glutamate in food, I’m using only organic granulated bouillon, because it never contains glutamate. But it can contain other things that you don’t want in there, for example gluten or allergens. So making your own paste, disposes this problem. And of course it’s just great to make your own bouillon, without making a real stock!

homemade bouillon paste

I adapted the recipe from 101 Cookbooks. You can vary, which vegetables you use and also the ratio. I do not like celery stalks. But I like the root. So I just used that. Equally I do not like cilantro, thus I used just parsley. However It would be interesting to add some basil the next time or parsnips.

homemade bouillon paste

It’s recommended to use a food processor. As I do not have one, I thought optimistic and use my blender. Hmmm… wasn’t that good idea. It didn’t get the leek and the carrots alright. Celery was good with it. In the end I used my immersion blender. It took some time longer I think (since I can’t compare), but it worked very well and I got a moist paste. I didn’t used as much salt, as stated in the „original“ recipe. Maybe that leads rather to a „creamy“ paste, than a loose paste. For me it’s salty enough and if not, adding salt is less a problem, than to withdraw some.

My recommendation is to dissolve 2,5 tsp. per 250 ml (1 cup). It dissolves very good, if you wonder ;-).

I put one jar of the bouillon in the fridge and froze the rest in portions. If you are not using that much bouillon, you can freeze it in ice cube trays, so your portions to thaw are very small. I froze the rest in three portions, every equal to the amount in my fridge. It yields about four 200ml jars.

homemade bouillon paste

Heidelbeer-Buttermilch-Panna CottaBlueberry and Buttermilk Panna Cotta

Update: Für das deutsche Rezept nach unten scrollen!

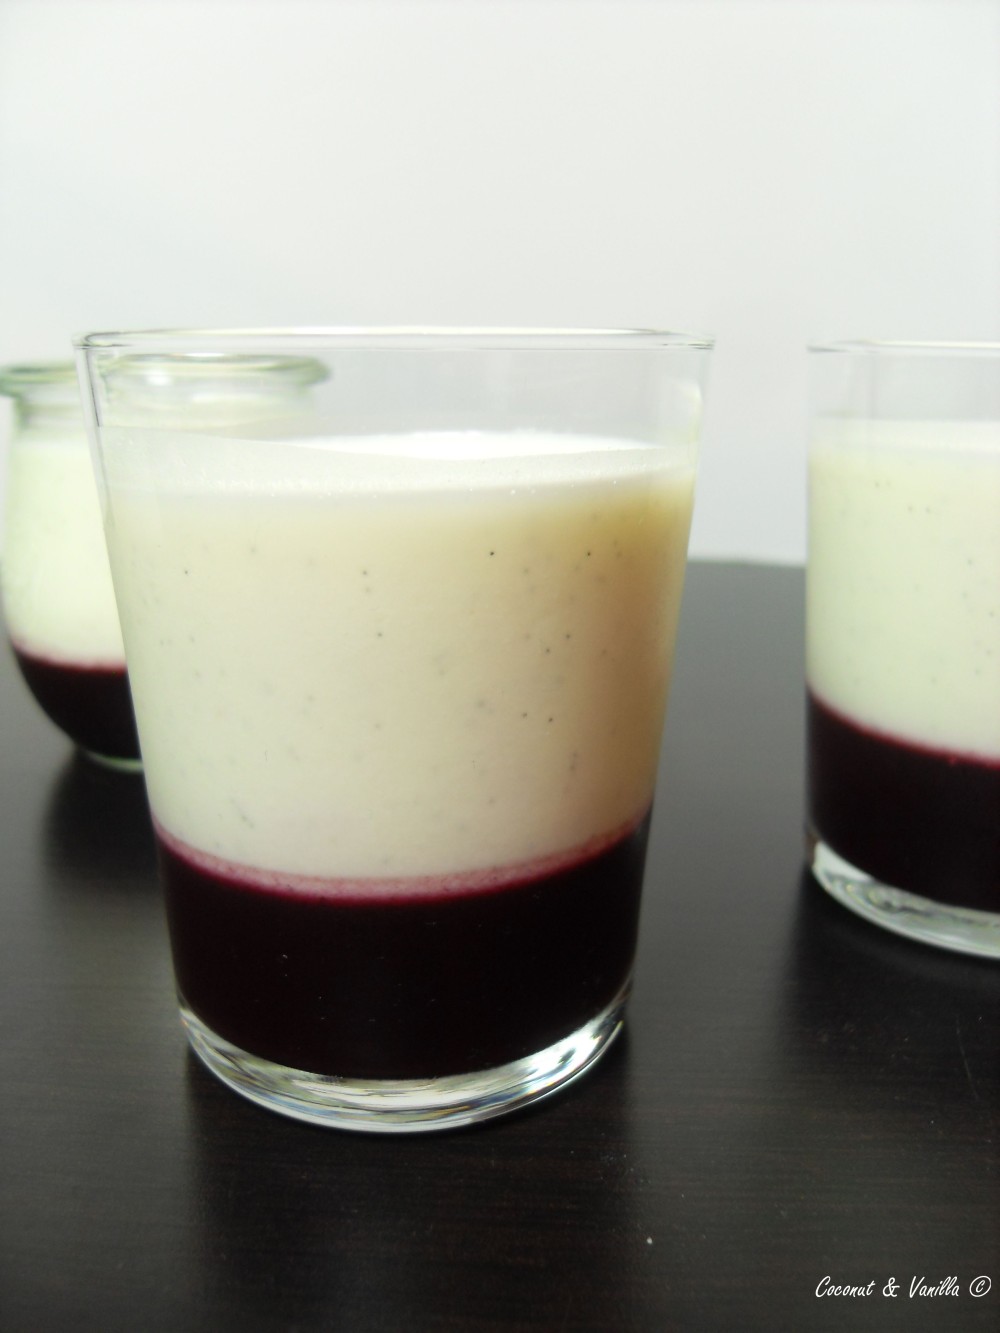
blueberry and buttermilk panna cotta

Being ill with a painful tonsilitis, which keeps me the week at home, I have a lot of time to spend with my blog. Lucky you!

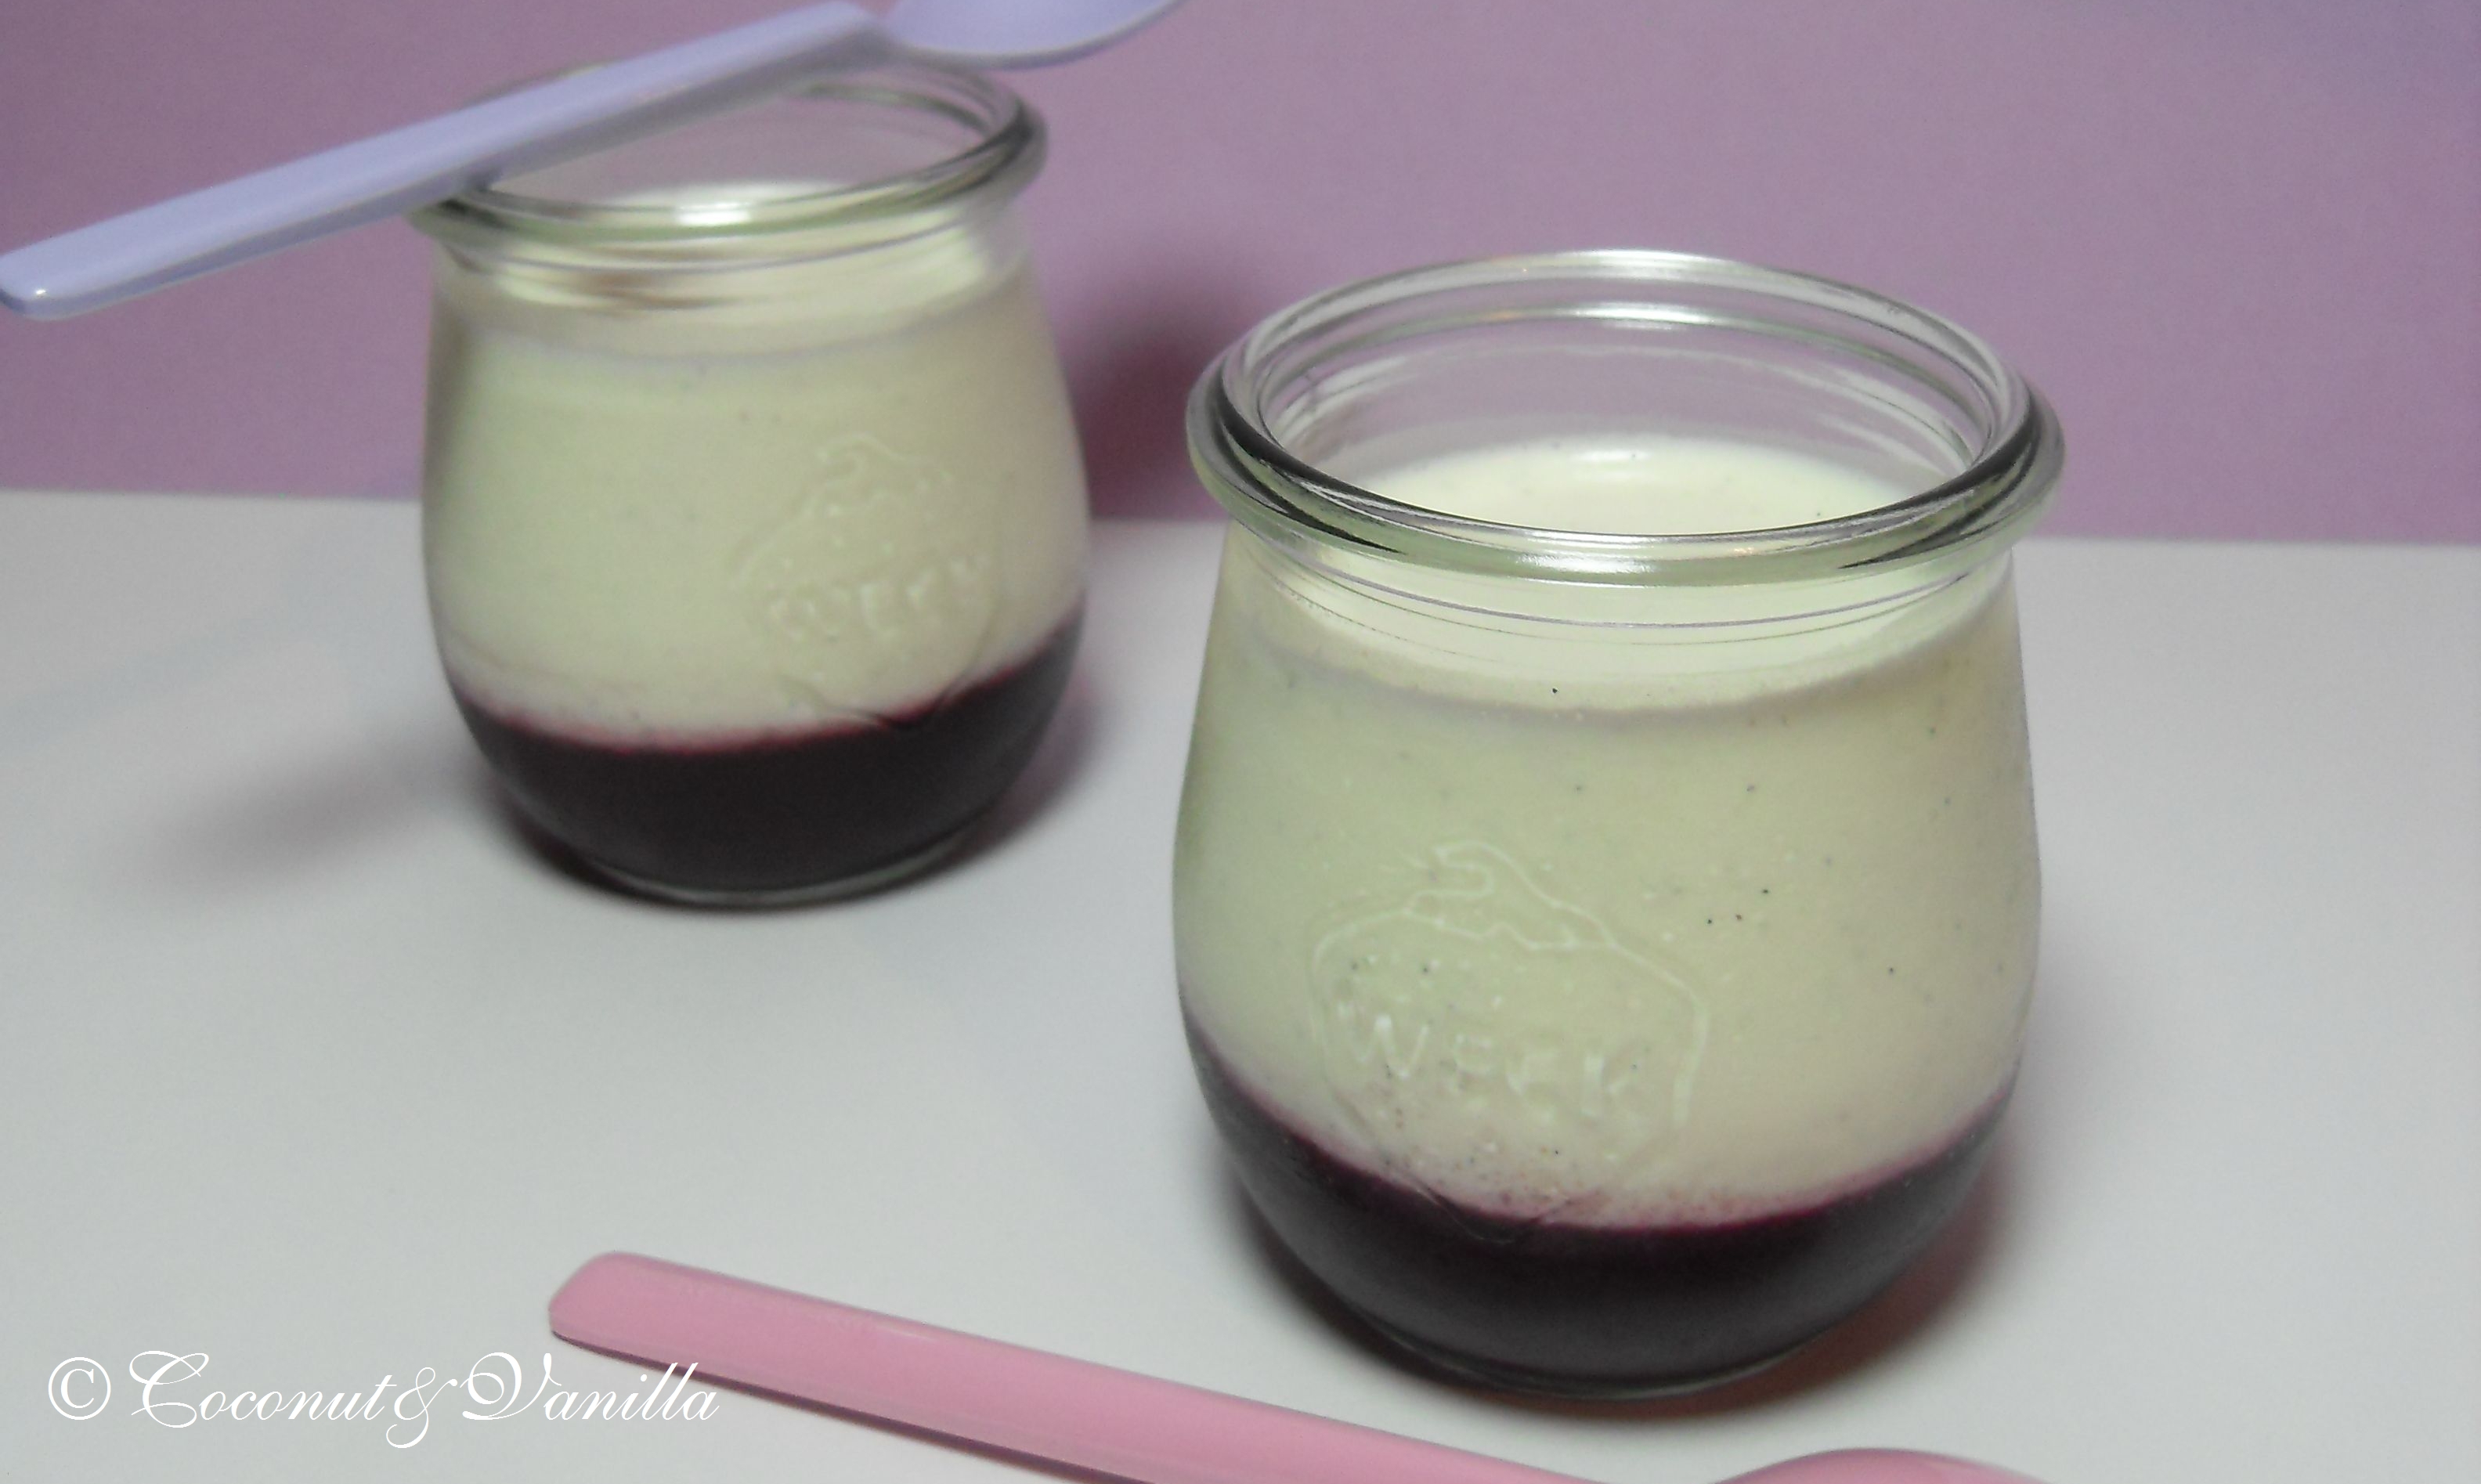
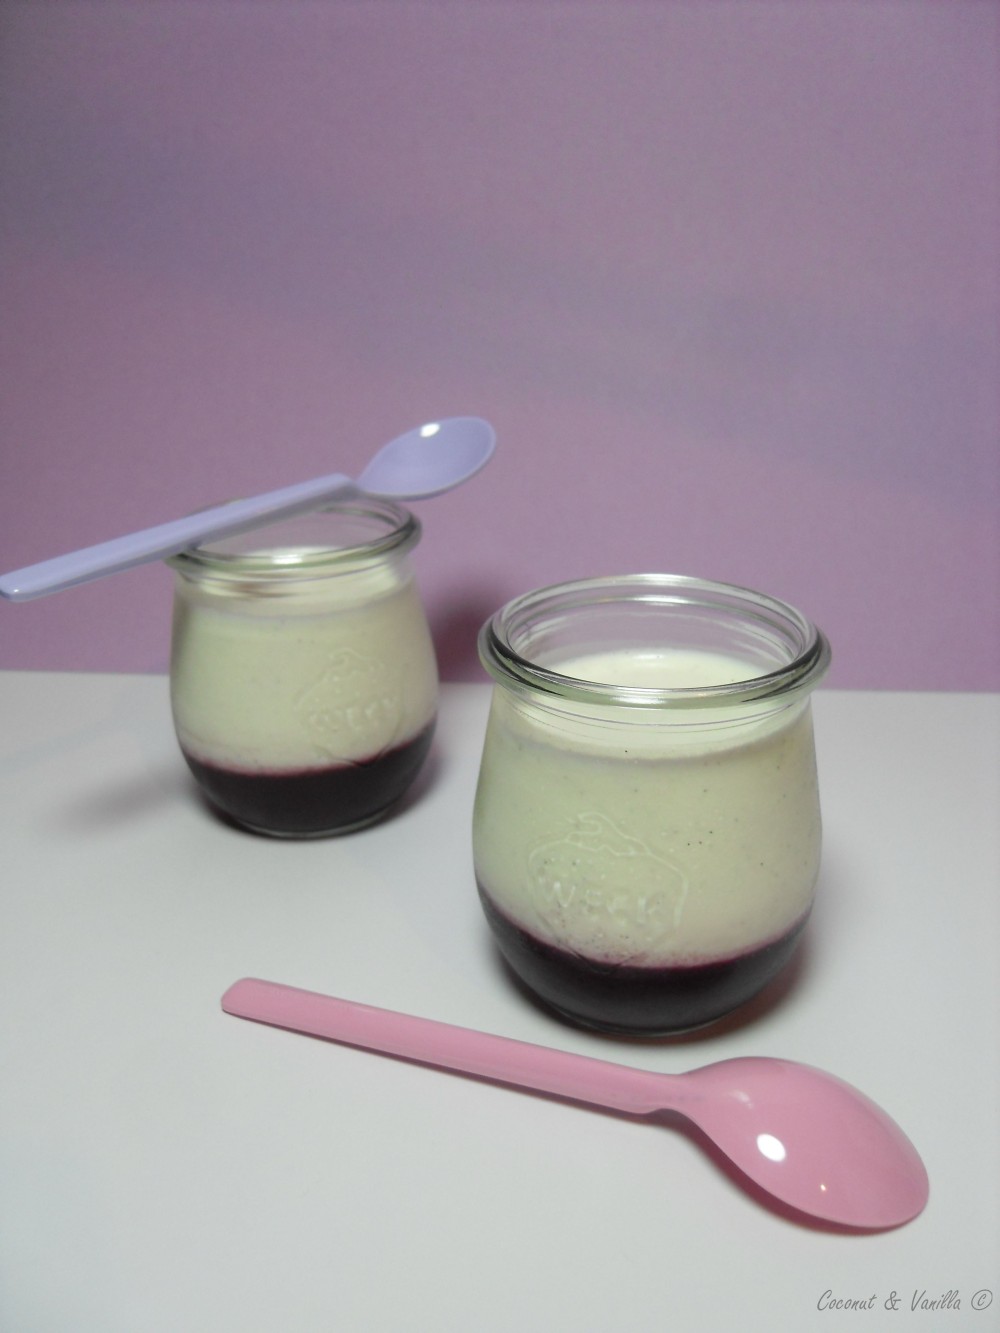
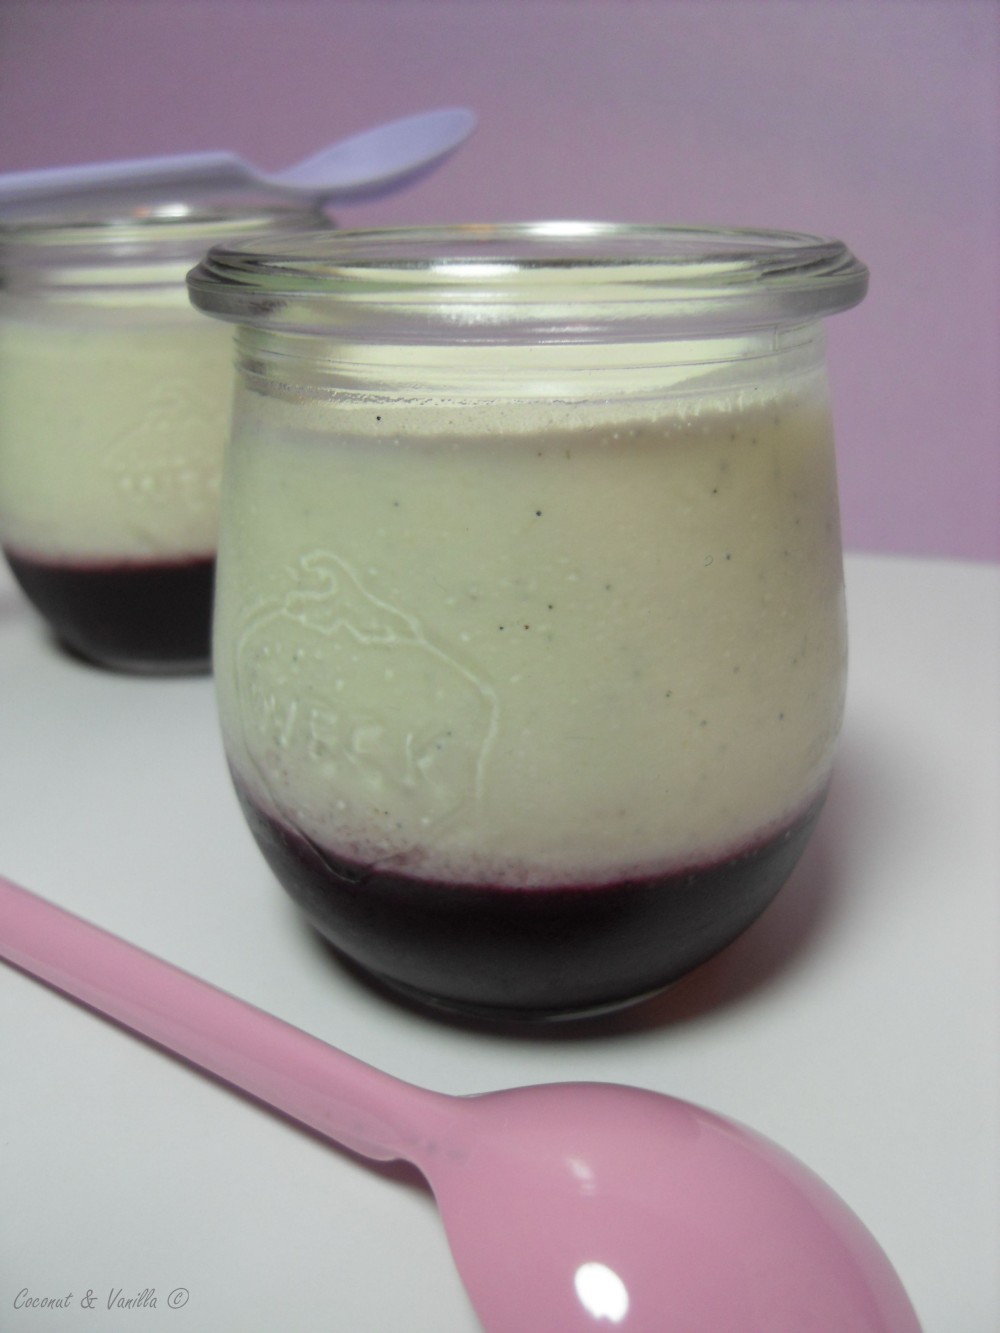
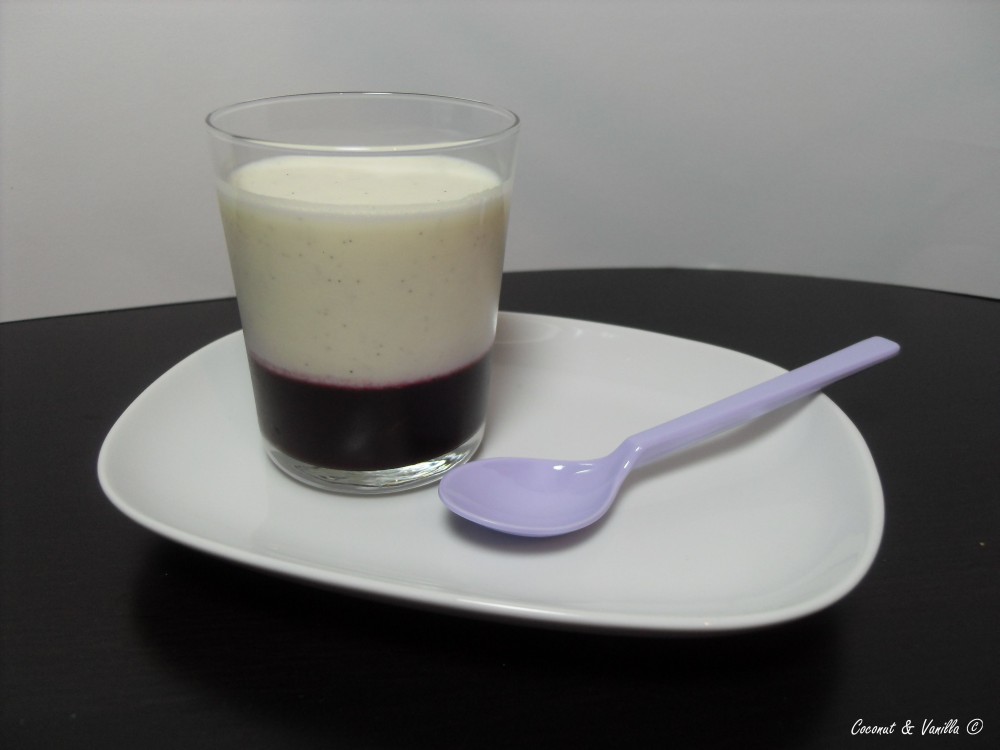
Last weekend I made those beauties: Buttermilk Panna Cotta layered on blueberry puree.

blueberry and buttermilk panna cotta

Originally I wanted use up a mango fruit. I searched the internet and in the end I found a recipe at Tartelette’s. But as it came to peel the mango I realized it’s just over. Over ripe. Smelled a little bit alcoholic. So no dessert with mango then! But I already liked the idea of panna cotta. I mean I love panna cotta! My favourite dessert is coconut panna cotta. But I always want to try something different, new. And the buttermilk attracted me. Luckily it came into my mind, that I still have some frozen blueberry puree.

blueberry and buttermilk panna cotta

So after thawing the puree, I gave it into some nice glasses with the help of a funnel. And then I refroze the glasses with the puree. When it’s frozen it’s a lot easier to layer the panna cotta (or whatelse you like) on the puree so that they do not mix. The buttermilk gives the panna cottas a slight sour note. It tastes good, especially in combination with the fruit, but furthermore I prefer the classical preparation with cream.

I used leaf gelatine. And maybe a little bit too much. The recipe I adapted was with powdered gelatine. As I am not used to it and I’m liking the leaves, I tried to adapt it. The panna cottas were a bit too firm, but still good. I used 3 and a half leaf. I think 2 and a half or 3 leaves are enough. If you want to use powdered gelatine, the original recipe calles for 4 grams (1 3/4 tsp.) dissolved in 1 Tbsp. water.

And feel free to change the kind of fruit puree! I’m convinced, that it tastes delicious with (almost) every kind of fruit. Already thinking of apples, pears, quinces in this season or strawberrys in summer.

blueberry and buttermilk panna cotta

blueberry and buttermilk panna cotta

Being ill with a painful tonsilitis, which keeps me the week at home, I have a lot of time to spend with my blog. Lucky you!

Last weekend I made those beauties: Buttermilk Panna Cotta layered on blueberry puree.

blueberry and buttermilk panna cotta

Originally I wanted use up a mango fruit. I searched the internet and in the end I found a recipe at Tartelette’s. But as it came to peel the mango I realized it’s just over. Over ripe. Smelled a little bit alcoholic. So no dessert with mango then! But I already liked the idea of panna cotta. I mean I love panna cotta! My favourite dessert is coconut panna cotta. But I always want to try something different, new. And the buttermilk attracted me. Luckily it came into my mind, that I still have some frozen blueberry puree.

blueberry and buttermilk panna cotta

So after thawing the puree, I gave it into some nice glasses with the help of a funnel. And then I refroze the glasses with the puree. When it’s frozen it’s a lot easier to layer the panna cotta (or whatelse you like) on the puree so that they do not mix. The buttermilk gives the panna cottas a slight sour note. It tastes good, especially in combination with the fruit, but furthermore I prefer the classical preparation with cream.

I used leaf gelatine. And maybe a little bit too much. The recipe I adapted was with powdered gelatine. As I am not used to it and I’m liking the leaves, I tried to adapt it. The panna cottas were a bit too firm, but still good. I used 3 and a half leaf. I think 2 and a half or 3 leaves are enough. If you want to use powdered gelatine, the original recipe calles for 4 grams (1 3/4 tsp.) dissolved in 1 Tbsp. water.

And feel free to change the kind of fruit puree! I’m convinced, that it tastes delicious with (almost) every kind of fruit. Already thinking of apples, pears, quinces in this season or strawberrys in summer.

blueberry and buttermilk panna cotta

Selbstgemachtes MüsliHomemade Granola

Update: Nach unten scrollen für das deutsche Rezept!

Happy new year everybody!

Selbstgemachtes Müsli

Thank you for your visits and supports in my first months of blogging! I’m always afraid and happy, when I read your comments. I’m always pleased to return the favour and visit your blogs! Some of them have already found their way in my daily reading list.

I hope you enjoyed my new blog last year. I will do my very best this year, too.

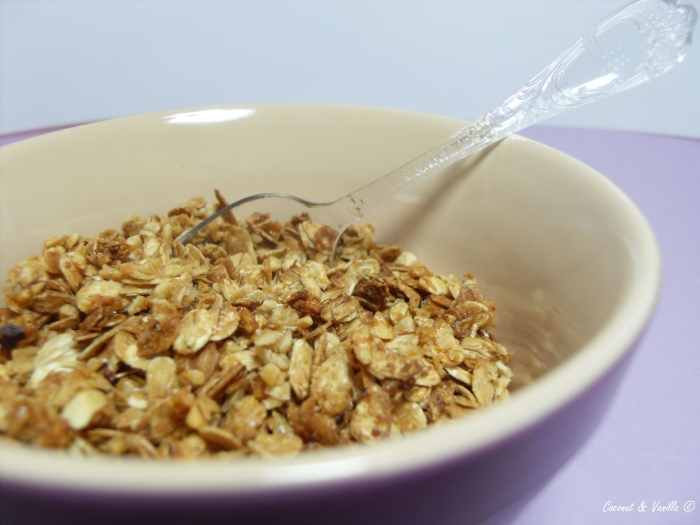
I want to start this year with some homemade muesli. I already produced it in the end-terms of last year, but I first tasted it this morning for breakfast. As I thought of eating this muesli for breakfast, I remembered, that some photos of the making are waiting to be blogged. So I took these photos this morning.

Selbstgemachtes Müsli

I like the idea of selfmade granola. I’m not a fan of bought one’s. For me, they are not crispy enough or too crispy, full of raisins, which I don’t like or dried fruits, which I do not like, too. I’ve only once seen a muesli, with freeze-dried fruits and that was tasty. Neither I like that cheap chocolate pieces in bought muesli.

The benefits of an selfmade muesli are – amongst others – , that you can put in what you like: favourite nuts, favourite fruits, favourite chocolate, favourite cereals. And everytime you can try another combination!

Don’t be scared of making your own granola! It’s fun, very easy and doesn’t take a lot of time.

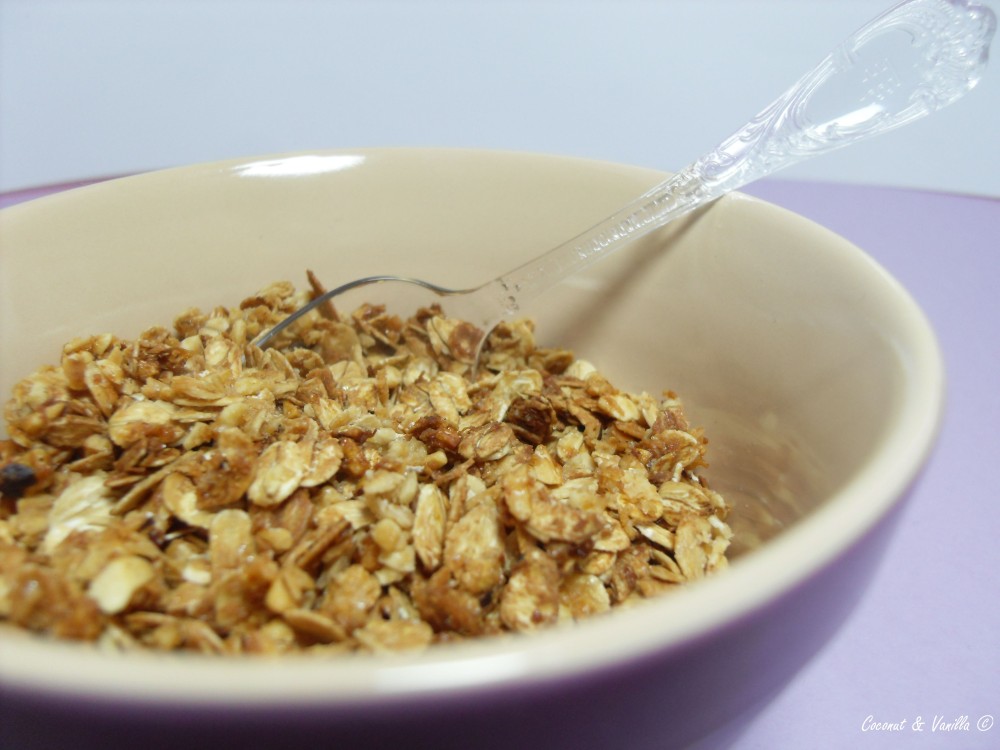
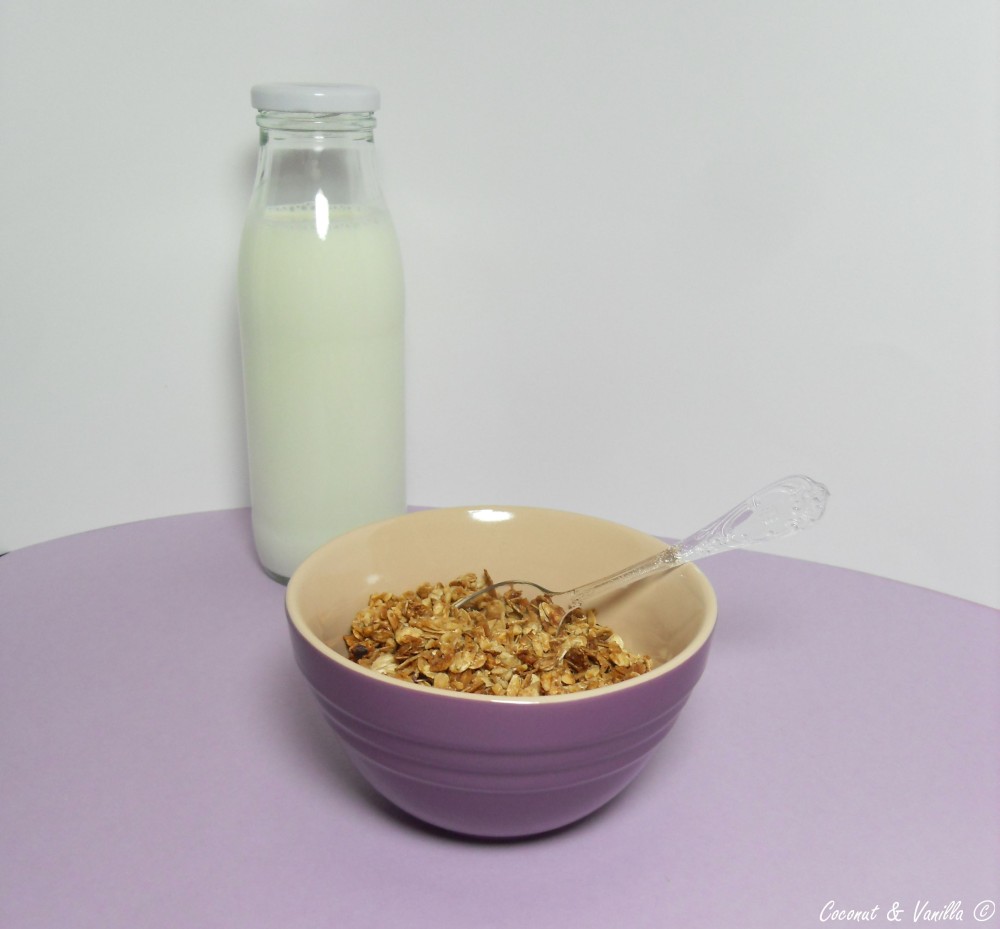
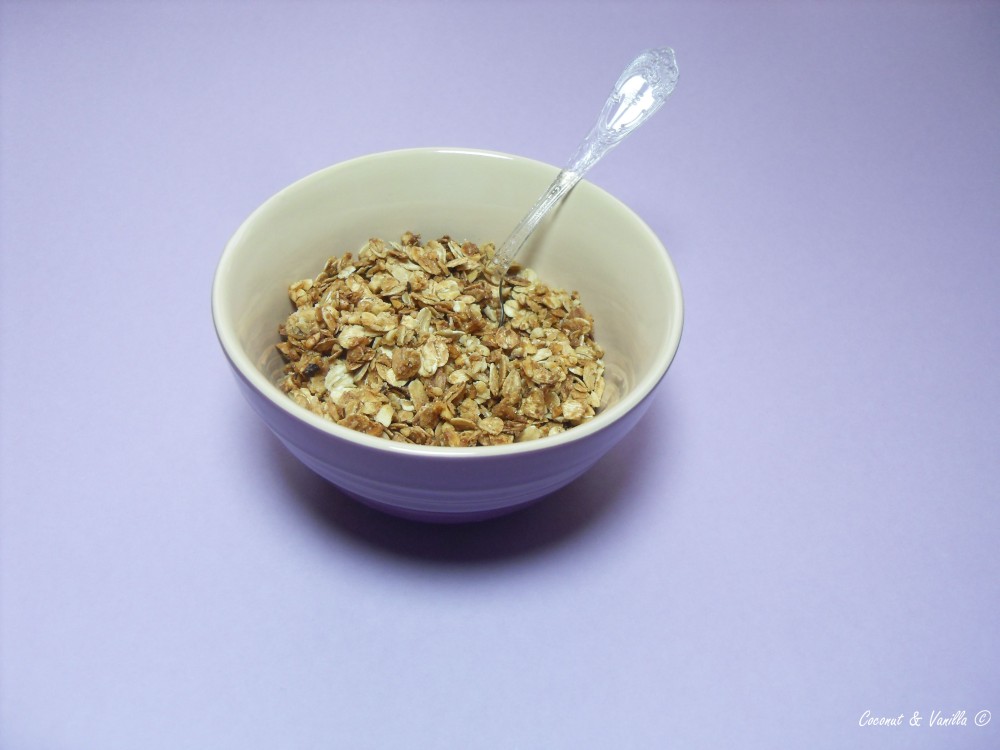
Over- and underneath you see the granola on a baking sheet, after combining the ingredients. Underneath I put some anti-stick coated aluminium foil from Toppits® . If something like that is not available you can also use normal baking paper or grease the baking sheet lightly. But I admit that this aluminium foil is very handy.

The recipe is enough for about 10 smaller portions (like on my photos). So if you are a muesli-fancier, consider doubling the recipe. One recipe is suitable for one baking sheet.

I like to use whole nuts, peel them, roast them in a pan and chop them then. But feel free to use already chopped nuts.

Selbstgemachtes Müsli


Happy new year everybody!

homemade granola

Thank you for your visits and supports in my first months of blogging! I’m always afraid and happy, when I read your comments. I’m always pleased to return the favour and visit your blogs! Some of them have already found their way in my daily reading list.

I hope you enjoyed my new blog last year. I will do my very best this year, too.

I want to start this year with some homemade muesli. I already produced it in the end-terms of last year, but I first tasted it this morning for breakfast. As I thought of eating this muesli for breakfast, I remembered, that some photos of the making are waiting to be blogged. So I took these photos this morning.

homemade granola

I like the idea of selfmade granola. I’m not a fan of bought one’s. For me, they are not crispy enough or too crispy, full of raisins, which I don’t like or dried fruits, which I do not like, too. I’ve only once seen a muesli, with freeze-dried fruits and that was tasty. Neither I like that cheap chocolate pieces in bought muesli.

The benefits of an selfmade muesli are – amongst others – , that you can put in what you like: favourite nuts, favourite fruits, favourite chocolate, favourite cereals. And everytime you can try another combination!

Don’t be scared of making your own granola! It’s fun, very easy and doesn’t take a lot of time.

Over- and underneath you see the granola on a baking sheet, after combining the ingredients. Underneath I put some anti-stick coated aluminium foil from Toppits® . If something like that is not available you can also use normal baking paper or grease the baking sheet lightly. But I admit that this aluminium foil is very handy.

The recipe is enough for about 10 smaller portions (like on my photos). So if you are a muesli-fancier, consider doubling the recipe. One recipe is suitable for one baking sheet.

I like to use whole nuts, peel them, roast them in a pan and chop them then. But feel free to use already chopped nuts.

homemade granola

LebkuchendorfGingerbread Village

Lebkuchendorf

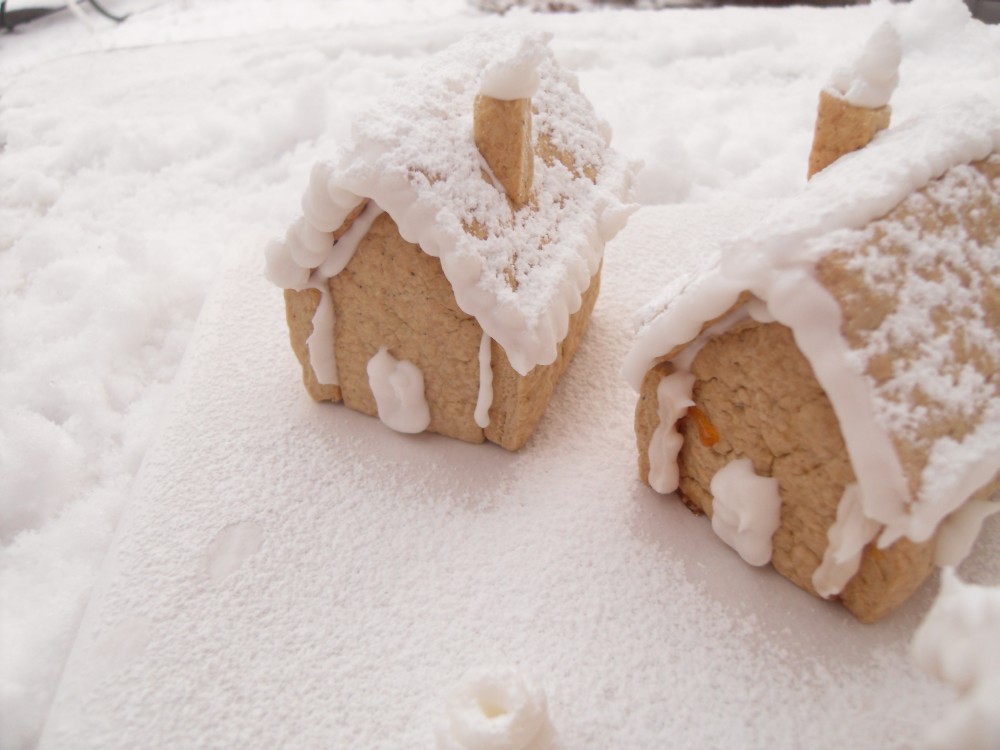
I hope you all had wonderful holidays and you enjoyed the festivites. I did, since I didn’t had much time recently, which you probably realized, because it’s the first entry this month in my beloved blog. I swear it will be better in the new year.

So this entry is all about the December’s Daring Bakers challenge.


Lebkuchendorf

The December 2009 Daring Bakers’ challenge was brought to you by Anna of Very Small Anna and Y of Lemonpi. They chose to challenge Daring Bakers’ everywhere to bake and assemble a gingerbread house from scratch. They chose recipes from Good Housekeeping and from The Great Scandinavian Baking Book as the challenge recipes.

Lebkuchendorf

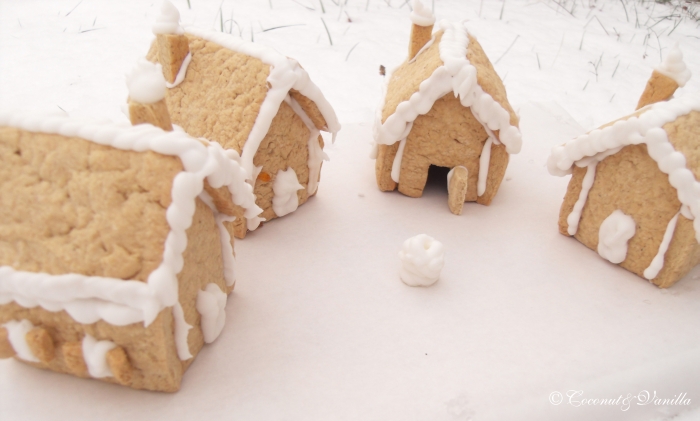
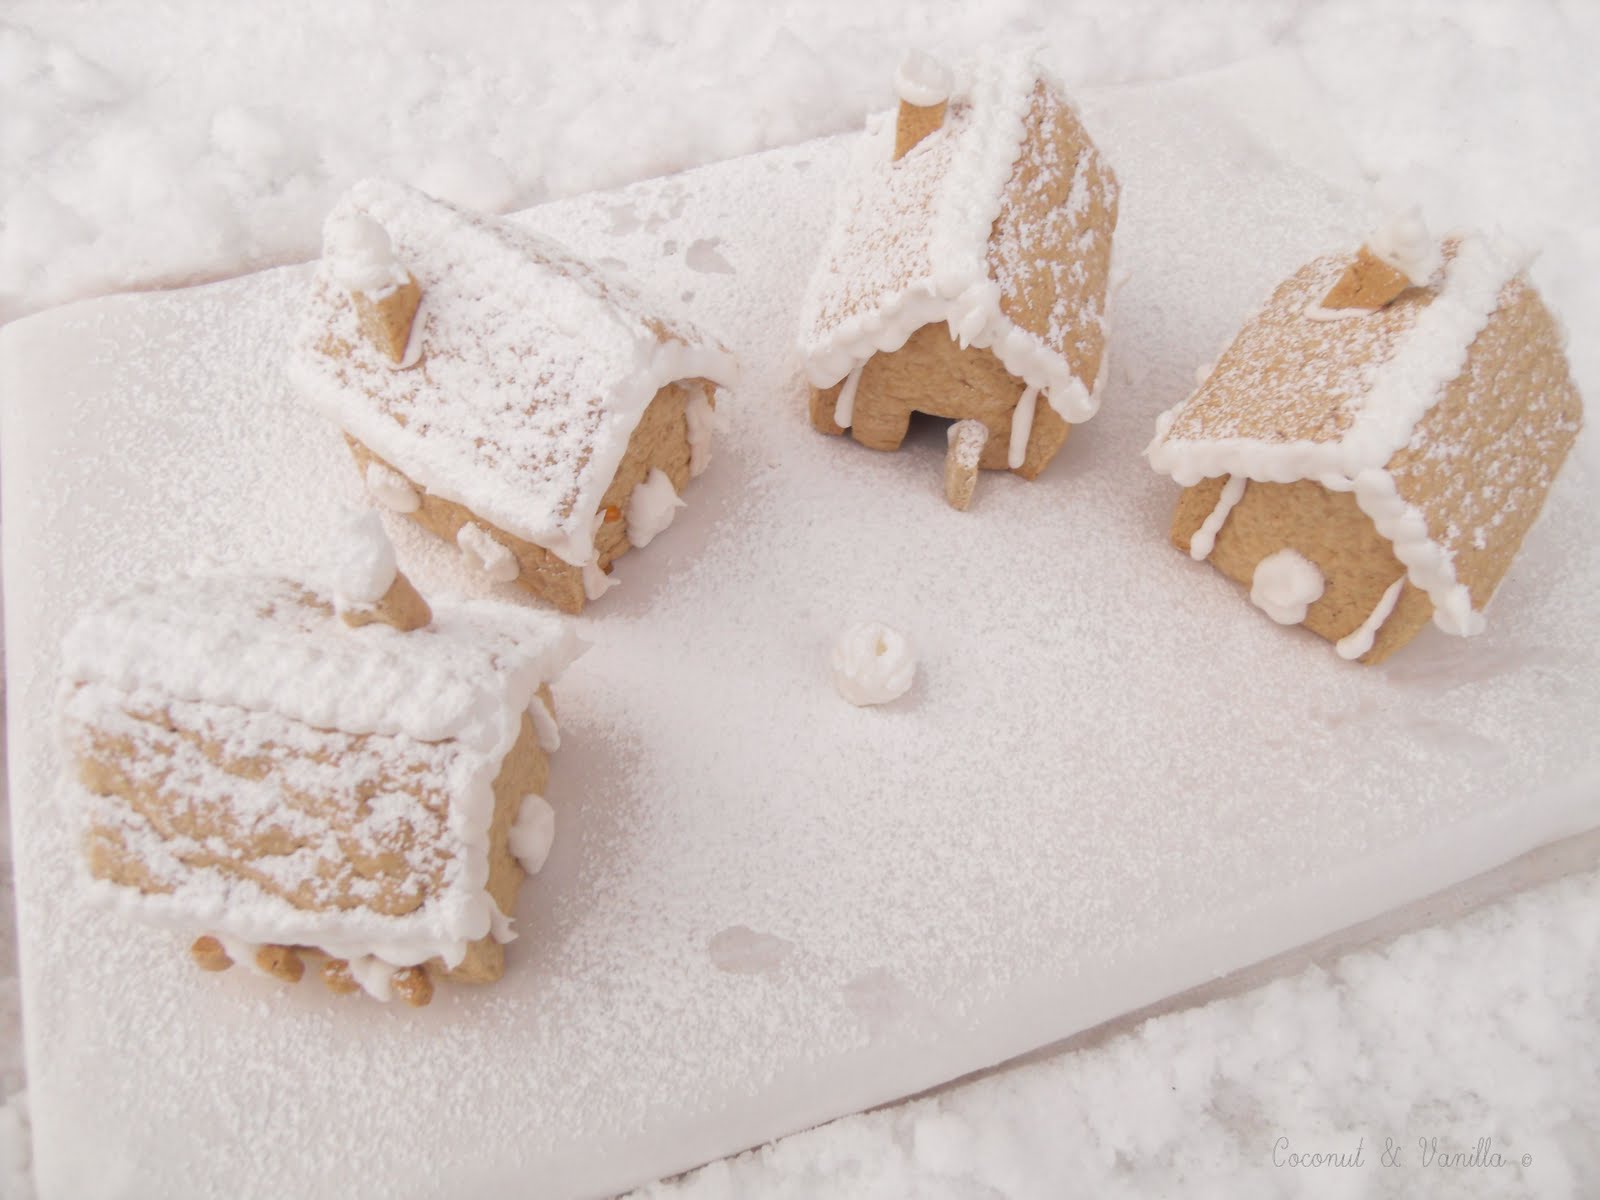
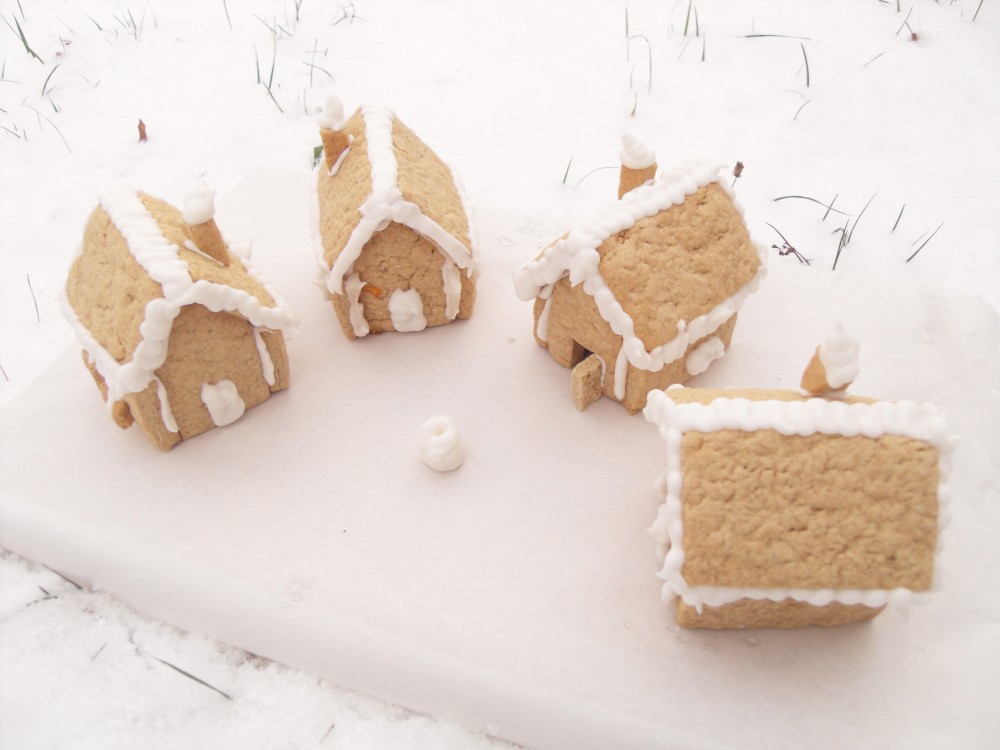
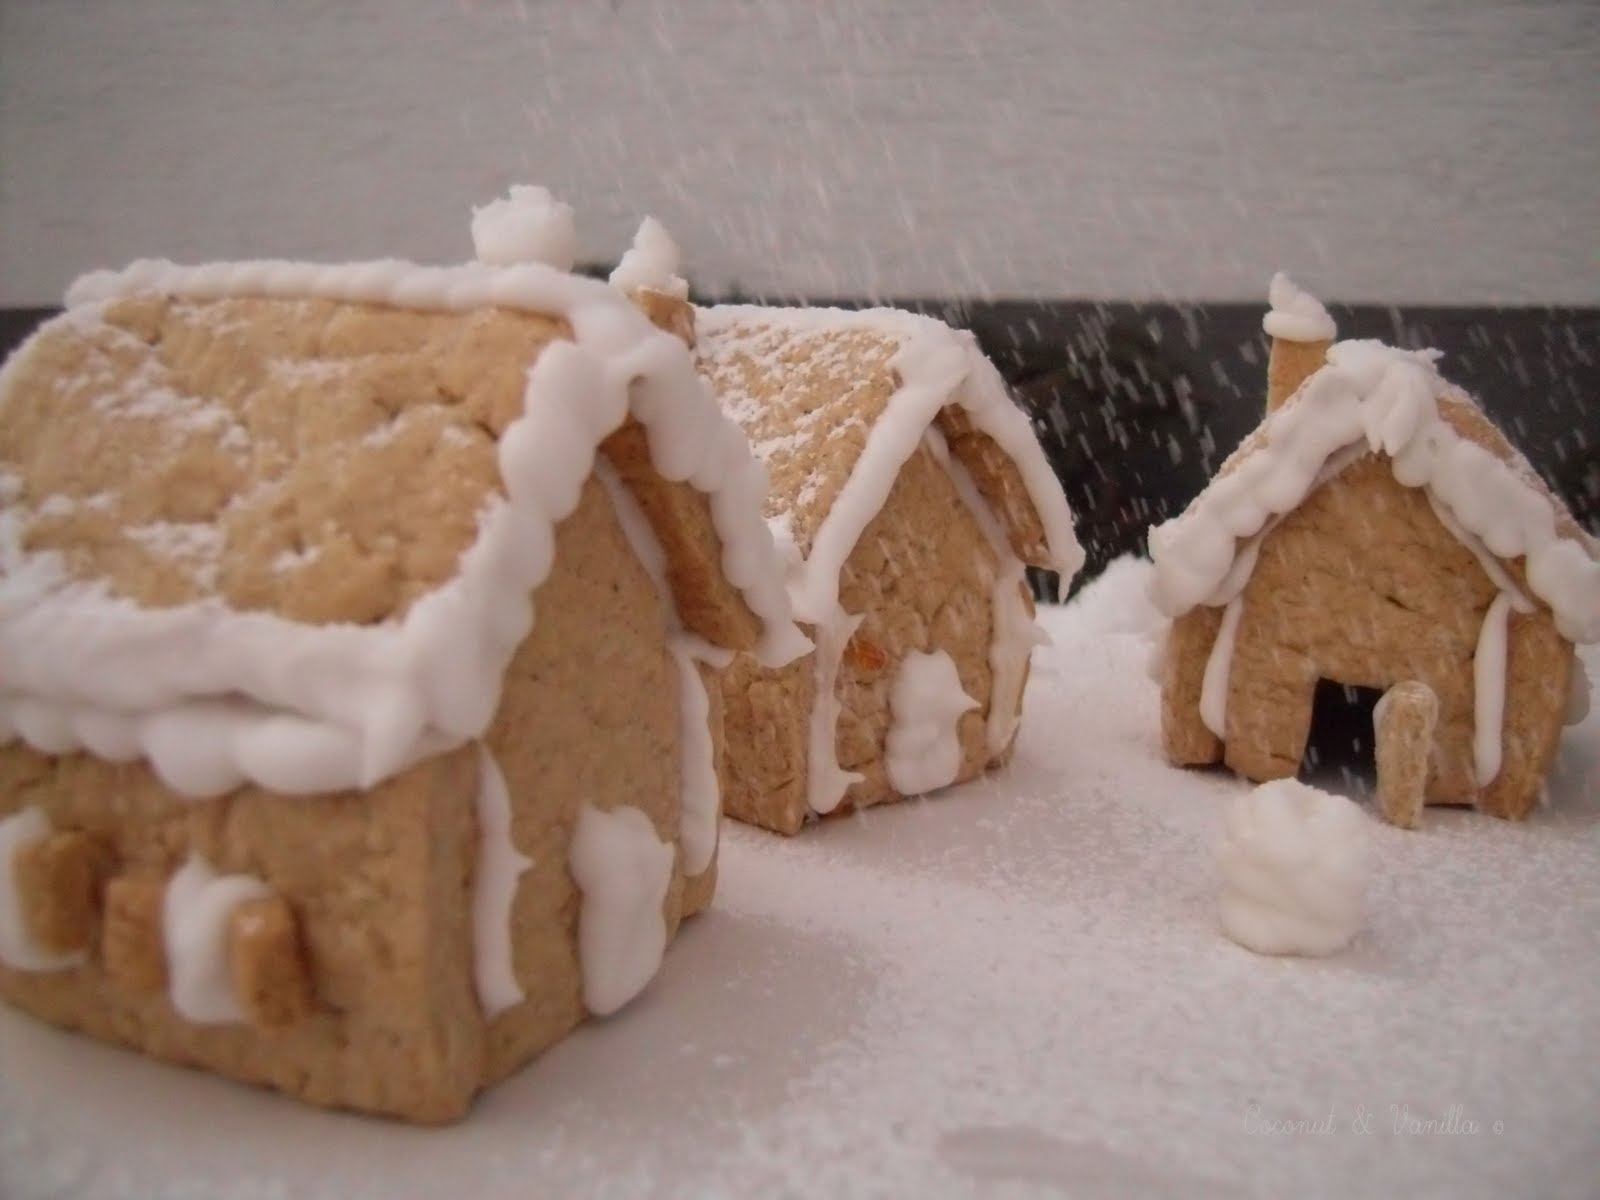
As I first read about the challenge in the forum of the Daring Bakers, I thought „how boring“. Then I was thinking about what I can do to make this challenge more fun and interesting and not „just another gingerbread house“. Maybe in your country gingerbread houses are not so common, but here in southern Germany you see them very often. So I decided to make a whole village of smaller houses. I told this idea a friend of mine Sten, and he said, he would make a church, because every village deserves a church. I was very sceptical and said than he had to do this on his own. So last week I prepared the dough from the recipe from The Great Scandinavian Baking Book by Beatrice Ojakangas and on the weekend we met and I prepared the village (with some help from Frank) and Sten was trying on the church. As it took a lot of time, we delayed the gluing and building on another day.

Lebkuchendorf

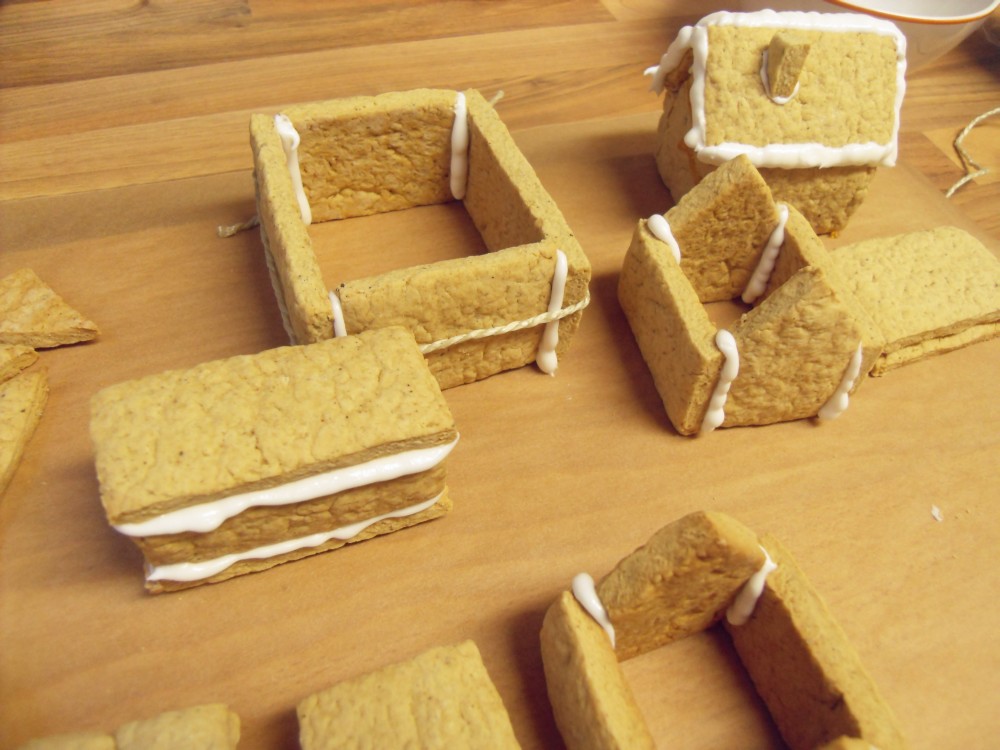
So on monday Frank and I were standing in the kitchen and put the houses together and we also tried this with the church. But somehow S. forgot two pieces of the roof for the tower and all the pieces for the roofs (two and rest of the church) were much too short. We think he didn’t added the thickness of the walls to the roof. So the church looked …ahm… how should I say that… awful? *laugh* Sorry, Sten! The church without the tower looked like a „Mehrzweckhalle“ (multi-purpose hall) as we say in german. So no church for the village in the end. But I let me carry away to build a small well out of royal icing. Speaking of the royal icing … I love it! It’s so easy to make and to handle. It dries fast and looks so nice. I thought also about to colour the icing in some nice pastel colours, but in the end I preferred the classical version – just white like snow.

Lebkuchendorf

I chose the recipe from The Great Scandinavian Baking Book, because the other recipe (which is also posted below, if you want to try) uses molasses and I do not know exactly what to use for here in Germany. My dough didn’t turn out very dark, but I have seen, that’s normal for that recipe. Secondary the dough wasn’t really smooth. It was really hard to roll out the dough and after baking it also rose. So be sure you don’t make the dough too thick. Lot of people had the problem, that the dough shrinked in the oven. I didn’t seem to me, that it happened with my dough, but be prepared! As you are applying everywhere the royal icing, you won’t see that much of the dough in the end. So don’t worry!

It was optional to use sugar syrup to glue the house, but for me it didn’t work fine. It hardened to fast and did not look very nice. So I glued everything with the royal icing, which worked very well. Don’t forget, that you have to chill the dough for at least two hours. I let mine cool for 2 days… You can also prepare it, freeze it and thaw it when you want. What is also important to make, are templates. Below you can see mine. Otherwise it’s possible that your pieces won’t fit together.

Lebkuchendorf

I don’t provide the recipes, because I wouldn’t recommend it, as it wasn’t good in taste and texture.

gingerbread village

I hope you all had wonderful holidays and you enjoyed the festivites. I did, since I didn’t had much time recently, which you probably realized, because it’s the first entry this month in my beloved blog. I swear it will be better in the new year.

So this entry is all about the December’s Daring Bakers challenge.


gingerbread village

The December 2009 Daring Bakers’ challenge was brought to you by Anna of Very Small Anna and Y of Lemonpi. They chose to challenge Daring Bakers’ everywhere to bake and assemble a gingerbread house from scratch. They chose recipes from Good Housekeeping and from The Great Scandinavian Baking Book as the challenge recipes.

gingerbread village

As I first read about the challenge in the forum of the Daring Bakers, I thought „how boring“. Then I was thinking about what I can do to make this challenge more fun and interesting and not „just another gingerbread house“. Maybe in your country gingerbread houses are not so common, but here in southern Germany you see them very often. So I decided to make a whole village of smaller houses.  I told this idea a friend of mine Sten, and he said, he would make a church, because every village deserves a church. I was very sceptical and said than he had to do this on his own. So last week I prepared the dough from the recipe from The Great Scandinavian Baking Book by Beatrice Ojakangas and on the weekend we met and I prepared the village (with some help from Frank) and Sten was trying on the church. As it took a lot of time, we delayed the gluing and building on another day.

gingerbread village

 So on monday Frank and I were standing in the kitchen and put the houses together and we also tried this with the church. But somehow S. forgot two pieces of the roof for the tower and all the pieces for the roofs (two and rest of the church) were much too short. We think he didn’t added the thickness of the walls to the roof. So the church looked …ahm… how should I say that… awful? *laugh* Sorry, Sten! The church without the tower looked like a „Mehrzweckhalle“ (multi-purpose hall) as we say in german. So no church for the village in the end. But I let me carry away to build a small well out of royal icing. Speaking of the royal icing … I love it! It’s so easy to make and to handle. It dries fast and looks so nice. I thought also about to colour the icing in some nice pastel colours, but in the end I preferred the classical version – just white like snow.

gingerbread village

 I chose the recipe from The Great Scandinavian Baking Book, because the other recipe (which is also posted below, if you want to try) uses molasses and I do not know exactly what to use for here in Germany. My dough didn’t turn out very dark, but I have seen, that’s normal for that recipe. Secondary the dough wasn’t really smooth. It was really hard to roll out the dough and after baking it also rose. So be sure you don’t make the dough too thick. Lot of people had the problem, that the dough shrinked in the oven. I didn’t seem to me, that it happened with my dough, but be prepared! As you are applying everywhere the royal icing, you won’t see that much of the dough in the end. So don’t worry!

 It was optional to use sugar syrup to glue the house, but for me it didn’t work fine. It hardened to fast and did not look very nice. So I glued everything with the royal icing, which worked very well. Don’t forget, that you have to chill the dough for at least two hours. I let mine cool for 2 days… You can also prepare it, freeze it and thaw it when you want. What is also important to make, are templates. Below you can see mine. Otherwise it’s possible that your pieces won’t fit together. 

gingerbread village

 I don’t provide the recipes, because I wouldn’t recommend it, as it wasn’t good in taste and texture.