Selbstgemachter RicottaHomemade Ricotta

Selbstgemachter Ricotta

Heute gibt’s mal was ganz anderes hier. Ich habe mir nämlich vorgenommen hier nicht immer nur Süßkram zu bringen. Ist zwar auch schön, aber so ganz realistisch spiegelt das unsere Essensgewohnheiten nicht wieder. Auch wenn es stimmt, dass bei uns immer ein Kuchen oder Kekse in der Küche stehen, und ab und zu auch ein Dessert im Kühlschrank.

Kürzlich wollte ich Ravioli machen und für die Füllung brauchte man Ricotta. Ist heute nicht mehr so schwer zu bekommen, aber für eine Packung Ricotta extra zum Supermarkt zu gehen (der nicht gleich ums Eck ist) sehe ich nicht ein. Und für manche von Euch ist der Weg wahrscheinlich noch weiter, wenn ihr auf dem Land wohnt.

Selbstgemachter Ricotta

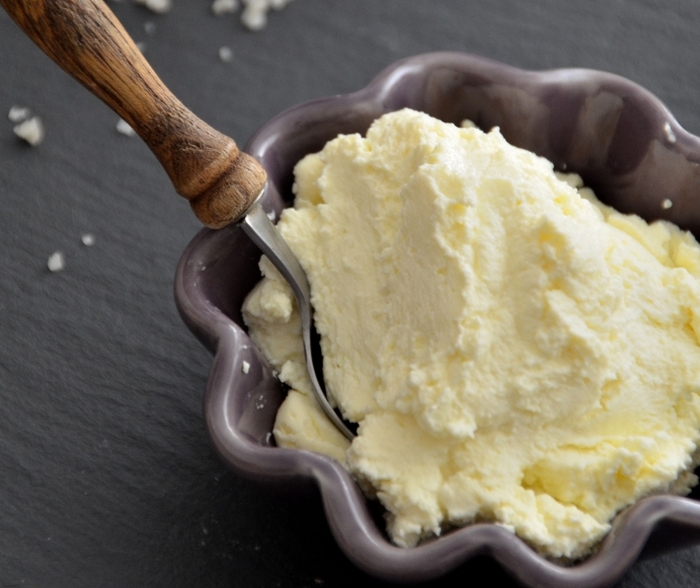
Ich dachte jedenfalls sofort daran den Ricotta selber zu machen, schließlich hatte ich das schon einmal gemacht und es war echt einfach. Wichtig dabei ist eigentlich nur ein Thermometer und natürlich etwas Zeit, bevor ihr den Ricotta verwendet, etwa 2 Stunden. Der Ricotta ist vergleichbar mit gekauftem, von Geschmack und Konsistenz her. Günstiger ist es übrigens auch.

Die Zutaten habe ich immer im Haus, einer spontanen Ricottaproduktion steht also nichts im Wege. Und Milch, Sahne und etwas Zitronensaft habt ihr wahrscheinlich auch meistens daheim, oder?

Selbstgemachter Ricotta

Vor einem Jahr: Rhabarber Muffins

Homemade Ricotta

Today I have something totally different for you. Namely I decided not just to bring always the sweet stuff here. It’s nice indeed, but doesn’t reflect fairly our eating habits. Although it’s true, that there is always a cake or some cookies in the kitchen, and from time to time some dessert in the fridge.

In any case I wanted to make some ravioli recently. For the filling I needed ricotta. Ricotta isn’t that hard to get in our days, anymore, but I’m refusing to go to the supermarket (which isn’t just around the corner) especially for that. And for some of you, the way is probably much further, as you are living in rural areas.

Homemade Ricotta

Immediately I thought of making my own ricotta. It was my second time I made it and it’s really easy. All you need is a thermometer and some time, of course. About 2 hours before you want to use the ricotta, The homemade ricotta is comparable with the store-bought, talking about texture and taste. Cheaper by the way, too.

I always have the ingredients at home, so there’s nothing in the way for a spontaneous ricotta production. Probably you also have whole milk, heavy cream and lemon juice at home most of the time, don’t you?

Homemade Ricotta

One year ago: Rhubarb Muffins

Frischkäsebällchen mit Kräutern und WalnüssenCream Cheese Balls with Herbs and Walnuts

Frischkäsebällchen mit Kräutern und Walnüssen
 
Einer der ersten Gedanken, nachdem wir wieder aus dem Urlaub zurück waren, war: „was bekommen die Nachbarn für 6-wöchiges Wohnung aufpassen und Blumen gießen“. Etwas Selbstgemachtes natürlich. Seit dem ich das tolle Buch von Nicole Stich Geschenkideen aus der Küche besitze ist die Frage glücklicherweise viel einfacher zu beantworten. Also kurz im Buch geschmökert und schon war die Sache klar: Kekse (allerdings die hochgepriesenen von der NY Times), Schoko-Müsli, selbstgebackenes Ciabatta und diese Frischkäsebällchen.
 
Frischkäsebällchen mit Kräutern und Walnüssen
 
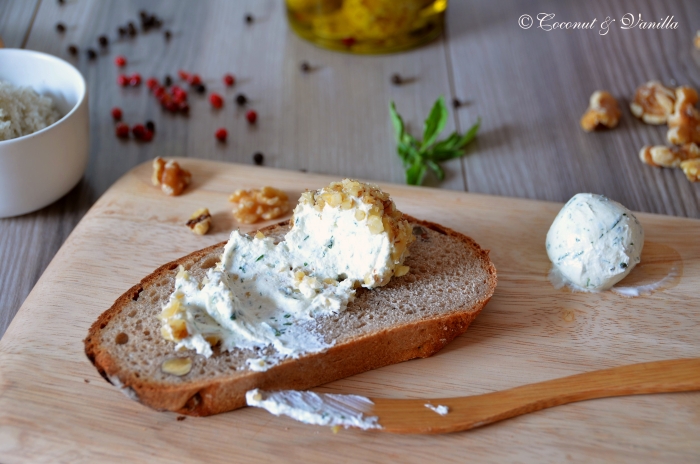
Die Käsebällchen sind sehr lecker, besonders da ich sie noch mit verschiedenen (TK) Kräutern gemischt und sie in gehackten Walnüssen gewälzt habe. So sind es keine 0815 Käsebällchen mehr. Die Bällchen werden aus abgetropften 10%-igem griechischem oder türkischen Jogurt hergestellt. Alles sehr easy, man muss nur ein bisschen Zeit haben. Man kann den abgetropften Jogurt mit allem mischen was das Herz begehrt: Kräuter, Gewürze und sie dann in Samen oder gehackten Nüssen der Wahl und sogar gehackten Trockenfrüchten wälzen. So bekommt jeder seinen individuellen Käse, der ein schönes Geschenk abgibt oder auch beim nächsten Brunch mit Freunden Eindruck schindet.
 
Frischkäsebällchen mit Kräutern und Walnüssen
 
Frischkäsebällchen mit Kräutern und Walnüssen


Cream Cheese Balls with Herbs and Walnuts
 
One of the first thoughts I had, when we where back home after our vacation was: “ what is a good gift for our neighbours for sitting our apartment and caring for our plants for 6 weeks“. Something home made of course. Since I’m in possession of Nicole Stich’s fabulous book Geschenkideen aus der Küche (yet, only in German) this question is much more easy to answer. So after a brief look into the book it was clear: cookies (but the highly recommended ones from the NY Times), chocolate granola, home made ciabatta and these cream cheese balls.
 
Cream Cheese Balls with Herbs and Walnuts
 
These cream cheese balls are very delicate, especially after mixing in some (frozen) herbs and rolling them in chopped walnuts. Like this, they are a real delight. The cream cheese balls are made of Greek or Turkish yogurt containing 10 % fat, which is drained. The whole process takes some time, but is very easy. The drained yogurt can be mixed with everything you desire, such as herbs and spices and they can be rolled in seeds, chopped nuts or even chopped dried fruit. This way you get individual cream cheese balls, that are perfect as a gift or will impress your friends at your next brunch.
 
Cream Cheese Balls with Herbs and Walnuts
 
 
Cream Cheese Balls with Herbs and Walnuts

Selbstgemachte SchokoladentafelnHomemade Chocolate Bars

Dies ist mein Beitrag zum wundervollen kulinarischen Adventskalender, den Zorra zum wiederholten Mal ausrichtet. Ich bin dieses Jahr das erste Mal dabei und freu mich sehr darüber. Ich bin stolz ein Teil des Ganzen zu sein, vor allem wenn ich mir die bisherigen Beiträge so anschaue.

Kulinarischer Adventskalender 2011 - Türchen 13

 
Selbstgemachte Schokoladentafeln
 
Schon vor 2 Jahren habe ich mir ein kleines Büchlein samt Form fürs Schokoladentafelngießen gekauft. Erst als Geschenk gedacht, dann mir selber geschenkt. Wüsste auch nicht wer sowas sonst eigentlich schätzen weiß. Nur, nachdem ich gelesen habe, dass man die Schokolade temperieren muss mit Thermometer und so, da landete das Ganze erst mal bei dem anderen Küchenkram. Aber das temperieren ist wichtig, denn das ergibt den schönen matten Glanz und erhält den richtigen Schmelz.
 
Selbstgemachte Schokoladentafeln

Nun, dieses Jahr hab ich mich rangetraut und es war kein Nachteil! Ganz im Gegenteil. Es ist eine helle Freude wenn man die ersten eigenen Tafeln aus der Form kippt. Und soo schön sind sie, man will sie dann doch nicht mehr verschenken. Denn ein super Geschenk zu Weihnachten sind sie. Man kann jedermanns Wünsche erfüllen und Abneigungen aussparen. Und wenn ihr glutenfreie Kuvertüre (auf Dr. Oetker Kuvertüre sind jedenfalls keine weizenhaltigen Zutaten aufgelistet und enthält auch keine Spuren davon) verwendet, könnt ihr auch glutenfreie Schokolade machen. Das wird Augen zum Leuchten bringen.

Selbstgemachte Schokoladentafeln
 
Ausgefallene Vorstellungen? Immer rein damit in die Schokolade. 0815 kann man ja auch kaufen, Cashew mit Currypulver oder Pinienkerne mit Rosmarin nicht. Das waren meine ersten Tafeln, die ihr auch auf den Bildern seht.  Nur bitte keine Schokolade mit Chili. Das ist echt alt und das Zeug sollte wieder vom Markt verschwinden. Ich meine, das war schon vor 10 Jahren ein Trend. Ehrlich, er ist vorbei!
So, nun zurück zur Herstellung. Ihr braucht außer ein wenig Zeit vor allem eins: ein Thermometer. Ein digitales, das eine kurze Reaktionszeit hat ist zu empfehlen (gibt’s für ein paar Euronen). Bitte kein Fieberthermometer. Na gut die Tafelform ist auch ein Muss. Äußerst hilfreich ist auch ein Teigspatel.  Kürzlich hab ich gelesen, dass das in österreichisch „Gummihund“ heißt. Das finde ich eigentlich viel schöner als Teigspatel. Wenn ich mir das Wort merken könnte würde ich mich umtrainieren.
Selbstgemachte Schokoladentafeln
 
Vor einem Jahr: Eierlikör und Lebkuchen
Selbstgemachte Schokoladentafeln

This is my entry to the wonderful kulinarischen Adventskalender (culinary advent calendar), which Zorra organizes again. It’s the first participation for me and I’m very happy about it. I’m proud to be part of this calendar, especially when I look at the entries made so far.

Kulinarischer Adventskalender 2011 - Türchen 13

 
Already two years ago I bought a little book including a chocolate bar mould. First it was meant to be a gift, but then I gifted it to myself. I don’t even know who would appreciate it. But after I read that you have to temper the chocolate with a thermometer, it ended up with the other kitchen stuff. But the tempering is important, as it yields the beautiful matt surface und obtains the right melting.

Homemade Chocolate Bars

 So this year I gave it a try and it wasn’t to my disadvantage! Au contraire. It’s such a delight, when turning out the first bars from the mould. And they are so pretty, you don’t want to give them away as a gift no more. A perfect gift, that’s what they are. You can fulfil everyone’s wishes and spare the dislikes. And if you are using gluten free chocolate, you can also make gluten free chocolate bars!

Homemade Chocolate Bars

You have fancy ideas? No problem, just put them in the chocolate. Everyone can do ordinary. But not cashew with curry powder or pine nuts with rosemary! That were my first bars, which you also see on the photos. But do not use chili in your bars! Really that’s an old obsolete trend, which was trendy ten years ago. Honestly, it’s over.

Homemade Chocolate Bars

Back to the production. Besides some time you need one thing: a thermometer. A digital one, that has a short response time is recommended (costs just a few bucks). Don’t use a clinical thermometer! Well the bars mould is a must, too. And a silicon spatula is very helpful, too. I red recently that in Austria silicon spatula is called „Gummihund“, which can be translated as „rubber dog“. It’s my new favourite word for that tool.

Homemade Chocolate Bars

One year ago: Eggnog and Gingerbread

Homemade Chocolate Bars

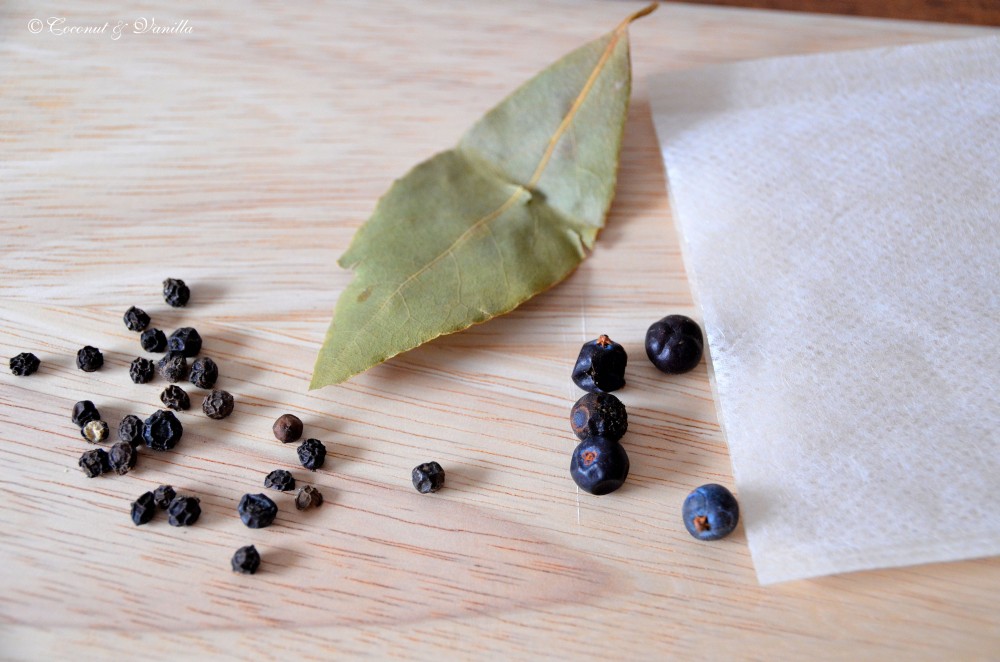
Wildfond Game Stock

Jetzt in den Wochen vor Weihnachten gibt es an einem Stand auf dem Markt auch Wild. Manchmal dies, manchmal das. Vor Kurzem entdeckte ich dort Wildhasen, den wir gleich mitnahmen. Die Gelegenheit kommt nicht oft. Dahinter standen zwei Tüten mit Rehabschnitten und -knochen, die ich schon interessiert beäugte. Nachdem wir noch eine Runde durch die Läden machten, musste ich sie noch haben. Und ein Glück, denn bisher hab ich dort keine mehr gesehen.

Am gleichen Wochenende hieß es also Wildfond kochen und einmachen. Da es auch für mich das erste Mal war, wollte ich mich kurz im Internet informieren um etwaige Zutaten (außergewöhnliches) und Kochzeit. Kurz war gut. Das Internet gab nicht viel her. Von 2-6 Stunden alles dabei. Kam mir aber auch etwas wenig vor. Facebook befragt. Arthurs Tochter half mit der konkreten Angabe 12 Stunden weiter. Also dann 12 Stunden. Und es hat dem Fond nicht geschadet.

Wildfond braucht man vielleicht nichts so häufig, aber wenn ja was macht man dann? Gut man kann einen überteuerten Fond kaufen. Da kostet das Glas mehr, als die Abschnitte zum Kochen. Und dann sind auch noch Zutaten drin, die mit Fond nichts zu tun haben.

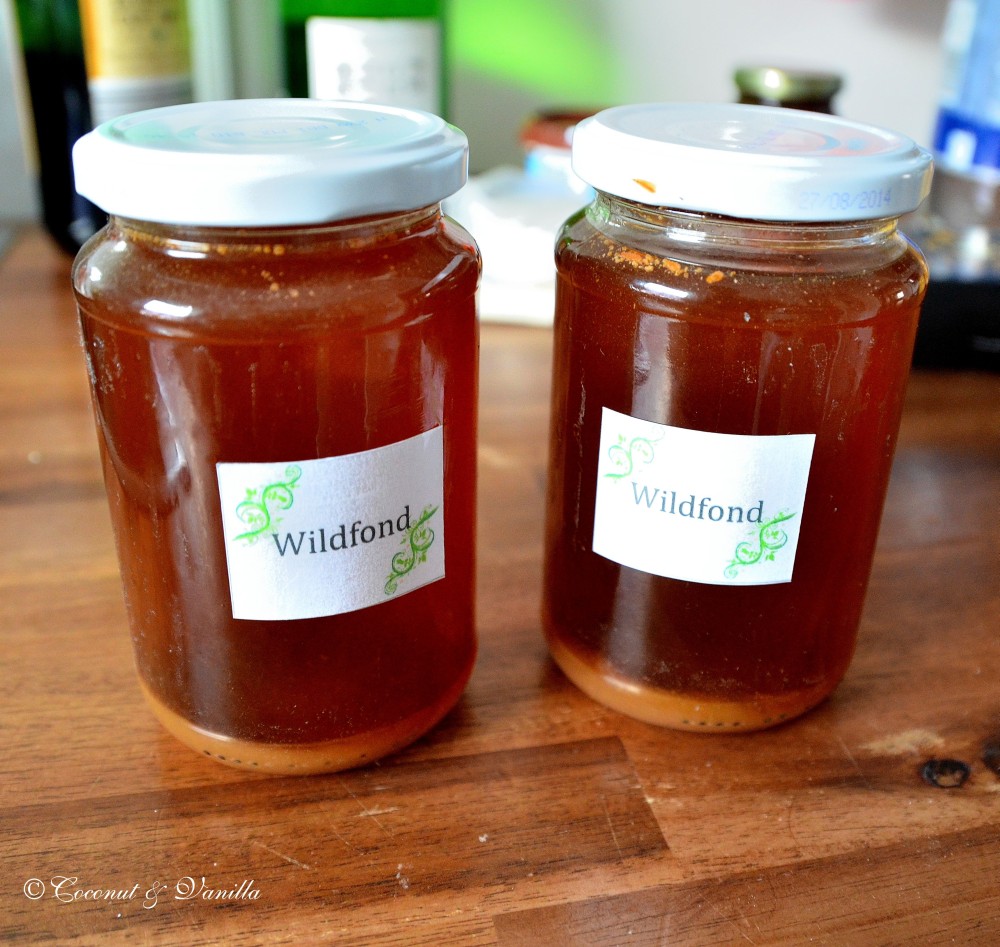
Ich habe mit einmal Kochen 13 Gläser Fond eingekocht. Das hält ne Weile. Aber wenn man es danach auch noch schön im Backofen einmacht, hält sich das auch noch ewig (naja fast).

Und für alle die sich fragen, wie nun Wildfond kochen und einmachen im Backofen funktioniert, liefere ich heute eine pipifax einfache Anleitung dafür. Und schon steht dem leckeren Sößchen, egal zu welchem Wildfleisch, nichts mehr entgegen.

 
Wildfond
 
Vor einem Jahr: Schottisches Shortbread
 
Wildfond


Wildfond


Wildfond
 
 
Wildfond
 

Wildfond

 
Wildfond


Now, in the weeks before christmas a market stall on our market has game, too. Sometimes this, sometimes that. Recently we spotted some wild rabbit there, which we immediately bought. Not an everyday opportunity. Behind it, two bags with venison parures and bones, which I already eyed interested. After we made the curcuit in the shops, I had to have them. And that was wise, since I didn’t see some again there.

So on the same weekend cooking and preserving stock was the matter. Since it was the first time for me, too, I searched the internet for some informations about ingredients (something special?) and the cooking time. But the internet was rare. 2-6 hours, everything was given. So asking Facebook. Arthurs Tochter helped me with the precise information: 12 hours. So 12 hours then. And it didn’t do any harm to the game stock!

There’s not so much need for game stock, but when, what to do then? Well, you can buy one, which costs as much as the two bags bones I bought. And then there are ingredients listed, that have nothing to do with stock.

I made 13 glasses of stock with this batch. That’s a nice supply. But if you’re preserving them in the oven, these will maintain forever (well almost).

And if you’re now wondering how to make game stock and how to preserve it in you oven, I will show you an easy peasy instruction how to. So nothing stands in the way for your delicious sauce, accompanying your next game dish.

Game Stock

One year ago: Scottish Shortbread

 
Game Stock
 
 
Game Stock
 
 
Game Stock
 
 
Game Stock


Game Stock
 
Game Stock

Erdbeerlikör, Basilikum-Olivenöl & HolunderblütenessigStrawberry Liquor, Basil Olive Oil & Elderflower Vinegar

Update: Für die deutschen Rezepte  nach unten scrollen.

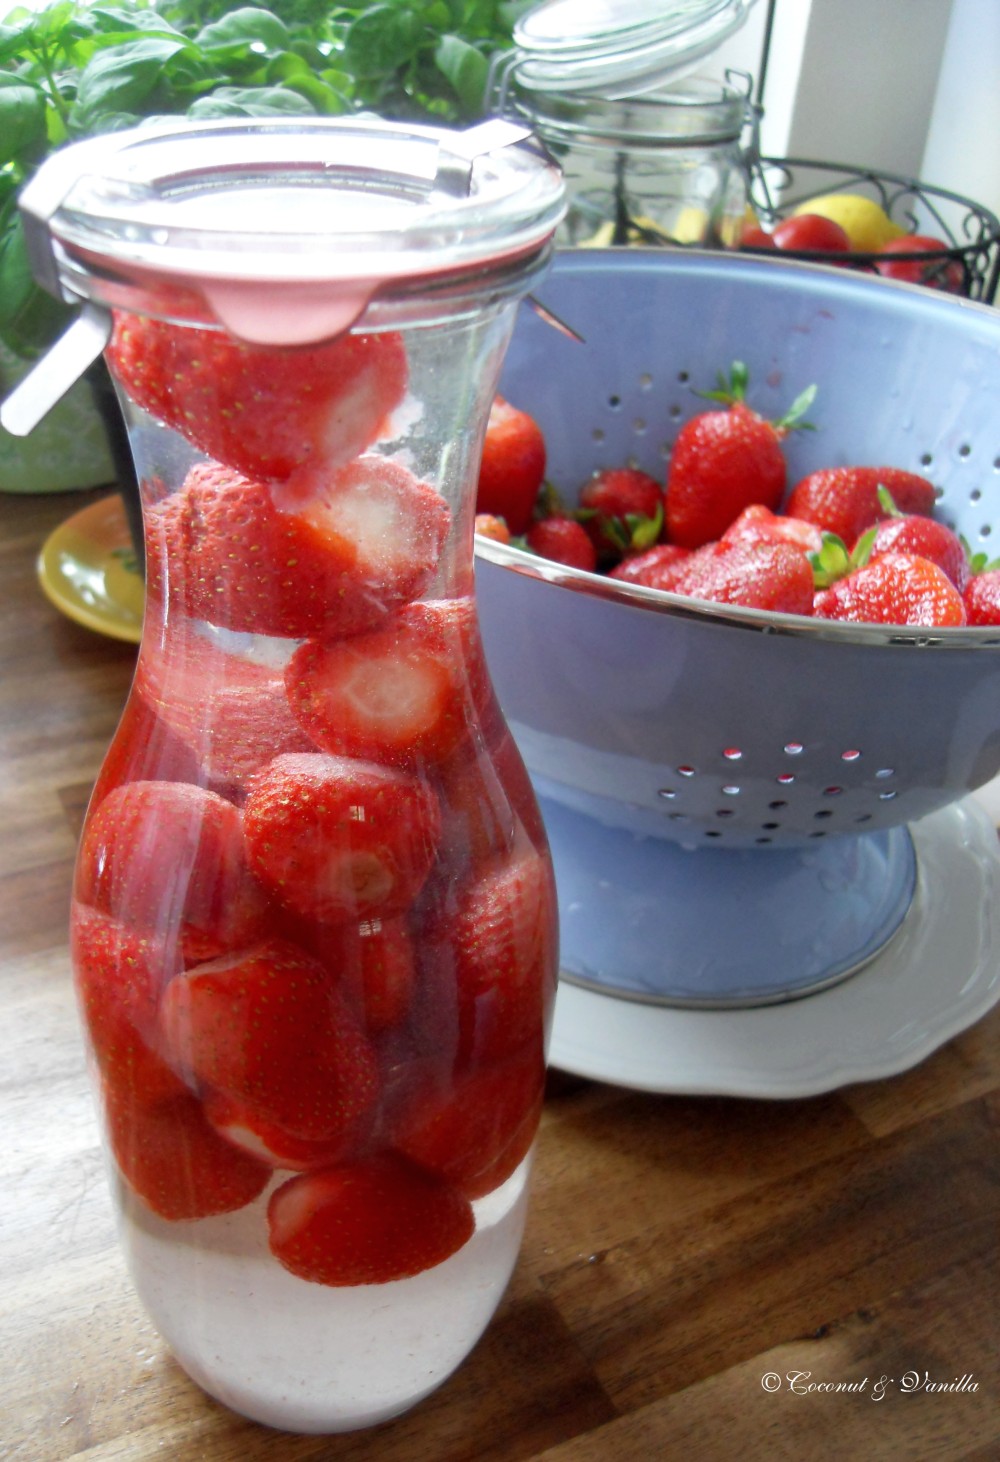
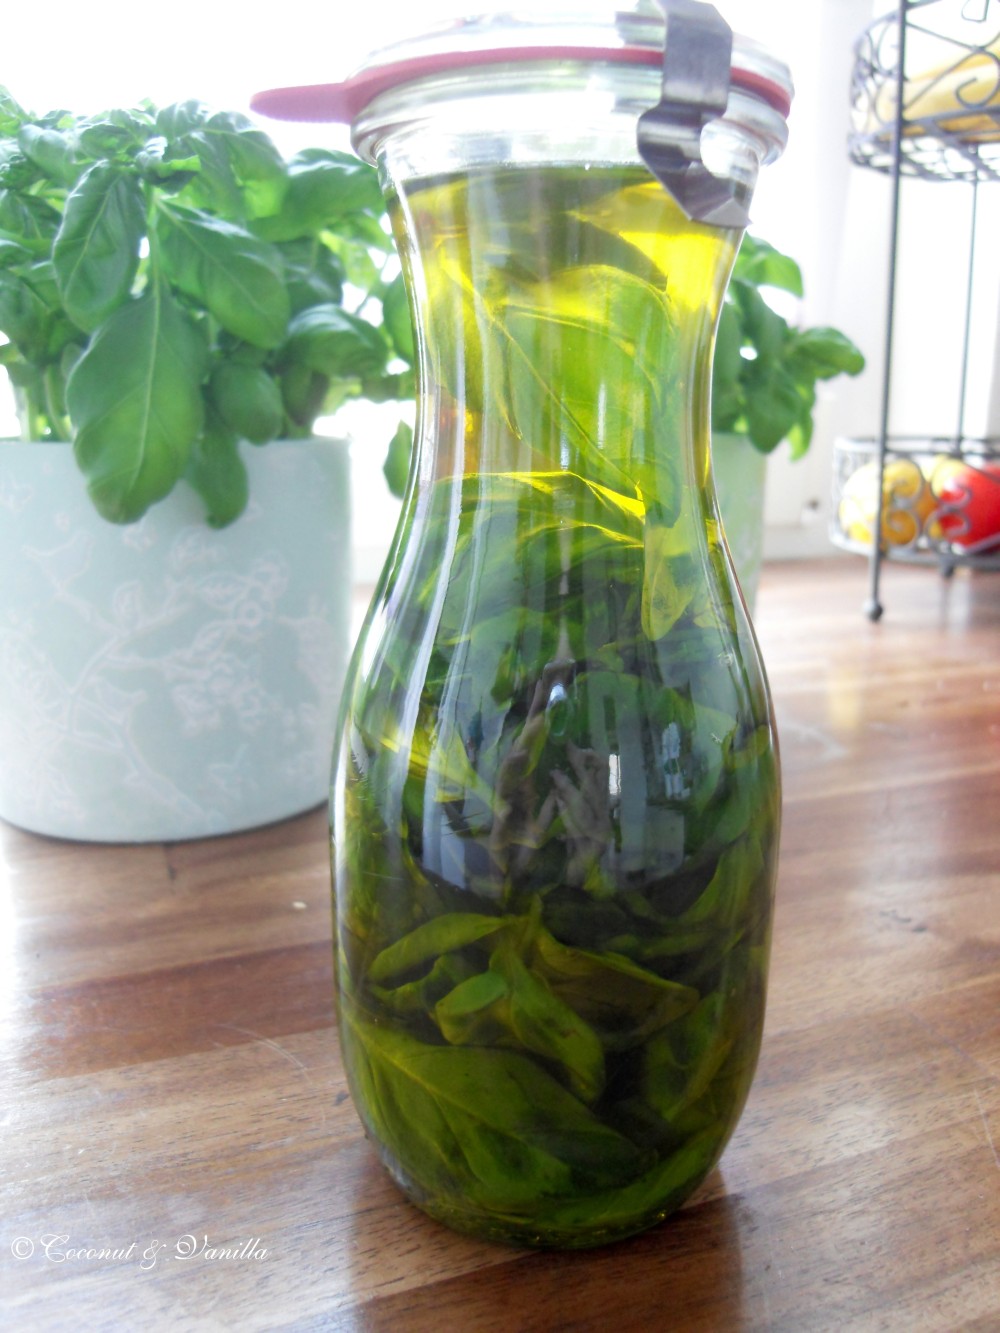
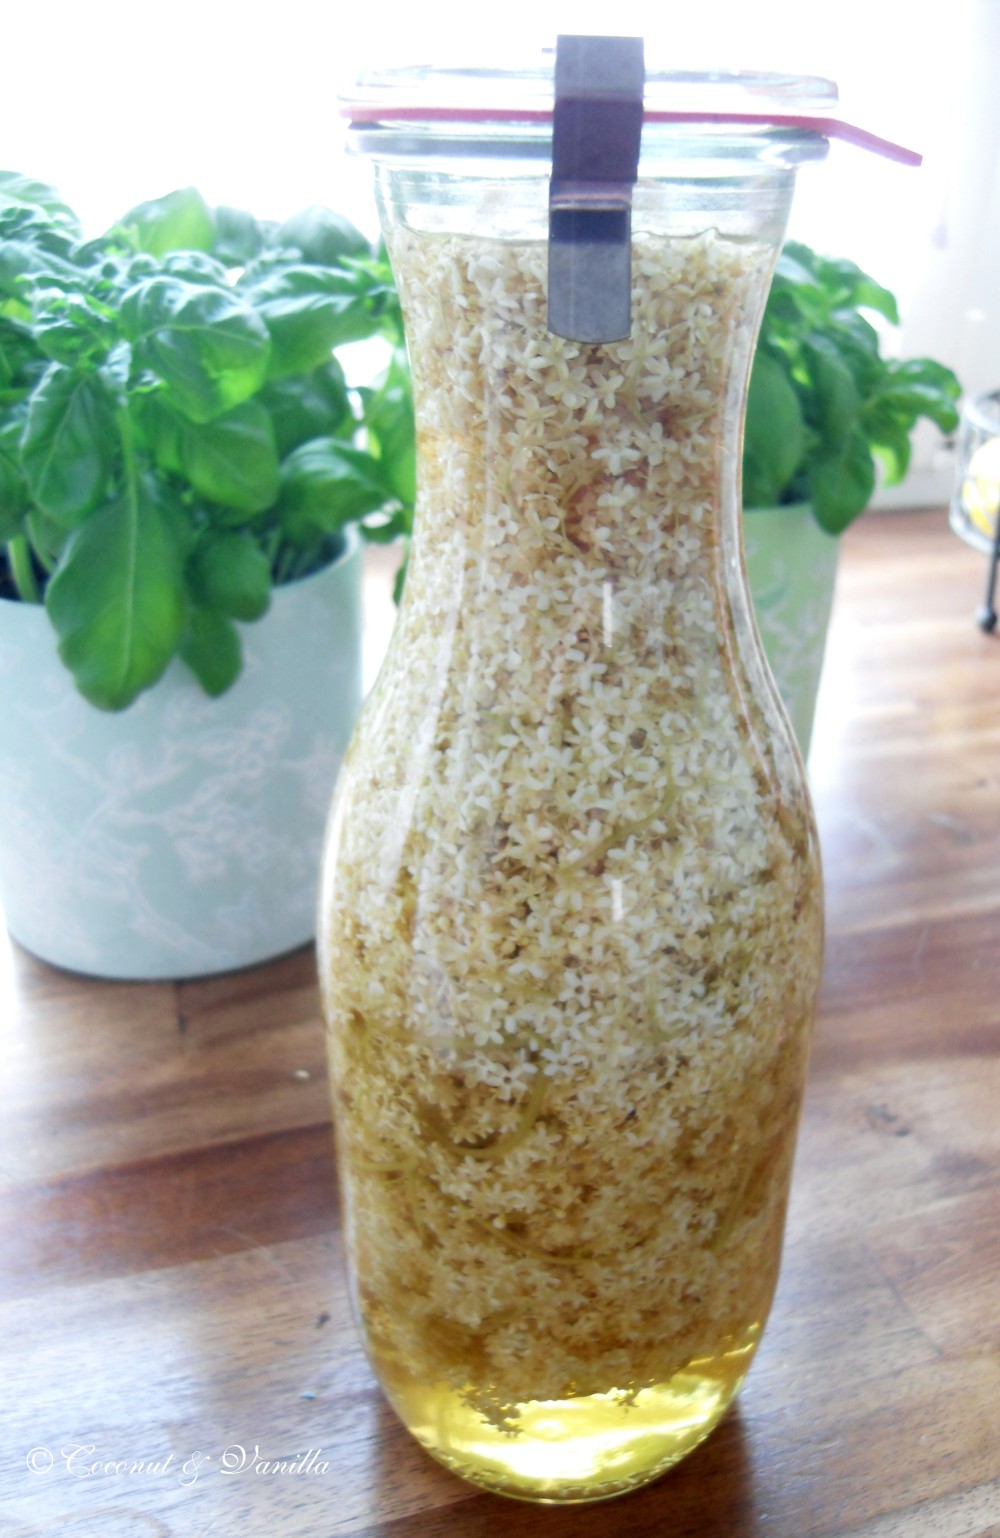
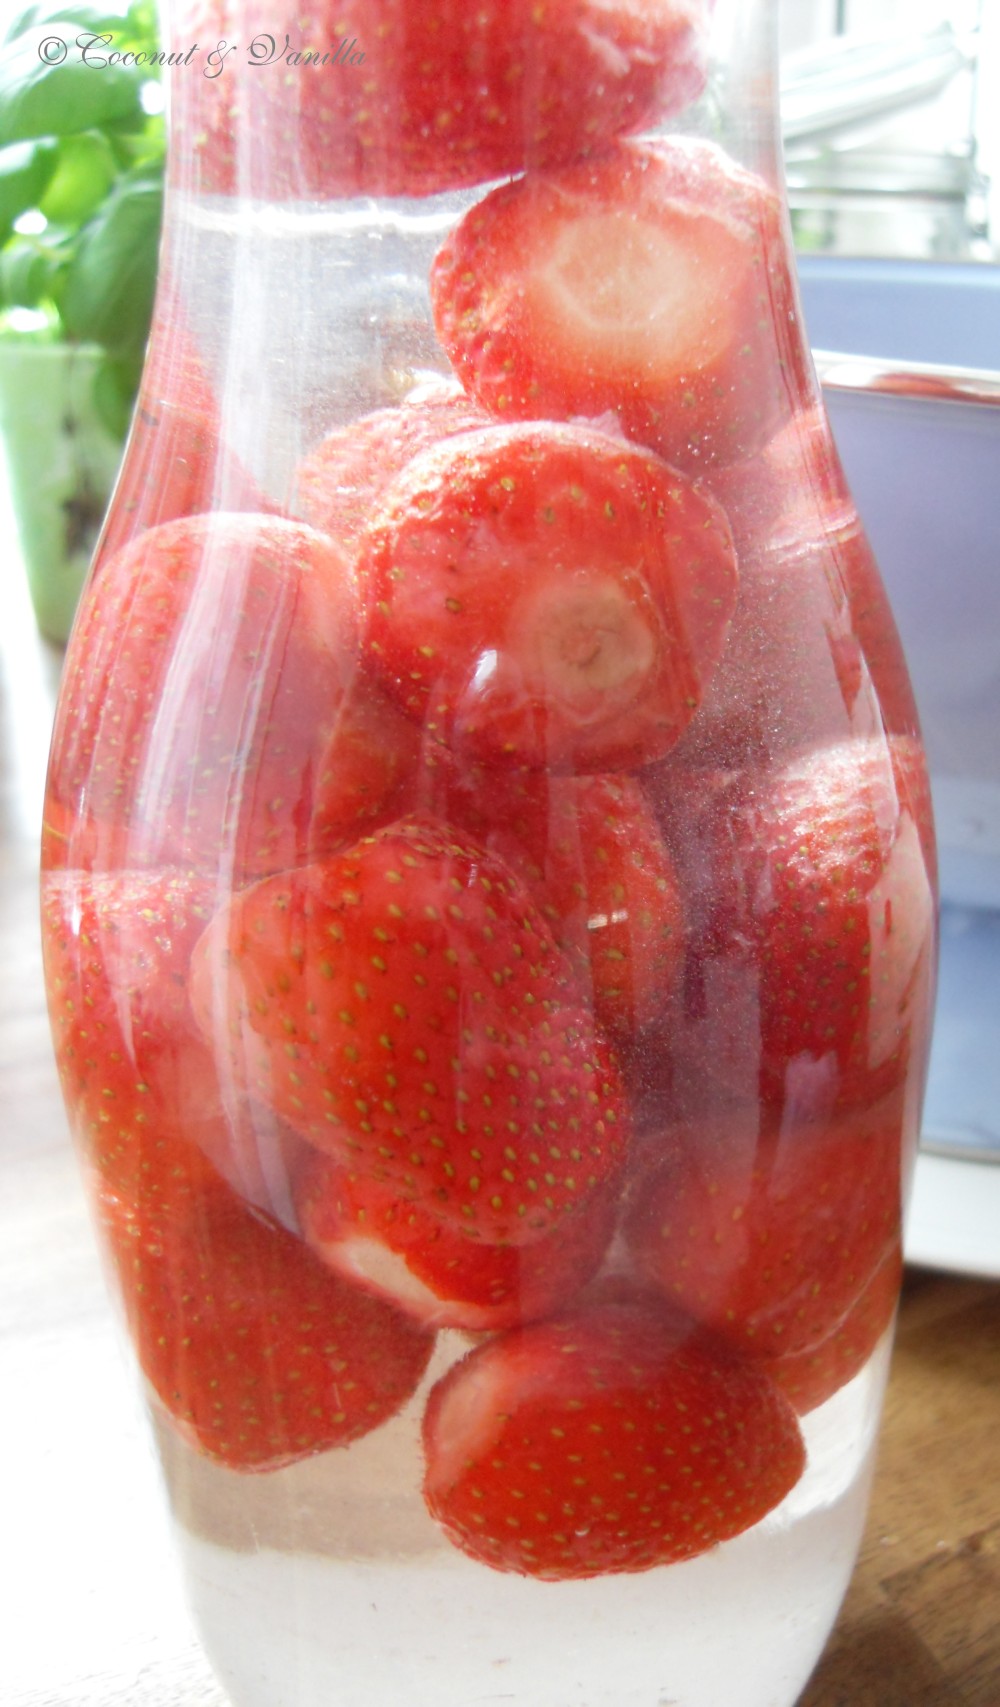
These beauties are my latest experiments.

Strawberry Liquor, Basil Olive Oil & Elderflower Vinegar

 This is the first time I’ve mixed them up. But I’m sure,  they will turn out great. Because how shouldn’t liquor, oil and vinegar with these ingredients turn out great?!

I’ve made liquor before. With elderflower or peaches. I made the elderflower one this year again. It’s perfect. So if you can still lay you hands on elderflowers, pick them immediately and make something special! We wanted to make even more, but the season here is already over.


Strawberry Liquor, Basil Olive Oil & Elderflower Vinegar

But so has the season of strawberries and basil begun.

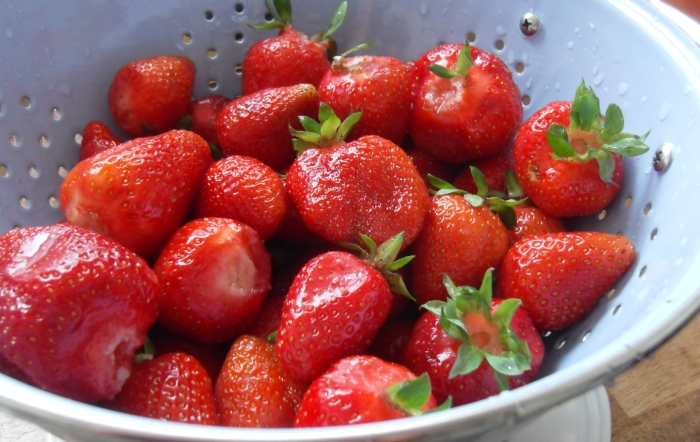
Yesterday we went picking strawberries on a huge field. The fruits were delicious and we bought over 2 kilos for 6,50 Euros.

After coming home, I dived into the kitchen, ready to make jam and liquor. What a feast!

And so I’m looking forward to the raspberry season in 3-4 weeks. I can’t wait for them and even more jam!

Strawberry Liquor, Basil Olive Oil & Elderflower Vinegar

Vor einem Jahr: Zitronen-Rosmarin-Kekse

Strawberry Liquor, Basil Olive Oil & Elderflower Vinegar

These beauties are my latest experiments.  

Strawberry Liquor, Basil Olive Oil & Elderflower Vinegar

This is the first time I’ve mixed them up. But I’m sure,  they will turn out great. Because how shouldn’t liquor, oil and vinegar with these ingredients turn out great?! I’ve made liquor before. With elderflower or peaches. I made the elderflower one this year again. It’s perfect. So if you can still lay you hands on elderflowers, pick them immediately and make something special! We wanted to make even more, but the season here is already over.  

Strawberry Liquor, Basil Olive Oil & Elderflower Vinegar

But so has the season of strawberries and basil begun. Yesterday we went picking strawberries on a huge field. The fruits were delicious and we bought over 2 kilos for 6,50 Euros. After coming home, I dived into the kitchen, ready to make jam and liquor. What a feast! And so I’m looking forward to the raspberry season in 3-4 weeks. I can’t wait for them and even more jam!  

Strawberry Liquor, Basil Olive Oil & Elderflower Vinegar

One year ago: Lemon-Rosemary-Cookies

Strawberry Liquor, Basil Olive Oil & Elderflower Vinegar

ToastbrotToast

Update: Für das deutsche Rezept nach unten scrollen!

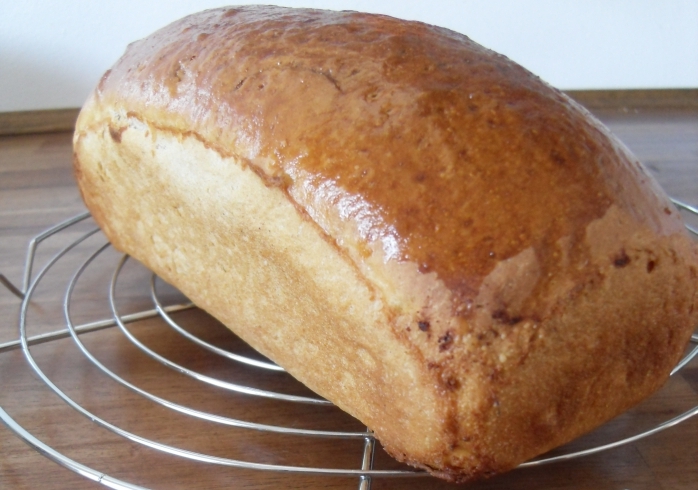
Today we talk about toast or sandwich bread.

You know that kind of toast bread lying in the supermarkets. Full of air, missing flour. Mostly just wheat. Squishy texture. To talk about bread here, is ridiculous.

But it’s easy to have on hand, either stored in the fridge for weeks or in the freezer.  It’s good for a quick breakfast, if there’s no more bread or granola in the house. Sad, but happens. I also use mine for meatballs or meatloaf. And of course for sandwiches. But just toasted. I’d never understood, why people don’t toast their toast. Creepy.

Toast

I don’t like sloppy bread. Bread just isn’t used to be sloppy or squishy or something similar. Coming from „the country of bread“, I just know.
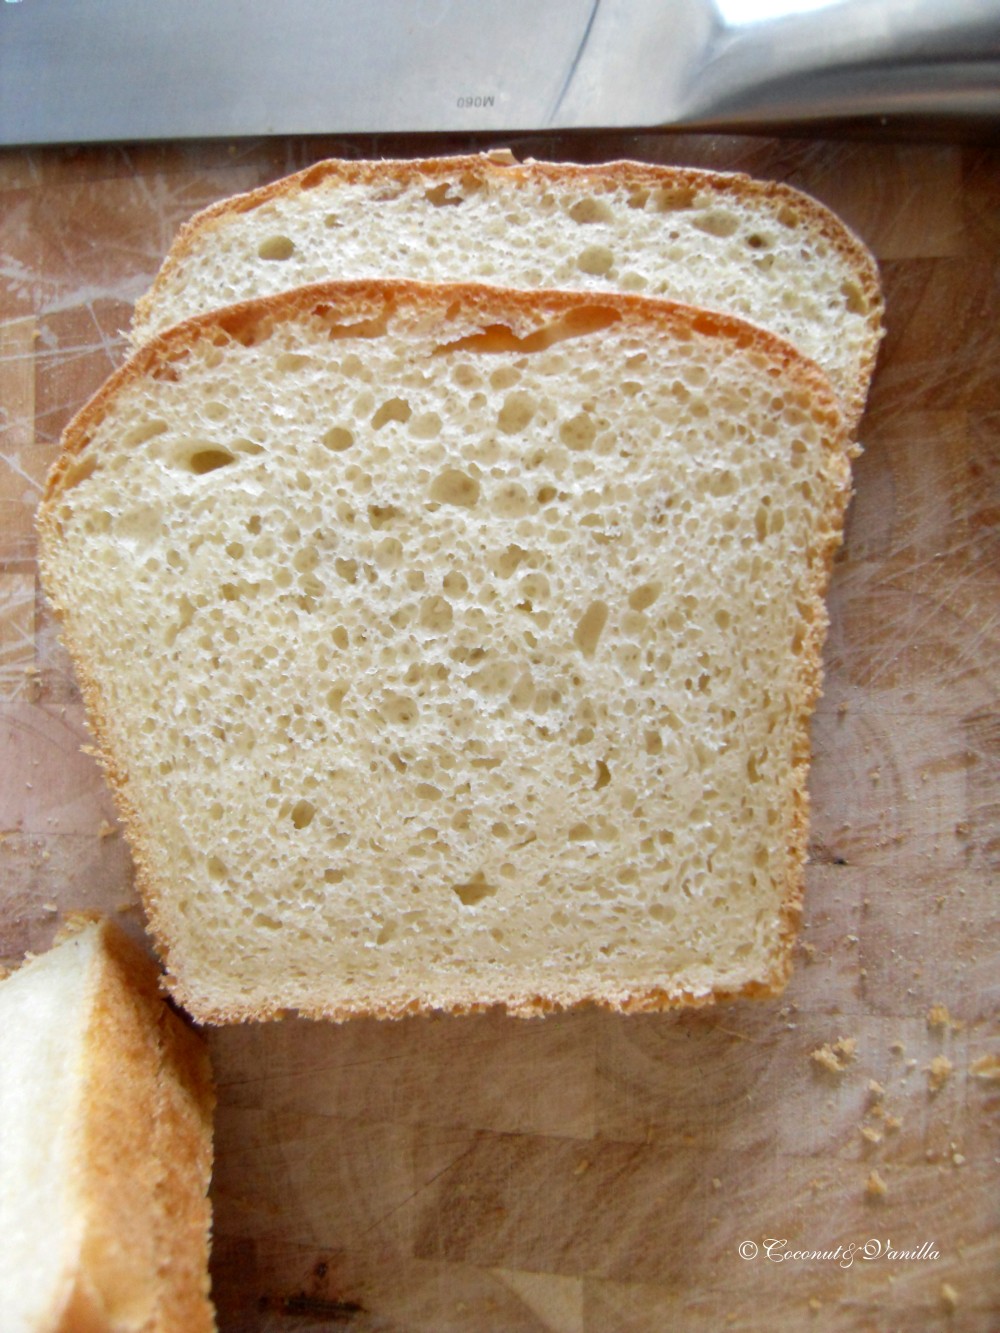
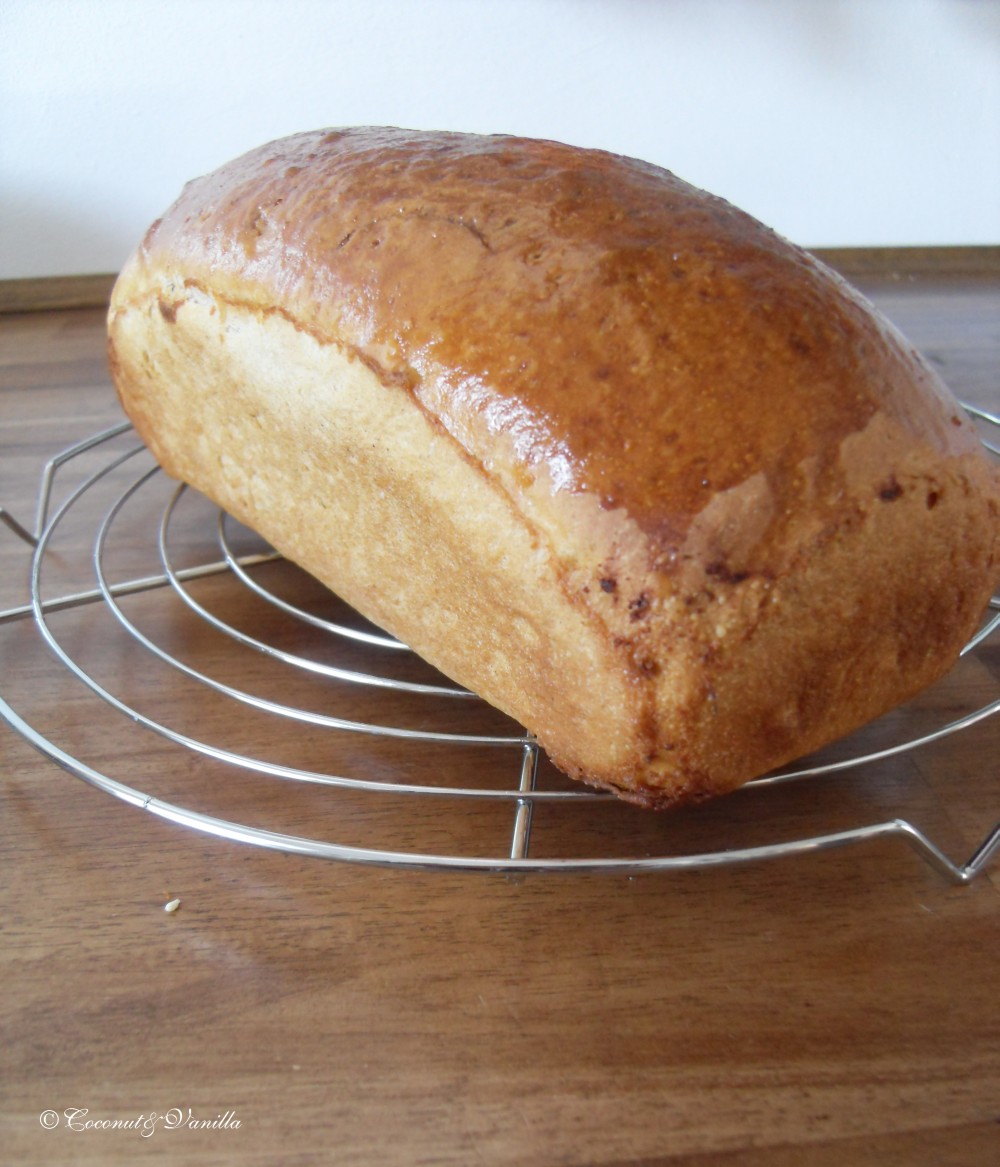
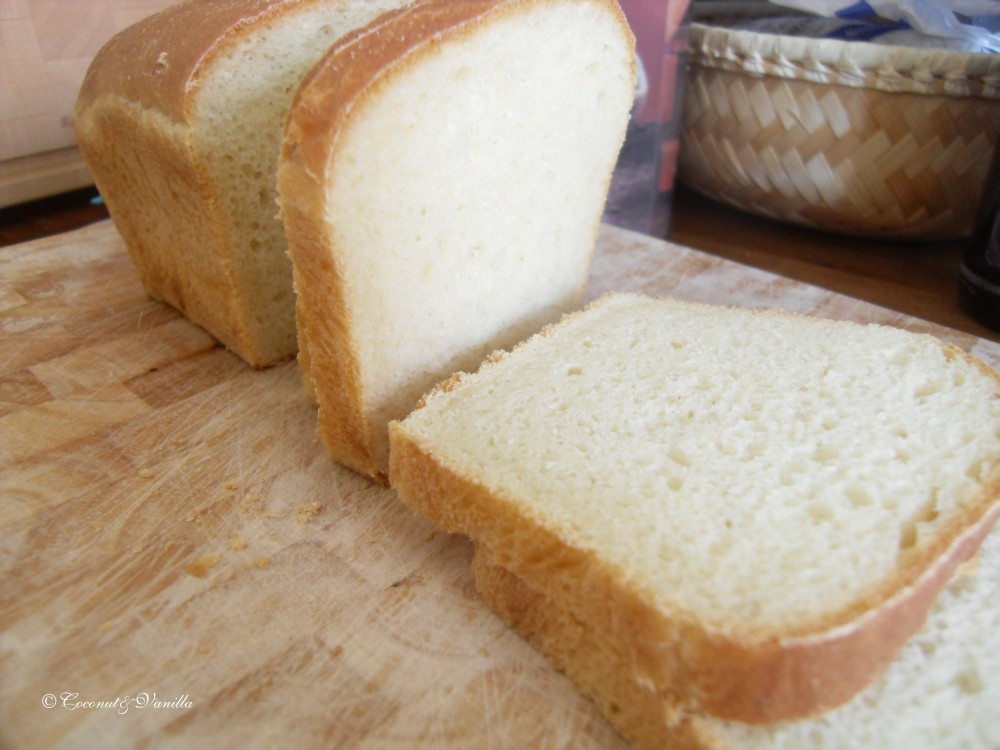
I always considered toast from the supermarket as „ok“. Not good – not bad. Bu then I baked my own a few weeks ago. And it was a revelation. It’s so much better, you can even eat it untoasted and it’s good that way. It tastes like bread. It’s firm, but not too firm. You can vary with the flours. I made it with wheat and another with rye and wheat (50/50). I loved the rye-wheat one.
You can also freeze it. And if you want to take out single slices from the freezer, cut it first, freeze it then.

Toast

It did get even better, as I made french toast, which I was never a fan of. But I got a recipe in the hands, which called itself a revelation, too (recipe follows). The problem often which french toast is, that the bread (because often used toast from the supermarkets) gets soggy immediately through and through. And you don’t get a thoroughly soaked toast crispy again. But a soft french toast just isn’t right. And delicious. So this toast bread is the solution. It’s perfect for this purpose. Too.

What’s really convincing here is, that there’s not a lot work involved. Mixing together, short waiting, mixing, waiting longer, form the bread, wait again and bake. So it’s perfect for preparing, when you are already making something else at home. So you can take a look at it from time to time, while not investing a lot of time.

So my advise is to bake your own, if you don’t have access to good one.

Toast

Today we talk about toast or sandwich bread.

You know that kind of toast bread lying in the supermarkets. Full of air, missing flour. Mostly just wheat. Squishy texture. To talk about bread here, is ridiculous.

But it’s easy to have on hand, either stored in the fridge for weeks or in the freezer.  It’s good for a quick breakfast, if there’s no more bread or granola in the house. Sad, but happens. I also use mine for meatballs or meatloaf. And of course for sandwiches. But just toasted. I’d never understood, why people don’t toast their toast. Creepy.

Toast

 I don’t like sloppy bread. Bread just isn’t used to be sloppy or squishy or something similar. Coming from „the country of bread“, I just know.

I always considered toast from the supermarket as „ok“. Not good – not bad. Bu then I baked my own a few weeks ago. And it was a revelation. It’s so much better, you can even eat it untoasted and it’s good that way. It tastes like bread. It’s firm, but not too firm. You can vary with the flours. I made it with wheat and another with rye and wheat (50/50). I loved the rye-wheat one.

You can also freeze it. And if you want to take out single slices from the freezer, cut it first, freeze it then.

Toast

 It did get even better, as I made french toast, which I was never a fan of. But I got a recipe in the hands, which called itself a revelation, too (recipe follows). The problem often which french toast is, that the bread (because often used toast from the supermarkets) gets soggy immediately through and through. And you don’t get a thoroughly soaked toast crispy again. But a soft french toast just isn’t right. And delicious. So this toast bread is the solution. It’s perfect for this purpose. Too.

What’s really convincing here is, that there’s not a lot work involved. Mixing together, short waiting, mixing, waiting longer, form the bread, wait again and bake. So it’s perfect for preparing, when you are already making something else at home. So you can take a look at it from time to time, while not investing a lot of time.

So my advise is to bake your own, if you don’t have access to good one.

Toast

Eierlikör & LebkuchenEggnog & Gingerbread

Update: Für das deutsche Rezept nach unten scrollen!

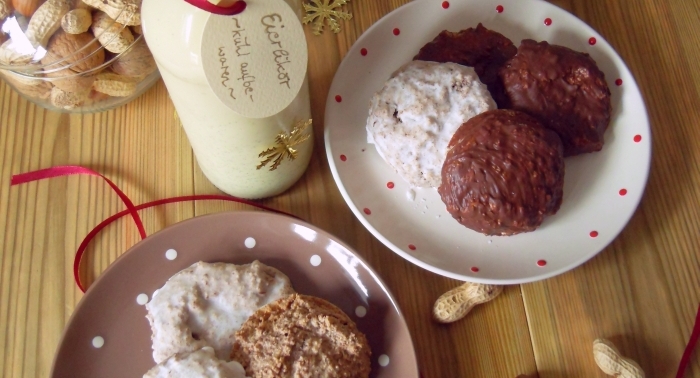
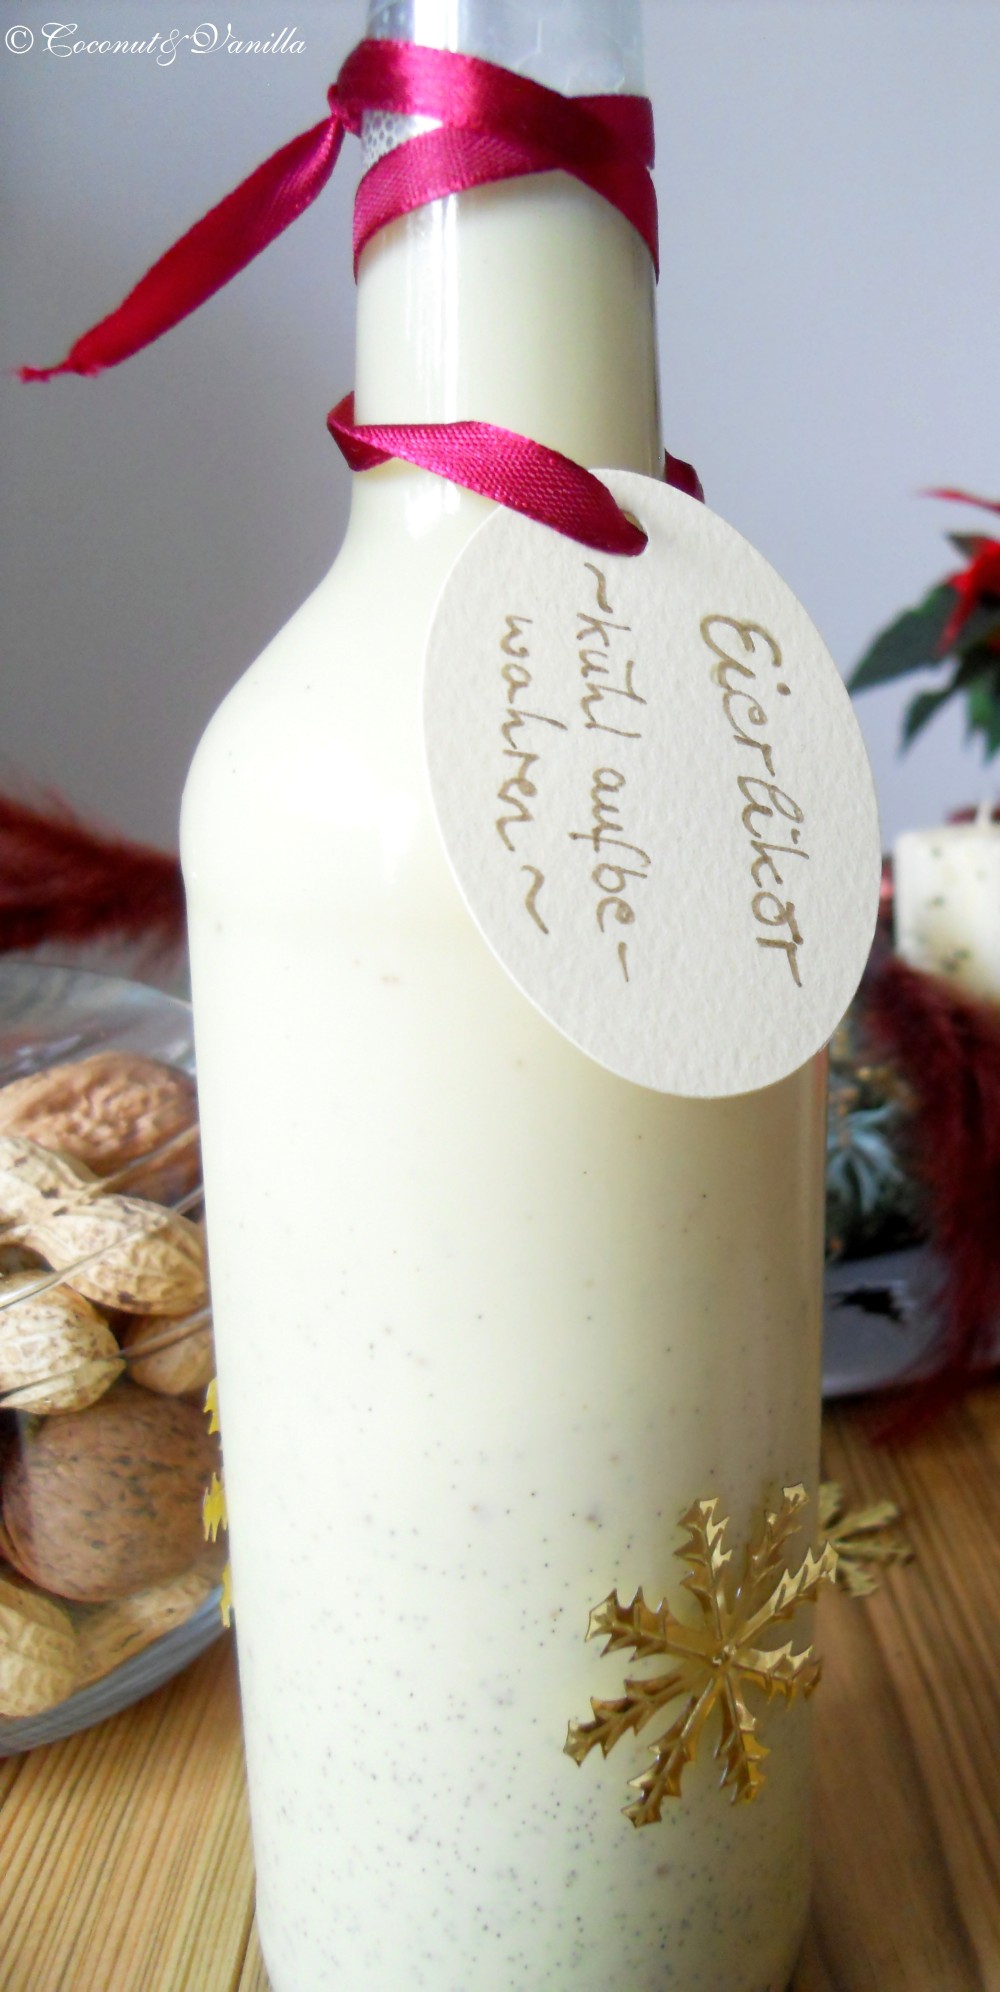
Last week I told you about some Christmas gifts I will make. Today I present you two of them. I highly recommend both. Either as a gift or just for yourself. Both recipes are made in no time and are very easy.

Eggnog & Gingerbread

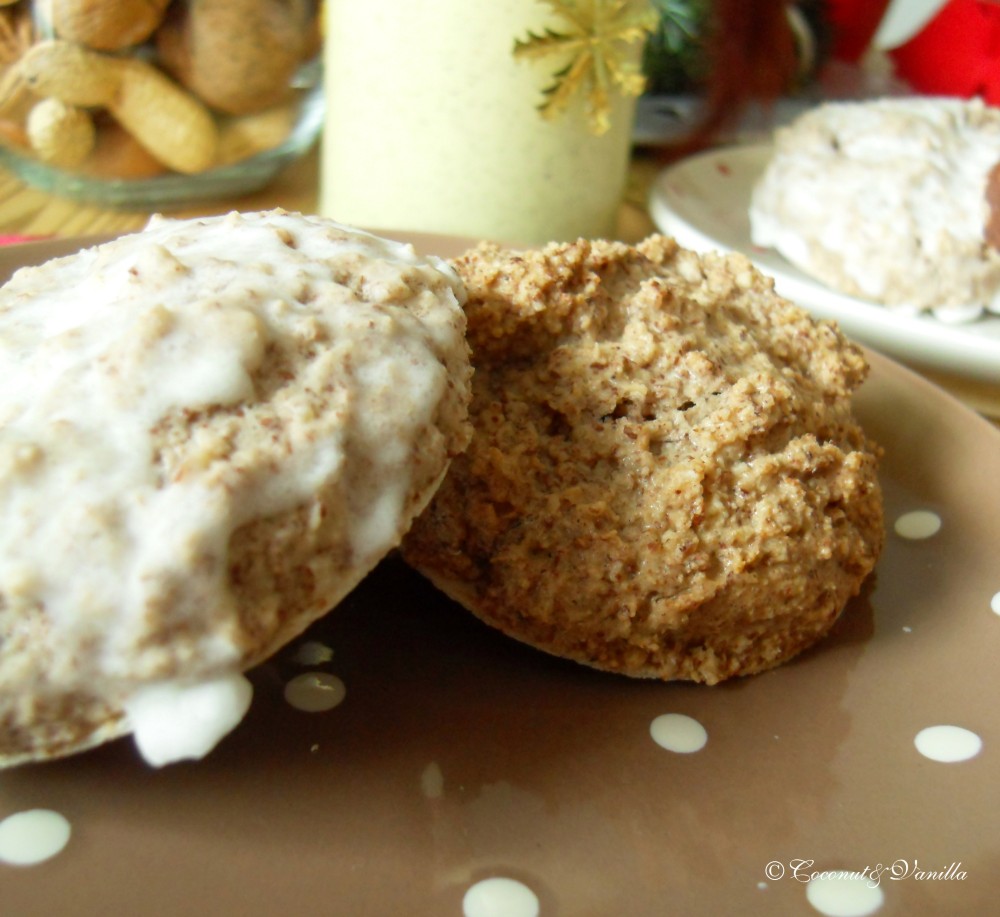
 Although I bake and cook almost everything myself, I never made gingerbread or lebkuchen, as we call them in German (gingerbread is confusing for me, as the lebkuchen doesn’t contain any ginger…). I come from the lebkuchen city of Nürnberg, so I know the very good ones from the lebkuchen bakeries (not the cheap ones from the supermarkets) and I never had the guts to bake them myself. But then two things happened.

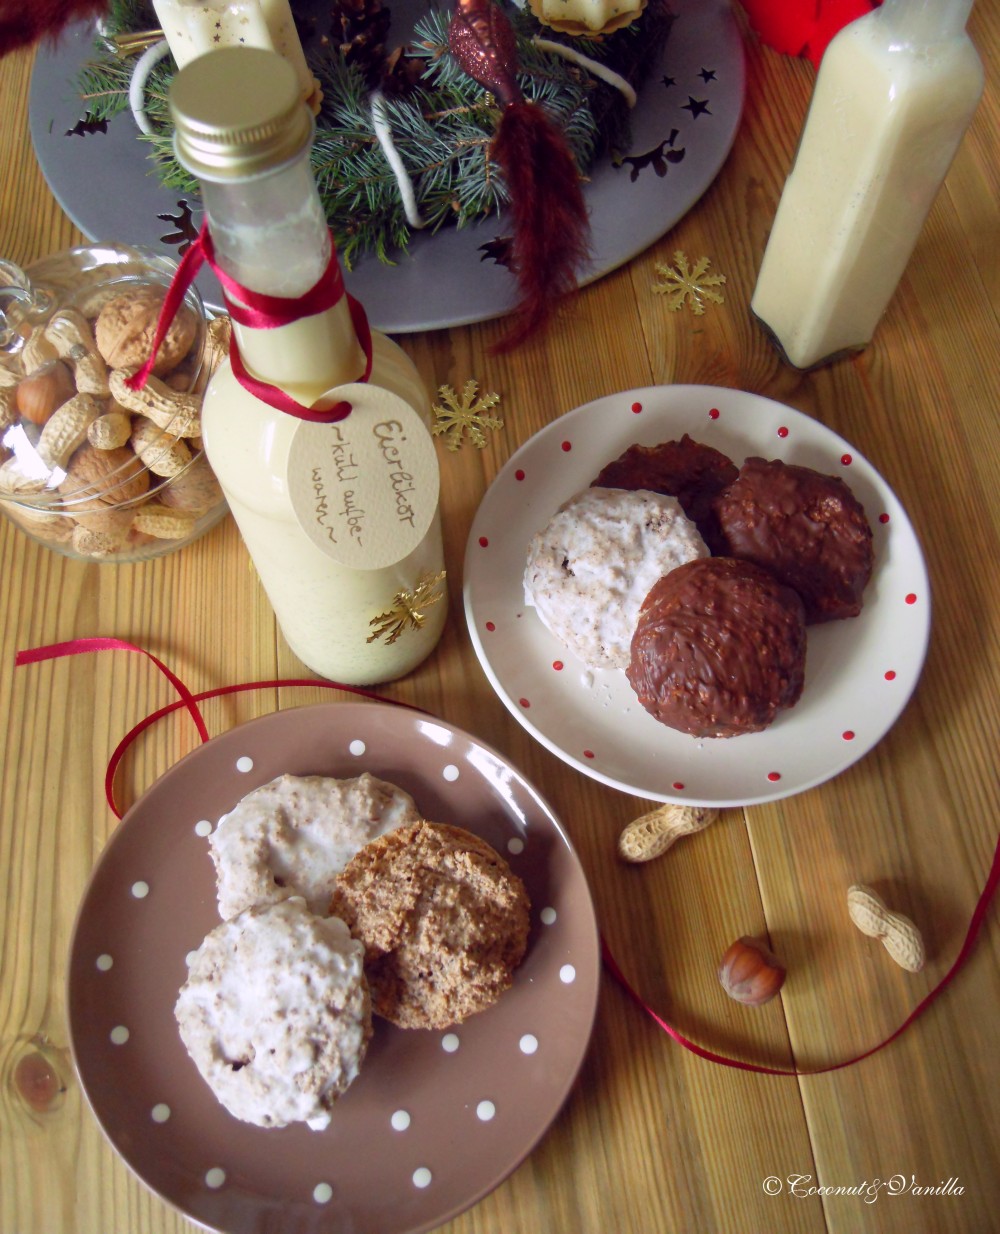
First I didn’t had the chance to buy or eat any lebkuchen from home, since there was no opportunity to be there. Second I bought a really wonderful book (sorry for all the English speakers). The book contains so many recipes for Christmas gifts (or gifts at all), Christmas cookies and even recipes for your Christmas dinner. It was love at first sight! There I discovered a lebkuchen recipe. They looked really good. A smaller version of my beloved ones from home. So I gave them a try. They are just perfect. No need to buy them anymore (ok, except the really good ones from the bakery). They are even better with chocolate icing. Or sugar icing. And they get better from day to day. It’s actually recommended, that you prepare them 1 to 2 weeks ahead. But then, you have to be careful, that you have some left for the gifts on Christmas.

Eggnog & Gingerbread

 It’s almost a tradition to make eggnog, as a gift for my grandmother for Christmas. There are not many things, that a 90-year-old-woman desires. But we all know she loves eggnog, so at least my aunt and me are giving eggnog as a gift to her. This year I tried a new recipe (which I also adapted from the book, I recommended above). And it is a hit! It balances perfect between the sweetness, the vanilla and the alcohol. It’s not too thick and not to thin. Just the right consistency. There is no sharpness of the alcohol in this eggnog. This is how I love it. I used normal corn schnapps, instead of the high-proof alcohol, listed in the recipe. With the right amount of the other ingredients, this was the key of the perfect eggnog.

Give your beloved ones a treat with those wonderful gifts or at least yourself and your family.

Happy baking!

Eggnog & Gingerbread

Last week I told you about some Christmas gifts I will make. Today I present you two of them. I highly recommend both. Either as a gift or just for yourself. Both recipes are made in no time and are very easy.

Eggnog & Gingerbread

 Although I bake and cook almost everything myself, I never made gingerbread or lebkuchen, as we call them in German (gingerbread is confusing for me, as the lebkuchen doesn’t contain any ginger…). I come from the lebkuchen city of Nürnberg, so I know the very good ones from the lebkuchen bakeries (not the cheap ones from the supermarkets) and I never had the guts to bake them myself. But then two things happened.

First I didn’t had the chance to buy or eat any lebkuchen from home, since there was no opportunity to be there. Second I bought a really wonderful book (sorry for all the English speakers). The book contains so many recipes for Christmas gifts (or gifts at all), Christmas cookies and even recipes for your Christmas dinner. It was love at first sight! There I discovered a lebkuchen recipe. They looked really good. A smaller version of my beloved ones from home. So I gave them a try. They are just perfect. No need to buy them anymore (ok, except the really good ones from the bakery). They are even better with chocolate icing. Or sugar icing. And they get better from day to day. It’s actually recommended, that you prepare them 1 to 2 weeks ahead. But then, you have to be careful, that you have some left for the gifts on Christmas.

Eggnog & Gingerbread

 It’s almost a tradition to make eggnog, as a gift for my grandmother for Christmas. There are not many things, that a 90-year-old-woman desires. But we all know she loves eggnog, so at least my aunt and me are giving eggnog as a gift to her. This year I tried a new recipe (which I also adapted from the book, I recommended above). And it is a hit! It balances perfect between the sweetness, the vanilla and the alcohol. It’s not too thick and not to thin. Just the right consistency. There is no sharpness of the alcohol in this eggnog. This is how I love it. I used normal corn schnapps, instead of the high-proof alcohol, listed in the recipe. With the right amount of the other ingredients, this was the key of the perfect eggnog.

Give your beloved ones a treat with those wonderful gifts or at least yourself and your family.

Happy baking!


Eggnog & Gingerbread


Tomaten und ÄpfelTomatoes and Apples

Update: Für das deutsche Rezept nach unten scrollen!

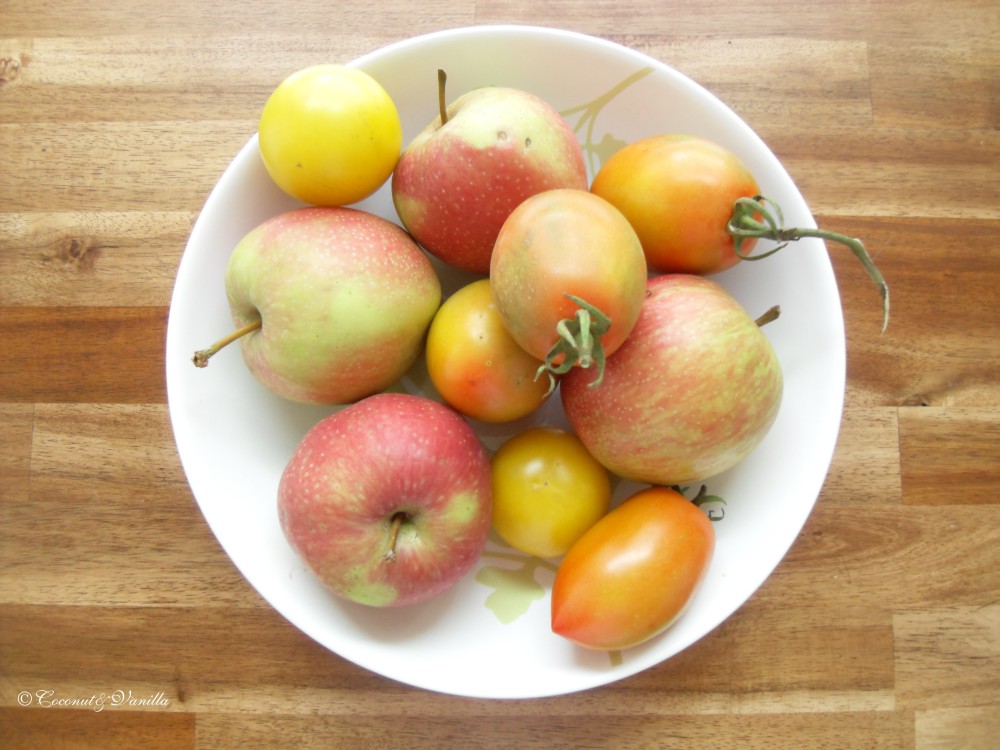
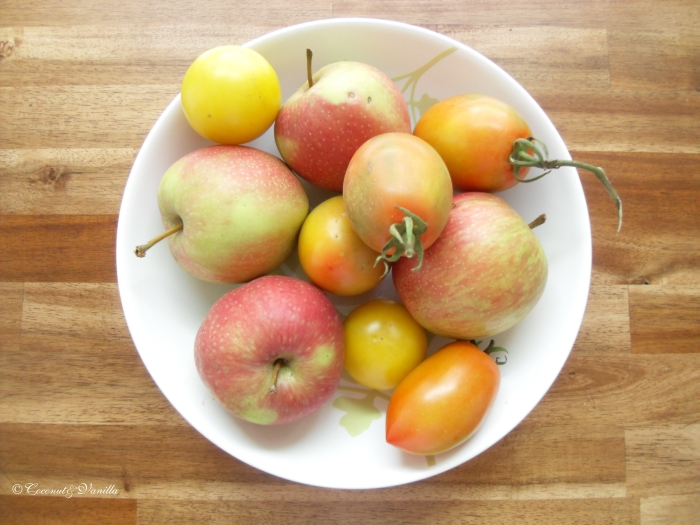
Summer ending and autumn beginning. That is what tomatoes and apples are standing for, right now. That is how I feel. I’m yearning for the warm summer air and long nights, but I also like when it rains all day and the sky is cloudy. It’s a good excuse to cozy up and eat meals, that warm from inside. And it’s a good excuse to drink glühwein, yet. Yeah, I already had my first  some days ago…

Tomatoes and Apples

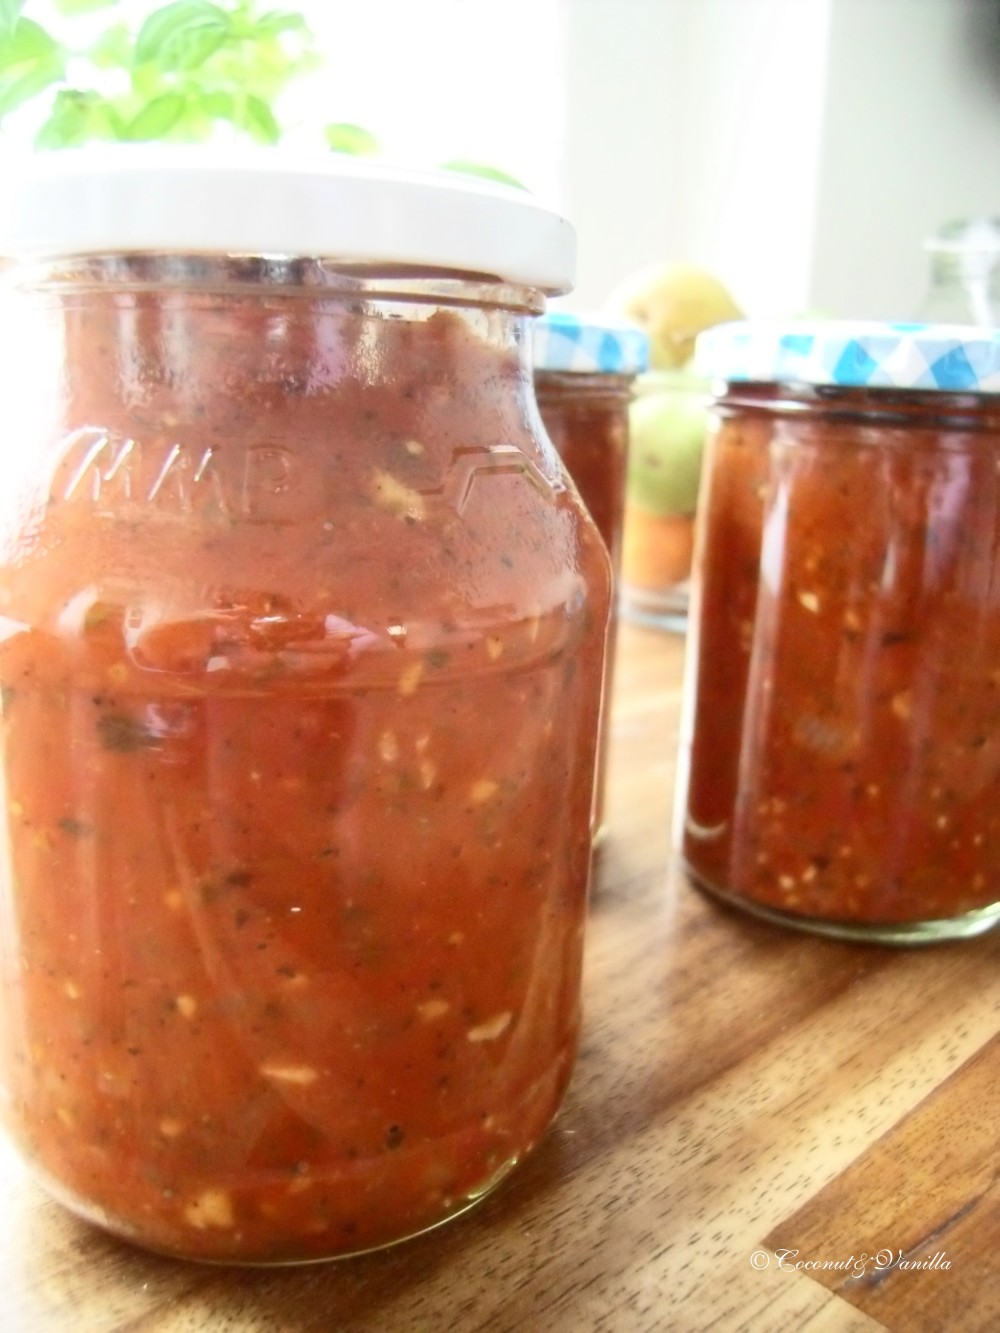
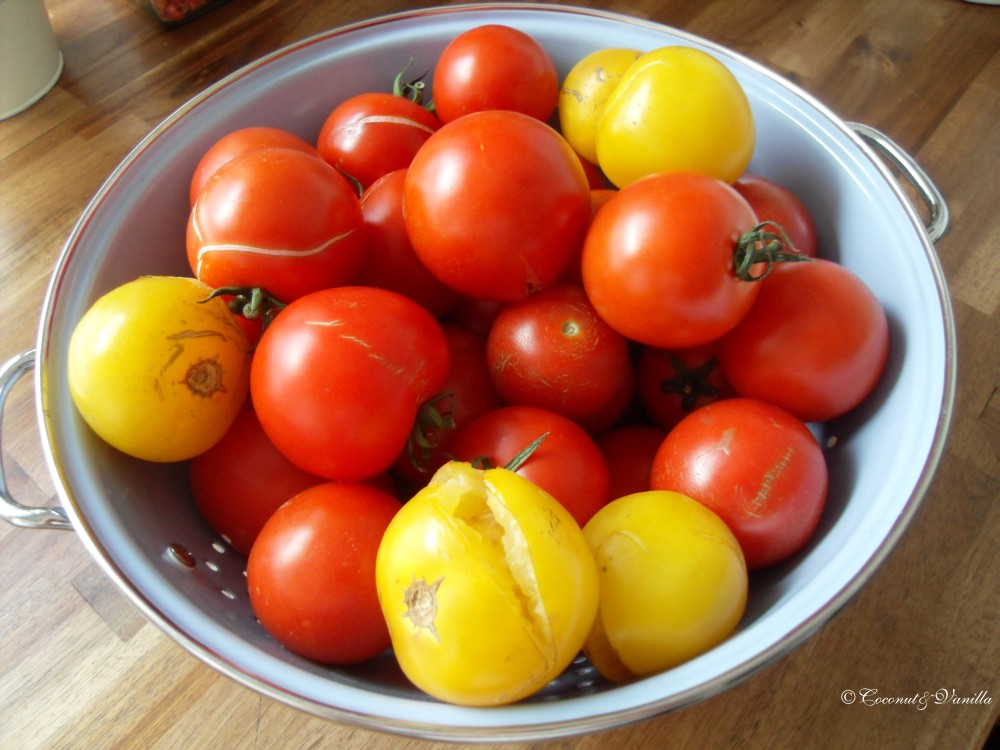
For enjoying the last summer bits and preserving it until autumn and winter, make some good old homemade pasta/pizza sauce and can it. It’s a bit of work chopping all the tomatoes, but the rest is just easy going. And there’s definitely no need to  peel the skin off them! I made sauce of 2 kilos of tomatoes and it looked a lot in the pot. But afterwards it ended in 5 jars. That’s good, don’t get me wrong. But if you have access to a lot tomatoes, don’t be shy or scared of the amount, you will be rewarded with a lot of yummy pasta sauce, that will bring you through the summer-less seasons.

Tomato Sauce

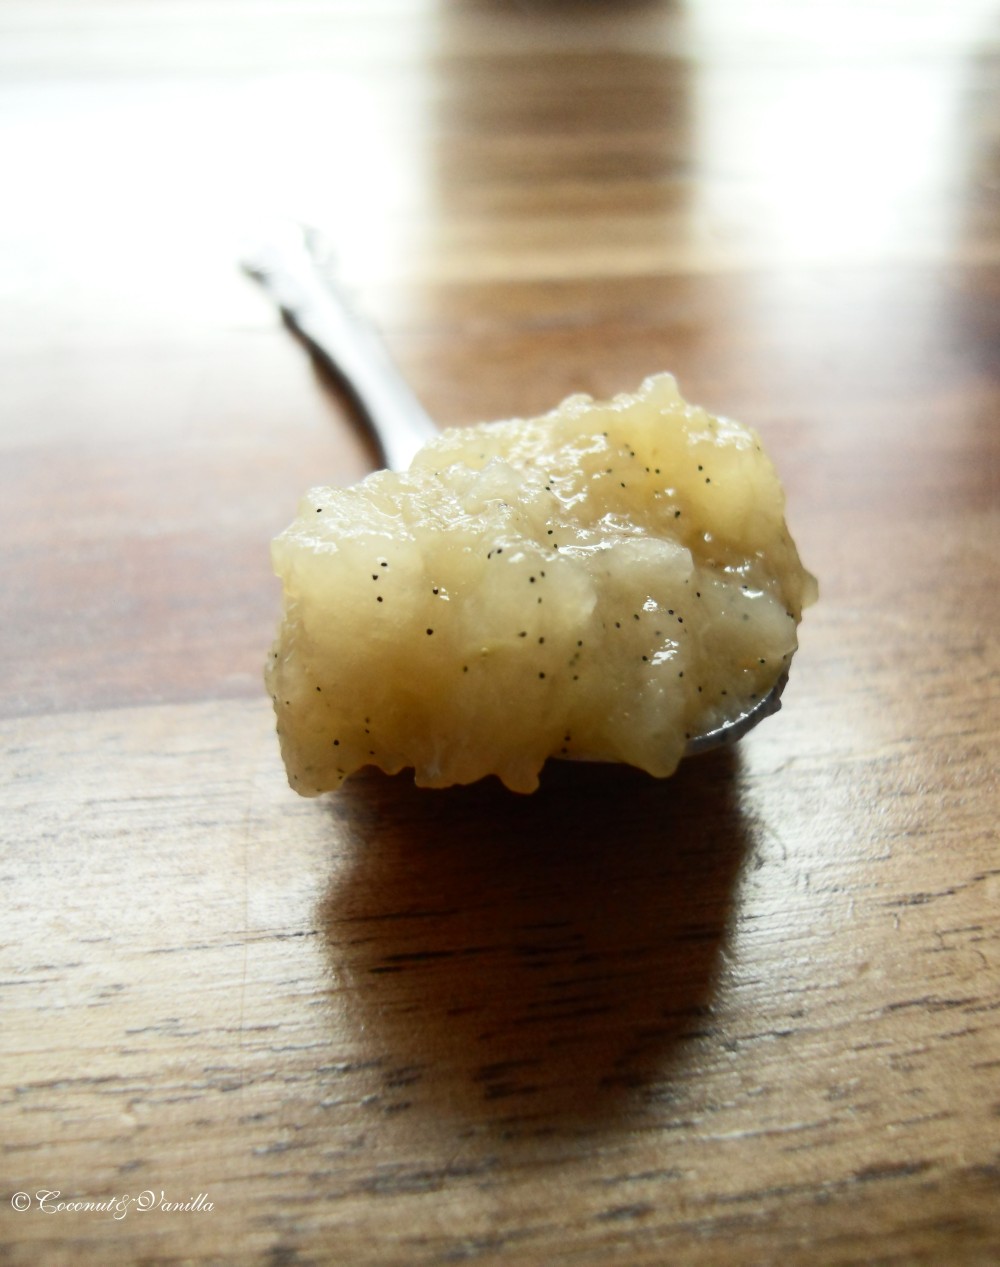
For enjoying the first autumn bits, I give you a simple apple compote on the way, which can be spiced up with your favourite spices or made with additionally pears. This compote is just perfect as a topping on arroz con leche, creams or the flan tart, I will post next time. It can also used as a filling for a sweet snack made of puff pastry or enjoyed with pancakes. Make a lot, it disappears fast!

Apple Compote

Diese Rezepte sind nur Richtlinien. Lasst Zutaten weg oder fügt andere hinzu, wenn ihr möchtet.

Wenn ihr Pastasauce einmachen wollt, müsst ihr vorher die Gläser und Deckel sterilisieren. Hier gibt es gutes und sehr witziges Video darüber und wie man ganze Tomaten einmacht.

Tomatoes


Summer ending and autumn beginning. That is what tomatoes and apples are standing for, right now. That is how I feel. I’m yearning for the warm summer air and long nights, but I also like when it rains all day and the sky is cloudy. It’s a good excuse to cozy up and eat meals, that warm from inside. And it’s a good excuse to drink glühwein, yet. Yeah, I already had my first some days ago…

Tomatoes and Apples

For enjoying the last summer bits and preserving it until autumn and winter, make some good old homemade pasta/pizza sauce and can it. It’s a bit of work chopping all the tomatoes, but the rest is just easy going. And there’s definitely no need to peel the skin off them! I made sauce of 2 kilos of tomatoes and it looked a lot in the pot. But afterwards it ended in 5 jars. That’s good, don’t get me wrong. But if you have access to a lot tomatoes, don’t be shy or scared of the amount, you will be rewarded with a lot of yummy pasta sauce, that will bring you through the summer-less seasons.

Tomato Sauce

For enjoying the first autumn bits, I give you a simple apple compote on the way, which can be spiced up with your favourite spices or made with additionally pears. This compote is just perfect as a topping on arroz con leche, creams or the flan tart, I will post next time. It can also used as a filling for a sweet snack made of puff pastry or enjoyed with pancakes. Make a lot, it disappears fast!

Apple Compote

Note: That is just a guideline. Feel free to add and leave things, how you prefer it.

If you want to can the pasta sauce, you need clean jars with lids, that you’ve sterilized before. Here’s a really good and also funny video about sterilizing jars and canning whole tomatoes from The Bitten Word. They put it in a nutshell.


Tomatoes


Selbstgemachte GemüsebouillonpasteHomemade Bouillon Paste

 Upate: Für das deutsche Rezept nach unten scrollen!

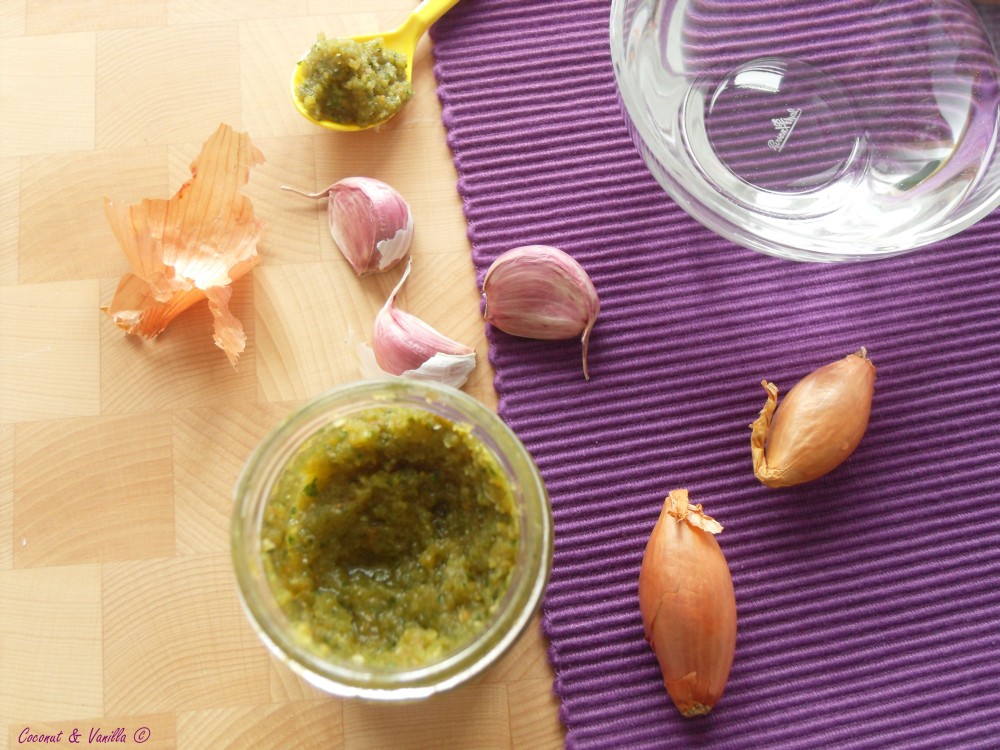
Selbstgemachte Gemüsebouillonpaste

As I was ill the last two weeks, I wanted to do more for my blog. I made some things – I swear! But it happened, that those things were not good enough for my blog. Unfortunately.

Now that I’m back to work, I’ve done some great things and even more great photos of it! But just no time to write. So this evening I just take the time.

In my ill-time I had a lot of time to read lots of blogs, recipes and other interesting things. I got hold on a simple recipe making your own bouillon paste of vegetables. Since I’m very into making everything on my own, I was thrilled.

Selbstgemachte Gemüsebouillonpaste

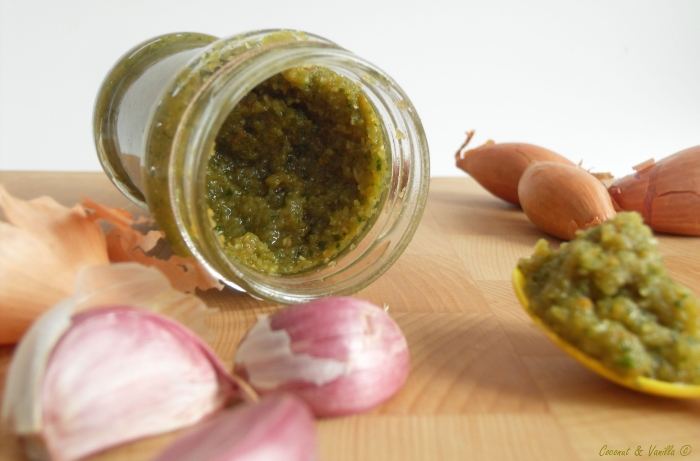
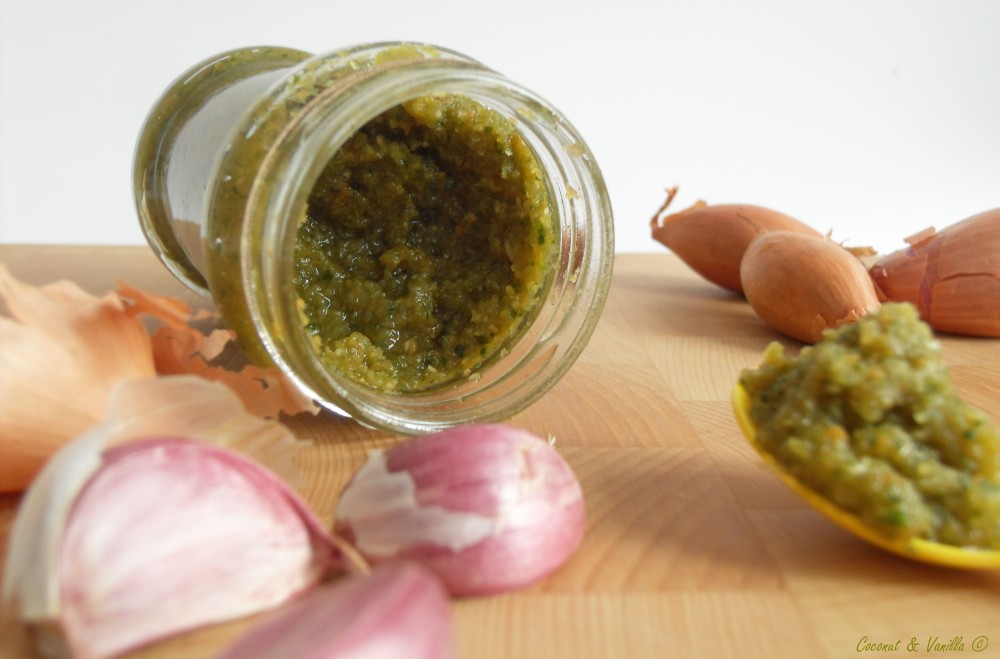
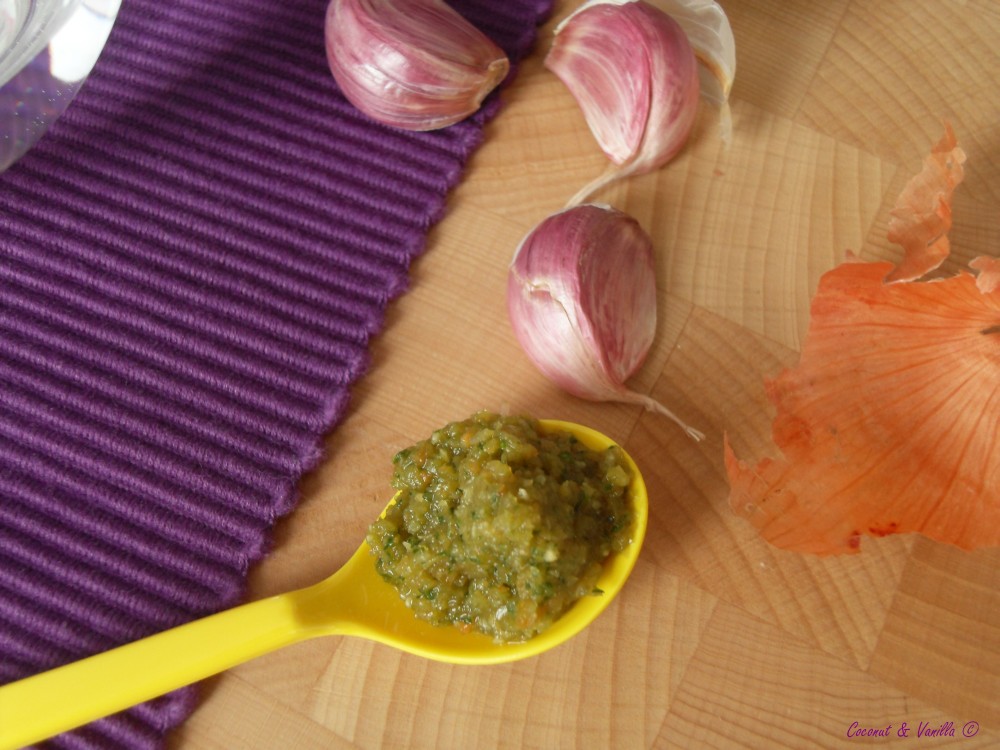
Since I’m not a fan of glutamate in food, I’m using only organic granulated bouillon, because it never contains glutamate. But it can contain other things that you don’t want in there, for example gluten or allergens. So making your own paste, disposes this problem. And of course it’s just great to make your own bouillon, without making a real stock!

Selbstgemachte Gemüsebouillonpaste

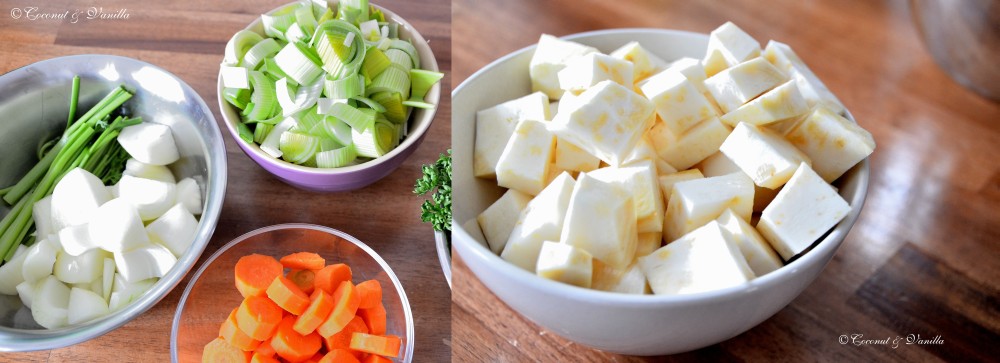
I adapted the recipe from 101 Cookbooks. You can vary, which vegetables you use and also the ratio. I do not like celery stalks. But I like the root. So I just used that. Equally I do not like cilantro, thus I used just parsley. However It would be interesting to add some basil the next time or parsnips.

Selbstgemachte Gemüsebouillonpaste

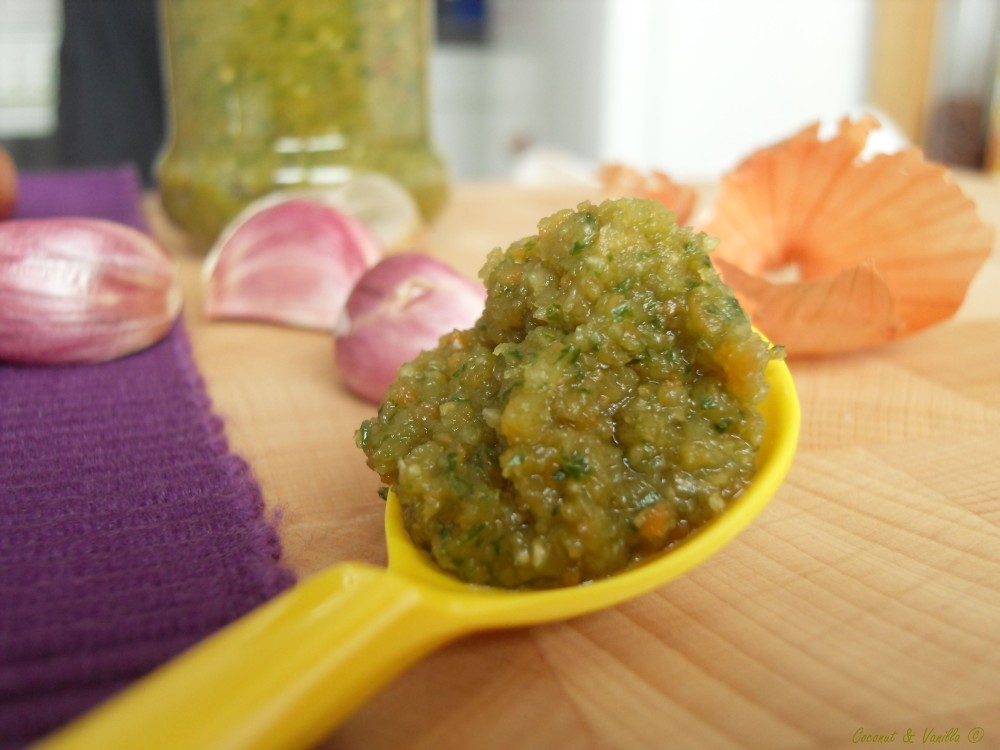
It’s recommended to use a food processor. As I do not have one, I thought optimistic and use my blender. Hmmm… wasn’t that good idea. It didn’t get the leek and the carrots alright. Celery was good with it. In the end I used my immersion blender. It took some time longer I think (since I can’t compare), but it worked very well and I got a moist paste. I didn’t used as much salt, as stated in the „original“ recipe. Maybe that leads rather to a „creamy“ paste, than a loose paste. For me it’s salty enough and if not, adding salt is less a problem, than to withdraw some.

My recommendation is to dissolve 2,5 tsp. per 250 ml (1 cup). It dissolves very good, if you wonder ;-).

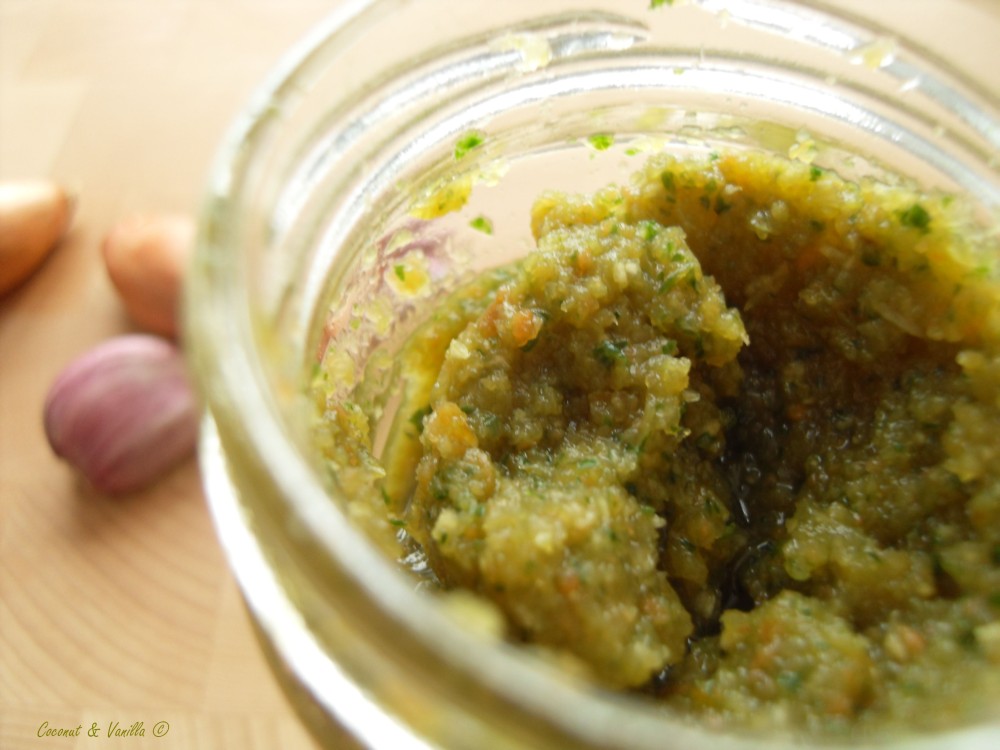
I put one jar of the bouillon in the fridge and froze the rest in portions. If you are not using that much bouillon, you can freeze it in ice cube trays, so your portions to thaw are very small. I froze the rest in three portions, every equal to the amount in my fridge. It yields about four 200ml jars.

Selbstgemachte Gemüsebouillonpaste

homemade bouillon paste

As I was ill the last two weeks, I wanted to do more for my blog. I made some things – I swear! But it happened, that those things were not good enough for my blog. Unfortunately.

Now that I’m back to work, I’ve done some great things and even more great photos of it! But just no time to write. So this evening I just take the time.

In my ill-time I had a lot of time to read lots of blogs, recipes and other interesting things. I got hold on a simple recipe making your own bouillon paste of vegetables. Since I’m very into making everything on my own, I was thrilled.

homemade bouillon paste

Since I’m not a fan of glutamate in food, I’m using only organic granulated bouillon, because it never contains glutamate. But it can contain other things that you don’t want in there, for example gluten or allergens. So making your own paste, disposes this problem. And of course it’s just great to make your own bouillon, without making a real stock!

homemade bouillon paste

I adapted the recipe from 101 Cookbooks. You can vary, which vegetables you use and also the ratio. I do not like celery stalks. But I like the root. So I just used that. Equally I do not like cilantro, thus I used just parsley. However It would be interesting to add some basil the next time or parsnips.

homemade bouillon paste

It’s recommended to use a food processor. As I do not have one, I thought optimistic and use my blender. Hmmm… wasn’t that good idea. It didn’t get the leek and the carrots alright. Celery was good with it. In the end I used my immersion blender. It took some time longer I think (since I can’t compare), but it worked very well and I got a moist paste. I didn’t used as much salt, as stated in the „original“ recipe. Maybe that leads rather to a „creamy“ paste, than a loose paste. For me it’s salty enough and if not, adding salt is less a problem, than to withdraw some.

My recommendation is to dissolve 2,5 tsp. per 250 ml (1 cup). It dissolves very good, if you wonder ;-).

I put one jar of the bouillon in the fridge and froze the rest in portions. If you are not using that much bouillon, you can freeze it in ice cube trays, so your portions to thaw are very small. I froze the rest in three portions, every equal to the amount in my fridge. It yields about four 200ml jars.

homemade bouillon paste

Selbstgemachtes MüsliHomemade Granola

Update: Nach unten scrollen für das deutsche Rezept!

Happy new year everybody!

Selbstgemachtes Müsli

Thank you for your visits and supports in my first months of blogging! I’m always afraid and happy, when I read your comments. I’m always pleased to return the favour and visit your blogs! Some of them have already found their way in my daily reading list.

I hope you enjoyed my new blog last year. I will do my very best this year, too.

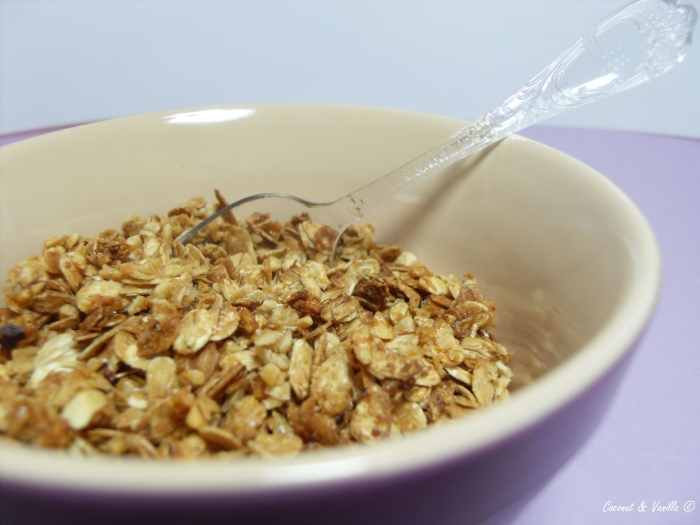
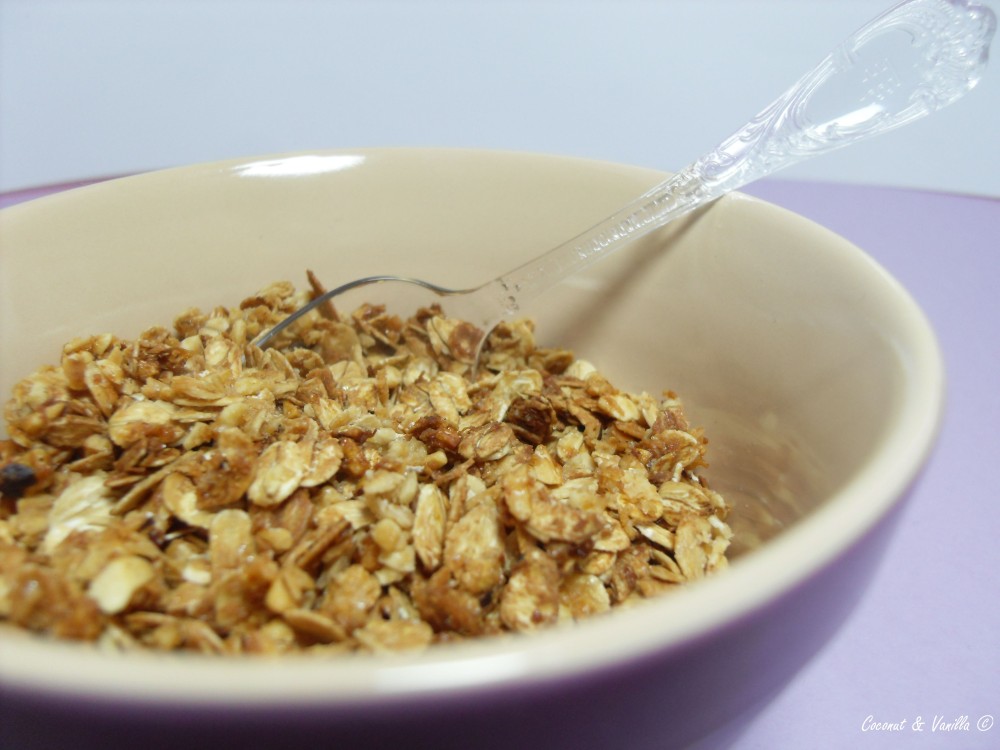
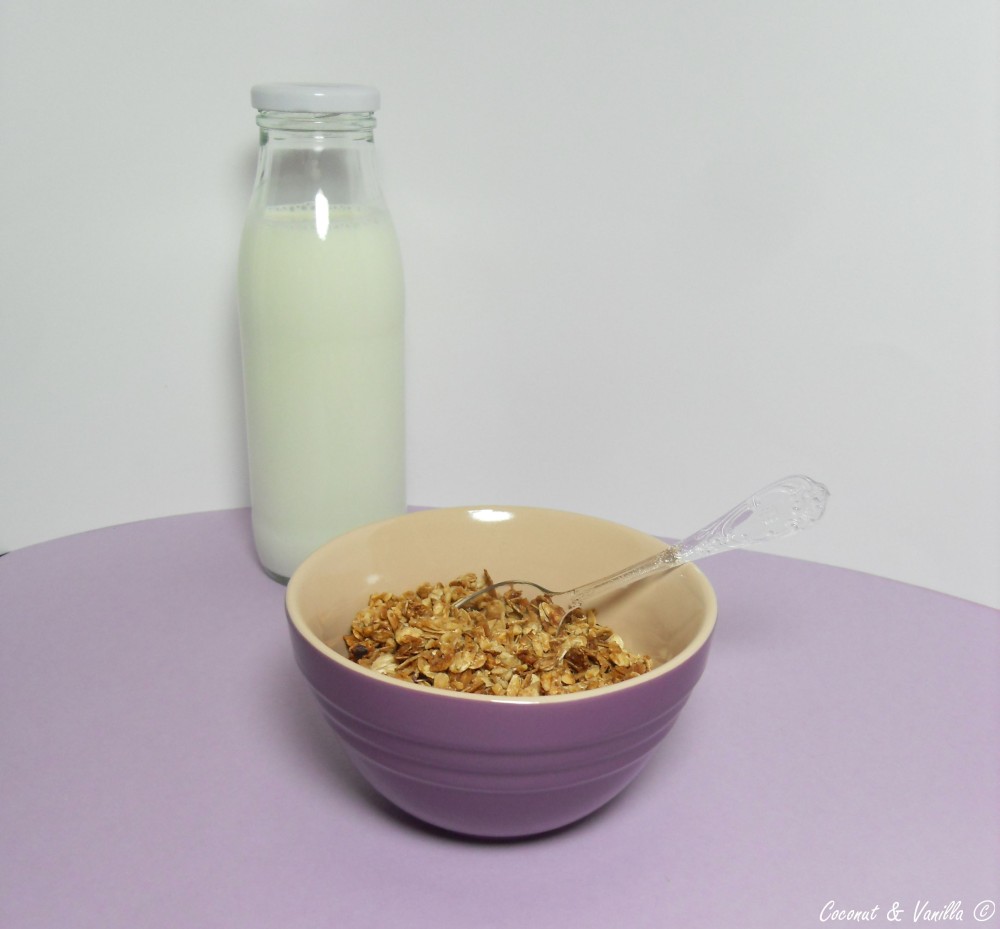
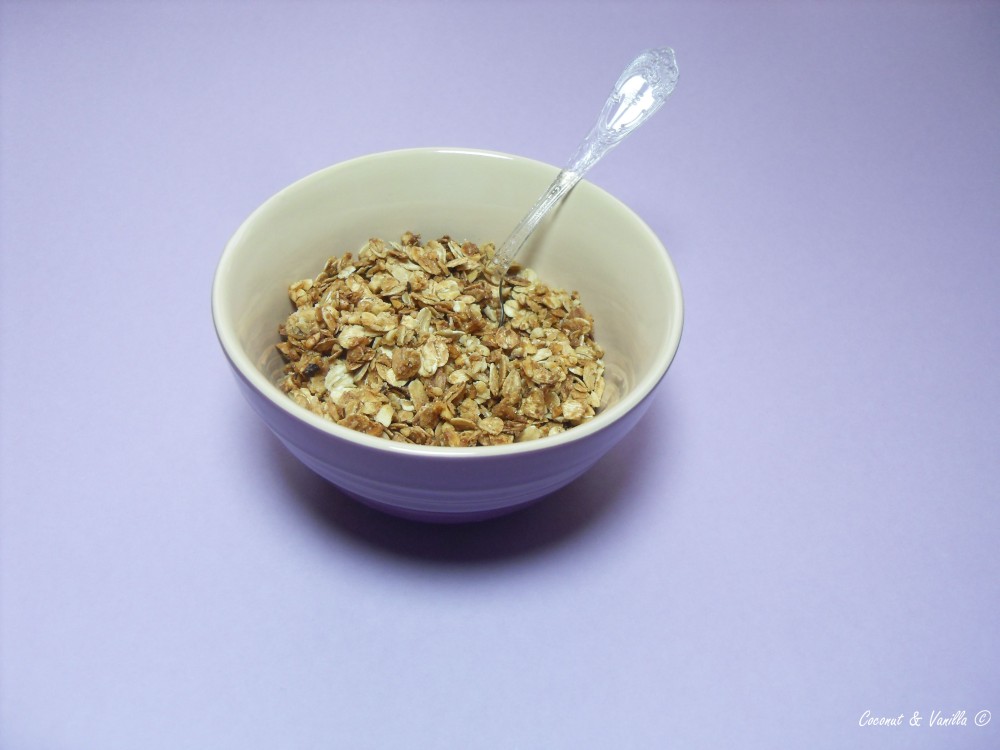
I want to start this year with some homemade muesli. I already produced it in the end-terms of last year, but I first tasted it this morning for breakfast. As I thought of eating this muesli for breakfast, I remembered, that some photos of the making are waiting to be blogged. So I took these photos this morning.

Selbstgemachtes Müsli

I like the idea of selfmade granola. I’m not a fan of bought one’s. For me, they are not crispy enough or too crispy, full of raisins, which I don’t like or dried fruits, which I do not like, too. I’ve only once seen a muesli, with freeze-dried fruits and that was tasty. Neither I like that cheap chocolate pieces in bought muesli.

The benefits of an selfmade muesli are – amongst others – , that you can put in what you like: favourite nuts, favourite fruits, favourite chocolate, favourite cereals. And everytime you can try another combination!

Don’t be scared of making your own granola! It’s fun, very easy and doesn’t take a lot of time.

Over- and underneath you see the granola on a baking sheet, after combining the ingredients. Underneath I put some anti-stick coated aluminium foil from Toppits® . If something like that is not available you can also use normal baking paper or grease the baking sheet lightly. But I admit that this aluminium foil is very handy.

The recipe is enough for about 10 smaller portions (like on my photos). So if you are a muesli-fancier, consider doubling the recipe. One recipe is suitable for one baking sheet.

I like to use whole nuts, peel them, roast them in a pan and chop them then. But feel free to use already chopped nuts.

Selbstgemachtes Müsli


Happy new year everybody!

homemade granola

Thank you for your visits and supports in my first months of blogging! I’m always afraid and happy, when I read your comments. I’m always pleased to return the favour and visit your blogs! Some of them have already found their way in my daily reading list.

I hope you enjoyed my new blog last year. I will do my very best this year, too.

I want to start this year with some homemade muesli. I already produced it in the end-terms of last year, but I first tasted it this morning for breakfast. As I thought of eating this muesli for breakfast, I remembered, that some photos of the making are waiting to be blogged. So I took these photos this morning.

homemade granola

I like the idea of selfmade granola. I’m not a fan of bought one’s. For me, they are not crispy enough or too crispy, full of raisins, which I don’t like or dried fruits, which I do not like, too. I’ve only once seen a muesli, with freeze-dried fruits and that was tasty. Neither I like that cheap chocolate pieces in bought muesli.

The benefits of an selfmade muesli are – amongst others – , that you can put in what you like: favourite nuts, favourite fruits, favourite chocolate, favourite cereals. And everytime you can try another combination!

Don’t be scared of making your own granola! It’s fun, very easy and doesn’t take a lot of time.

Over- and underneath you see the granola on a baking sheet, after combining the ingredients. Underneath I put some anti-stick coated aluminium foil from Toppits® . If something like that is not available you can also use normal baking paper or grease the baking sheet lightly. But I admit that this aluminium foil is very handy.

The recipe is enough for about 10 smaller portions (like on my photos). So if you are a muesli-fancier, consider doubling the recipe. One recipe is suitable for one baking sheet.

I like to use whole nuts, peel them, roast them in a pan and chop them then. But feel free to use already chopped nuts.

homemade granola