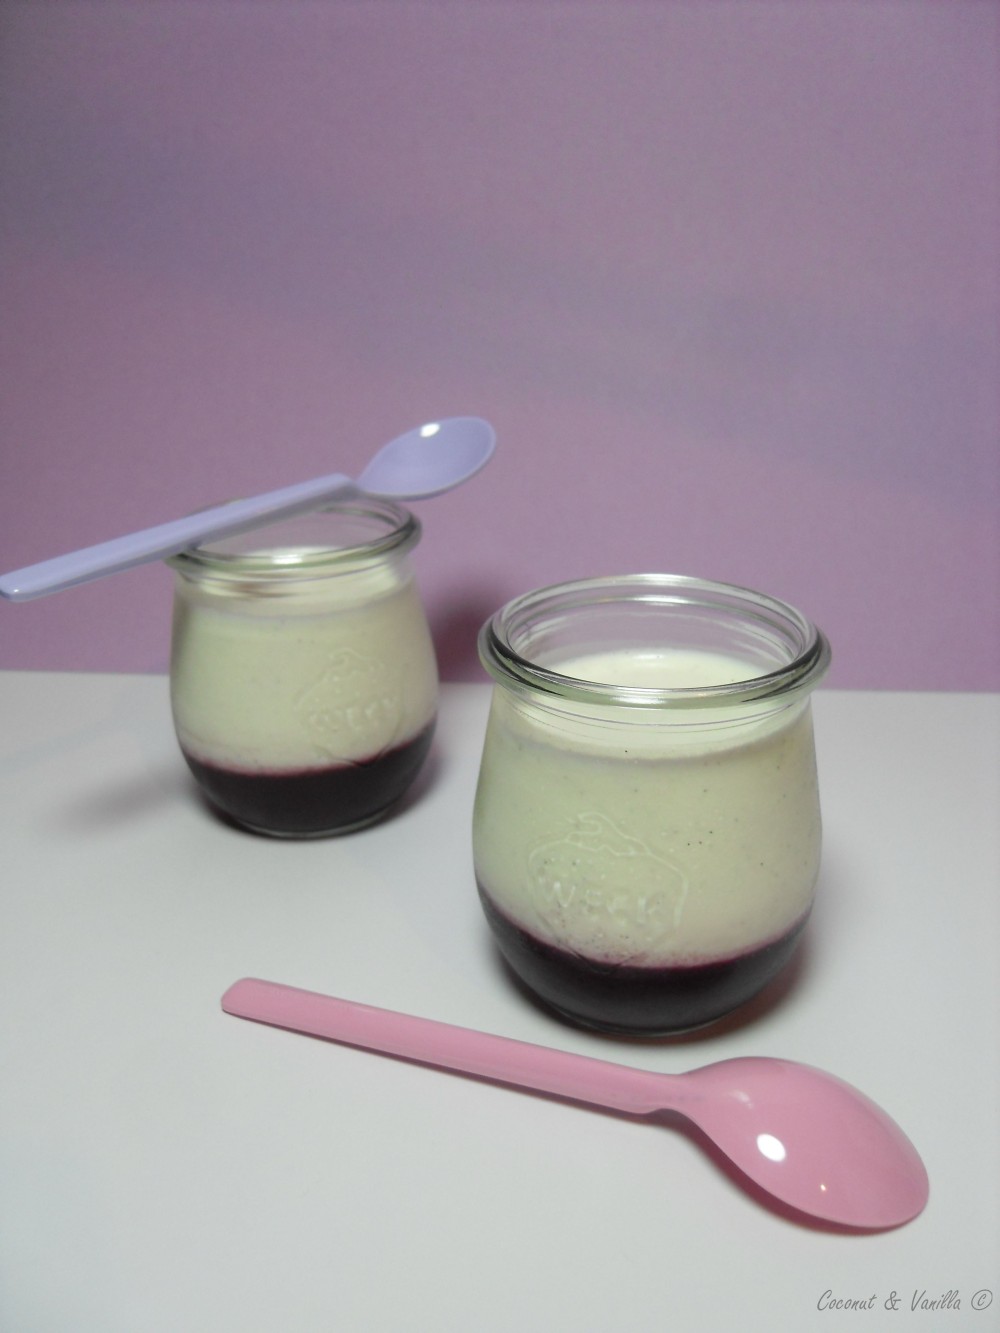
Kokos Panna CottaCoconut Panna Cotta

Update: Für das deutsche Rezept nach unten scrollen!

One year ago I started this blog!

I’m glad that I took this step. And I’m proud how it developed. It’s more than I’ve ever thought it would be or I would have here. I want to thank everyone, who  directed some kind words about it at me – here in the comments or just before the screen. I want to thank YOU for your visits!

Kokos Panna Cotta

In the last weeks I started to integrate some new features on the blog, like a Facebook page and even Twitter. Yeah, you’ve read right, Coconut & Vanilla has it’s own Facebook page! I would be pleased, if you jump over and become a fan. And if you want to know what I’m doing in the kitchen in between my blog posts, you can now follow me on Twitter and look over my shoulder.

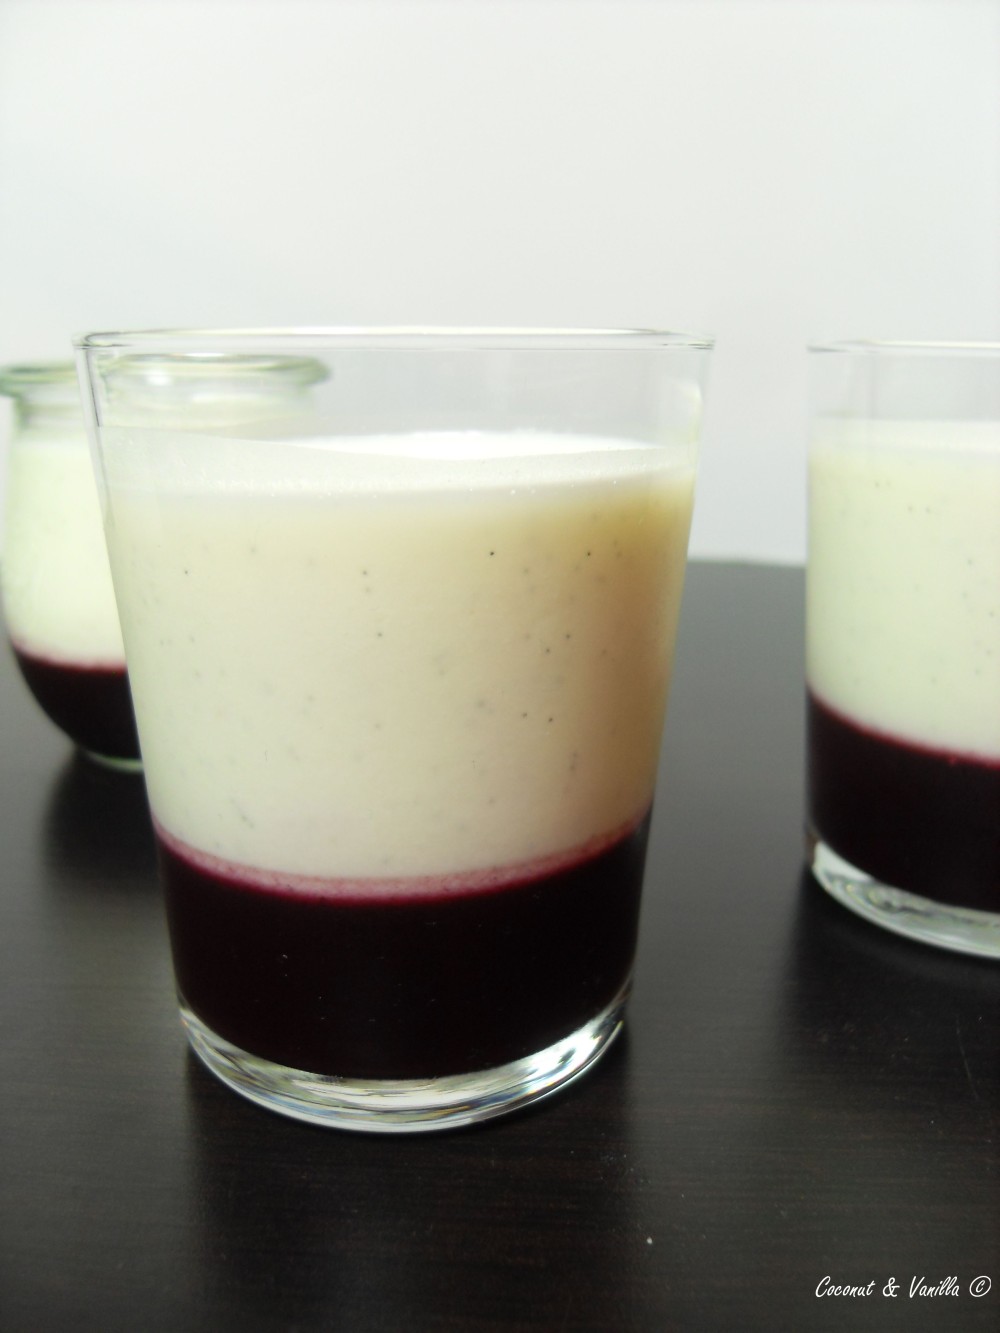
Kokos Panna Cotta

Furthermore, with some help I invented a new blog design! It now looks fresher, cleaner and more personal. I hope you like it! I love it! We found those wonderful tomatoes, which you can see on my new banner, on the market in our area.

We bought them at my favourite stall, which sells fruit, vegetables and flowers they’ve grown by themselves. Last Saturday we bought there the most beautiful flower bouquet I’ve ever seen! I love to meander through the stalls and look at all the beautiful vegetables, flowers, fruit, cheese, bread, meat, olives, marinated sheep milk cheese… just everything you need. It’s the perfect beginning of the weekend and you get almost everything you need for the week.

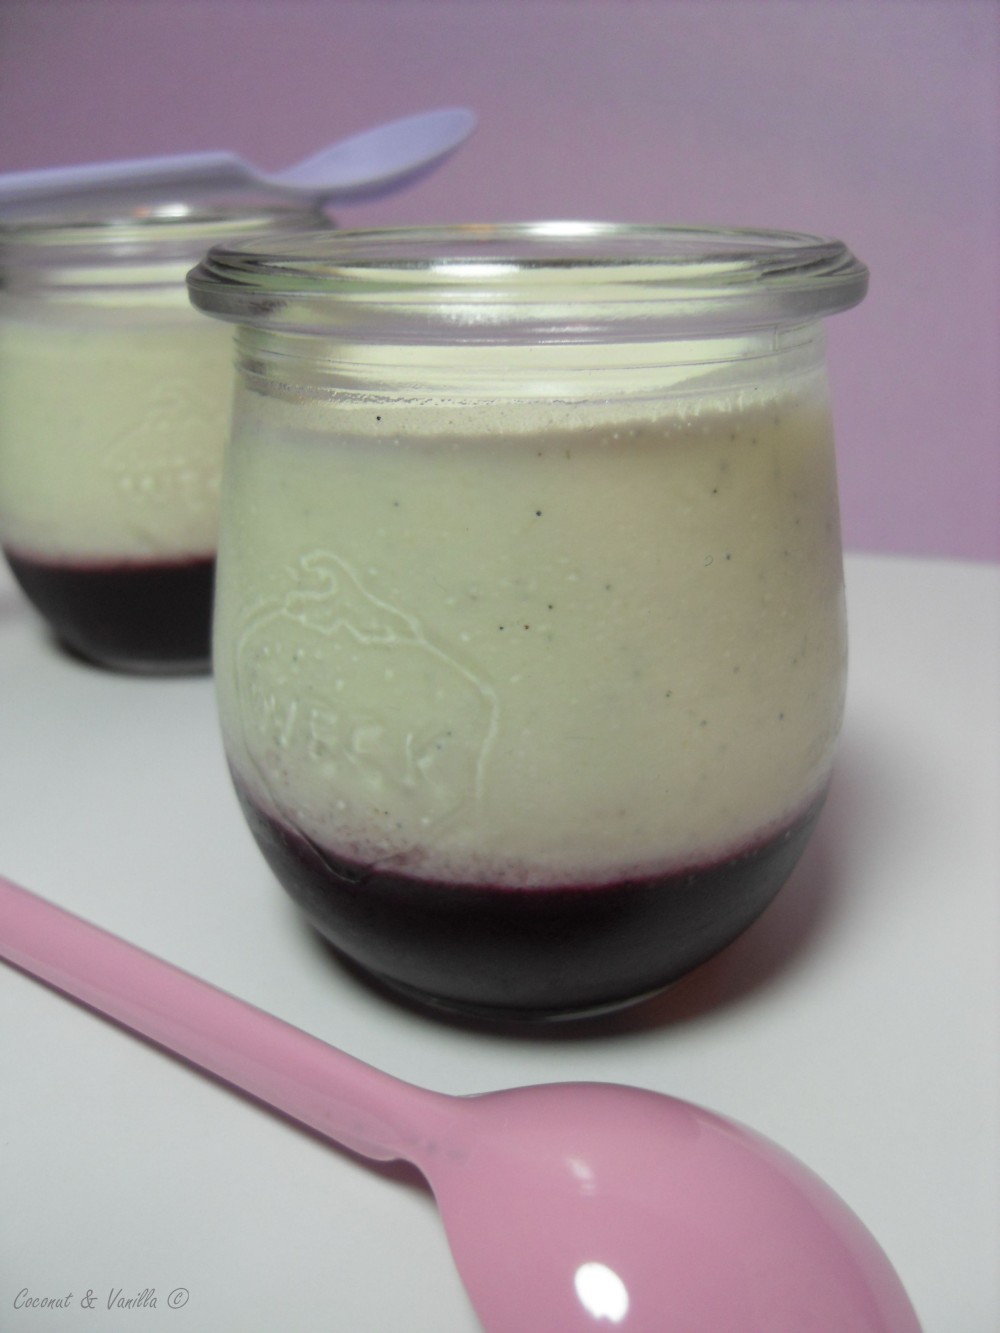
Kokos Panna Cotta

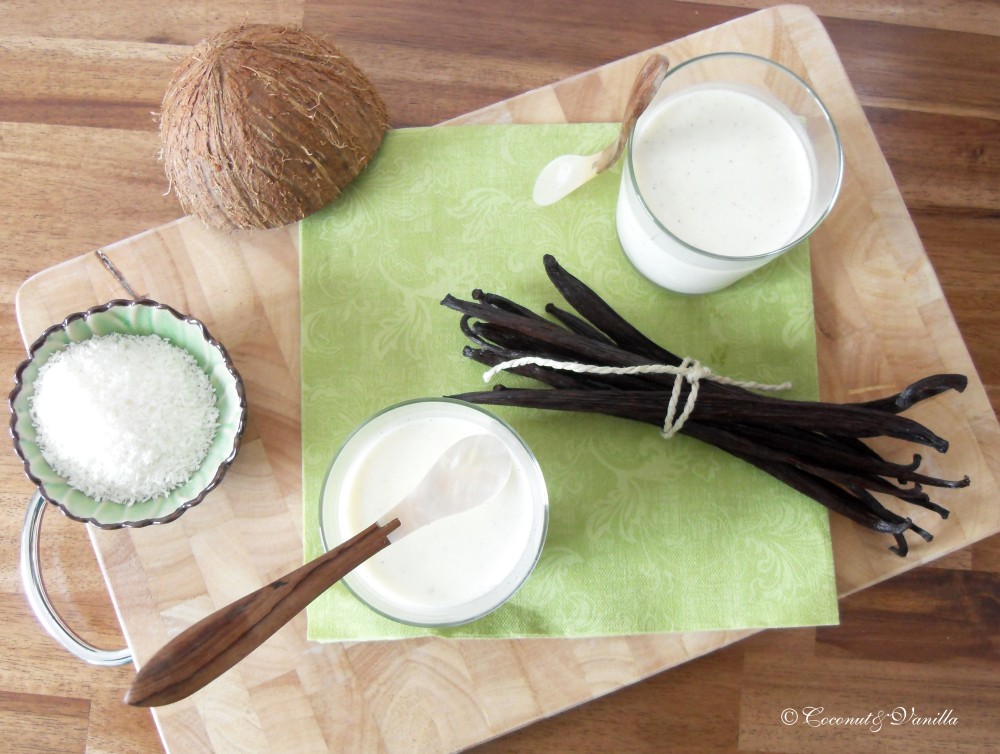
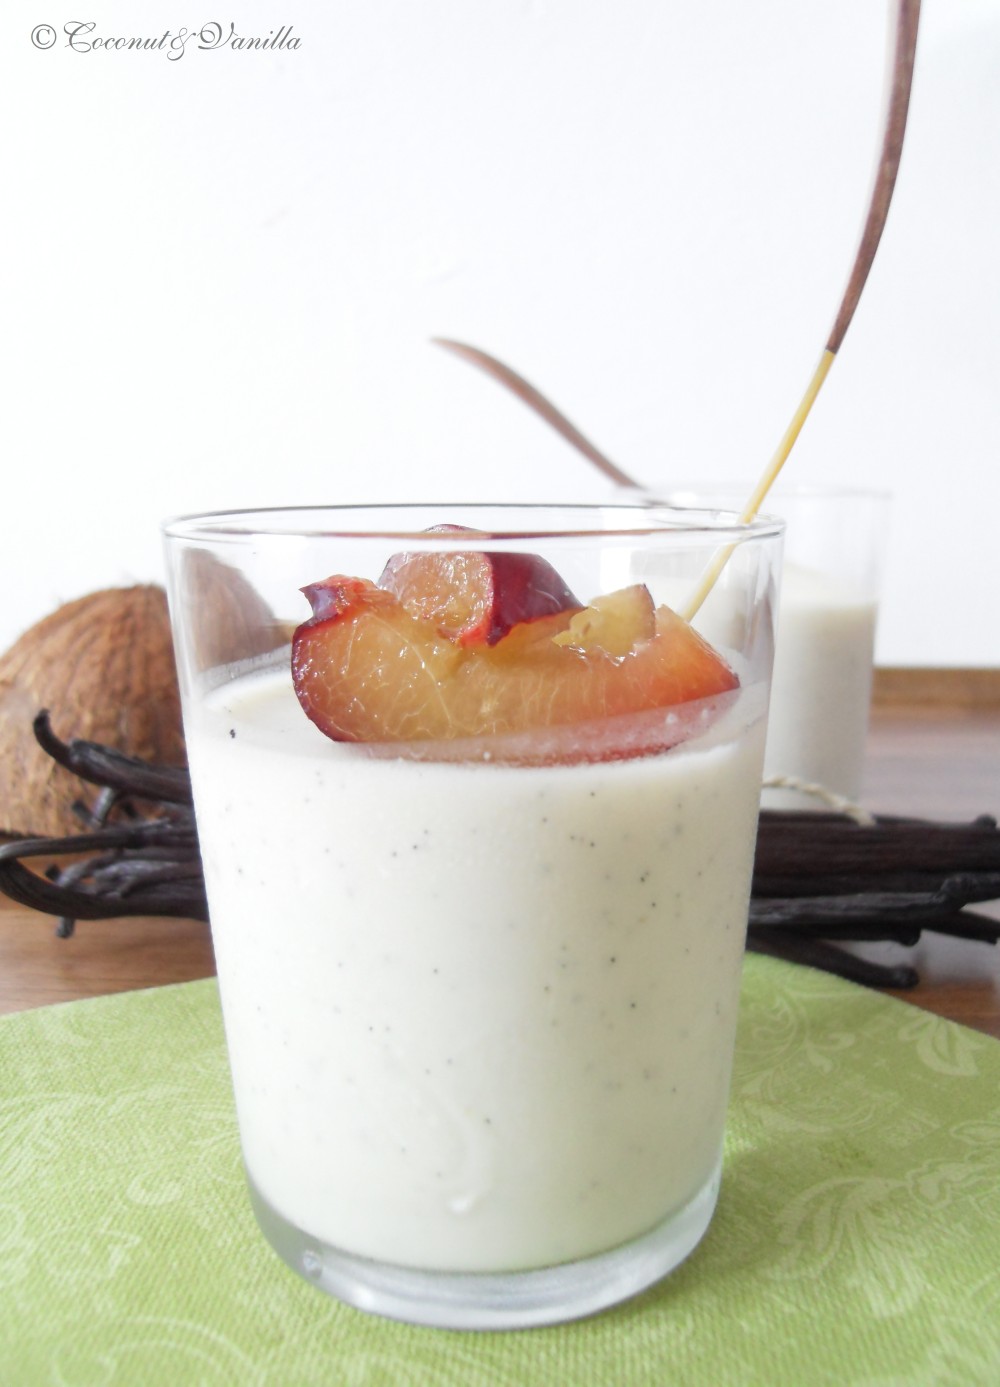
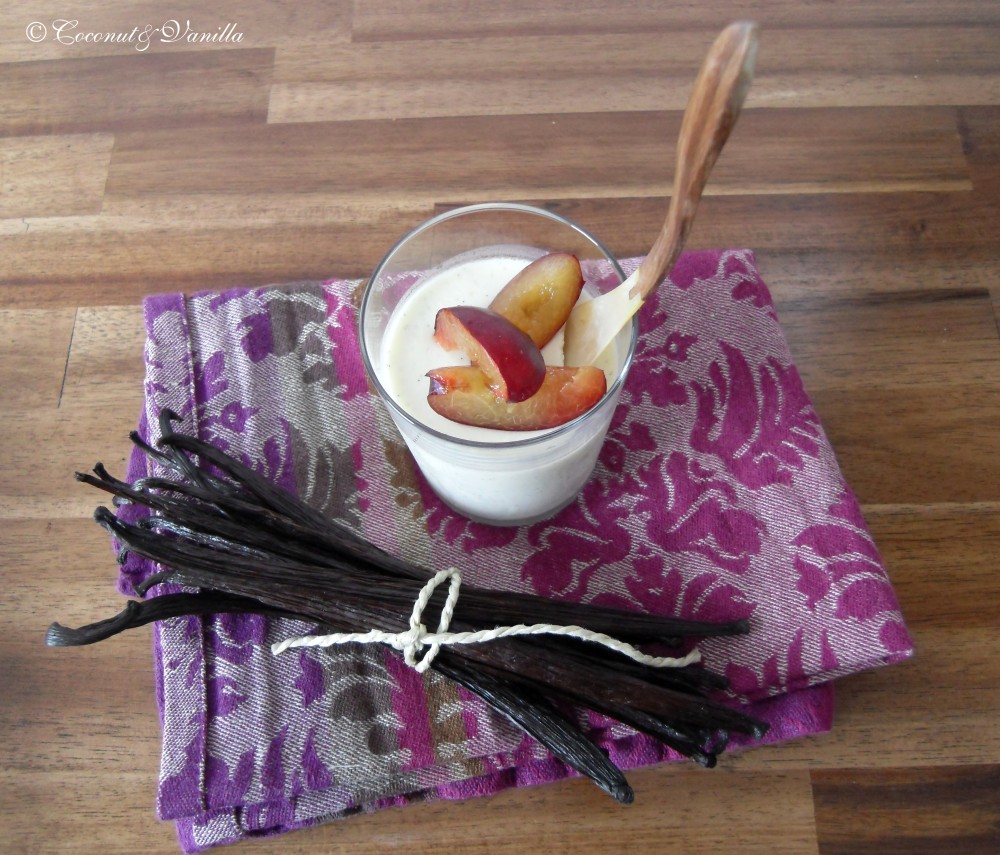
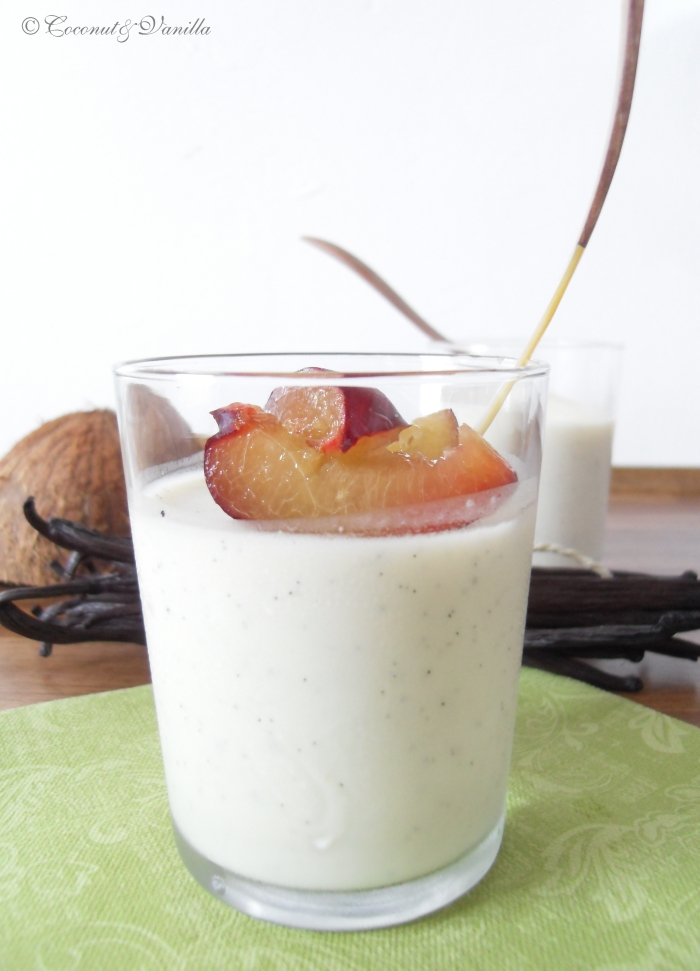
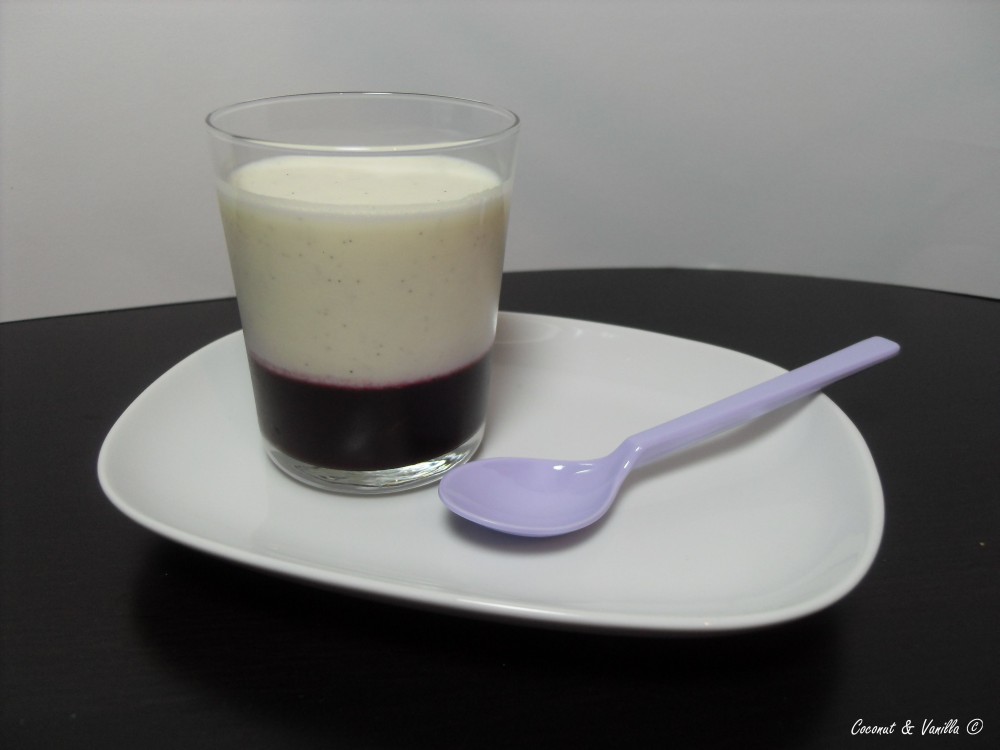
One year ago, as I started this whole thing I was wondering how I should name it. And that’s not so easy, since there are a lot of blogs out there. But it didn’t took me long… One of my favourite desserts is panna cotta. And Coconut Panna Cotta is the one I love the most! I like the taste of the coconut milk pairing with the vanilla. I like to bite on that tiny bits of vanilla seeds. I like how it sounds. So why not name it like a favourite dessert? And that is how it came that my blogs name is Coconut & Vanilla. For this occasion I want to share my very own recipe of it with you.

Kokos Panna Cotta

Vor einem Jahr: Death by Chocolate

One year ago I started this blog!

I’m glad that I took this step. And I’m proud how it developed. It’s more than I’ve ever thought it would be or I would have here. I want to thank everyone, who directed some kind words about it at me – here in the comments or just before the screen. I want to thank YOU for your visits!

Coconut Panna Cotta

In the last weeks I started to integrate some new features on the blog, like a Facebook page and even Twitter. Yeah, you’ve read right, Coconut & Vanilla has it’s own Facebook page! I would be pleased, if you jump over and become a fan. And if you want to know what I’m doing in the kitchen in between my blog posts, you can now follow me on Twitter and look over my shoulder.

Coconut Panna Cotta

Furthermore, with some help I invented a new blog design! It now looks fresher, cleaner and more personal. I hope you like it! I love it! We found those wonderful tomatoes, which you can see on my new banner, on the market in our area.

We bought them at my favourite stall, which sells fruit, vegetables and flowers they’ve grown by themselves. Last Saturday we bought there the most beautiful flower bouquet I’ve ever seen! I love to meander through the stalls and look at all the beautiful vegetables, flowers, fruit, cheese, bread, meat, olives, marinated sheep milk cheese… just everything you need. It’s the perfect beginning of the weekend and you get almost everything you need for the week.

Coconut Panna Cotta

One year ago, as I started this whole thing I was wondering how I should name it. And that’s not so easy, since there are a lot of blogs out there. But it didn’t took me long… One of my favourite desserts is panna cotta. And Coconut Panna Cotta is the one I love the most! I like the taste of the coconut milk pairing with the vanilla. I like to bite on that tiny bits of vanilla seeds. I like how it sounds. So why not name it like a favourite dessert? And that is how it came that my blogs name is Coconut & Vanilla. For this occasion I want to share my very own recipe of it with you.

Coconut Panna Cotta

One year ago: Death by Chocolate

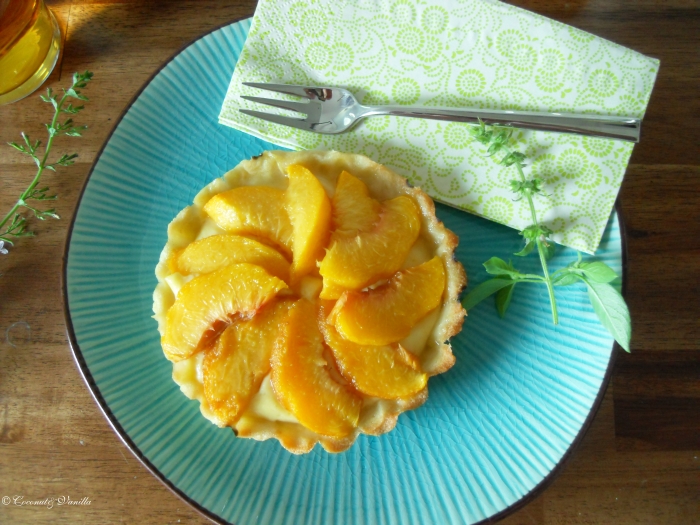
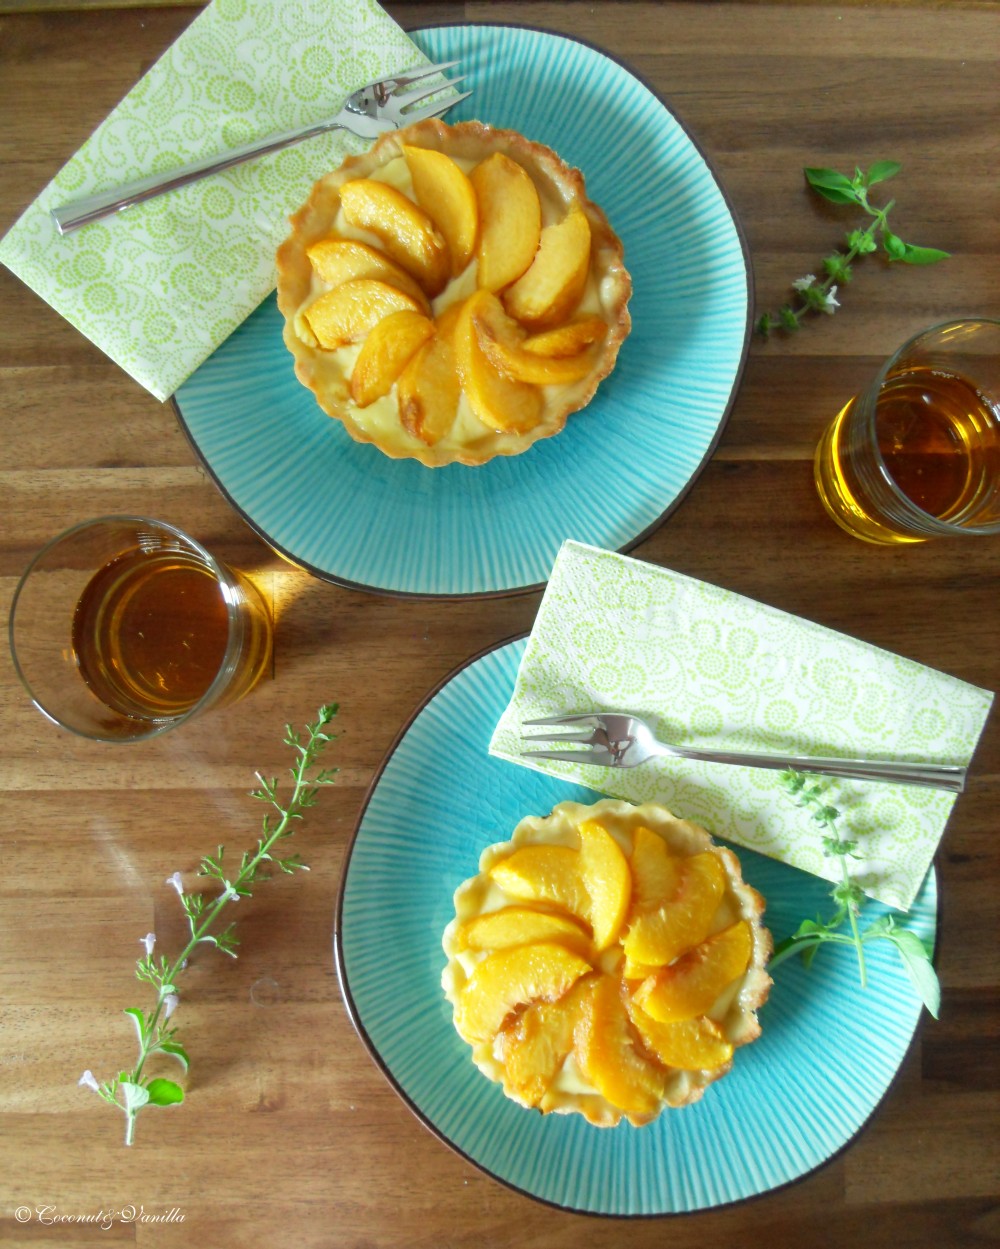
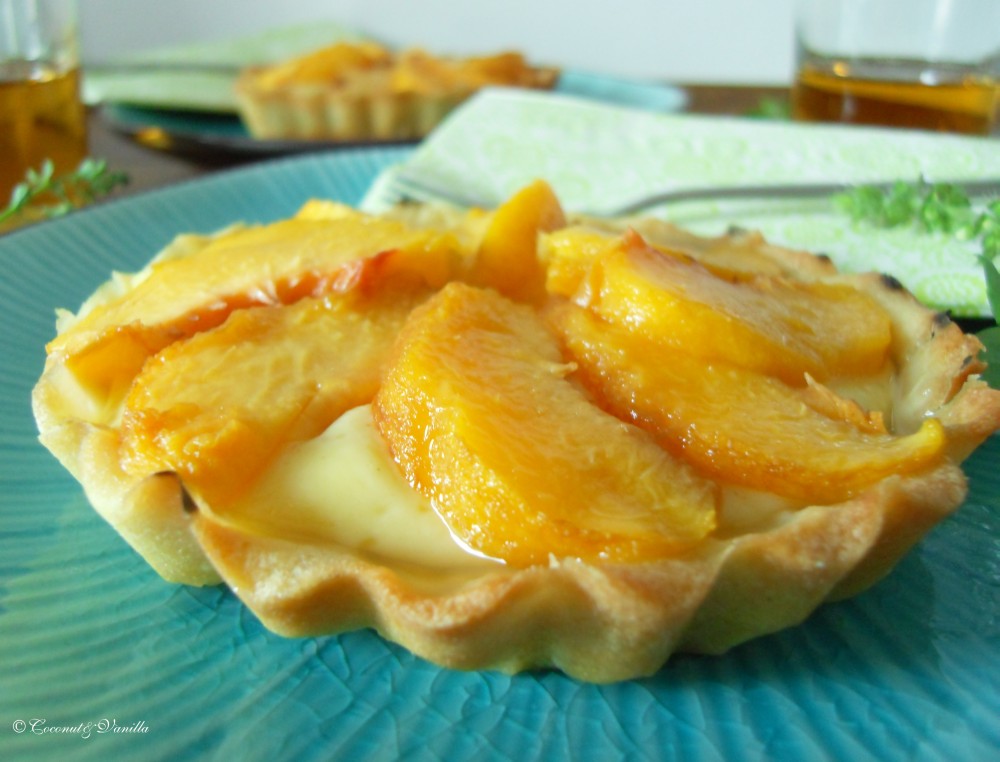
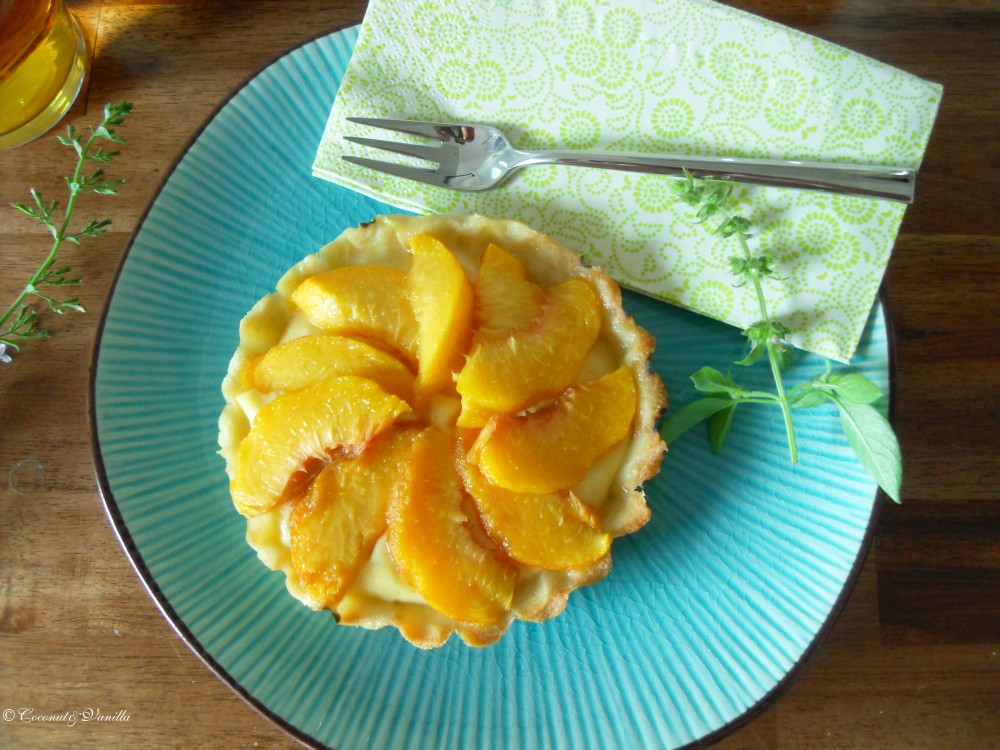
Pfirsich TartelettesPeach Tartelettes

Update: Für das deutsche Rezept nach unten scrollen!

About a month ago I promised some tartelettes. Actually apricot tartelettes. But as the case may be, they looked good, but the apricots just tasted like nothing. Additionally something was missing. Some cream, which would flatter your palate. Maybe vanilla? So an idea was born.

Peach Tartelettes

1. Pâte sucrée: which I also used for the failed apricot tartelettes, but which is very good. I adapted it from Michel Roux. It’s a bit sticky, but so you only have to press the dough in your molds. No rolling out! If you are making this dough, you have to use butter! Don’t use shortening (Koch-,Back- oder Streichfett)! Trust me, I’ve tried. Also stick to the chilling time. It’s both worth for handling and taste!

Peach Tartelettes

2. Crème pâtissiére: A very fine and also light cream filling for the tartelettes, which has just a slight sweetness and good taste of vanilla. I recommend to use vanilla extract. I also made it with vanilla pods, but I prefer the taste of the vanilla extract. If you don’t know, where to get some vanilla extract, without going to expense, just make your own. I just did it myself and it’s super easy.

Peach Tartelettes

3. Peaches! There is nothing much to say here, just use some that are already ripe and of course have a good taste! Not just like my apricots…

MeloneneisMelon Ice Cream

Update: Für das deutsche Rezept nach unten scrollen!

There’s nothing much to say or to do these days. One word is enough. HOT! About 37°C every day, since two weeks. I do not complain, as we didn’t had any real spring this year, nor often really hot summers. And summers are short and I don’t like winter. I really prefer summer. Every bite of it. So I’m not complaining. But to boost my study work, I beg for some rain, so the apartment can again cool down a bit.

Meloneneis

The heat also makes me sad a little bit… I am not able to use the stove, or even the oven. It’s just not possible. I’m looking for refreshments all day, be it for dessert or lunch or dinner, where the oven/stove can be kept off or at least used at its minimum. Feel free to share any good recipes. I’m looking forward to that!

Meloneneis

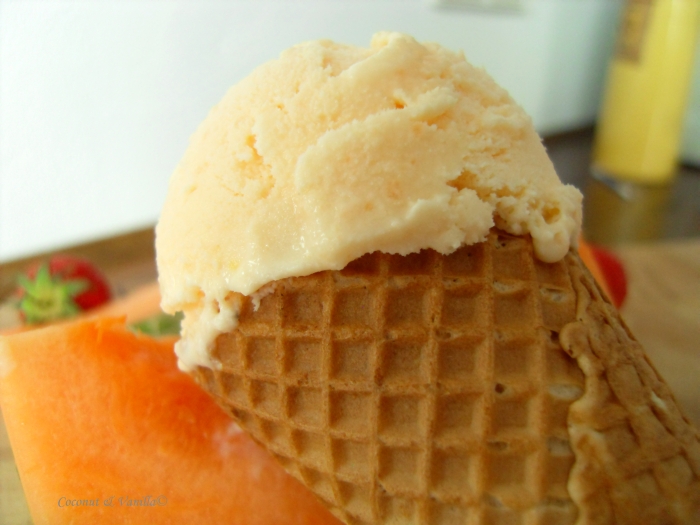
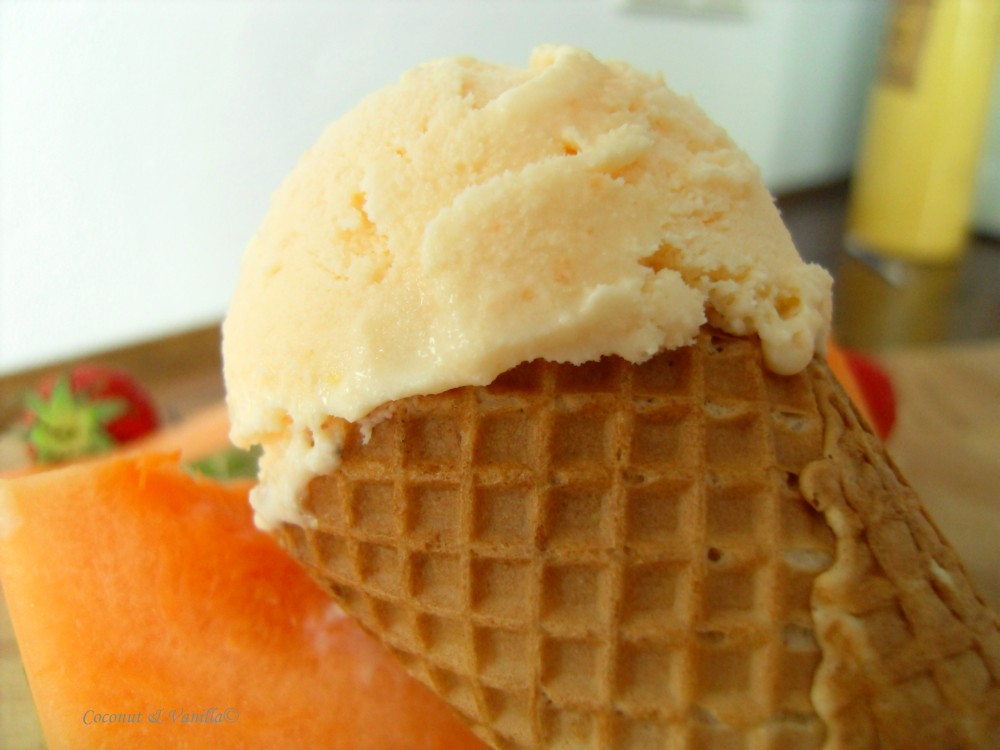
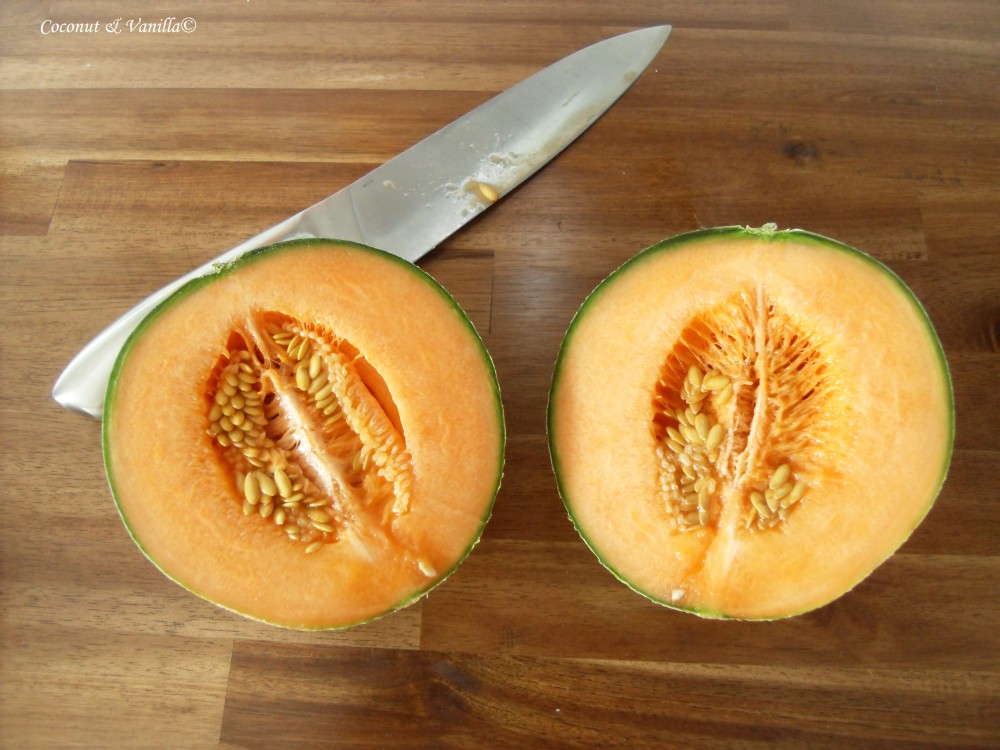
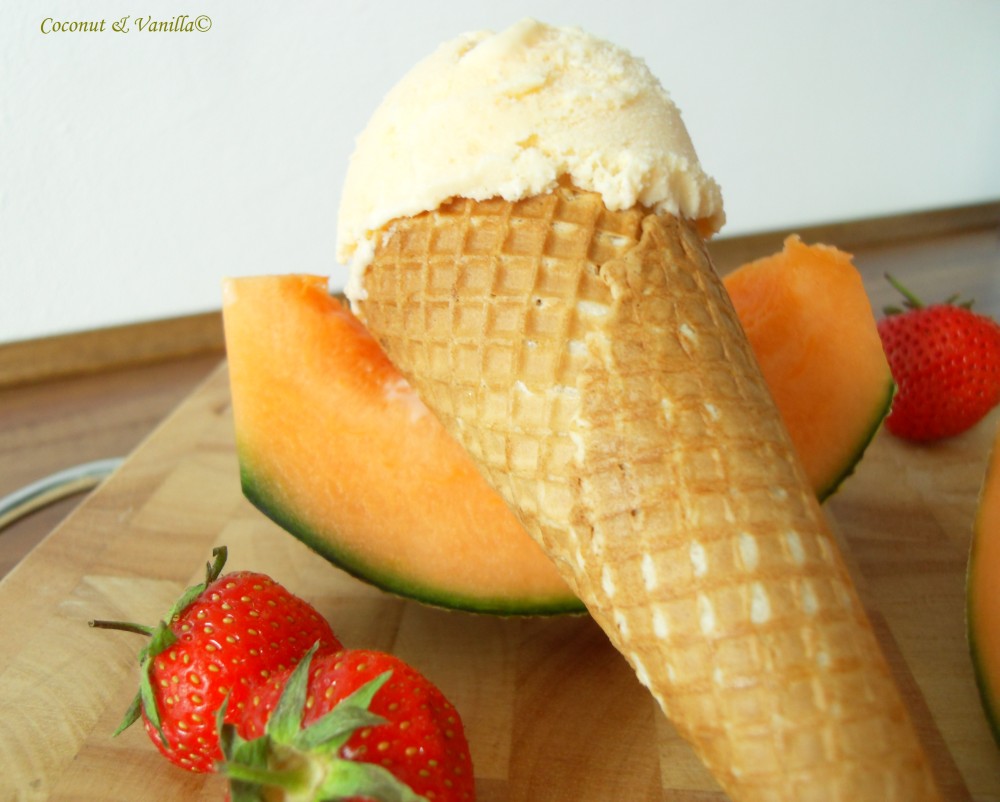
I offer you a really delicious refreshment: Melon Ice Cream. I don’t know, if it works without an ice cream maker. But take it as a sign and buy yourself one (at least, if you’re an ice cream lover, as we are). It’s easy and you will never return to bought one. It’s just better! You can make whatever ice cream you like… I mean who wouldn’t want to have chocolate-coated peanut-bites in his ice cream? Ok ok… at least me. So after my anthem on ice cream makers, I won’t disturb you any longer and give you the recipe.

Meloneneis

There’s nothing much to say or to do these days. One word is enough. HOT! About 37°C every day, since two weeks. I do not complain, as we didn’t had any real spring this year, nor often really hot summers. And summers are short and I don’t like winter. I really prefer summer. Every bite of it. So I’m not complaining. But to boost my study work, I beg for some rain, so the apartment can again cool down a bit.

Melon Ice Cream

The heat also makes me sad a little bit… I am not able to use the stove, or even the oven. It’s just not possible. I’m looking for refreshments all day, be it for dessert or lunch or dinner, where the oven/stove can be kept off or at least used at its minimum. Feel free to share any good recipes. I’m looking forward to that!

Melon Ice Cream

I offer you a really delicious refreshment: Melon Ice Cream. I don’t know, if it works without an ice cream maker. But take it as a sign and buy yourself one (at least, if you’re an ice cream lover, as we are). It’s easy and you will never return to bought one. It’s just better! You can make whatever ice cream you like… I mean who wouldn’t want to have chocolate-coated peanut-bites in his ice cream? Ok ok… at least me. So after my anthem on ice cream makers, I won’t disturb you any longer and give you the recipe.

Melon Ice Cream

Erdbeer-Melonen-SüppchenStrawberry Melon Soup

Update: Für das deutsche Rezept nach unten scrollen!

Erdbeer-Melonen-Süppchen

Today would be the perfect alibi for a big cake or even torte. But I’m not a fan of the big desserts, I’m more for smaller ones. But then a lot. Not to mention the high temperatures, that are dominating the country these days. So I’m presenting you with a refreshing delicate easy-to-make fruit soup. With this fruit soup, a mini barbecue tonight, some apricot tartelettes (which will be following here), sparkling wine and watching Germany win, we’ll be celebrating my becoming of a quarter of a century. If you have some sparkling wine near you, grab it and I invite you to raise your glasses with us. Also you can drop a teaspoon full of your fruit soup in it – yum.

For this soup almost every fruit is possible. Choose what you like and what you can get. If you prefer something to chew, keep some chopped fruit back and give it in your soup right before serving.

Strawberry-Melon-Soup

Today would be the perfect alibi for a big cake or even torte. But I’m not a fan of the big desserts, I’m more for smaller ones. But then a lot. Not to mention the high temperatures, that are dominating the country these days. So I’m presenting you with a refreshing delicate easy-to-make fruit soup. With this fruit soup, a mini barbecue tonight, some apricot tartelettes (which will be following here), sparkling wine and watching Germany win, we’ll be celebrating my becoming of a quarter of a century. If you have some sparkling wine near you, grab it and I invite you to raise your glasses with us. Also you can drop a teaspoon full of your fruit soup in it – yum.

For this soup almost every fruit does go. Choose what you like and what you can get. If you prefer something to chew, keep some chopped fruit back and give it in your soup right before serving.

Friandaises mit roten JohannisbeerenRed Currant Friandaises

Update: Für das deutsche Rezept nach unten scrollen!

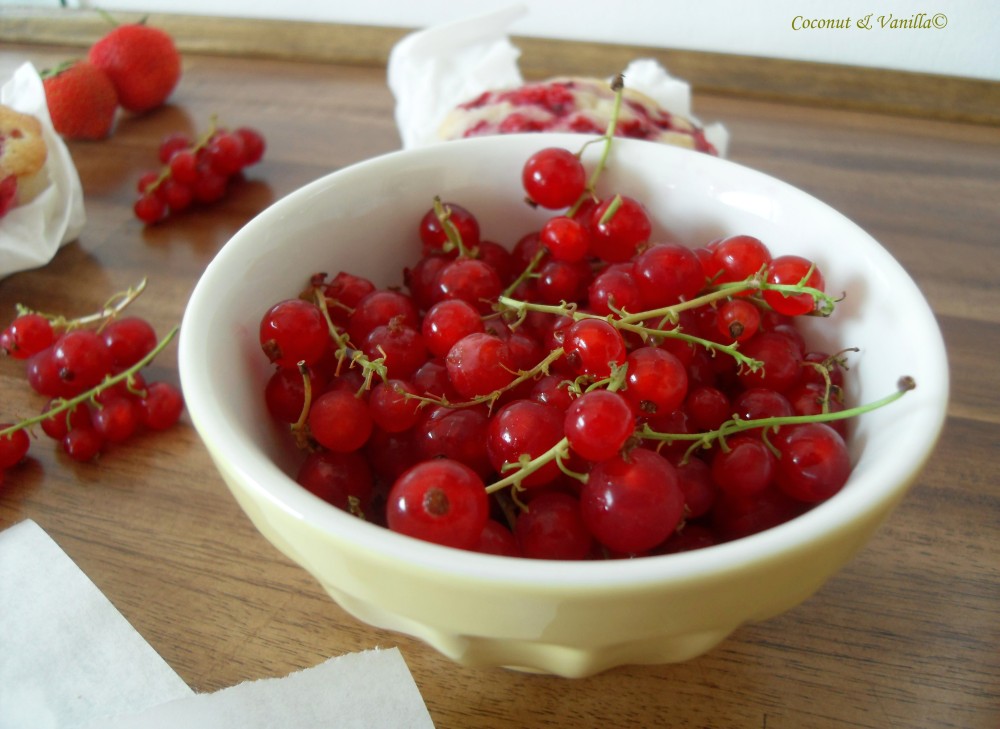
When I remember of red currants, I think of me as a child, standing in front of the red currant bushes in the garden of my relatives in Coburg. Just plucking and nibbling one after the other with pleasure. Really loved that time of year, since I’m still loving it today. And I’m still in love with red currants.

Friandaises mit roten Johannisbeeren

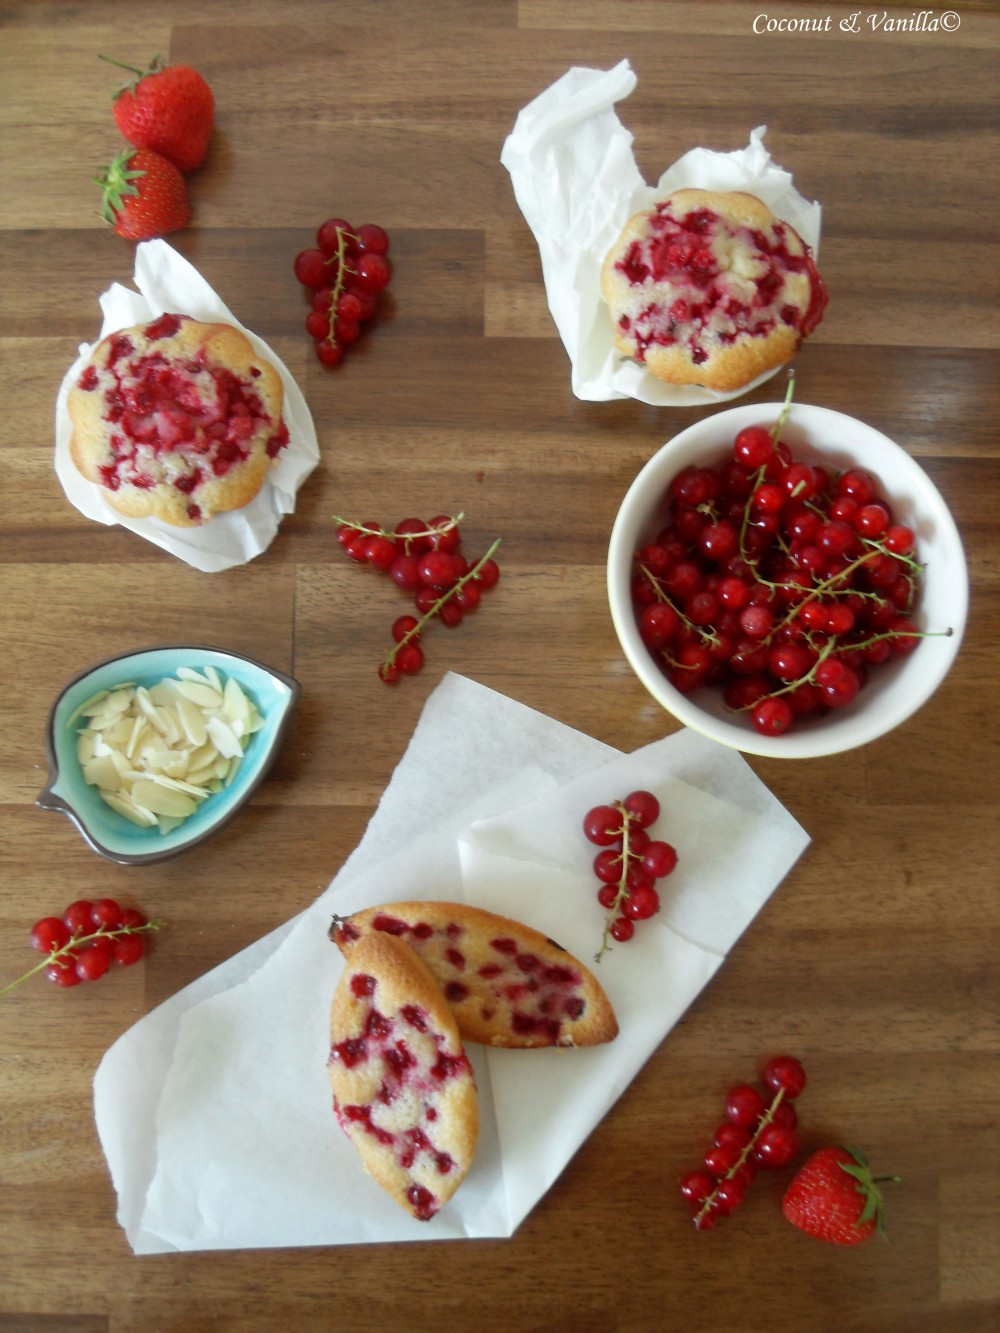
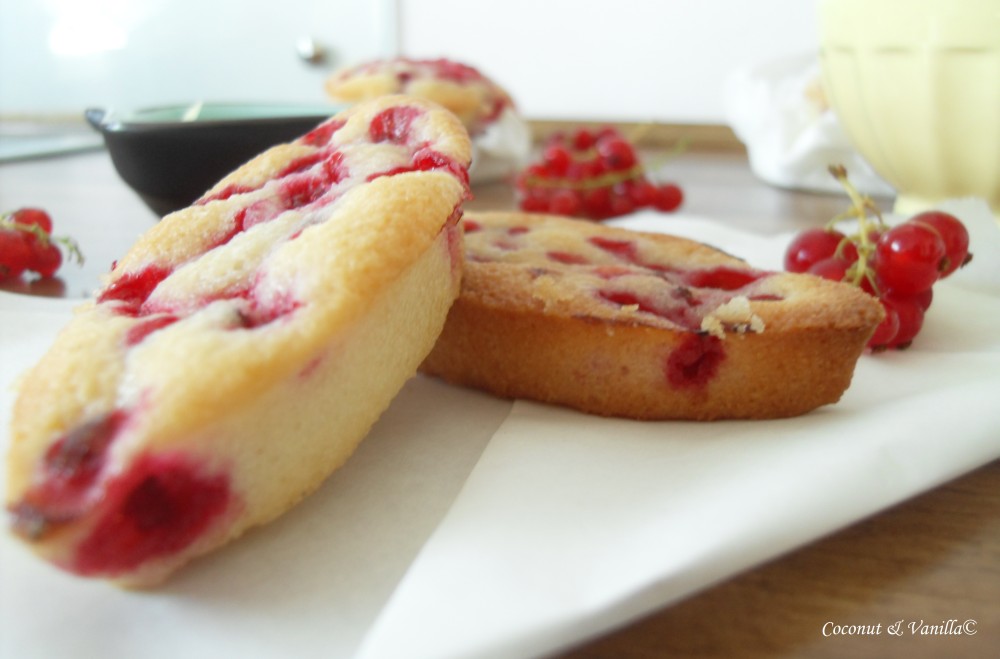
Unfortunately we don’t have a garden, so no nibbling them straight from the bushes for me. But by the time you buy them and they are coming in boxes, it isn’t so tempting anymore to eat them straight away. So I thought about what I could do with them anyway. Since I was also looking for something, which uses up some of my left over egg whites, I just thought of friandaises. Usually I make them with flaked almonds. The friandaises are light and mellow pastries with crunchy edges. They are divine! And they use up 6 egg whites!

Friandaises mit roten Johannisbeeren

I substituted the almond flakes with red currants. The red currants are really pairing well in the friandaises! I’m evenly surprised, how good the red currants come of in pastry in general. So maybe there will be coming up more with them!

Friandaises mit roten Johannisbeeren

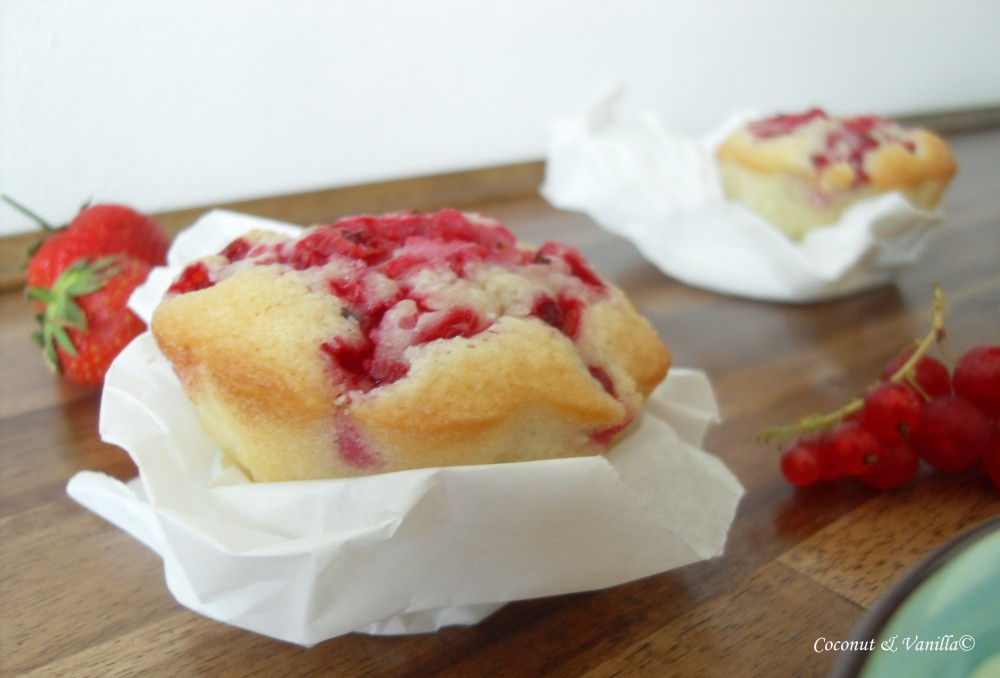
Traditionally friandaises are baked in little moulds formed like ships. But since It’s a lot of dough just for the ships I also put some dough in moulds, that were about the same size like muffin moulds. In the smaller moulds your friandaises will become more crispy, which I prefer. Another good option may be moulds for madeleines, since they are also very small.

Friandaises mit roten Johannisbeeren

Friandaises mit roten Johannisbeeren

When I remember of red currants, I think of me as a child, standing in front of the red currant bushes in the garden of my relatives in Coburg. Just plucking and nibbling one after the other with pleasure. Really loved that time of year, since I’m still loving it today. And I’m still in love with red currants.

Red Currant Friandaises

Unfortunately we don’t have a garden, so no nibbling them straight from the bushes for me. But by the time you buy them and they are coming in boxes, it isn’t so tempting anymore to eat them straight away. So I thought about what I could do with them anyway. Since I was also looking for something, which uses up some of my left over egg whites, I just thought of friandaises. Usually I make them with flaked almonds. The friandaises are light and mellow pastries with crunchy edges. They are divine! And they use up 6 egg whites!

Red Currant Friandaises

I substituted the almond flakes with red currants. The red currants are really pairing well in the friandaises! I’m evenly surprised, how good the red currants come of in pastry in general. So maybe there will be coming up more with them!

Red Currant Friandaises

Traditionally friandaises are baked in little moulds formed like ships. But since It’s a lot of dough just for the ships I also put some dough in moulds, that were about the same size like muffin moulds. In the smaller moulds your friandaises will become more crispy, which I prefer. Another good option may be moulds for madeleines, since they are also very small.

Red Currant Friandaises

Red Currant Friandaises

Himbeer-Schokoladen-EisRaspberry-Chocolate Ice Cream

Update: Für das deutsche Rezept nach unten scrollen!

Himbeer-Schokoladen-Eis

Finally we also have hot hot hot summer weather. To enjoy and celebrate this duly it’s time for some Gelato.

Some weeks ago I bought David Lebovitz‚ book The Perfect Scoop, which was a perfect purchase. Even if you are not in making some ice cream it is just a pleasure to read it.

Himbeer-Schokoladen-Eis

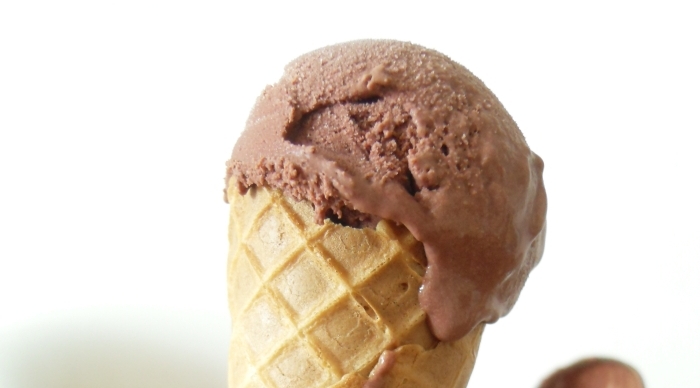
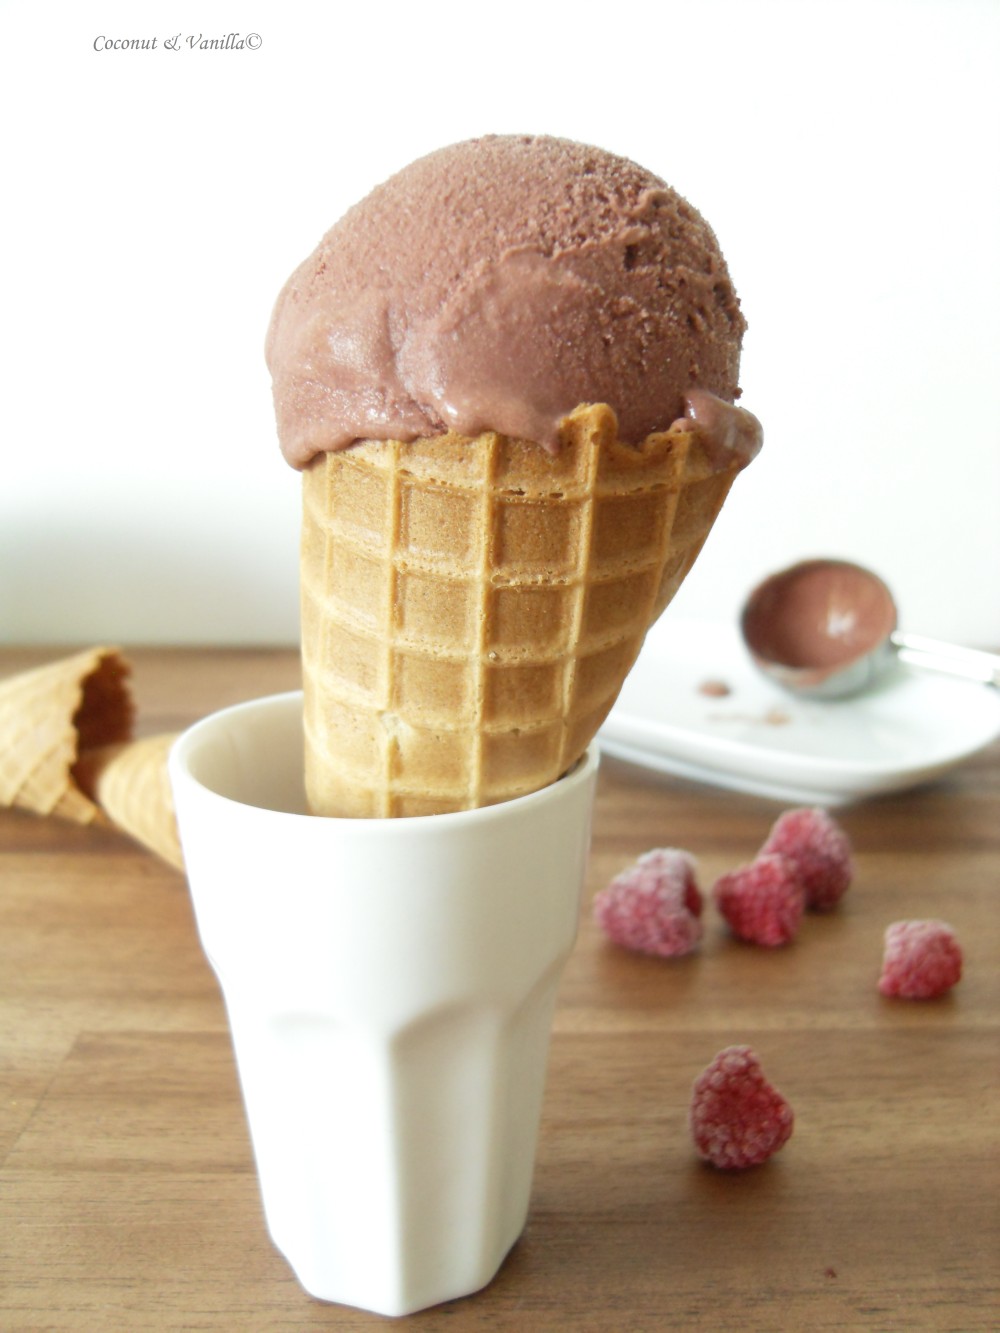
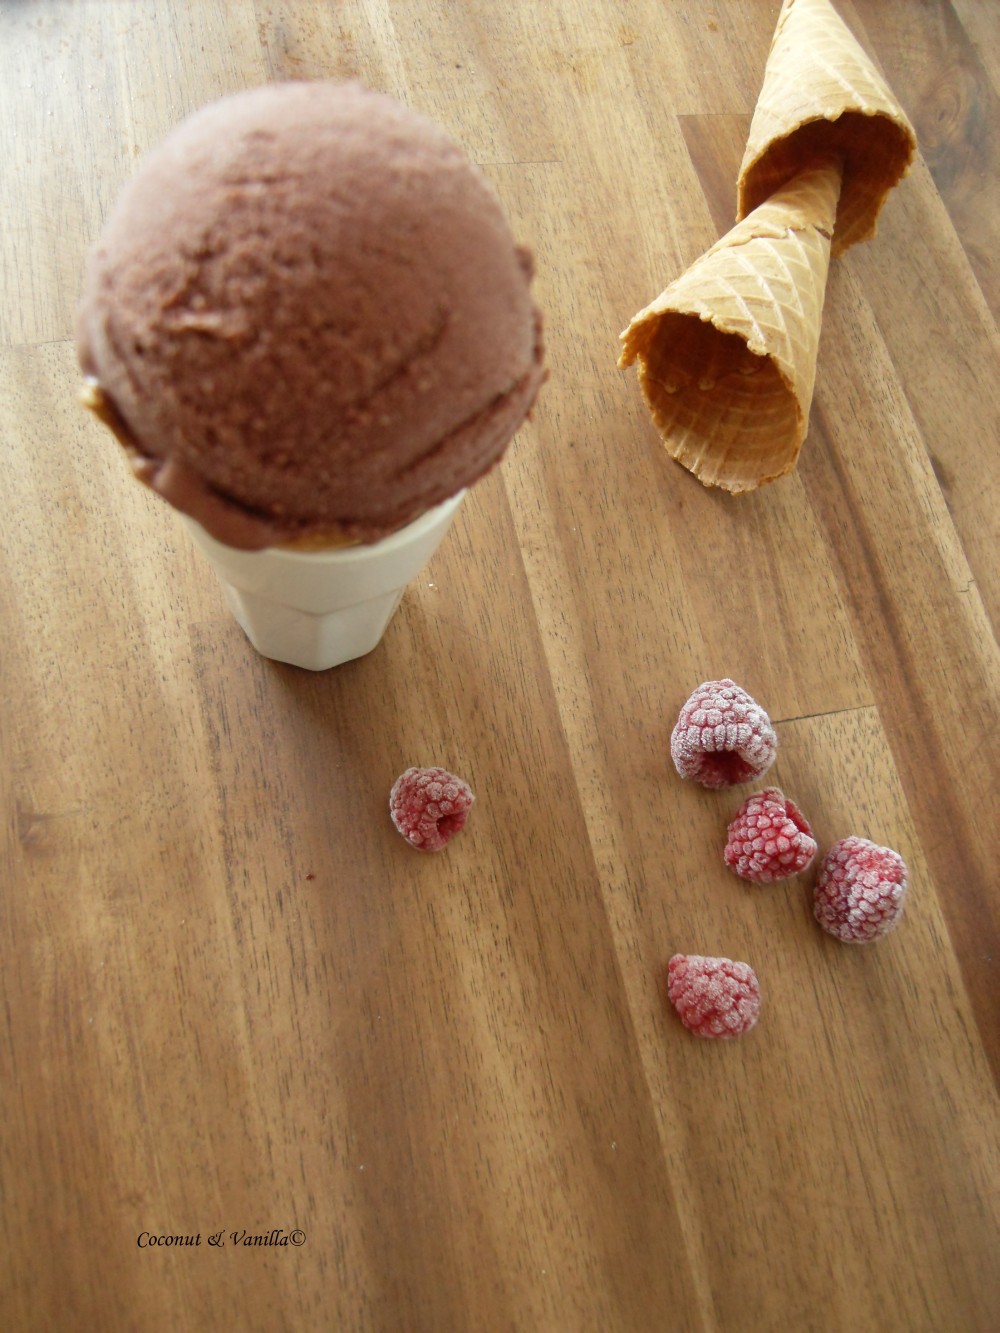
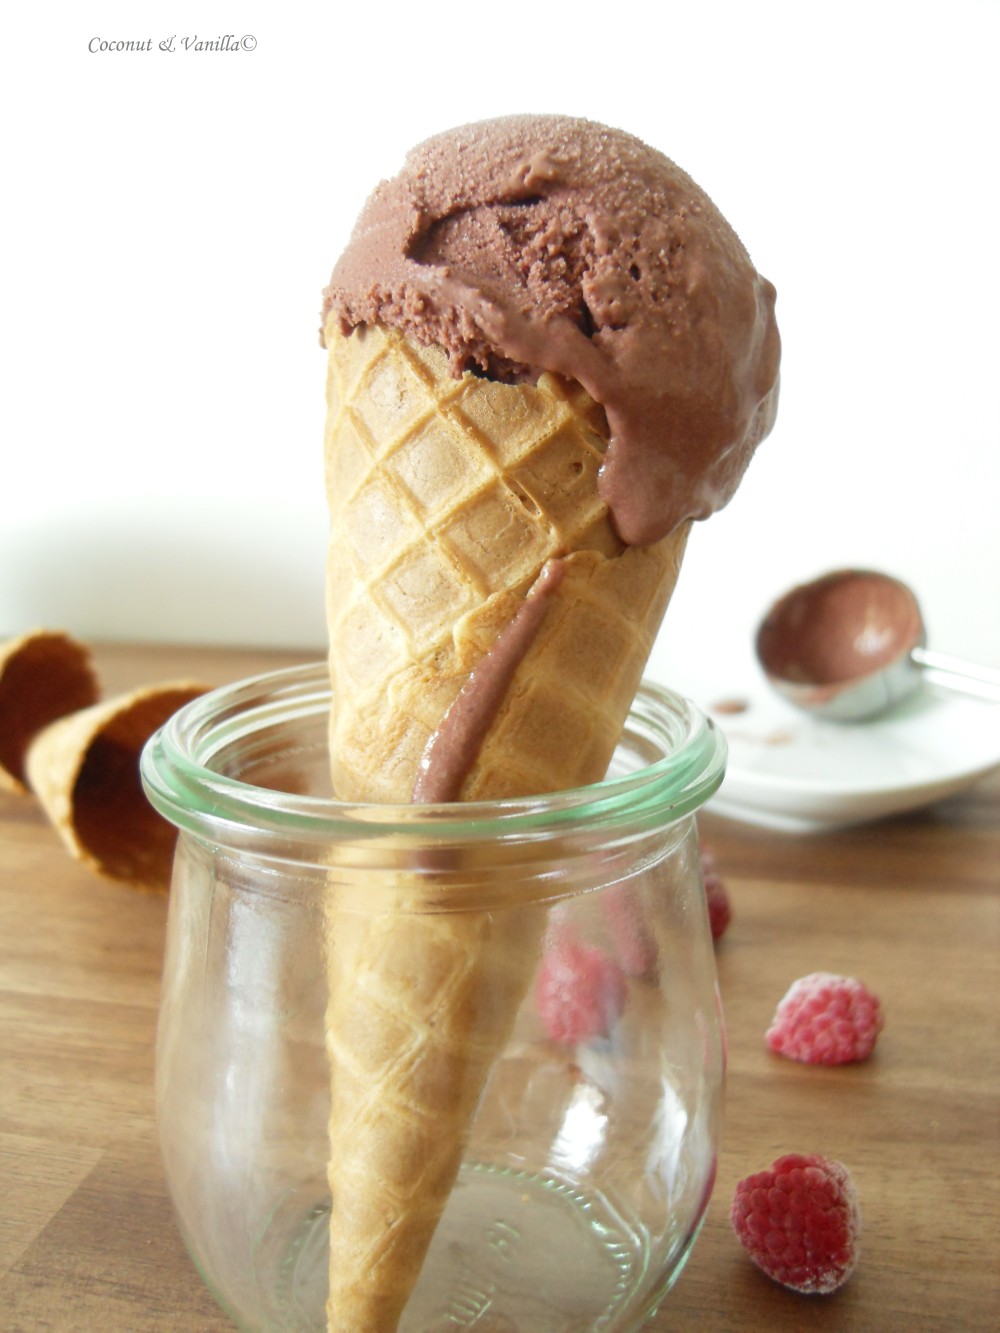
But back to the ice cream. We decided to try the raspberry-chocolate one first, because I LOVE the combination. David uses cocoa powder, but next time I will try it with some melted milk chocolate, which I prefer. But it is already very good with cocoa powder. Unfortunately it didn’t freeze in the ice cream maker. Don’t know why?! So I just popped it in a container in the freezer and oh wonder! it’s good anyway! That’s a good gelato! So I think, it will work properly even without the machine. But if you are using one, be sure the mixture is really cold before you put it in the machine, maybe then you have a chance and it freezes in there.

Oh, and I really recommend you to use some good-quality ice cream cones with it! It’s worth it! But I’m one of those people, who could just eat the cone! I love ice cream cones… yum!

Himbeer-Schokoladen-Eis

Raspberry-Chocolate Ice Cream

Finally we also have hot hot hot summer weather. To enjoy and celebrate this duly it’s time for some Gelato.

Some weeks ago I bought David Lebovitz‚ book The Perfect Scoop, which was a perfect purchase. Even if you are not in making some ice cream it is just a pleasure to read it.

Raspberry-Chocolate Ice Cream

But back to the ice cream. We decided to try the raspberry-chocolate one first, because I LOVE the combination. David uses cocoa powder, but next time I will try it with some melted milk chocolate, which I prefer. But it is already very good with cocoa powder. Unfortunately it didn’t freeze in the ice cream maker. Don’t know why?! So I just popped it in a container in the freezer and oh wonder! it’s good anyway! That’s a good gelato! So I think, it will work properly even without the machine. But if you are using one, be sure the mixture is really cold before you put it in the machine, maybe then you have a chance and it freezes in there.

Oh, and I really recommend you to use some good-quality ice cream cones with it! It’s worth it! But I’m one of those people, who could just eat the cone! I love ice cream cones… yum!

Raspberry-Chocolate Ice Cream

Zitronen-Rosmarin-KekseLemon-Rosemary-Cookies

Update: Für das deutsche Rezept nach unten scrollen!

Zitronen-Rosmain-Kekse

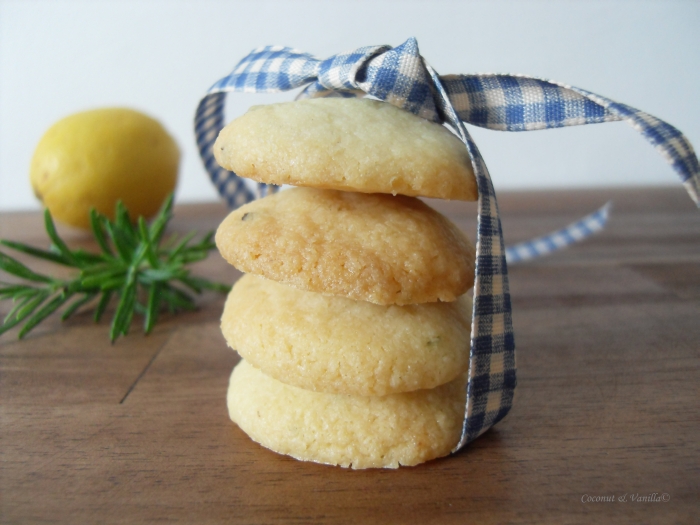
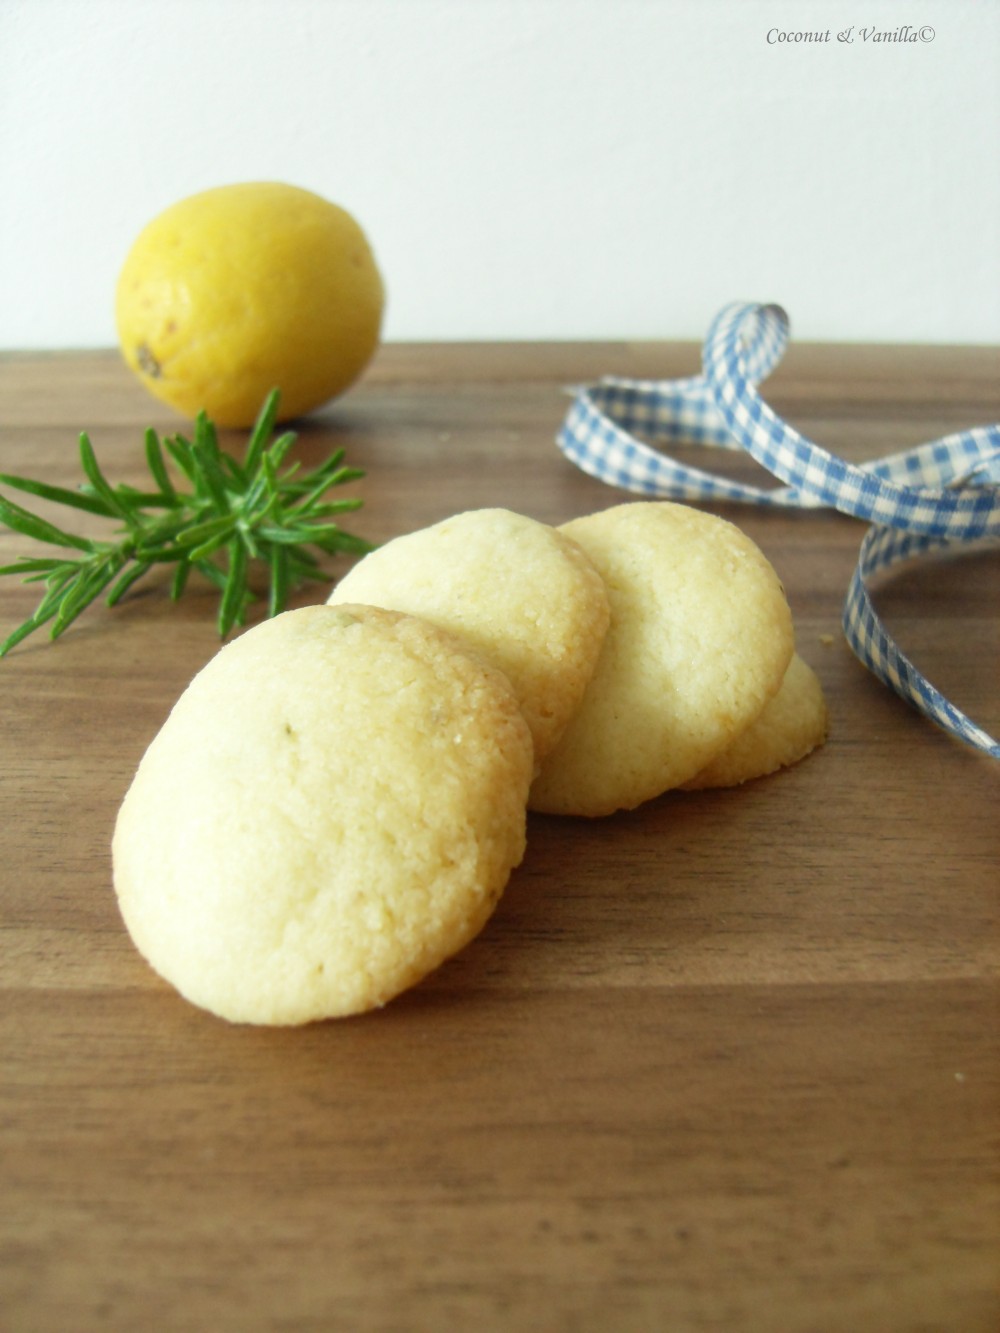
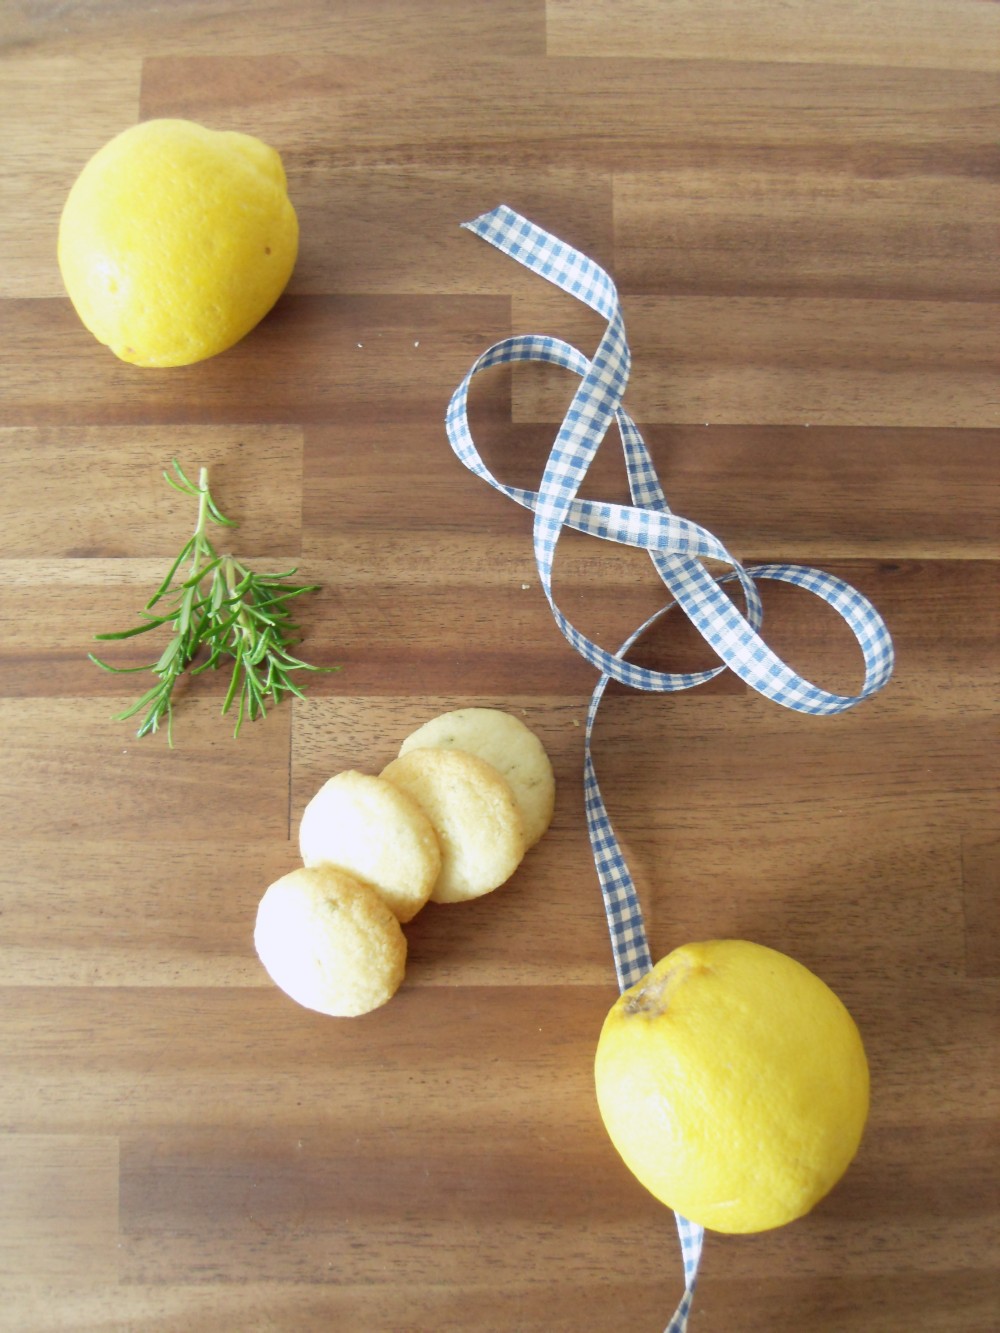
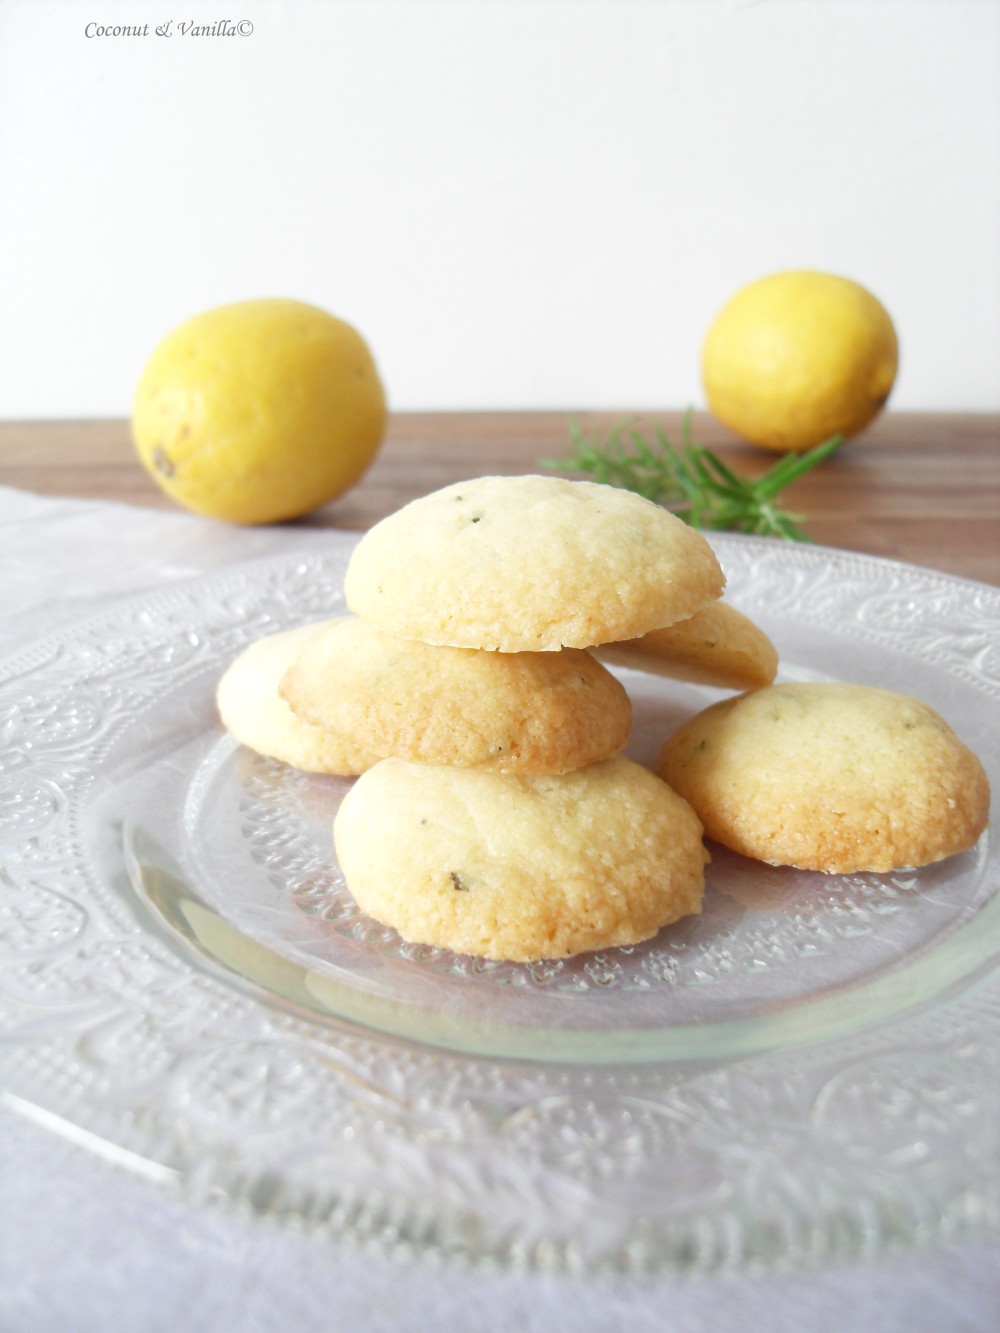
 I love some particular cookies, which are unfortunately very pricey and so I don’t buy them very often. For truth never. They are made of spelt flour; lemon and rosemary are added.

By chance I tried a recipe last week, out of which came my almost beloved cookies. It wasn’t my intention to do so. But it was a nice discovery.

Zitronen-Rosmain-Kekse

 I used a recipe from Joy. I adapted it a bit while making the dough, since I didn’t like the original consistency and taste of the dough. The original recipe called for rolling out the dough and cut cookies out with cookies cutters. Well it wasn’t possible. Not nearly. The dough was very soft. Although I already added flour. But next time I will try to get the texture for rolling it out, since I want to shape the cookies like small leaves – like my favourite cookies. This time I worked with wheat flour, but next time I will use spelt flour, too. Maybe that also helps with the texture, since spelt flour adsorbs more moisture.

Zitronen-Rosmain-Kekse

But apart from the texture (and that’s only a thing of what cookie shape you like more in the end) the cookies are great! They are so flaky! And its just are heavenly combination: lemon and rosemary.

Zitronen-Rosmain-Kekse


Lemon-Rosemary-Cookies

I love some particular cookies, which are unfortunately very pricey and so I don’t buy them very often. For truth never. They are made of spelt flour; lemon and rosemary are added.

By chance I tried a recipe last week, out of which came my almost beloved cookies. It wasn’t my intention to do so. But it was a nice discovery.

Lemon-Rosemary-Cookies

I used a recipe from Joy. I adapted it a bit while making the dough, since I didn’t like the original consistency and taste of the dough. The original recipe called for rolling out the dough and cut cookies out with cookies cutters. Well it wasn’t possible. Not nearly. The dough was very soft. Although I already added flour. But next time I will try to get the texture for rolling it out, since I want to shape the cookies like small leaves – like my favourite cookies. This time I worked with wheat flour, but next time I will use spelt flour, too. Maybe that also helps with the texture, since spelt flour adsorbs more moisture.

Lemon-Rosemary-Cookies

But apart from the texture (and that’s only a thing of what cookie shape you like more in the end) the cookies are great! They are so flaky! And its just are heavenly combination: lemon and rosemary.

Lemon-Rosemary-Cookies

Rhabarber-Streusel-KuchenRhubarb Streusel Cake

Update: Für das deutsche Rezept nach unten scrollen!

Finally I’m done with my oral exam and back from Vienna! The exam was just fine and I will be writing and showing you my photos of Vienna soon!

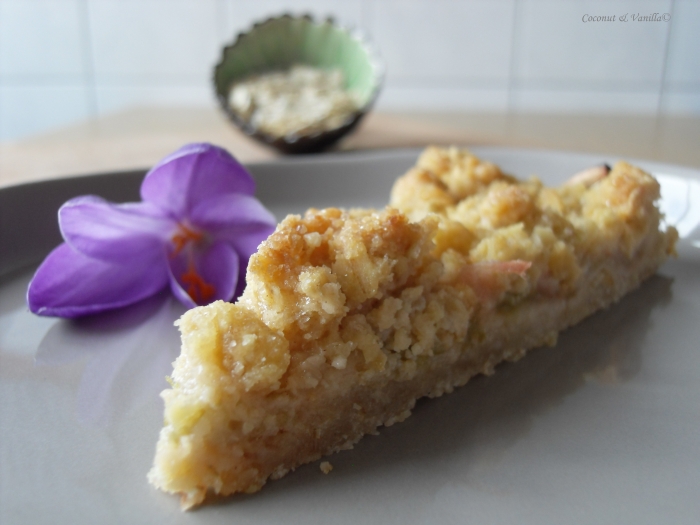
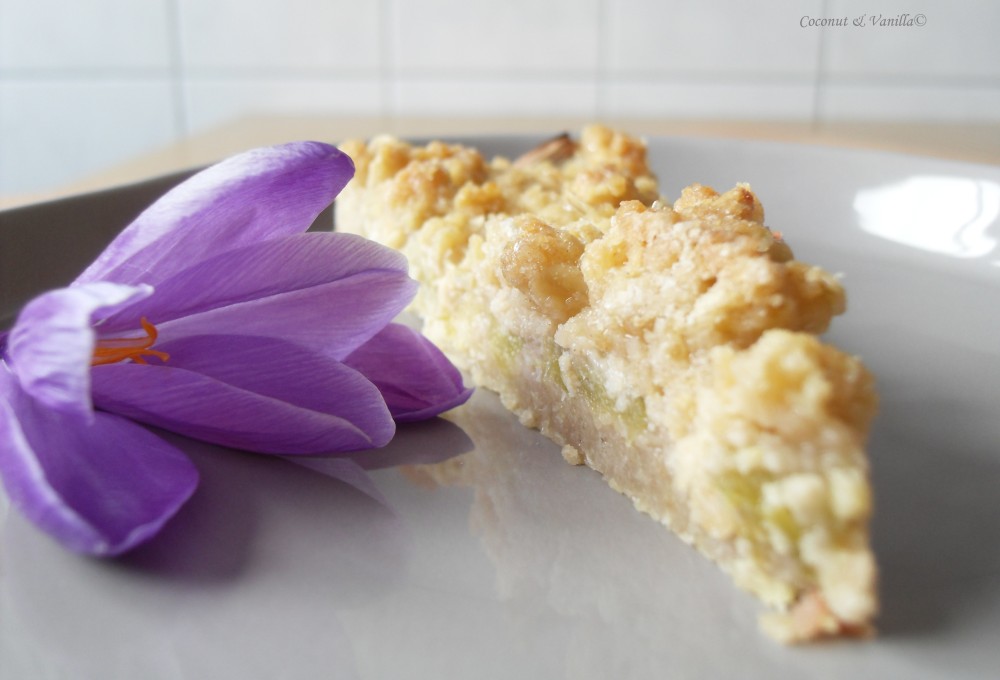
But first I will show you more about that cake, that I gave you hint of in my last post. Because it’s easy-peasy, quickly done and mouth-watering. I mean it’s containing streusel! Everything with streusel is yummy! The cake is so mouth-watering and fast, that I’ve done it two times in two weeks! Which is often, since I’m not repeating cake recipes that often.

Rhabarber-Streusel-Kuchen

The first time I used some leftover frozen rhubarb from last summer from Elke and Martin’s garden – relatives of mine. The second time I saw the first German rhubarb and consequently I had to buy it. I cannot stand the first rhubarb of the year or rhubarb at all. I love it like all seasonal fruits and vegetables… I’m really looking forward to asparagus!

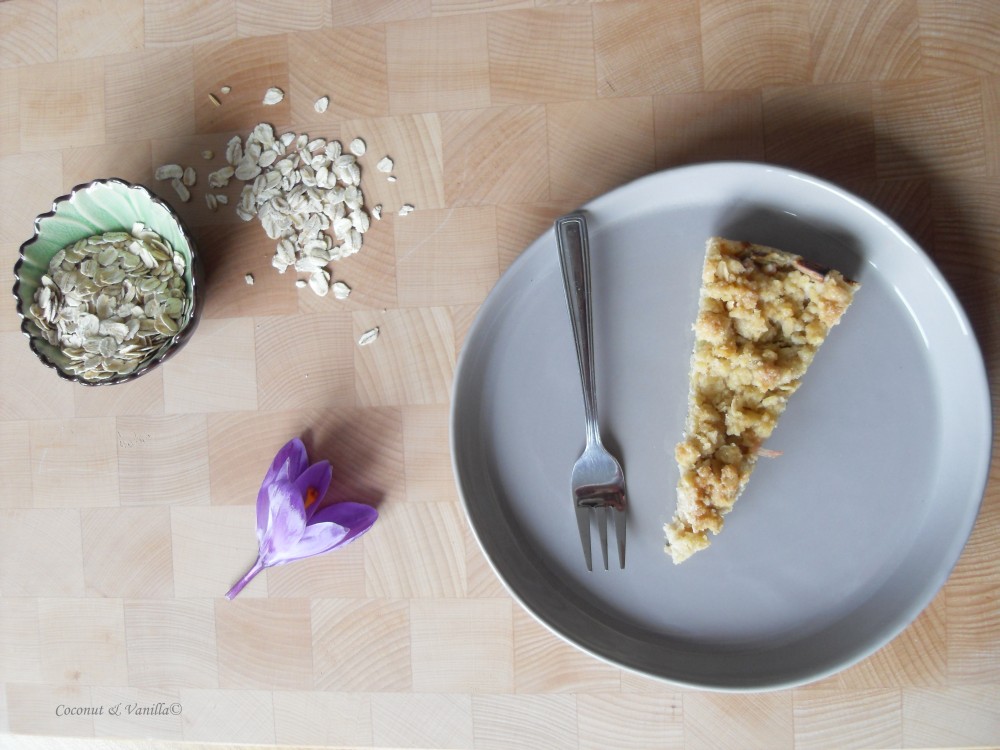
What’s also great with that cake is, that you only need a handful ingredients: Flour, rolled oats, butter, sugar, spices and of course rhubarb.

Rhabarber-Streusel-Kuchen

Just put all the ingredients, expect the rhubarb in your kitchen machine, let it do the work and the wonder is almost done. Some baking and your home is smelling so darn good. So grab yourself some rhubarb (if it’s too much for one batch, freeze the rest for another time, when you are craving for some cake), invest 10 minutes, wait until it’s baked golden-brown and enjoy!


Finally I’m done with my oral exam and back from Vienna! The exam was just fine and I will be writing and showing you my photos of Vienna soon!

But first I will show you more about that cake, that I gave you hint of in my last post. Because it’s easy-peasy, quickly done and mouth-watering. I mean it’s containing streusel! Everything with streusel is yummy! The cake is so mouth-watering and fast, that I’ve done it two times in two weeks! Which is often, since I’m not repeating cake recipes that often.

Rhubarb Streusel Cake

The first time I used some leftover frozen rhubarb from last summer from Elke and Martin’s garden – relatives of mine. The second time I saw the first German rhubarb and consequently I had to buy it. I cannot stand the first rhubarb of the year or rhubarb at all. I love it like all seasonal fruits and vegetables… I’m really looking forward to asparagus!

What’s also great with that cake is, that you only need a handful ingredients: Flour, rolled oats, butter, sugar, spices and of course rhubarb.

Rhubarb Streusel Cake

Just put all the ingredients, expect the rhubarb in your kitchen machine, let it do the work and the wonder is almost done. Some baking and your home is smelling so darn good. So grab yourself some rhubarb (if it’s too much for one batch, freeze the rest for another time, when you are craving for some cake), invest 10 minutes, wait until it’s baked golden-brown and enjoy!

Schokoladen Macarons mit HimbeerfüllungChocolate Macarons with Raspberry Filling

Update: Für das deutsche Rezept nach unten scrollen!

Schokoladen Macarons mit Himbeerfüllung

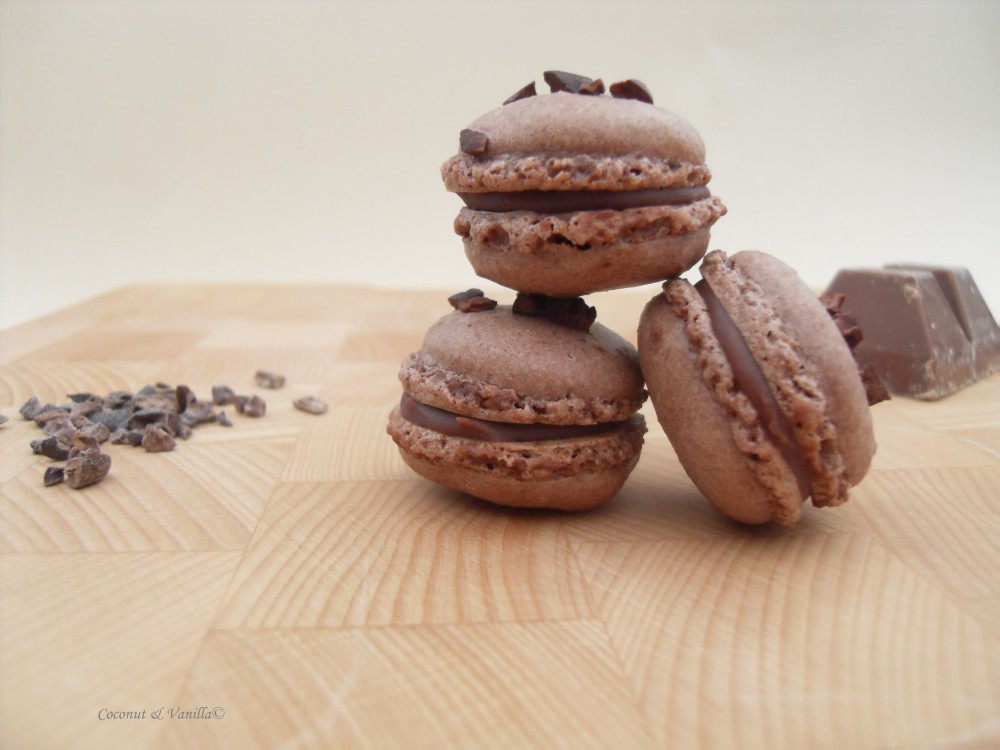
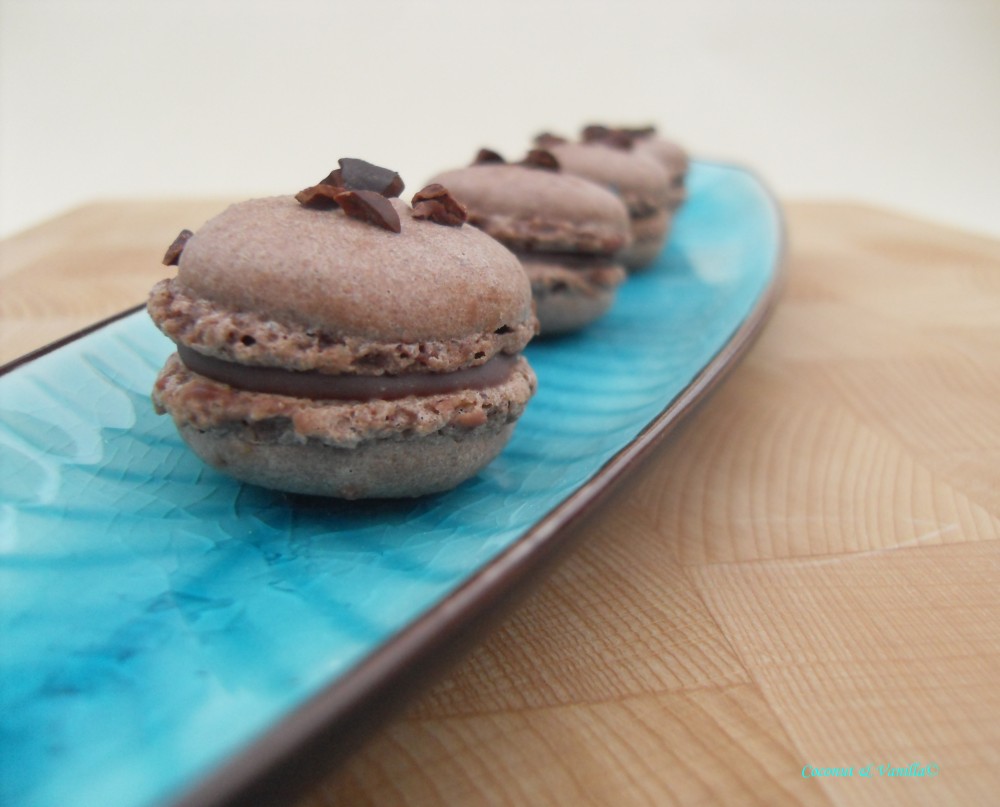
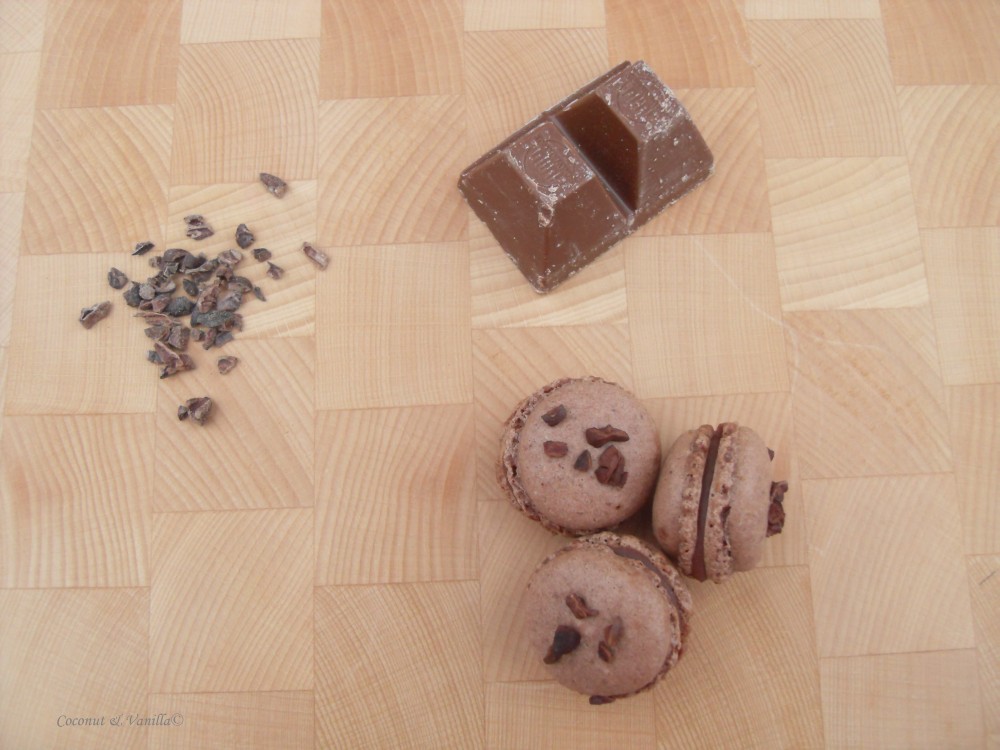
Since on the 20. March was Macaron Day I decided to show you my latest accomplishment in macarons.

Yes, there exists a special day for macarons! In Paris are special shops, that sell macarons all day long and on macarons day you can get some free! Unfortunately I never had the chance to be there (on macarons day or sometime else). As macarons are not very popular in Germany, ok unknown would be the better word… I mean most people don’t even know what cupcakes are… so you couldn’t say macarons are the new cupcakes ;). Anyway what I wanted to say is, that there won’t be shops in Germany, that sell macarons.

Schokoladen Macarons mit Himbeerfüllung

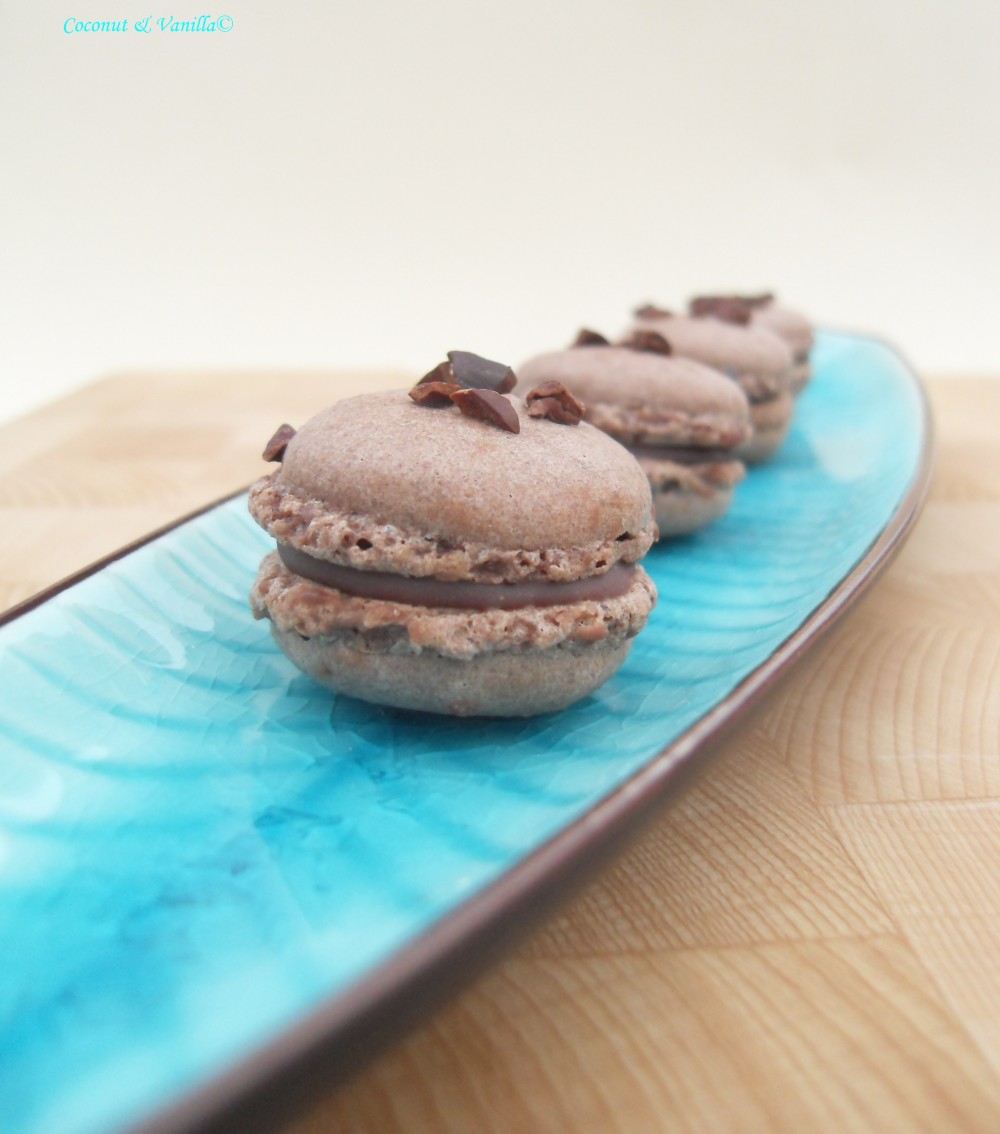
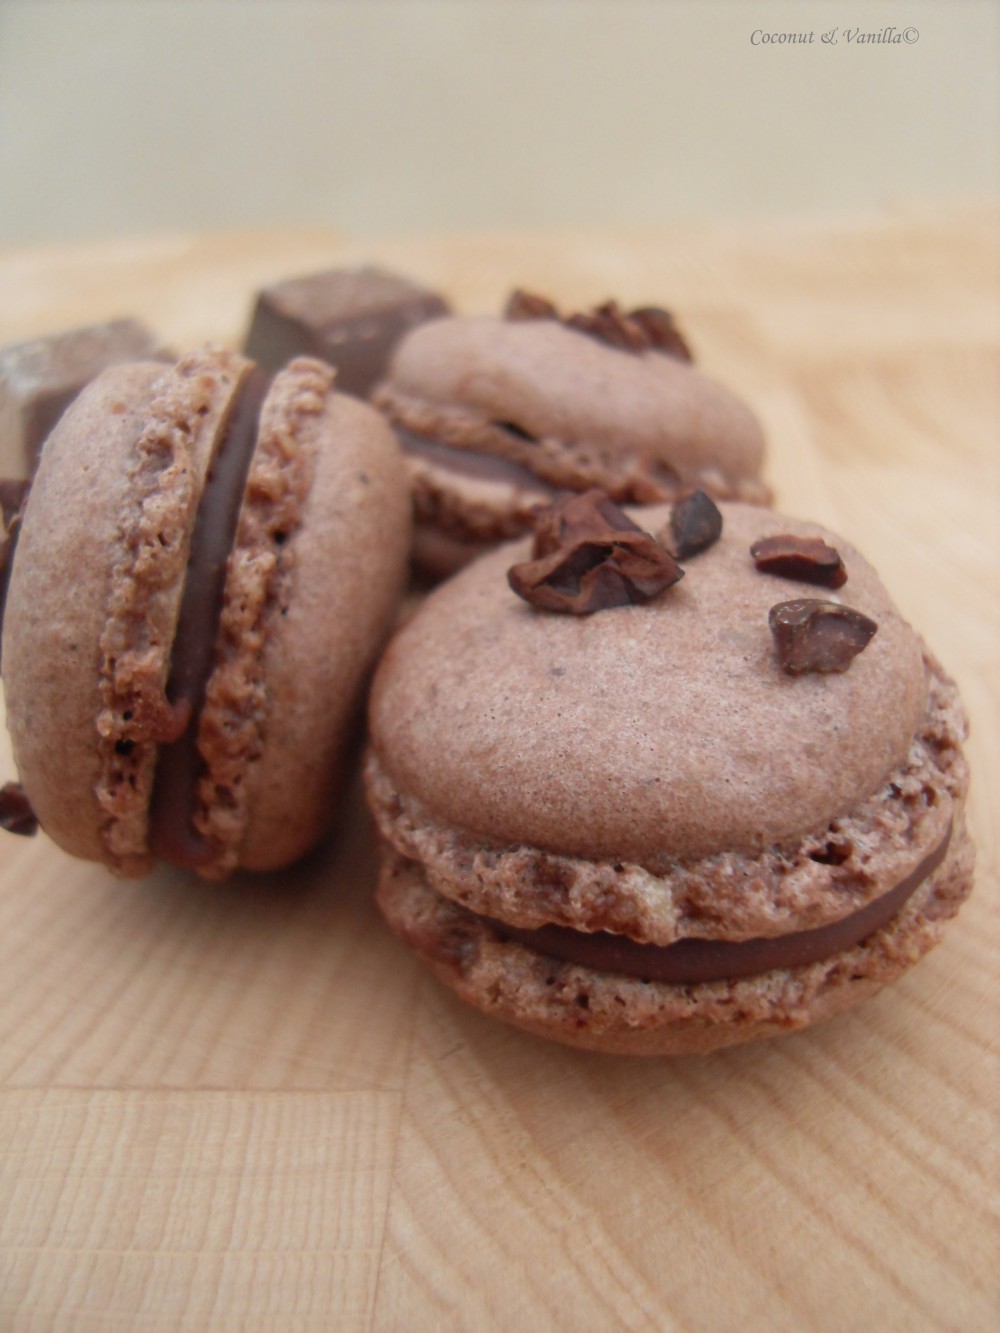
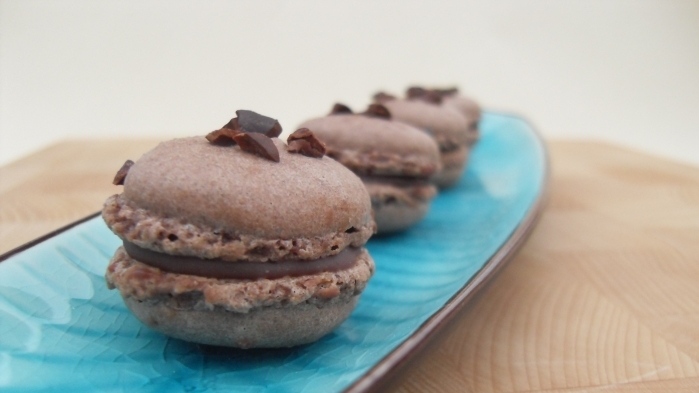
But most often I think anyway it’s better and more fun to do it myself. I mean look at those little beauties. Just want to grab one immediately and stuff it into my mouth.

And in your mouth you have the rich chocolate flavour and now you think “yeah and in the middle even more boring chocolate”… haha no! In the middle is chocolate (and do use the good one!) with raspberry puree! It’s soo delicious.

Schokoladen Macarons mit Himbeerfüllung

So if you didn’t do it, celebrate macarons day with some lovely macarons. Even more if you have some egg whites sitting in your fridge and you don’t know what do to with them. So you have to make some macarons, because it would be a pity to throw all the egg whites away. And you will feel a lot better, when you use them up and they are not looking at you anymore out of the fridge, making you guilty, because you don’t know what to do with them. Believe me, what a relief to make macarons!

And it is not difficult. Ok my first try wasn’t what I expected. They tasted good, but they didn’t look like macarons. So for some tipps, you can look up my first post with macarons.

Schokoladen Macarons mit Himbeerfüllung

Don’t be worried, if my post is looking some what different, because I’m trying it the first time with Windows Live Writer, instead of that Google crap. Yeah, you read right. It’s just driven me into insanity some times. So maybe that here works better. I’m yet “astonished” by the amount of fonts and options to embed my pictures. You see, after Google I’m very easy to impress.

But don’t want to bore you with that theoretical things.

Schokoladen Macarons mit Himbeerfüllung

chocolate macarons with raspberry filling

Since on the 20. March was Macaron Day I decided to show you my latest accomplishment in macarons.

Yes, there exists a special day for macarons! In Paris are special shops, that sell macarons all day long and on macarons day you can get some free! Unfortunately I never had the chance to be there (on macarons day or sometime else). As macarons are not very popular in Germany, ok unknown would be the better word… I mean most people don’t even know what cupcakes are… so you couldn’t say macarons are the new cupcakes ;). Anyway what I wanted to say is, that there won’t be shops in Germany, that sell macarons.

chocolate macarons with raspberry filling

But most often I think anyway it’s better and more fun to do it myself. I mean look at those little beauties. Just want to grab one immediately and stuff it into my mouth.

And in your mouth you have the rich chocolate flavour and now you think “yeah and in the middle even more boring chocolate”… haha no! In the middle is chocolate (and do use the good one!) with raspberry puree! It’s soo delicious.

chocolate macarons with raspberry filling

So if you didn’t do it, celebrate macarons day with some lovely macarons. Even more if you have some egg whites sitting in your fridge and you don’t know what do to with them. So you have to make some macarons, because it would be a pity to throw all the egg whites away. And you will feel a lot better, when you use them up and they are not looking at you anymore out of the fridge, making you guilty, because you don’t know what to do with them. Believe me, what a relief to make macarons!

And it is not difficult. Ok my first try wasn’t what I expected. They tasted good, but they didn’t look like macarons. So for some tipps, you can look up my first post with macarons.

chocolate macarons with raspberry filling

Don’t be worried, if my post is looking some what different, because I’m trying it the first time with Windows Live Writer, instead of that Google crap. Yeah, you read right. It’s just driven me into insanity some times. So maybe that here works better. I’m yet “astonished” by the amount of fonts and options to embed my pictures. You see, after Google I’m very easy to impress.

But don’t want to bore you with that theoretical things.

chocolate macarons with raspberry filling

Heidelbeer-Buttermilch-Panna CottaBlueberry and Buttermilk Panna Cotta

Update: Für das deutsche Rezept nach unten scrollen!

blueberry and buttermilk panna cotta

Being ill with a painful tonsilitis, which keeps me the week at home, I have a lot of time to spend with my blog. Lucky you!

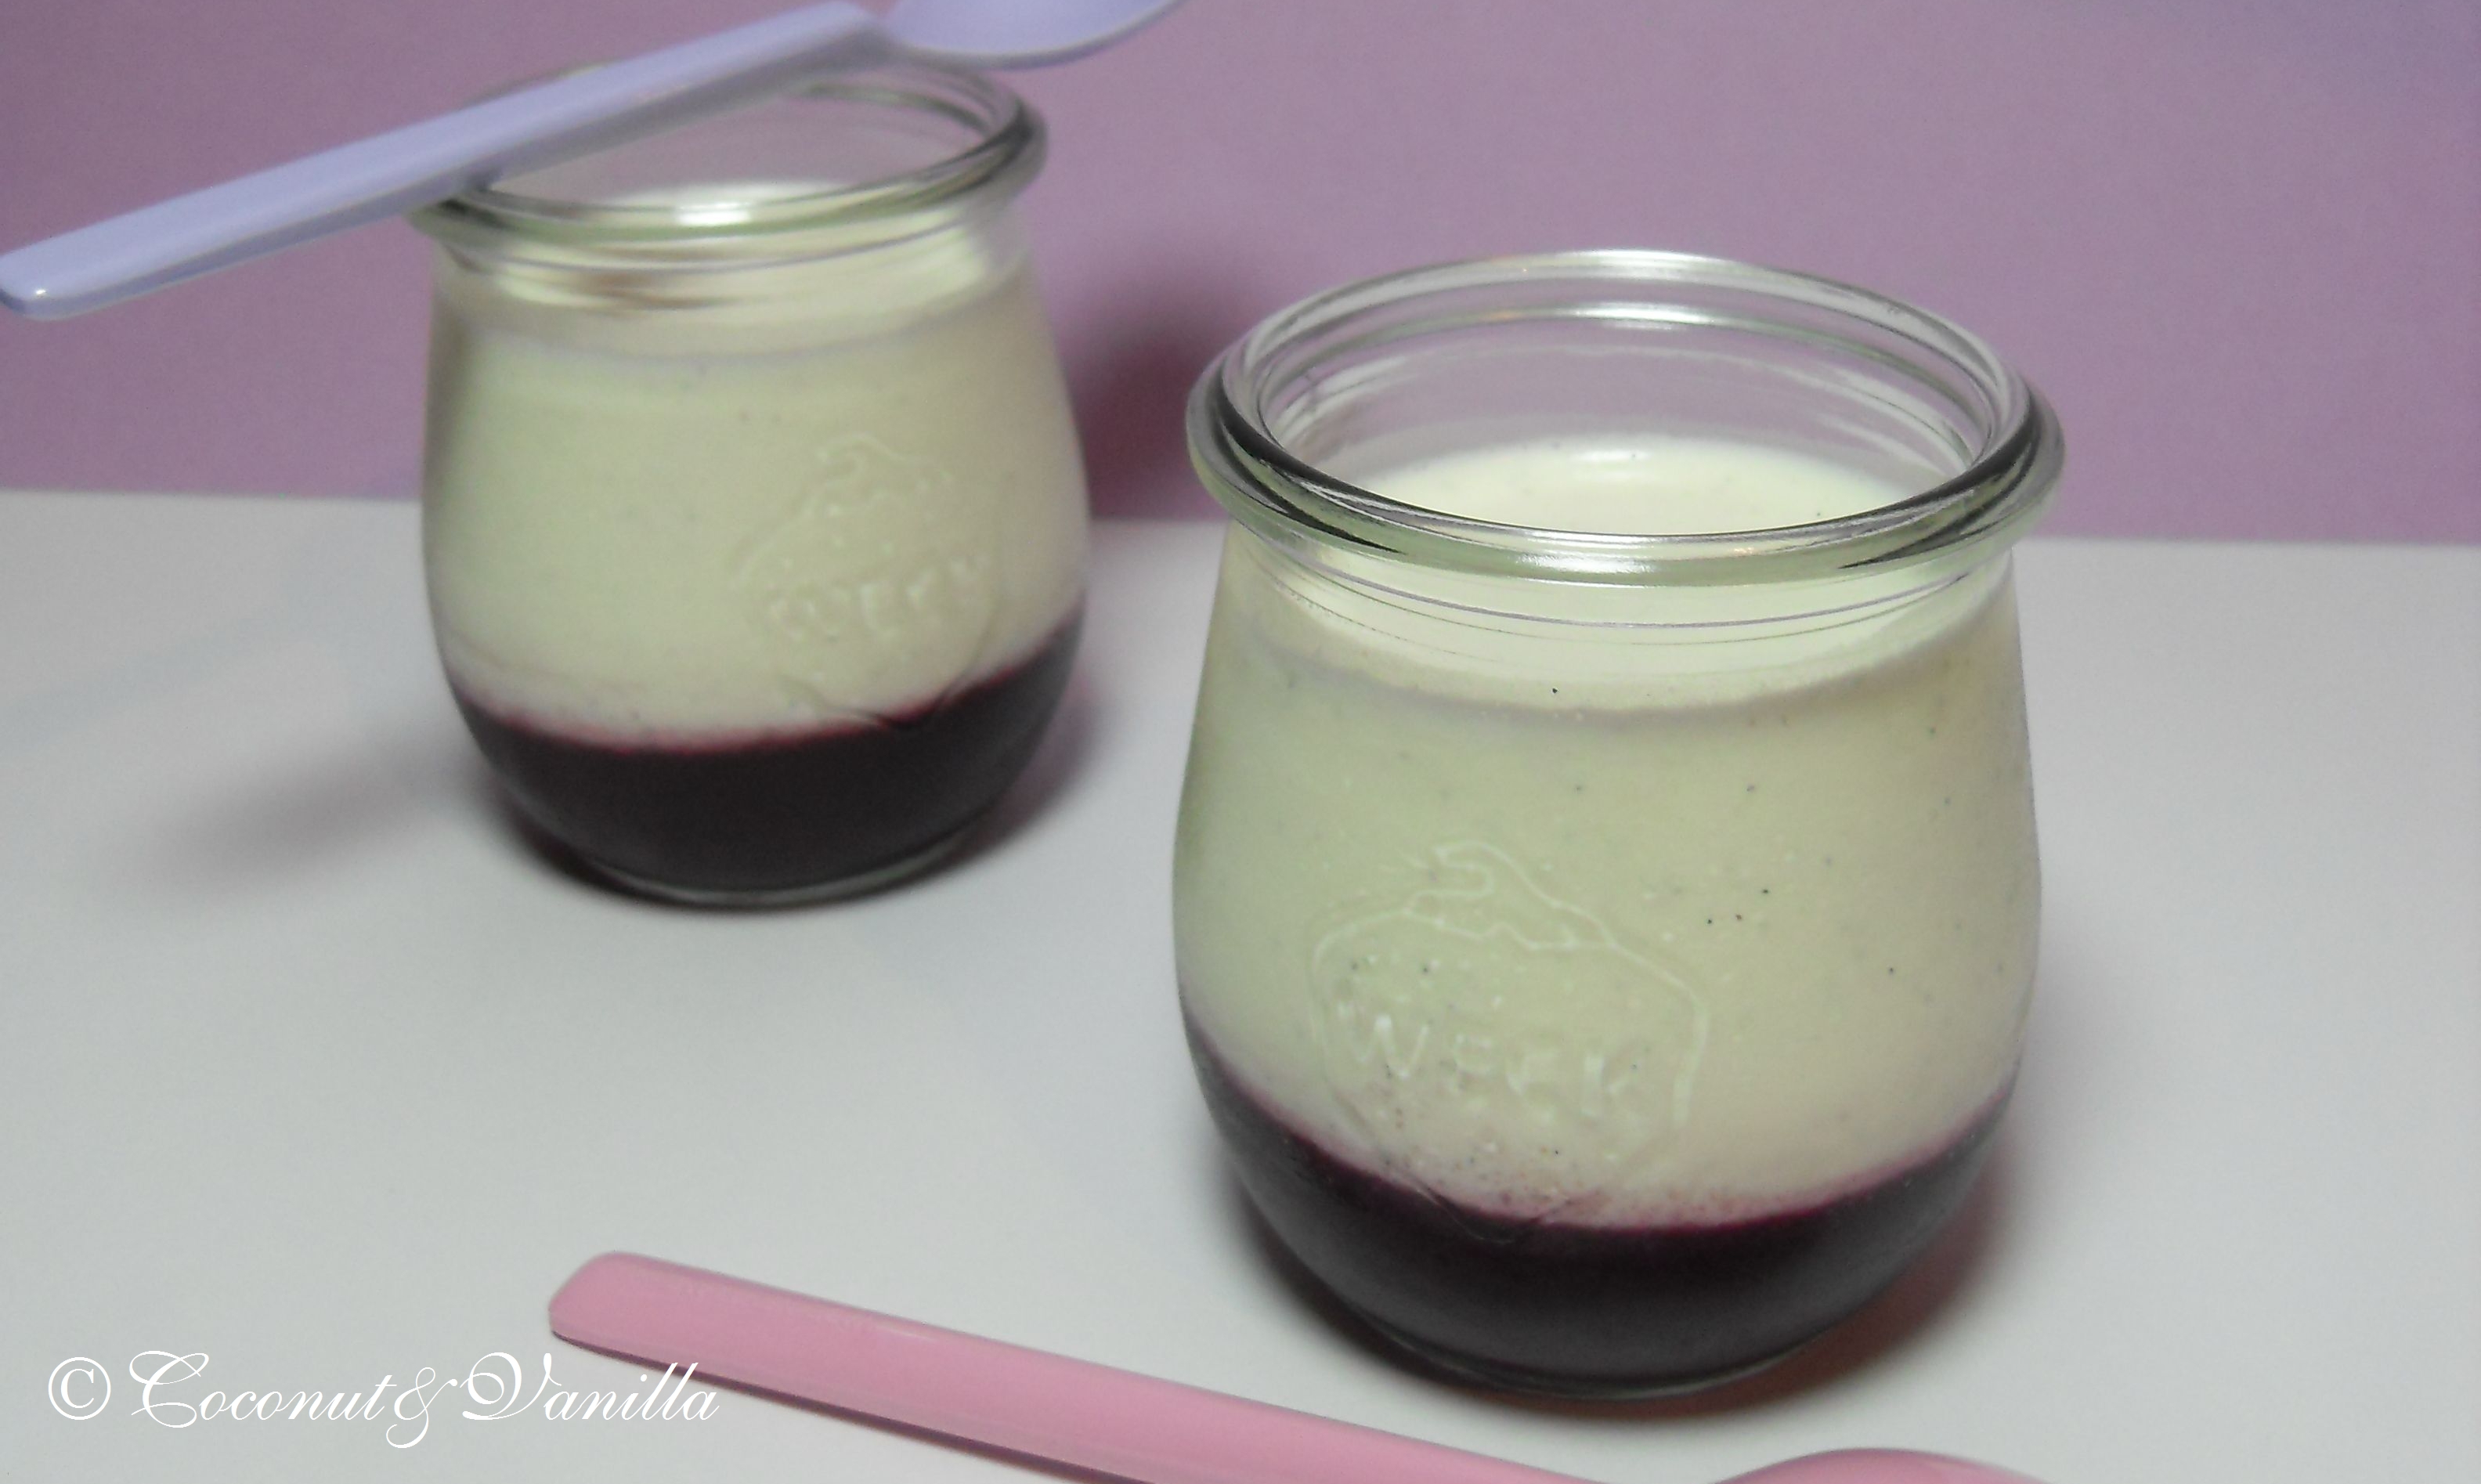
Last weekend I made those beauties: Buttermilk Panna Cotta layered on blueberry puree.

blueberry and buttermilk panna cotta

Originally I wanted use up a mango fruit. I searched the internet and in the end I found a recipe at Tartelette’s. But as it came to peel the mango I realized it’s just over. Over ripe. Smelled a little bit alcoholic. So no dessert with mango then! But I already liked the idea of panna cotta. I mean I love panna cotta! My favourite dessert is coconut panna cotta. But I always want to try something different, new. And the buttermilk attracted me. Luckily it came into my mind, that I still have some frozen blueberry puree.

blueberry and buttermilk panna cotta

So after thawing the puree, I gave it into some nice glasses with the help of a funnel. And then I refroze the glasses with the puree. When it’s frozen it’s a lot easier to layer the panna cotta (or whatelse you like) on the puree so that they do not mix. The buttermilk gives the panna cottas a slight sour note. It tastes good, especially in combination with the fruit, but furthermore I prefer the classical preparation with cream.

I used leaf gelatine. And maybe a little bit too much. The recipe I adapted was with powdered gelatine. As I am not used to it and I’m liking the leaves, I tried to adapt it. The panna cottas were a bit too firm, but still good. I used 3 and a half leaf. I think 2 and a half or 3 leaves are enough. If you want to use powdered gelatine, the original recipe calles for 4 grams (1 3/4 tsp.) dissolved in 1 Tbsp. water.

And feel free to change the kind of fruit puree! I’m convinced, that it tastes delicious with (almost) every kind of fruit. Already thinking of apples, pears, quinces in this season or strawberrys in summer.

blueberry and buttermilk panna cotta

blueberry and buttermilk panna cotta

Being ill with a painful tonsilitis, which keeps me the week at home, I have a lot of time to spend with my blog. Lucky you!

Last weekend I made those beauties: Buttermilk Panna Cotta layered on blueberry puree.

blueberry and buttermilk panna cotta

Originally I wanted use up a mango fruit. I searched the internet and in the end I found a recipe at Tartelette’s. But as it came to peel the mango I realized it’s just over. Over ripe. Smelled a little bit alcoholic. So no dessert with mango then! But I already liked the idea of panna cotta. I mean I love panna cotta! My favourite dessert is coconut panna cotta. But I always want to try something different, new. And the buttermilk attracted me. Luckily it came into my mind, that I still have some frozen blueberry puree.

blueberry and buttermilk panna cotta

So after thawing the puree, I gave it into some nice glasses with the help of a funnel. And then I refroze the glasses with the puree. When it’s frozen it’s a lot easier to layer the panna cotta (or whatelse you like) on the puree so that they do not mix. The buttermilk gives the panna cottas a slight sour note. It tastes good, especially in combination with the fruit, but furthermore I prefer the classical preparation with cream.

I used leaf gelatine. And maybe a little bit too much. The recipe I adapted was with powdered gelatine. As I am not used to it and I’m liking the leaves, I tried to adapt it. The panna cottas were a bit too firm, but still good. I used 3 and a half leaf. I think 2 and a half or 3 leaves are enough. If you want to use powdered gelatine, the original recipe calles for 4 grams (1 3/4 tsp.) dissolved in 1 Tbsp. water.

And feel free to change the kind of fruit puree! I’m convinced, that it tastes delicious with (almost) every kind of fruit. Already thinking of apples, pears, quinces in this season or strawberrys in summer.

blueberry and buttermilk panna cotta

ApfeltarteAppletart

Update: Für das deutsche Rezept nach unten scrollen!

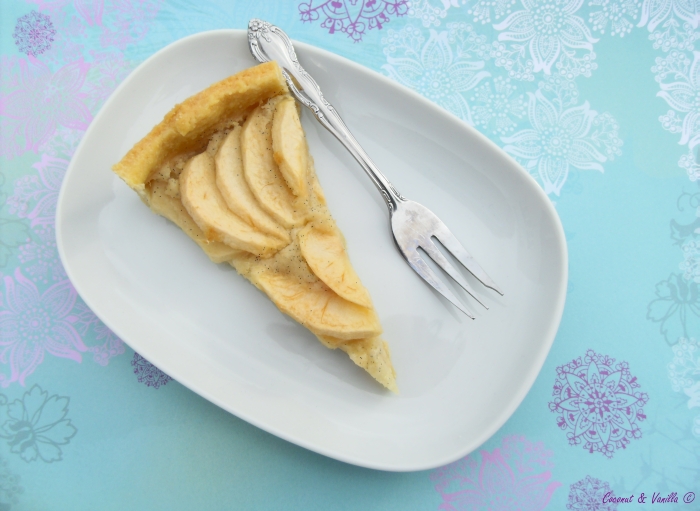
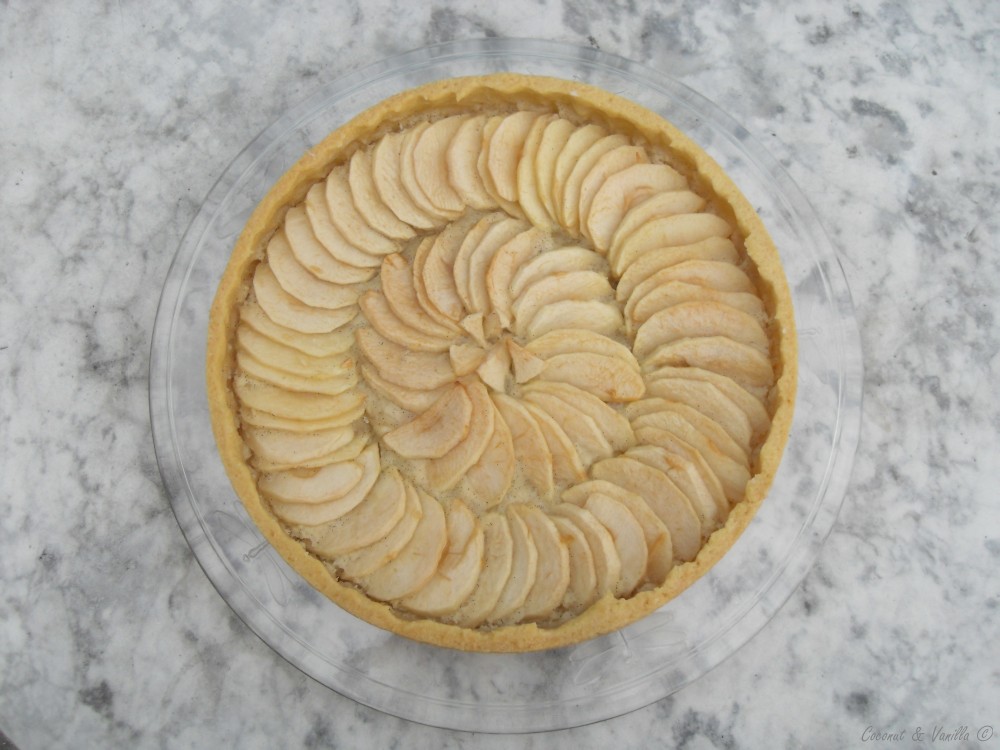
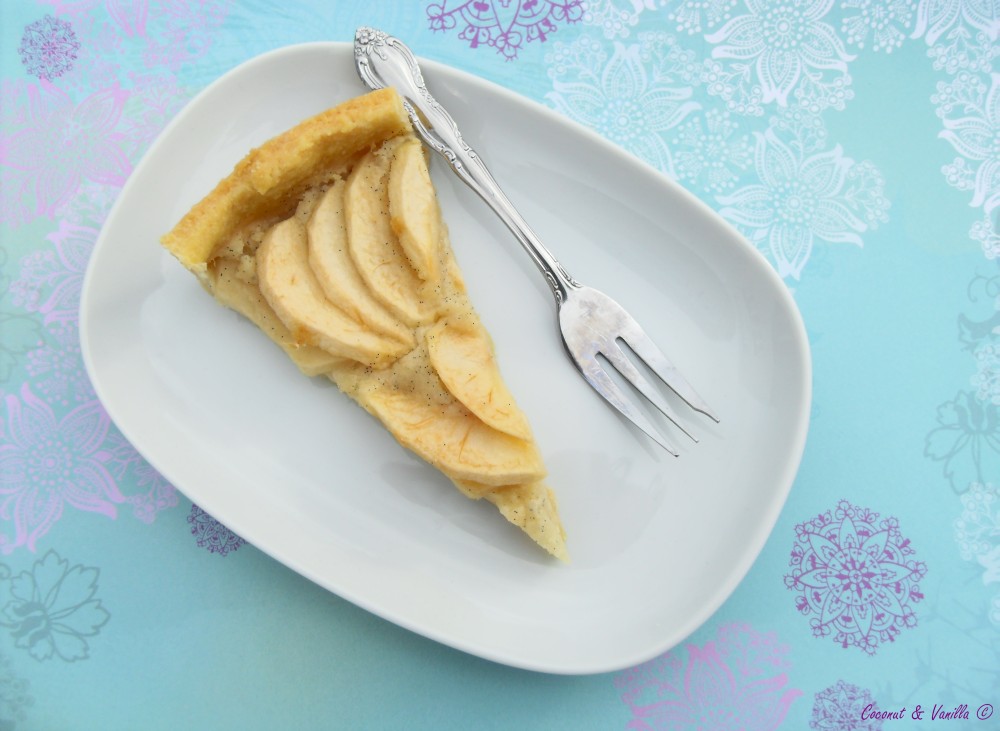
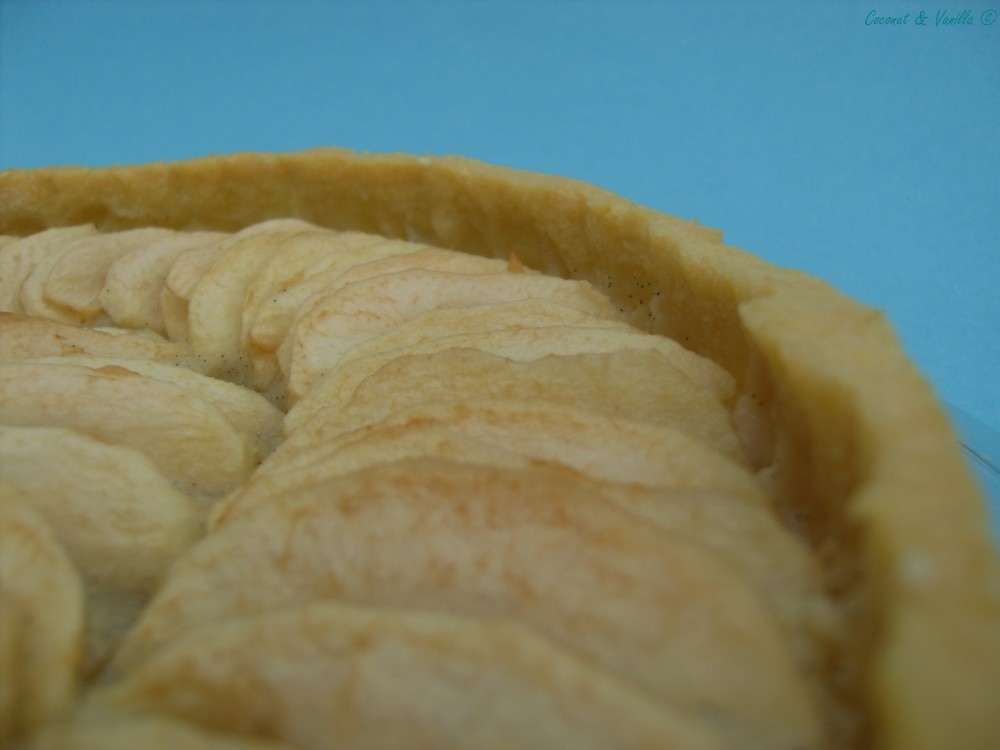
Have I already told you about my autumn mood? Ok, ok I see… But the result amongst others is this delicious fabulous looking apple tart, which I adapted (another time) from Michel Roux great book Pastry (Ofenfrisch).

I love this book! It’s worth every cent and it’s not even expensive. Every type of pastry is described with recipes, sweet or savoury, he has it all.

Apfeltarte

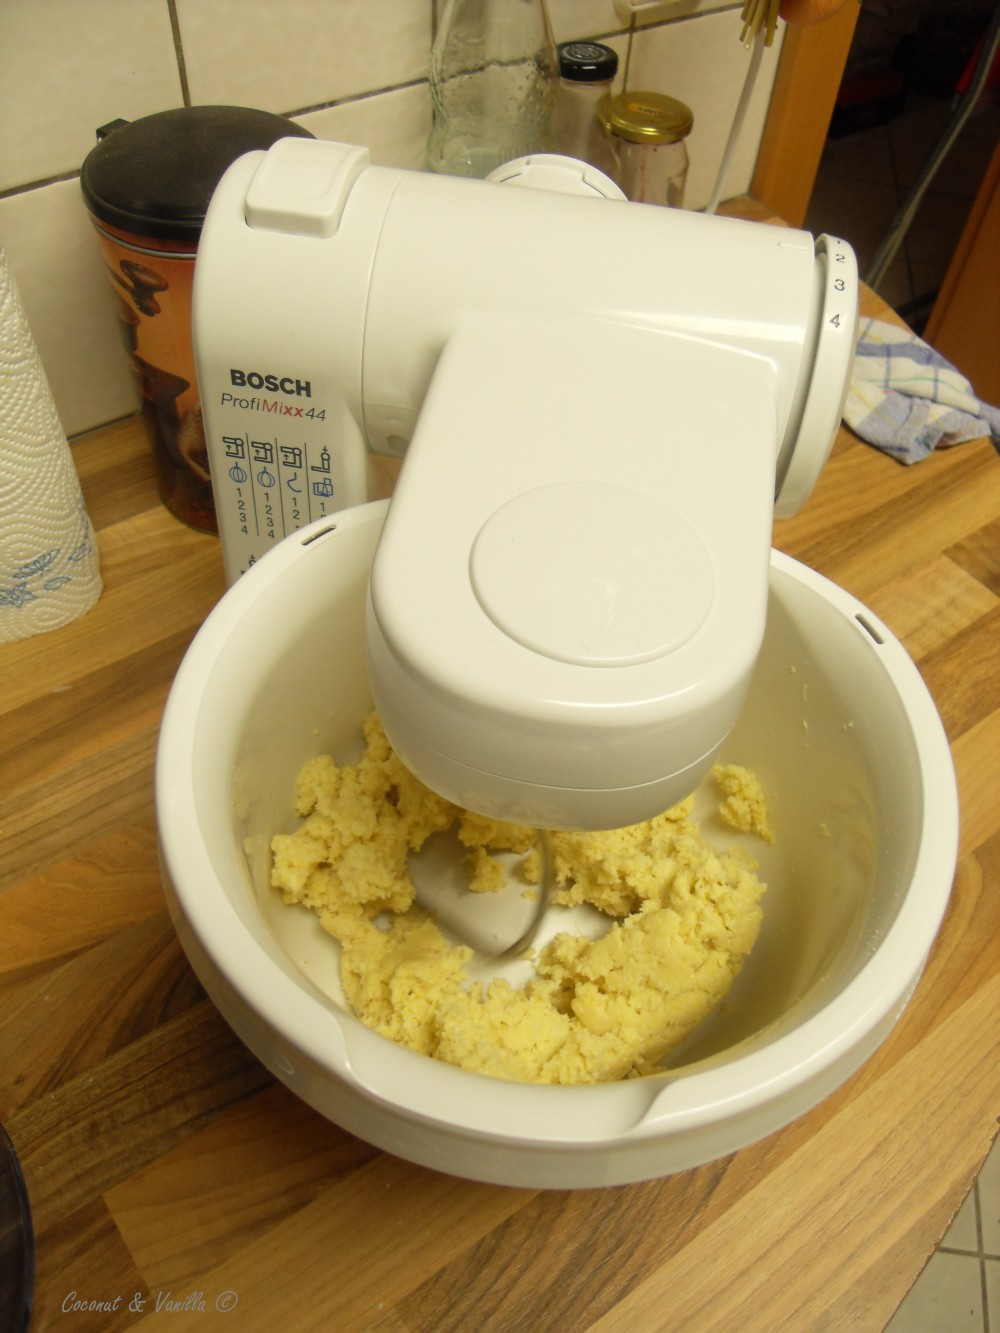
But back to the tart! Or what really is important…I bought a new kitchen machine! I always dreamed of a kitchen aid. And I’m still dreaming. Unfortunately I can not afford it as a student. But often I am upset about the hand mixer. Too less power, no hand free, because of helding the hand mixer, the yeast dough draws itself up the dough hooks (and nearly into the machine)… did I say I am upset? Sometimes I’m boiling with rage about this mixer. So last week surfing Amazon and bang! there was it! A kitchen machine, which got many many very good ratings AND cost a tenth than a kitchen aid. I didn’t hesitate long and ordered it.

But it came even better! I ordered it friday in the afternoon. I already thought „should have done it the day before, maybe then I would get it on Saturday and I can give it a try at the weekend“.

BUT Saturday afternoon – it was around five – Hermes was ringing the door and gave me my kitchen machine! And he was sorry, that he didn’t find the house in the morning to give it to me! I was just stunned… and very happy, because I just started to bake the apple tart. So the apple tart short crust was the first „experiment“ and it worked out very well.

The kitchen aid has to wait another two years until I’m earning my own (and enough) money to buy it. But until, I have a good solution for my baking feasts. If you have similar problems like me, I can heartly recommend you the Bosch MUM4405.

Bosch MUM 4405

But now REALLY back to the appletart. As I just mentioned it is a short crust filled with a delicious apple-vanilla-compote, which is pureed and topped with thin sliced apples arranged overlapped in a circle. The recipe calles for a 24 cm (springform) pan and 300g dough. Just having a 26 (and 28) cm pan I made the full recipe of 450g dough and used the 26 cm one . But it would also be enough for a 28.
Roux makes a glaze for the apple topping. But mine turned out into caramel, because the 5 minutes he provides were too long. I tried to give the caramel onto the apples, but after one night it vanished into the tart 🙂 . I mention the glaze in the recipe below, if you want to try. But mine tasted very good without (or with absorbed caramel).

Apfeltarte

Apfeltarte

Have I already told you about my autumn mood? Ok, ok I see… But the result amongst others is this delicious fabulous looking apple tart, which I adapted (another time) from Michel Roux great book Pastry.

I love this book! It’s worth every cent and it’s not even expensive. Every type of pastry is described with recipes, sweet or savoury, he has it all.

appletart

But back to the tart! Or what really is important…I bought a new kitchen machine! I always dreamed of a kitchen aid. And I’m still dreaming. Unfortunately I can not afford it as a student. But often I am upset about the hand mixer. Too less power, no hand free, because of helding the hand mixer, the yeast dough draws itself up the dough hooks (and nearly into the machine)… did I say I am upset? Sometimes I’m boiling with rage about this mixer. So last week surfing Amazon and bang! there was it! A kitchen machine, which got many many very good ratings AND cost a tenth than a kitchen aid. I didn’t hesitate long and ordered it.

But it came even better! I ordered it friday in the afternoon. I already thought „should have done it the day before, maybe then I would get it on Saturday and I can give it a try at the weekend“.

BUT Saturday afternoon – it was around five – Hermes was ringing the door and gave me my kitchen machine! And he was sorry, that he didn’t find the house in the morning to give it to me! I was just stunned… and very happy, because I just started to bake the apple tart. So the apple tart short crust was the first „experiment“ and it worked out very well.

The kitchen aid has to wait another two years until I’m earning my own (and enough) money to buy it. But until, I have a good solution for my baking feasts. If you have similar problems like me, I can heartly recommend you the Bosch MUM4405.

appletart

But now REALLY back to the appletart. As I just mentioned it is a short crust filled with a delicious apple-vanilla-compote, which is pureed and topped with thin sliced apples arranged overlapped in a circle. The recipe calles for a 24 cm (springform) pan and 300g dough. Just having a 26 (and 28) cm pan I made the full recipe of 450g dough and used the 26 cm one . But it would also be enough for a 28.
Roux makes a glaze for the apple topping. But mine turned out into caramel, because the 5 minutes he provides were too long. I tried to give the caramel onto the apples, but after one night it vanished into the tart 🙂 . I mention the glaze in the recipe below, if you want to try. But mine tasted very good without (or with absorbed caramel).

appletart

appletart

Vol au Vents mit BirnenkompottVol au Vents with pear compote

After one week I can finally reveal the secret I had to keep: Last weekend I made puff pastry for the first time of my life for the first challenge I did for the Daring Bakers. And it really was a challenge!

Whilst rolling out the first two turns I only thought „Oh no this won’t work! It looks terrible!“. But hey, after that I thought „hm does’nt look that bad“. Ok so I was satisfied until I baked them. They didn’t get really high. Maybe I should have chilled the vol-au-vents another time before baking. But I didn’t had the patience to try it again.

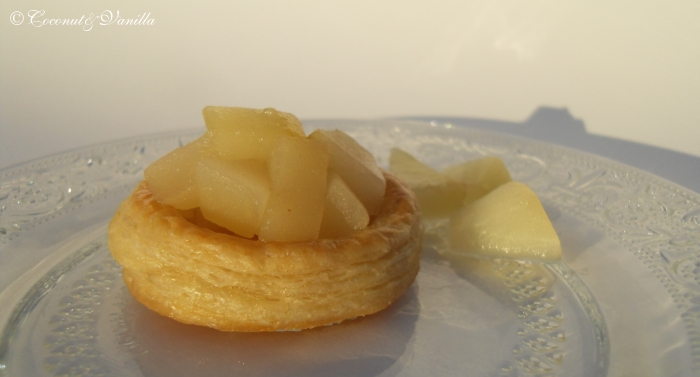
What I really liked was the filling. I made some pear compote with german William’s Christ, brown sugar and cinnamon. It’s so autumn. For me it’s feeling like autumn, although it’s still very warm here in southern Germany and the sun is shining almost all the time.

The September 2009 Daring Baker’s challenge was hosted by Steph of A Whisk and a Spoon. She chose the French treat, Vol-au-Vent based on the Puff Pastry recipe by Michel Richard from the cookbook Baking With Julia by Dorie Greenspan.
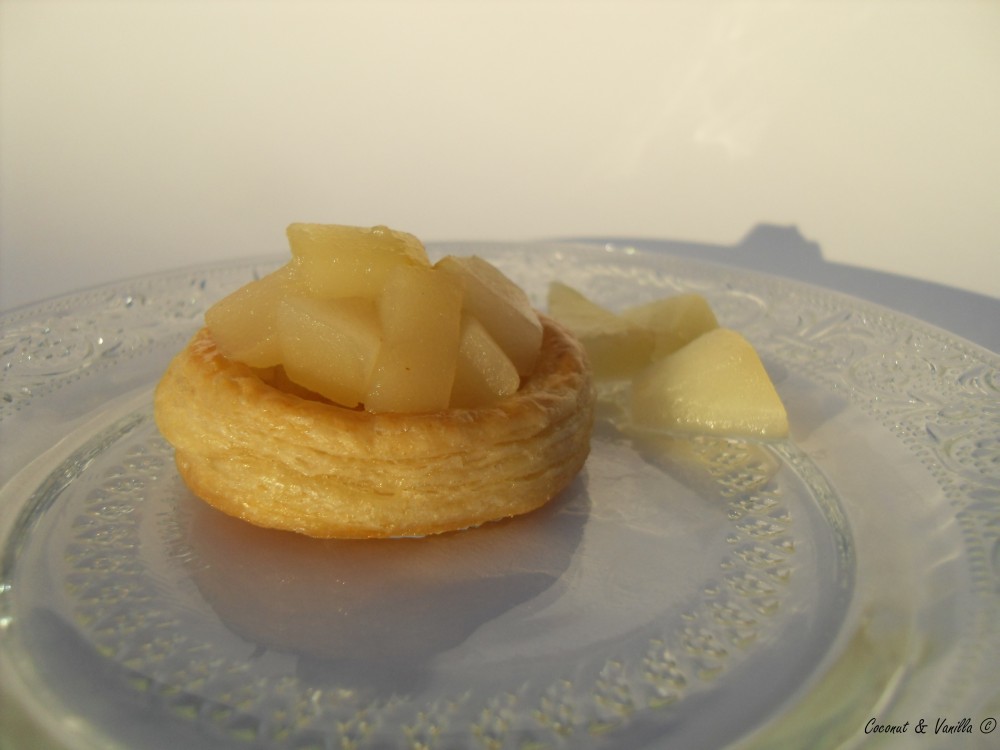
vol au vents with pear compote


Recipe

Vol au vents

from Baking with Julia by Dorie Greenspan

Yield: 1- 1,5 kg dough

Ingredients:

  • 354 g unbleached all-purpose flour
  • 142 g cake flour
  • 1 tbsp. salt (you can cut this by half for a less salty dough or for sweet preparations)
  • 300 ml ice water
  • 454 g very cold unsalted butter

plus extra flour for dusting work surface

Mixing the dough:

Check the capacity of your food processor before you start. If it cannot hold the full quantity of ingredients, make the dough into two batches and combine them.

Put the all-purpose flour, cake flour, and salt in the work bowl of a food processor fitted with a metal blade and pulse a couple of times just to mix. Add the water all at once, pulsing until the dough forms a ball on the blade. The dough will be very moist and pliable and will hold together when squeezed between your fingers. (Actually, it will feel like Play-Doh.)

Remove the dough from the machine, form it into a ball, with a small sharp knife, slash the top in a tic-tac-toe pattern. Wrap the dough in a damp towel and refrigerate for about 5 minutes.

Meanwhile, place the butter between 2 sheets of plastic wrap and beat it with a rolling pin until it flattens into a square that’s about 1″ thick. Take care that the butter remains cool and firm: if it has softened or become oily, chill it before continuing.

Incorporate the butter:

Unwrap the dough and place it on a work surface dusted with all-purpose flour (A cool piece of marble is the ideal surface for puff pastry) with your rolling pin (preferably a French rolling pin without handles), press on the dough to flatten it and then roll it into a 10″ square. Keep the top and bottom of the dough well floured to prevent sticking and lift the dough and move it around frequently. Starting from the center of the square, roll out over each corner to create a thick center pad with „ears,“ or flaps.

Place the cold butter in the middle of the dough and fold the ears over the butter, stretching them as needed so that they overlap slightly and encase the butter completely. (If you have to stretch the dough, stretch it from all over; don’t just pull the ends) you should now have a package that is 8″ square.

To make great puff pastry, it is important to keep the dough cold at all times. There are specified times for chilling the dough, but if your room is warm, or you work slowly, or you find that for no particular reason the butter starts to ooze out of the pastry, cover the dough with plastic wrap and refrigerate it . You can stop at any point in the process and continue at your convenience or when the dough is properly chilled.

Making the turns:

Gently but firmly press the rolling pin against the top and bottom edges of the square (this will help keep it square). Then, keeping the work surface and the top of the dough well floured to prevent sticking, roll the dough into a rectangle that is three times as long as the square you started with, about 24″ (don’t worry about the width of the rectangle: if you get the 24″, everything else will work itself out.) With this first roll, it is particularly important that the butter be rolled evenly along the length and width of the rectangle; check when you start rolling that the butter is moving along well, and roll a bit harder or more evenly, if necessary, to get a smooth, even dough-butter sandwich (use your arm-strength!).

With a pastry brush, brush off the excess flour from the top of the dough, and fold the rectangle up from the bottom and down from the top in thirds, like a business letter, brushing off the excess flour. You have completed one turn.

Rotate the dough so that the closed fold is to your left, like the spine of a book. Repeat the rolling and folding process, rolling the dough to a length of 24″ and then folding it in thirds. This is the second turn.

Chilling the Dough:

If the dough is still cool and no butter is oozing out, you can give the dough another two turns now. If the condition of the dough is iffy, wrap it in plastic wrap and refrigerate it for at least 30 minutes. Each time you refrigerate the dough, mark the number of turns you’ve completed by indenting the dough with your fingertips. It is best to refrigerate the dough for 30 to 60 minutes between each set of two turns.

The total number of turns needed is six. If you prefer, you can give the dough just four turns now, chill it overnight, and do the last two turns the next day. Puff pastry is extremely flexible in this regard. However, no matter how you arrange your schedule, you should plan to chill the dough for at least an hour before cutting or shaping it.

Forming and Baking the Vol au Vents:

In addition to the equipment listed above, you will need: -well-chilled puff pastry dough (recipe below) -egg wash (1 egg or yolk beaten with a small amount of water) -your filling of choice

Line a baking sheet with parchment and set aside.

Using a knife or metal bench scraper, divided your chilled puff pastry dough into three equal pieces. Work with one piece of the dough, and leave the rest wrapped and chilled. (If you are looking to make more vols-au-vent than the yield stated above, you can roll and cut the remaining two pieces of dough as well…if not, then leave refrigerated for the time being or prepare it for longer-term freezer storage. See the “Tips” section below for more storage info.)

On a lightly floured surface, roll the piece of dough into a rectangle about 1/8 to 1/4-inch (3-6 mm) thick. Transfer it to the baking sheet and refrigerate for about 10 minutes before proceeding with the cutting.

(This assumes you will be using round cutters, but if you do not have them, it is possible to cut square vols-au-vents using a sharp chef’s knife.) For smaller, hors d’oeuvre sized vols-au-vent, use a 1.5” round cutter to cut out 8-10 circles. For larger sized vols-au-vent, fit for a main course or dessert, use a 4” cutter to cut out about 4 circles. Make clean, sharp cuts and try not to twist your cutters back and forth or drag your knife through the dough. Half of these rounds will be for the bases, and the other half will be for the sides. (Save any scrap by stacking—not wadding up—the pieces…they can be re-rolled and used if you need extra dough. If you do need to re-roll scrap to get enough disks, be sure to use any rounds cut from it for the bases, not the ring-shaped sides.)

Using a ¾-inch cutter for small vols-au-vent, or a 2- to 2.5-inch round cutter for large, cut centers from half of the rounds to make rings. These rings will become the sides of the vols-au-vent, while the solid disks will be the bottoms. You can either save the center cut-outs to bake off as little “caps” for you vols-au-vent, or put them in the scrap pile.

Dock the solid bottom rounds with a fork (prick them lightly, making sure not to go all the way through the pastry) and lightly brush them with egg wash. Place the rings directly on top of the bottom rounds and very lightly press them to adhere. Brush the top rings lightly with egg wash, trying not to drip any down the sides (which may inhibit rise). If you are using the little “caps,” dock and egg wash them as well.

Refrigerate the assembled vols-au-vent on the lined baking sheet while you pre-heat the oven to 400ºF (200ºC). (You could also cover and refrigerate them for a few hours at this point.)

Once the oven is heated, remove the sheet from the refrigerator and place a silicon baking mat (preferred because of its weight) or another sheet of parchment over top of the shells. This will help them rise evenly. Bake the shells until they have risen and begin to brown, about 10-15 minutes depending on their size. Reduce the oven temperature to 350ºF (180ºC), and remove the silicon mat or parchment sheet from the top of the vols-au-vent. If the centers have risen up inside the vols-au-vent, you can gently press them down. Continue baking (with no sheet on top) until the layers are golden, about 15-20 minutes more. (If you are baking the center “caps” they will likely be finished well ahead of the shells, so keep an eye on them and remove them from the oven when browned.)

Remove to a rack to cool. Cool to room temperature for cold fillings or to warm for hot fillings.

Fill and serve.

*For additional rise on the larger-sized vols-au-vents, you can stack one or two additional ring layers on top of each other (using egg wash to „glue“). This will give higher sides to larger vols-au-vents, but is not advisable for the smaller ones, whose bases may not be large enough to support the extra weight.

*Although they are at their best filled and eaten soon after baking, baked vols-au-vent shells can be stored airtight for a day.

*Shaped, unbaked vols-au-vent can be wrapped and frozen for up to a month (bake from frozen, egg-washing them first).

After one week I can finally reveal the secret I had to keep: Last weekend I made puff pastry for the first time of my life for the first challenge I did for the Daring Bakers. And it really was a challenge!

Whilst rolling out the first two turns I only thought „Oh no this won’t work! It looks terrible!“. But hey, after that I thought „hm does’nt look that bad“. Ok so I was satisfied until I baked them. They didn’t get really high. Maybe I should have chilled the vol-au-vents another time before baking. But I didn’t had the patience to try it again.

What I really liked was the filling. I made some pear compote with german William’s Christ, brown sugar and cinnamon. It’s so autumn. For me it’s feeling like autumn, although it’s still very warm here in southern Germany and the sun is shining almost all the time.

The September 2009 Daring Baker’s challenge was hosted by Steph of A Whisk and a Spoon. She chose the French treat, Vol-au-Vent based on the Puff Pastry recipe by Michel Richard from the cookbook Baking With Julia by Dorie Greenspan.

vol au vents with pear compote


Recipe

Vol au vents

from Baking with Julia by Dorie Greenspan

Yield: 1- 1,5 kg dough

Ingredients:

  • 354 g unbleached all-purpose flour
  • 142 g cake flour
  • 1 tbsp. salt (you can cut this by half for a less salty dough or for sweet preparations)
  • 300 ml ice water
  • 454 g very cold unsalted butter

plus extra flour for dusting work surface

Mixing the dough:

Check the capacity of your food processor before you start. If it cannot hold the full quantity of ingredients, make the dough into two batches and combine them.

Put the all-purpose flour, cake flour, and salt in the work bowl of a food processor fitted with a metal blade and pulse a couple of times just to mix. Add the water all at once, pulsing until the dough forms a ball on the blade. The dough will be very moist and pliable and will hold together when squeezed between your fingers. (Actually, it will feel like Play-Doh.)

Remove the dough from the machine, form it into a ball, with a small sharp knife, slash the top in a tic-tac-toe pattern. Wrap the dough in a damp towel and refrigerate for about 5 minutes.

Meanwhile, place the butter between 2 sheets of plastic wrap and beat it with a rolling pin until it flattens into a square that’s about 1″ thick. Take care that the butter remains cool and firm: if it has softened or become oily, chill it before continuing.

Incorporate the butter:

Unwrap the dough and place it on a work surface dusted with all-purpose flour (A cool piece of marble is the ideal surface for puff pastry) with your rolling pin (preferably a French rolling pin without handles), press on the dough to flatten it and then roll it into a 10″ square. Keep the top and bottom of the dough well floured to prevent sticking and lift the dough and move it around frequently. Starting from the center of the square, roll out over each corner to create a thick center pad with „ears,“ or flaps.

Place the cold butter in the middle of the dough and fold the ears over the butter, stretching them as needed so that they overlap slightly and encase the butter completely. (If you have to stretch the dough, stretch it from all over; don’t just pull the ends) you should now have a package that is 8″ square.

To make great puff pastry, it is important to keep the dough cold at all times. There are specified times for chilling the dough, but if your room is warm, or you work slowly, or you find that for no particular reason the butter starts to ooze out of the pastry, cover the dough with plastic wrap and refrigerate it . You can stop at any point in the process and continue at your convenience or when the dough is properly chilled.

Making the turns:

Gently but firmly press the rolling pin against the top and bottom edges of the square (this will help keep it square). Then, keeping the work surface and the top of the dough well floured to prevent sticking, roll the dough into a rectangle that is three times as long as the square you started with, about 24″ (don’t worry about the width of the rectangle: if you get the 24″, everything else will work itself out.) With this first roll, it is particularly important that the butter be rolled evenly along the length and width of the rectangle; check when you start rolling that the butter is moving along well, and roll a bit harder or more evenly, if necessary, to get a smooth, even dough-butter sandwich (use your arm-strength!).
With a pastry brush, brush off the excess flour from the top of the dough, and fold the rectangle up from the bottom and down from the top in thirds, like a business letter, brushing off the excess flour. You have completed one turn.

Rotate the dough so that the closed fold is to your left, like the spine of a book. Repeat the rolling and folding process, rolling the dough to a length of 24″ and then folding it in thirds. This is the second turn.

Chilling the Dough:

If the dough is still cool and no butter is oozing out, you can give the dough another two turns now. If the condition of the dough is iffy, wrap it in plastic wrap and refrigerate it for at least 30 minutes. Each time you refrigerate the dough, mark the number of turns you’ve completed by indenting the dough with your fingertips. It is best to refrigerate the dough for 30 to 60 minutes between each set of two turns.

The total number of turns needed is six. If you prefer, you can give the dough just four turns now, chill it overnight, and do the last two turns the next day. Puff pastry is extremely flexible in this regard. However, no matter how you arrange your schedule, you should plan to chill the dough for at least an hour before cutting or shaping it.

Forming and Baking the Vol au Vents:

In addition to the equipment listed above, you will need: -well-chilled puff pastry dough (recipe below) -egg wash (1 egg or yolk beaten with a small amount of water) -your filling of choice

Line a baking sheet with parchment and set aside.

Using a knife or metal bench scraper, divided your chilled puff pastry dough into three equal pieces. Work with one piece of the dough, and leave the rest wrapped and chilled. (If you are looking to make more vols-au-vent than the yield stated above, you can roll and cut the remaining two pieces of dough as well…if not, then leave refrigerated for the time being or prepare it for longer-term freezer storage. See the “Tips” section below for more storage info.)

On a lightly floured surface, roll the piece of dough into a rectangle about 1/8 to 1/4-inch (3-6 mm) thick. Transfer it to the baking sheet and refrigerate for about 10 minutes before proceeding with the cutting.

(This assumes you will be using round cutters, but if you do not have them, it is possible to cut square vols-au-vents using a sharp chef’s knife.) For smaller, hors d’oeuvre sized vols-au-vent, use a 1.5” round cutter to cut out 8-10 circles. For larger sized vols-au-vent, fit for a main course or dessert, use a 4” cutter to cut out about 4 circles. Make clean, sharp cuts and try not to twist your cutters back and forth or drag your knife through the dough. Half of these rounds will be for the bases, and the other half will be for the sides. (Save any scrap by stacking—not wadding up—the pieces…they can be re-rolled and used if you need extra dough. If you do need to re-roll scrap to get enough disks, be sure to use any rounds cut from it for the bases, not the ring-shaped sides.)

Using a ¾-inch cutter for small vols-au-vent, or a 2- to 2.5-inch round cutter for large, cut centers from half of the rounds to make rings. These rings will become the sides of the vols-au-vent, while the solid disks will be the bottoms. You can either save the center cut-outs to bake off as little “caps” for you vols-au-vent, or put them in the scrap pile.

Dock the solid bottom rounds with a fork (prick them lightly, making sure not to go all the way through the pastry) and lightly brush them with egg wash. Place the rings directly on top of the bottom rounds and very lightly press them to adhere. Brush the top rings lightly with egg wash, trying not to drip any down the sides (which may inhibit rise). If you are using the little “caps,” dock and egg wash them as well.

Refrigerate the assembled vols-au-vent on the lined baking sheet while you pre-heat the oven to 400ºF (200ºC). (You could also cover and refrigerate them for a few hours at this point.)

Once the oven is heated, remove the sheet from the refrigerator and place a silicon baking mat (preferred because of its weight) or another sheet of parchment over top of the shells. This will help them rise evenly. Bake the shells until they have risen and begin to brown, about 10-15 minutes depending on their size. Reduce the oven temperature to 350ºF (180ºC), and remove the silicon mat or parchment sheet from the top of the vols-au-vent. If the centers have risen up inside the vols-au-vent, you can gently press them down. Continue baking (with no sheet on top) until the layers are golden, about 15-20 minutes more. (If you are baking the center “caps” they will likely be finished well ahead of the shells, so keep an eye on them and remove them from the oven when browned.)

Remove to a rack to cool. Cool to room temperature for cold fillings or to warm for hot fillings.

Fill and serve.

*For additional rise on the larger-sized vols-au-vents, you can stack one or two additional ring layers on top of each other (using egg wash to „glue“). This will give higher sides to larger vols-au-vents, but is not advisable for the smaller ones, whose bases may not be large enough to support the extra weight.

*Although they are at their best filled and eaten soon after baking, baked vols-au-vent shells can be stored airtight for a day.

*Shaped, unbaked vols-au-vent can be wrapped and frozen for up to a month (bake from frozen, egg-washing them first).