Back to Basics: Selbstgemachte GemüsebrüheBack to Basics: Homemade Vegetable Broth

Ein weiterer Schritt in der Basicreihe heute: Gemüsebrühe! Nachdem ich Euch schon Wildfond und Rinderfond gezeigt habe, ist heute das Allroundtalent Gemüsebrühe dran, die ich auch am häufigsten verwende. Inzwischen befinden sich 5 Sorten Fond in meinem Vorrat, als letztes habe ich Entenfond eingemacht. Ich hatte Entenkarkassen über und die mussten eben weg ;). Ich bin schon gespannt wie der Entenfond so ist. Besteht bei Euch an sowas Interesse?

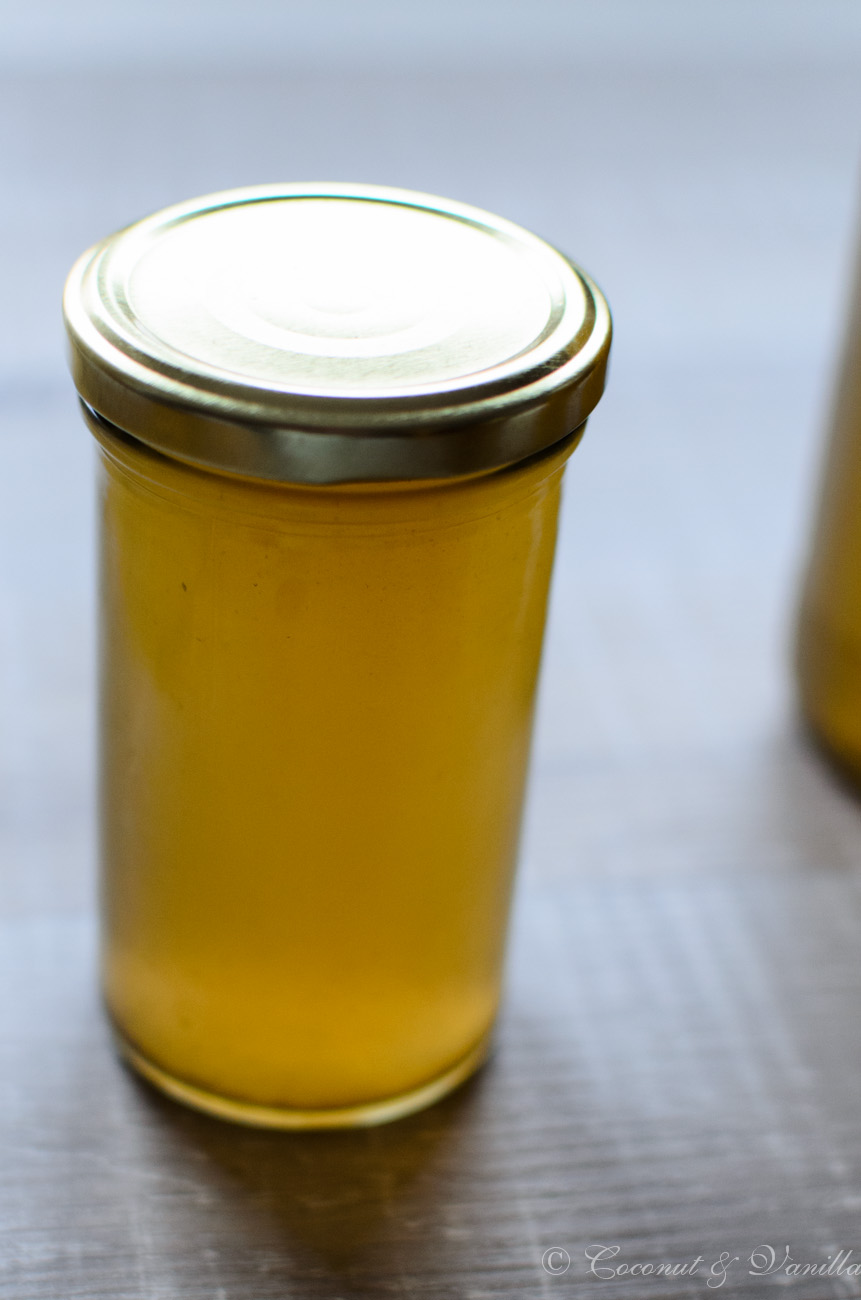
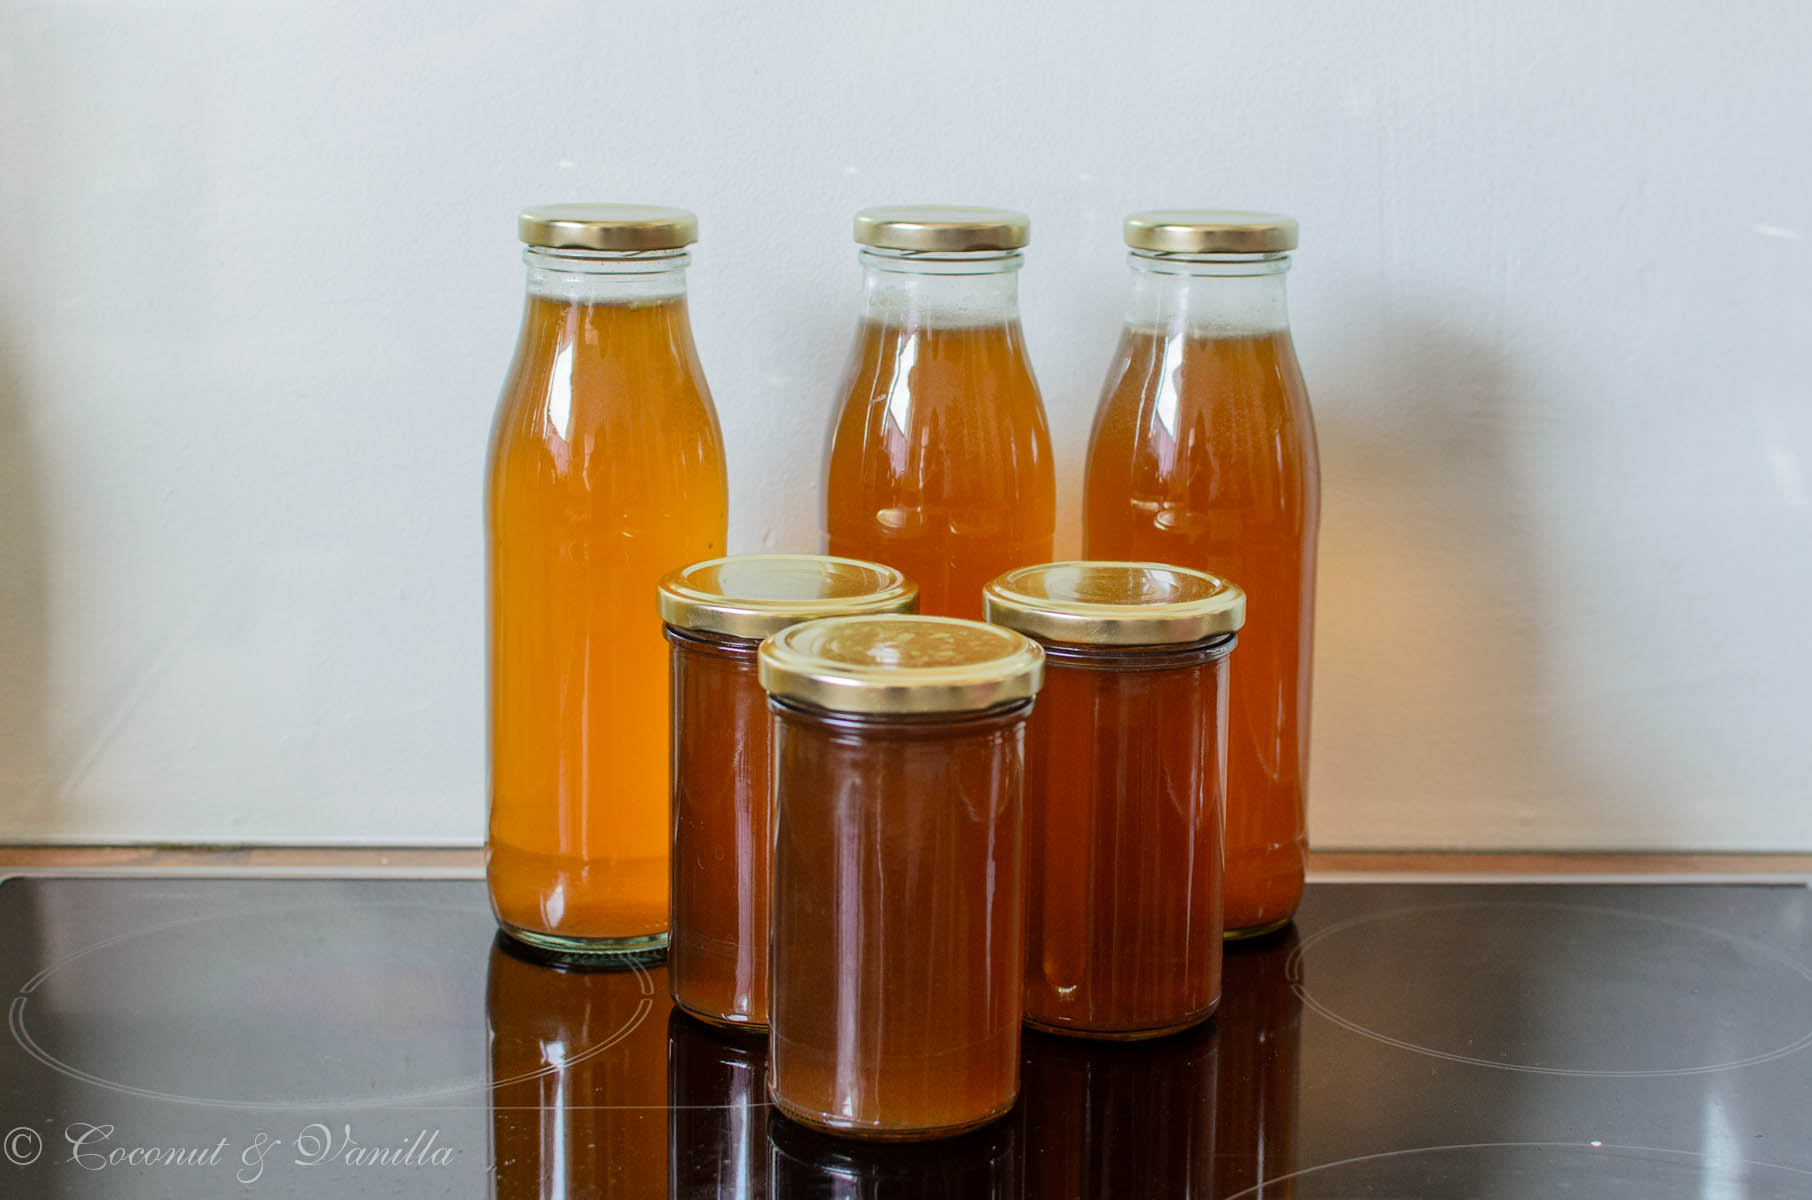
Im Gegensatz zu Entenfond kommt die Gemüsebrühe wie gesagt sehr oft zum Einsatz und es ist einfach praktisch immer ein Glas oder eine Flasche griffbereit zu haben. Wie immer habe ich dafür passende 250 ml und 500 ml Gläser bei Gläser und Flaschen bestellt, die sind super praktisch, denn das sind die Mengen die man am häufigsten benötigt. Den Rest kann man ein paar Tage im Kühlschrank aufbewahren.

Ich friere übrigens Reste von diversem Gemüse gerne ein und schmeiße das dann alles bei der nächsten Fuhre in die Brühe. So verfahre ich z.B. mit Spargel- und Pilzenden. Wie immer ist das Rezept nicht endgültig, ihr könnt nach Lust und Laune variieren.
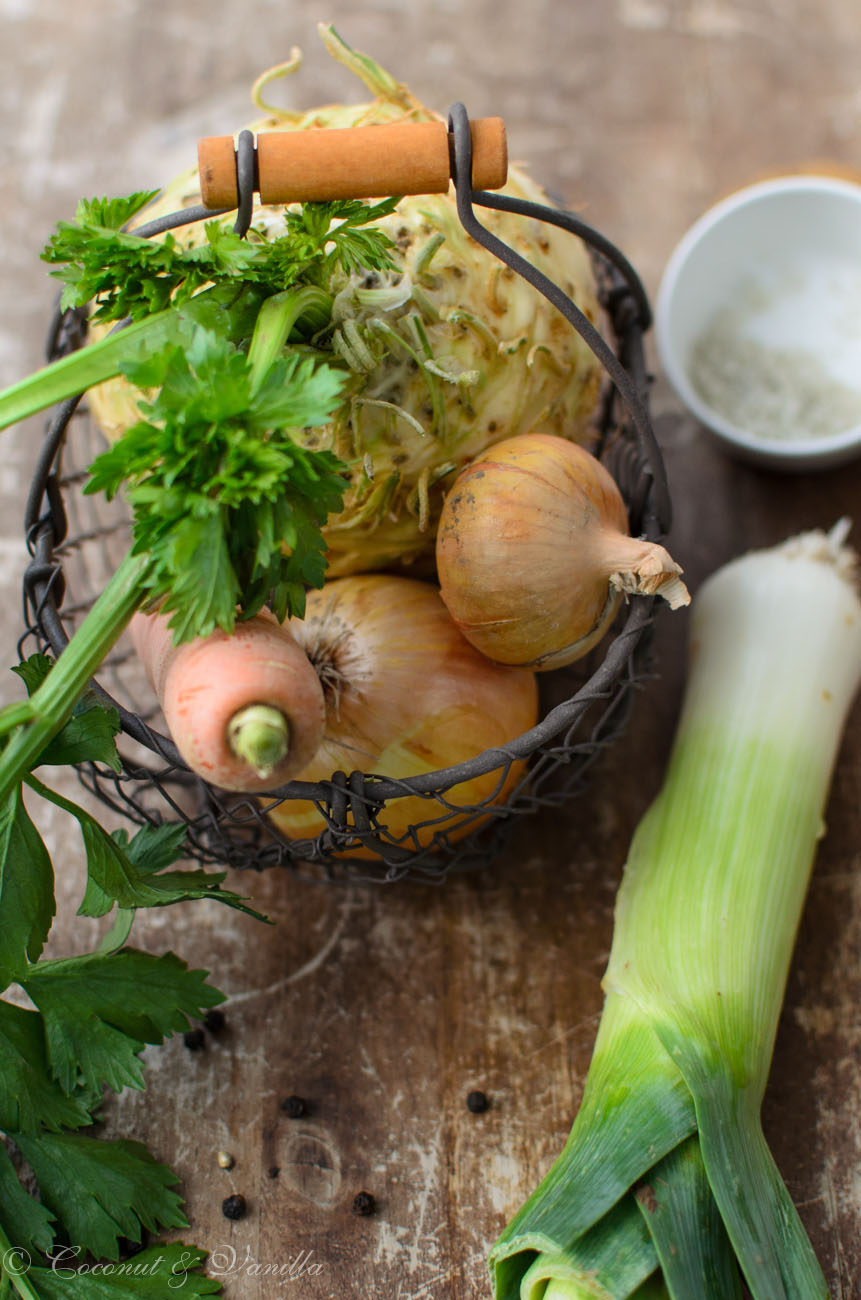
Gemüsebrühe 

Vor einem Jahr: Dulce de leche Cheesecake mit Fleur de Sel

Vor zwei Jahren: Pasta mit Pilzen

Vor vier Jahren: glutenfreie Graham Cracker

Gemüsebrühe

Another step in the basic series today: vegetable broth! After I already showed you to cook game stock and beef stock, we are making vegetable broth today, which I use the most. I have now 5 kinds of stock in my pantry. The latest addition is duck stock, because I had some duck carcases leftover and they needed to be used up ;). I’m curious how it will taste. Are you interested in that kind of stock?

 In contrary to duck stock the vegetable broth is used very often and it’s so convenient to have a jar or bottle handy. As always I bought suitable 250 ml jars and 500 ml bottles at Gläser und Flaschen, because that are the amounts I use mostly. Leftovers can be stored for a few days in the fridge. 

I’m always freezing leftovers of different vegetables and put them all in the next batch of stock. I’m always doing that with asparagus and mushroom ends. Like always this recipe is not a definite, you can vary after your needs.

Gemüsebrühe

One year ago: dulce de leche cheesecake with fleur de sel

Three years ago: pasta with mushrooms

Four years ago: gluten-free graham cracker

Gemüsebrühe

Back to Basics: RinderfondHomemade Beef Stock

Schon lange wollte ich zeigen wie ich Fonds bzw. Brühen herstelle. Inzwischen kaufe ich gar keine gekörnten Brühen mehr und mache Gemüse-, Hühner-, Rinder- und Wildfond selbst. So vermeide ich diese ganzen Zusatzstoffe, die ich nicht in meinem Essen möchte. Das beste ist aber, dass die selbstgemachten Fonds richtig gute Saucen machen und Gerichte so viel besser schmecken lassen. Das erste Risotto mit selbstgemachter Hühnerbrühe war eine Offenbarung! Aus einem Bratensatz mit Fond eine schnelle Sauce ziehen? Dafür lohnt es sich einfach den Fond selbstzumachen!

Die Fonds mache ich alle in Gläser ein. Ich habe es zwar auch schon mal mit einfrieren versucht, aber das mochte ich gar nicht. Erstens braucht man dafür sehr viel Platz im TK, dann braucht man viele gefriergeeignete Gefäße oder Plastiktüten (Verschwendung) und es dauert einfach viel länger mit dem Auftauen, als einfach ein Glas zu öffnen.

Praktischerweise bin ich dazu übergegangen die Fonds in 250 ml Gläser und 500 ml Flaschen einzumachen, da das die Menge ist die man am häufigsten benötigt. Reste halten sich auch noch ne Weile wunderbar im Kühlschrank, ich verwende sie dann bei einer folgenden Mahlzeit. Die Gläser und Flaschen habe ich wieder von Gläser und Flaschen, dort gibt es genau die passenden Größen und es klappt auch immer alles ganz wunderbar.

Meine Gläser markiere ich übrigens nicht mehr mit Etiketten, da es mir zu aufwendig ist diese auszudrucken, aufzukleben und vor allem wieder abzulösen. Ich habe mir verschieden farbige Klebepunkte besorgt und markiere die Deckelgläser damit. Grün steht für Gemüse, gelb für Huhn, schwarz für Rinderfond.

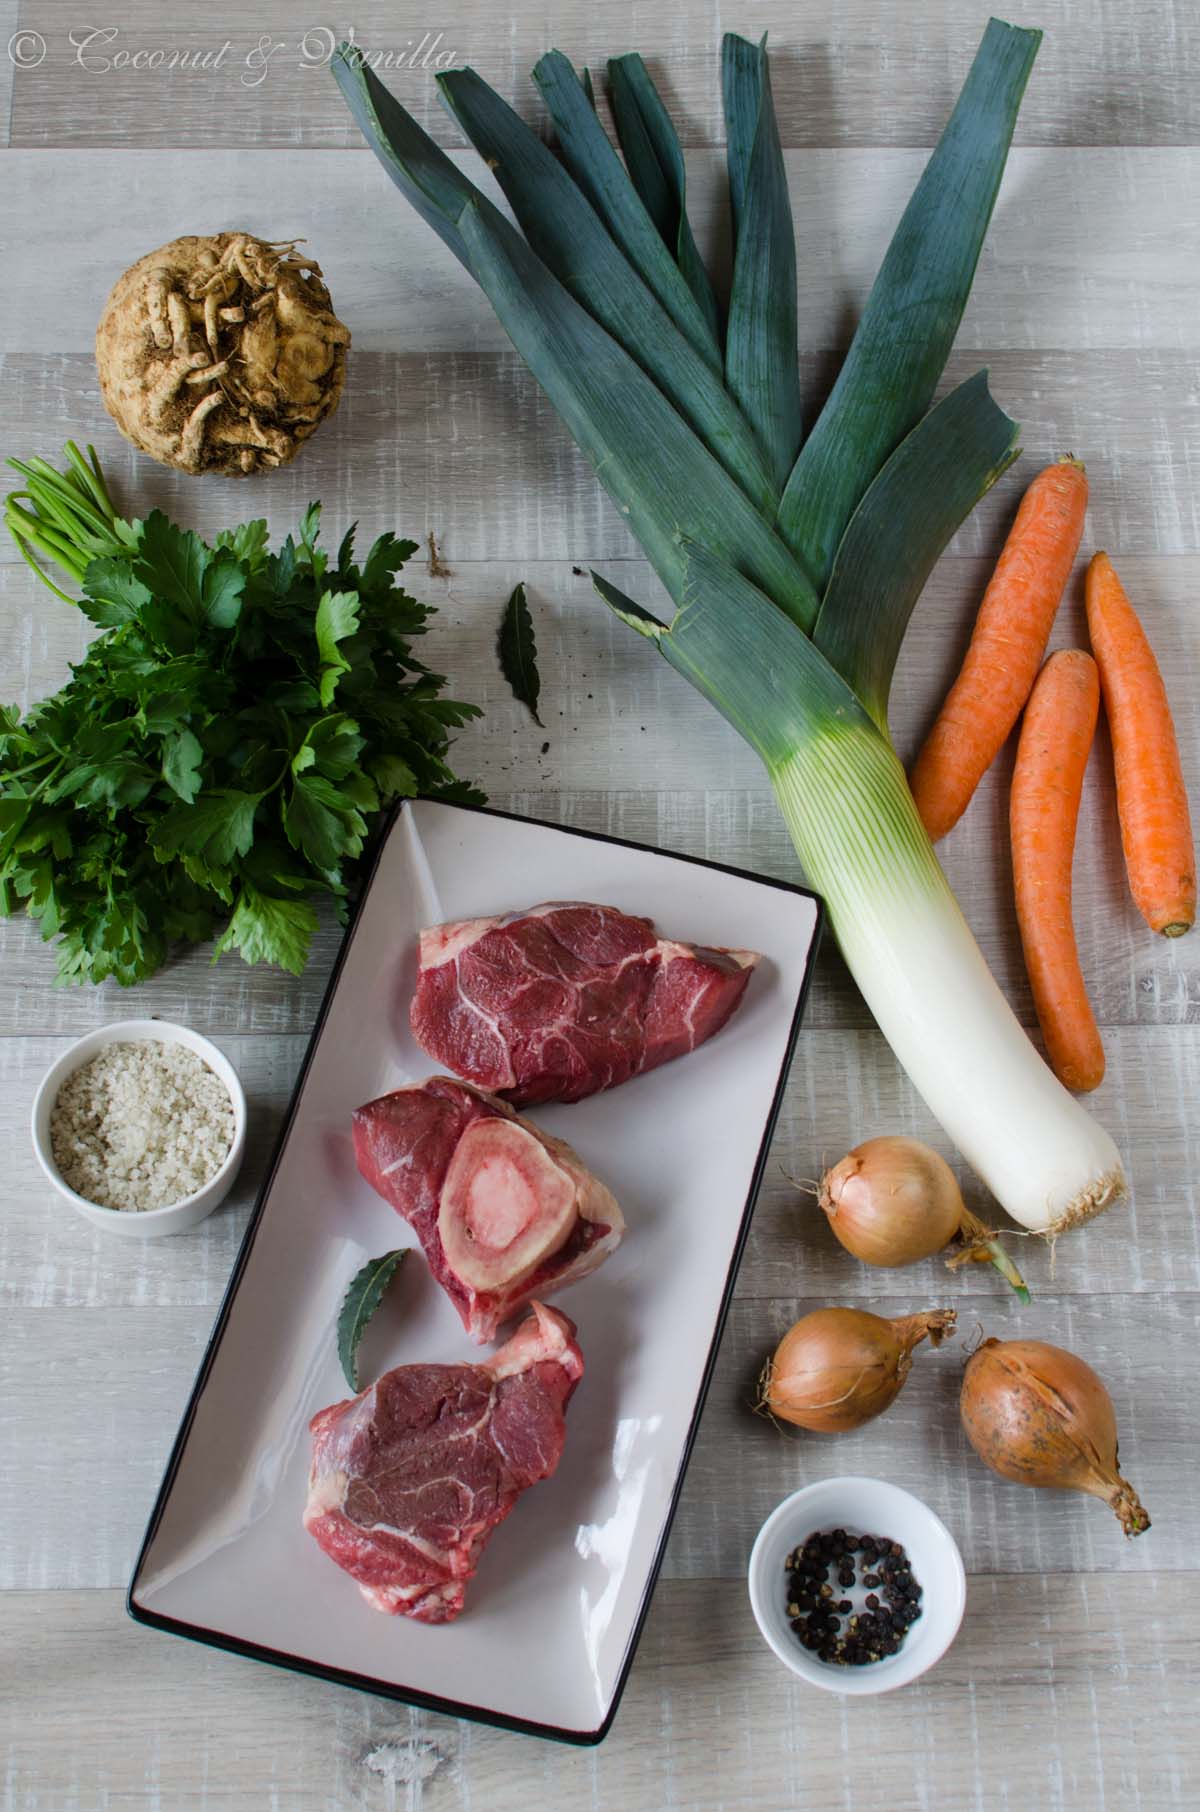
Rinderfond Zutaten

Als erstes starte ich heute mit Rinderfond (wobei es den Wildfond bereits auf dem Blog gibt), aus dem einfachen Grund „ich habe endlich Bilder dazu“ ;). Meistens sind die Zutaten schon im Topf, bevor ich drandenke auch mal ein Bild davon zu machen. Und Flüssigkeit in Gläsern ist nicht so wirklich aufschlussreich.

Den Fond einzumachen ist wirklich pipifax einfach und nach dem Einmachen hat man für viele Wochen oder sogar Monate vorgesorgt. Ein richtig schönes Gefühl!

Ein endgültiges Rezept gibt es übrigens nicht! Ihr könnt nach Lust und Laune Zutaten variieren und die Kochzeit auch etwas verkürzen oder verlängern. Nur keine Angst!

Rinderfond

Vor einem Jahr: Holunderblütengelee

Vor zwei Jahren: Erdbeerlikör, Basilikum-Olivenöl & Holunderblütenessig

Vor drei Jahren: Zitronen-Rosmarin-Kekse

For a long time I wanted to show how I make my stocks and broths. I don’t buy granulated broths anymore. I make vegetable, chicken, beef and game stock myself. So I avoid all these additives, which I don’t want in my food. The best thing about homemade broths is, that you can make delicious sauces and gravies and dishes taste so much better. The first risotto I used homemade chicken broth was a revelation! 

I preserve the fond in jars. I already tried freezing it, but I didn’t liked it at all. Things that speak against freezing broths: you need a lot of space in the freezer, you need a lot of plastic containers suitable for freezing or plastic bags (waste!) and it takes much more time to defrost the broth than to open a jar.

I use 250 ml jars and 500 ml bottles, which is the amount you need mostly for recipes, so it’s very convenient. Leftovers can easily be stored in the fridge for a while and I use them for one of our next meals. I ordered my jars and bottles from Gläser und Flaschen, because they have just the right sizes and it works perfectly every time.

I don’t use labels for my jars, anymore, since it’s too elaborate for me to print, glue and especially dissolve them again. I bought coloured dot stickers and mark the lids with it: green for vegetable broth, yellow for chicken and black for beef.

Homemade Beef Stock

 I start with beef broth today (although game stock is already present on the blog), because I have shot the pictures for it already ;). Mostly they are already in the pot before I think about taking some pics. And liquid in jars isn’t that illuminating.

Making stock is really easy and after doing so, you are prepared for weeks or even months. Which is such a great feeling!

There isn’t a definite recipe, by the way! You can vary with the ingredients and the cooking time. Don’t be afraid!

Homemade Beef Stock

One year ago: elderflower jelly

Two years ago: strawberry liquor, basil olive oil & elderflower vinegar

Three years ago: lemon rosemary cookies

Selbstgemacht: TomatenketchupHomemade Tomato Ketchup

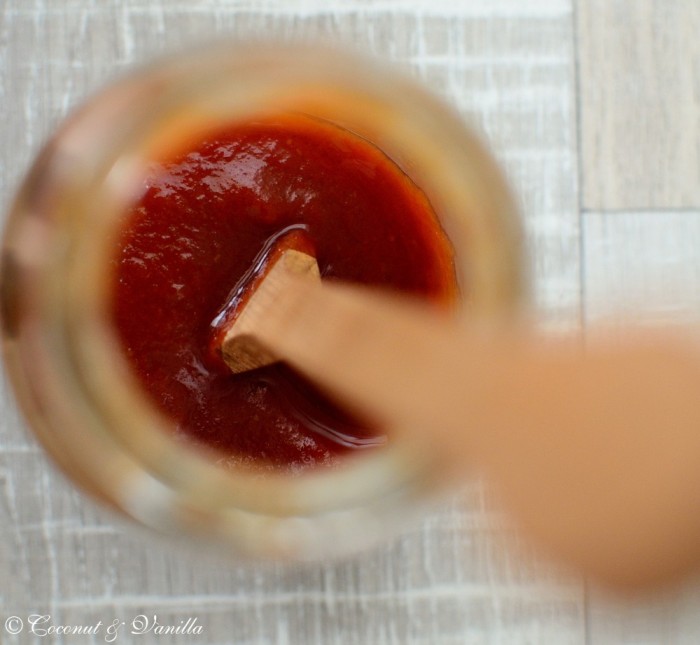
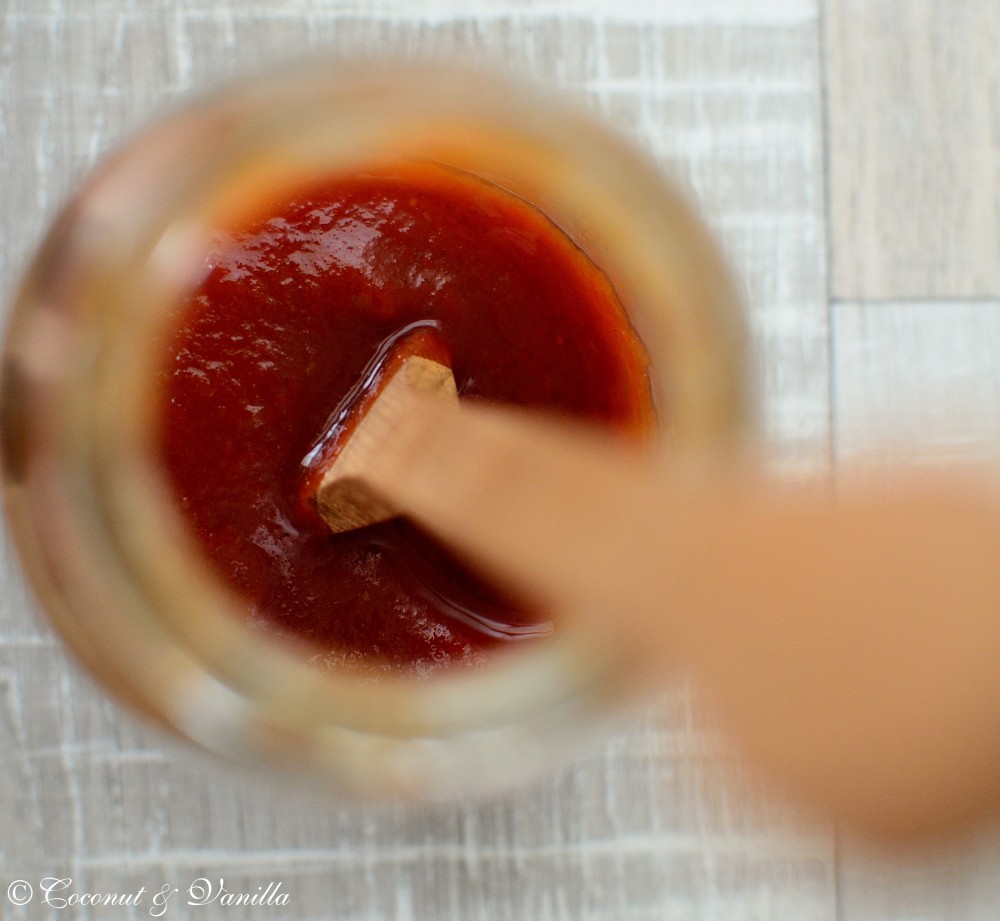
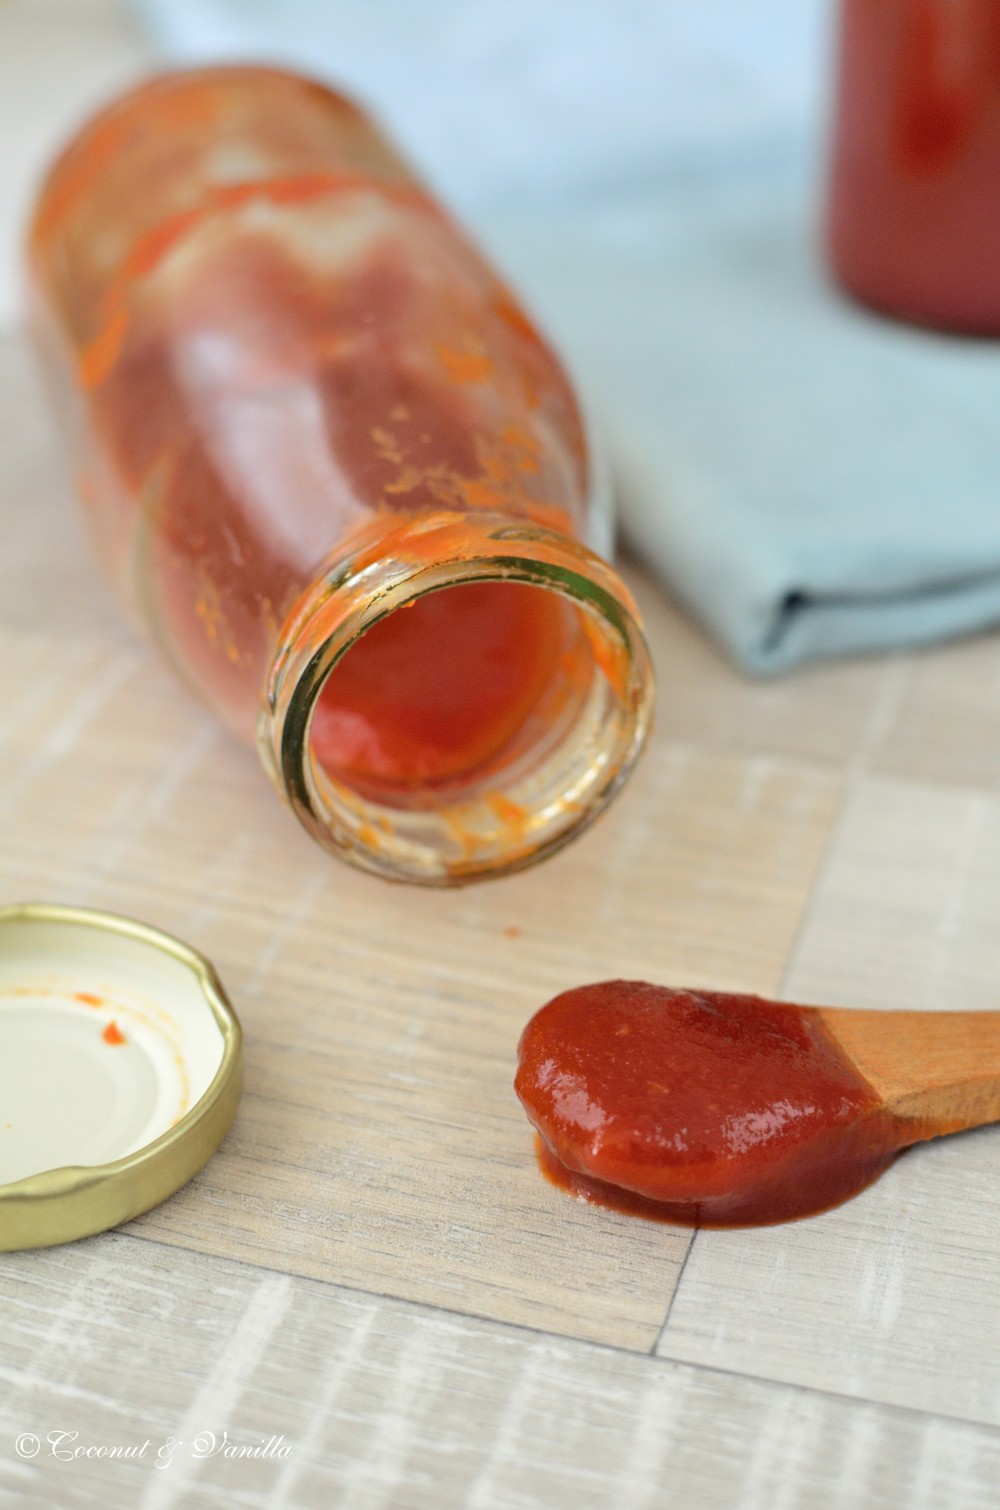
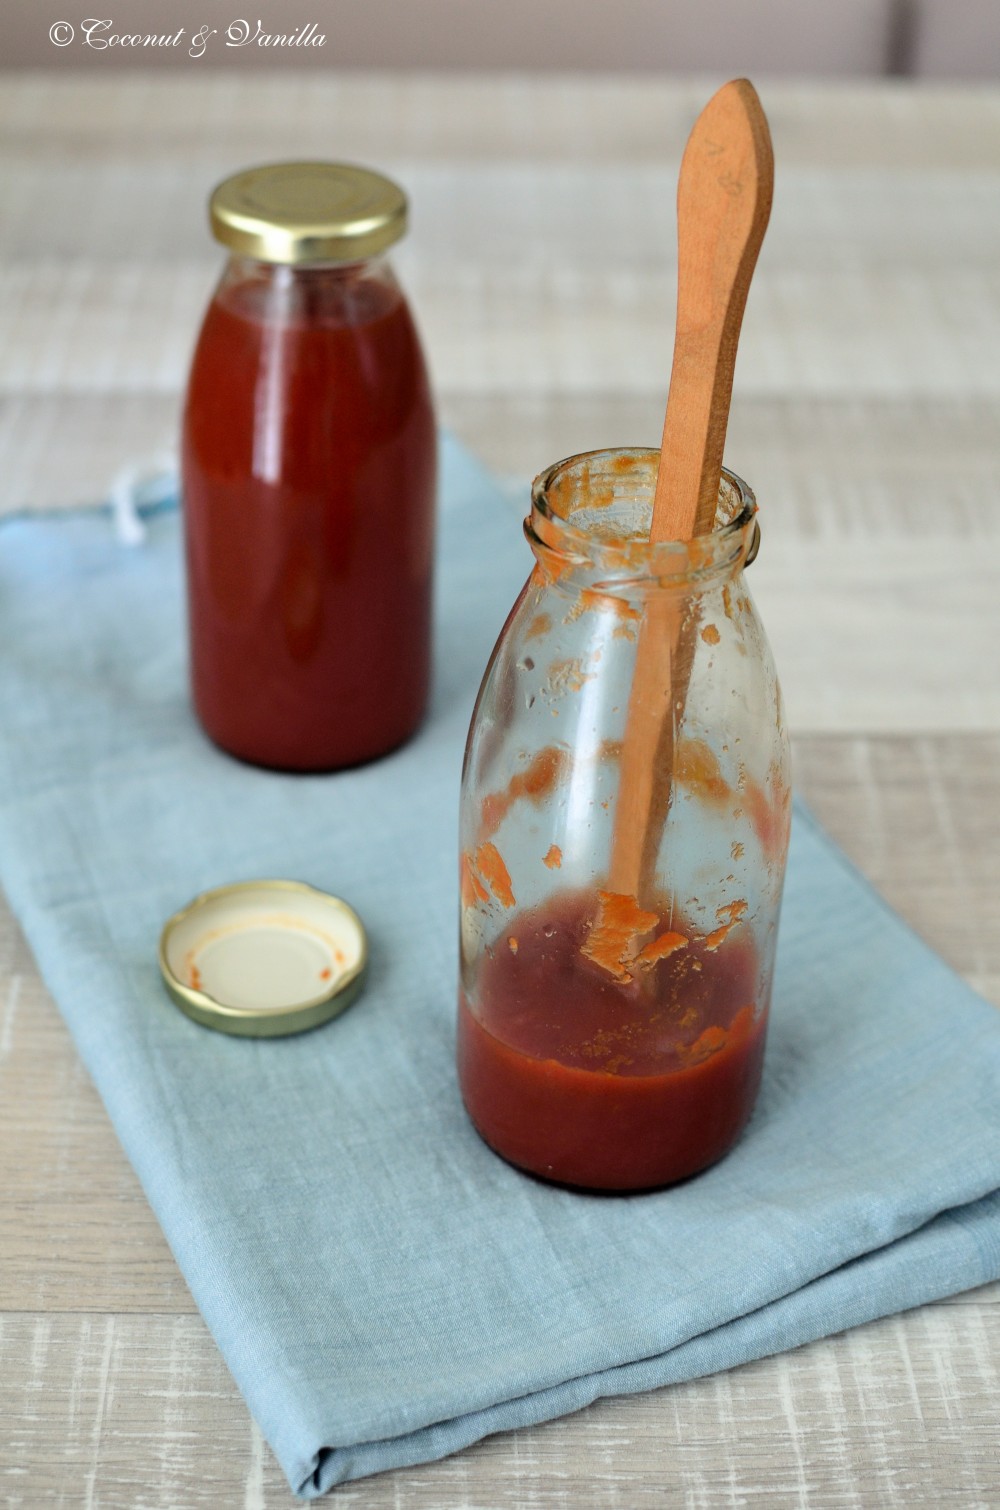
Selbstgemacht: Tomatenketchup

So jetzt kommt’s: Das Hammer-Rezept! Das Rezept des Sommers, ach was sag ich, des Jahres!

Ich bin ja ein echter Tomatenketchup-Liebhaber. Der Stoff meiner Kindheit gehört für mich immer noch zu Bratwurst und Fischstäbchen (ja ich esse gerne Fischstäbchen!). Und der Stoff meiner Kindheit wird seit jeher nur von einer Weltmarke gekauft, die so heißt wie ein Verwandter.

Ich mach ja gerne alles selber, aber bei Ketchup war ich immer skeptisch. Ich dachte das kommt nie an das Original ran.

Letzte Woche hab ich es gewagt, sogar zwei Rezepte parallel gekocht zum Vergleich. Es war aber ziemlich schnell klar, dass das eine Rezepte verliert… Paprikapulver im Ketchup ist einfach voll daneben.

Das andere jedoch ließ meine Augen aufleuchten! Es schmeckte wie das Original, nur noch einen Ticken besser. Es war voller, intensiver und trotzdem schmeckte es wie Ketchup schmecken soll!

Ich fürchte bei uns wird es nur noch hausgemachten Tomatenketchup geben in Zukunft. Ja Befürchtung, weil man nämlich einiges an Tomaten braucht für das gute Zeugs. Man kann etwa sagen, dass das Endergebnis einem Drittel der eingesetzten Tomatenmenge entspricht. Das liegt einfach daran, dass nach dem Pürieren die Pampe durch ein Sieb gestrichen werden muss, denn Gemüsestückchen und Kerne haben in einem Ketchup absolut nichts verloren und dann will man ja auch die samtig-seidige Konsistenz haben. Da hilft nur eins: Einkochen was das Zeugs hält!

Zur Zeit gibt es auch die schönsten deutschen Tomaten zu günstigen Preisen. Bei uns sogar tolle San Marzano’s für 2,40 €/kg! Solltet ihr diese oder Ochsenherztomaten zu guten Preisen bekommen, schlagt zu und verwendet sie, da sie weniger Kerne und Flüssigkeit enthalten, als normale Tomaten.

Also kauft Tomaten, gleich ein paar Kilo und macht Euch an die Herstellung, es kostet nicht viel Arbeit, sondern nur etwas Zeit. Das Ergebnis könnt ihr dafür 1 Jahr lang genießen, vorrausgesetzt ihr habt genug gekocht!

Selbstgemacht: Tomatenketchup

Vor einem Jahr: Leinsamenbrot

Vor zwei Jahren: Die besten Chocolate Chip Cookies

Vor drei Jahren: Death by Chocolate

Selbstgemacht: Tomatenketchup

homemade tomato ketchup

I will now present you the best recipe of the summer, what am I saying, the year!

I’m a really tomato ketchup lover! The stuff of my childhood still belongs to bratwurst and fish sticks for me! And the stuff of my childhood is bought from a global brand ever since, which is named like a relative of mine.

You know I make a lot of things myself, but I was always sceptical about making ketchup. I thought it could never reach the original.

Last week I gave it a try. I even cooked two recipes simultaneously for comparing. But after a short time it was already clear that one recipe is a loser… because powdered paprika in ketchup is just completely wrong.

But the other recipe made my eyes lighten up! It tasted like the original, but even a bit better. It was more complex, intensive and still tasted like ketchup has to taste!

I’m afraid we will only eat homemade tomato ketchup anymore. Afraid? Yes, because you will need A LOT of tomatoes for this delicious stuff. You will need the tripled amount of tomatoes, that you want in ketchup. That’s because after pureeing the sauce, you have to press it through a sieve to remove the coarser rests of the vegetables and the seeds, because you don’t want to have that in your ketchup! Finally a ketchup needs to have that velvety silky texture. And you will only get it by reducing the sauce.

The most beautiful tasty German tomatoes are now in season for sensational prices. I’ve already seen awesome San Marzano on our market for 2,40 €/kg! If you find these or giant ox heart tomatoes, buy and use these, because they have less seeds and liquid and more flesh as normal tomatoes.

Go, buy tomatoes, a few kilo right away and make ketchup! It doesn’t make a lot of work, it just needs some time. Therefore you can enjoy the result one year long, given that you made enough!

homemade tomato ketchup

One year ago: Flaxseed Sourdough Bread

Two years ago: The best Chocolate Chip Cookies

Three years ago: Death by Chocolate

homemade tomato ketchup


HolunderblütengeleeElderflower Jelly

Gerade ist wieder Holunderblütenzeit. Klar, dass ich mir die nicht entgehen lasse! Wir waren schon fleißig am Pflücken. Hier in der Umgebung gibt es sehr viel Holunder, gerade auch auf der Strecke zu unserem Beet. Leider liegt davon auch viel an der Straße.

Spätestens seit Hugo kennt wohl jeder Holunderblütensirup, aber Gelee ist noch nicht so verbreitet. Aber so bekommt man die Blüten direkt auf’s Brot. Sehr lecker. Passt auch hervorragend zu Käse.

Holunderblütengelee

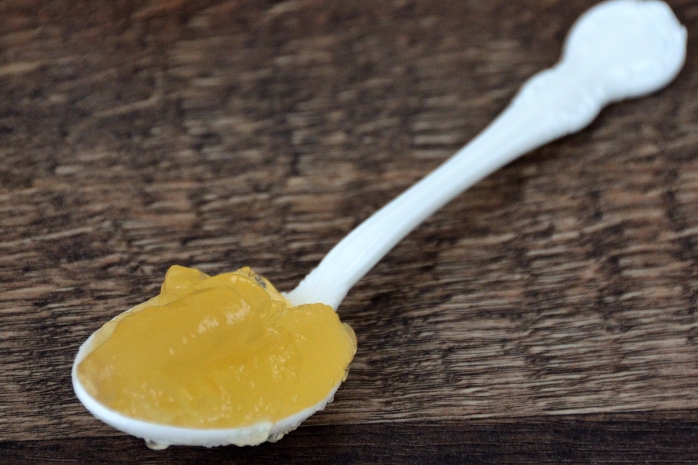
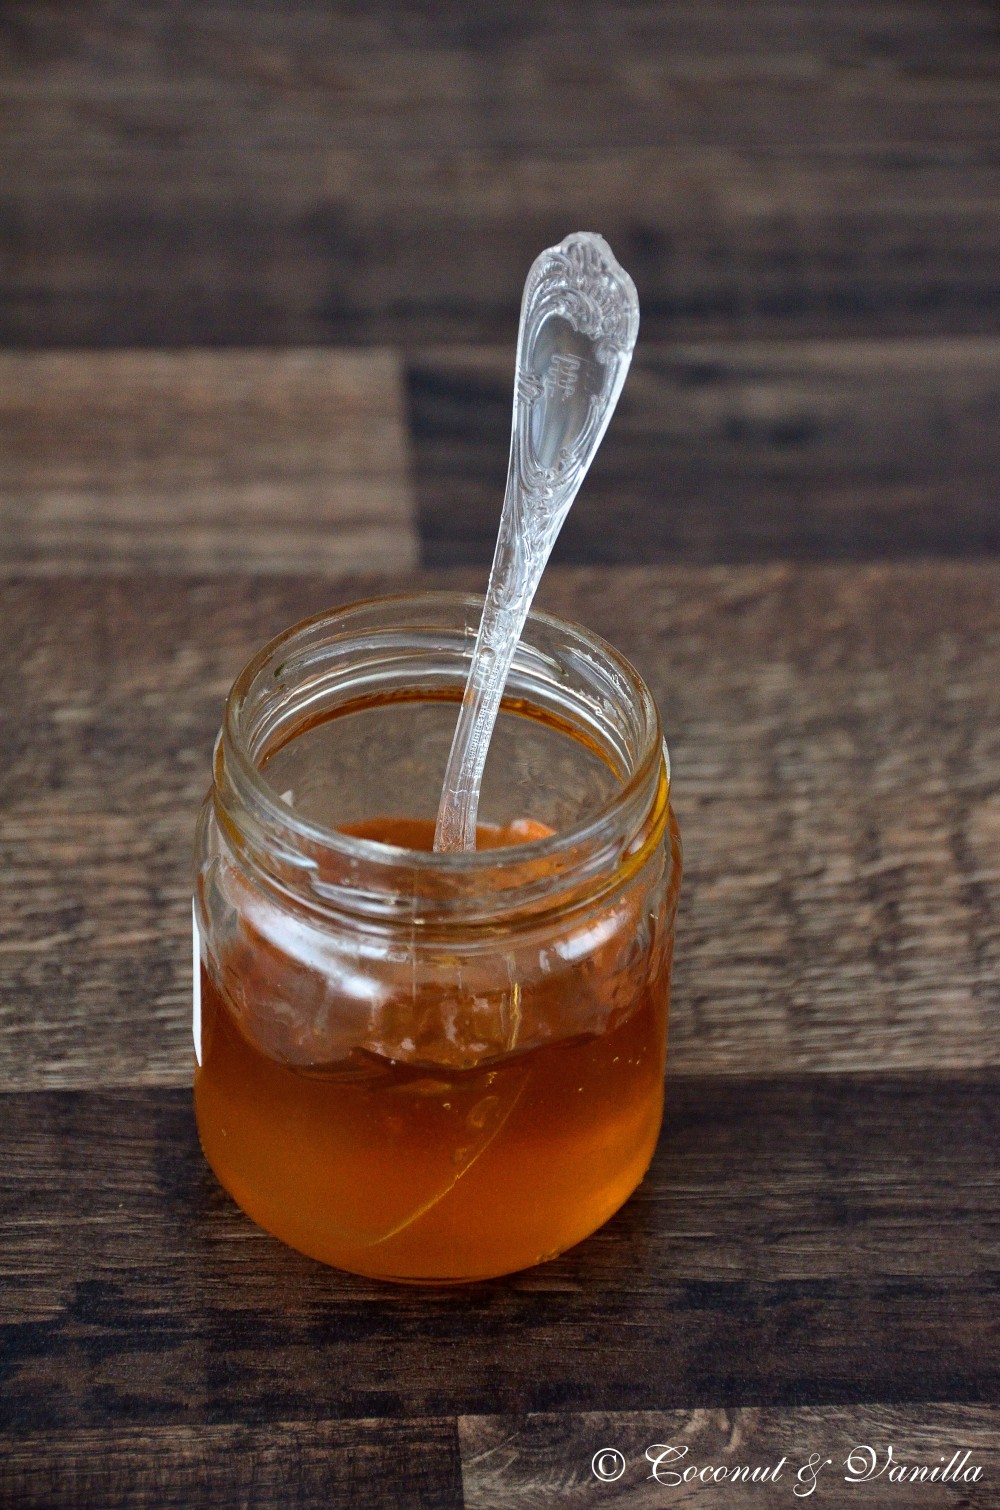
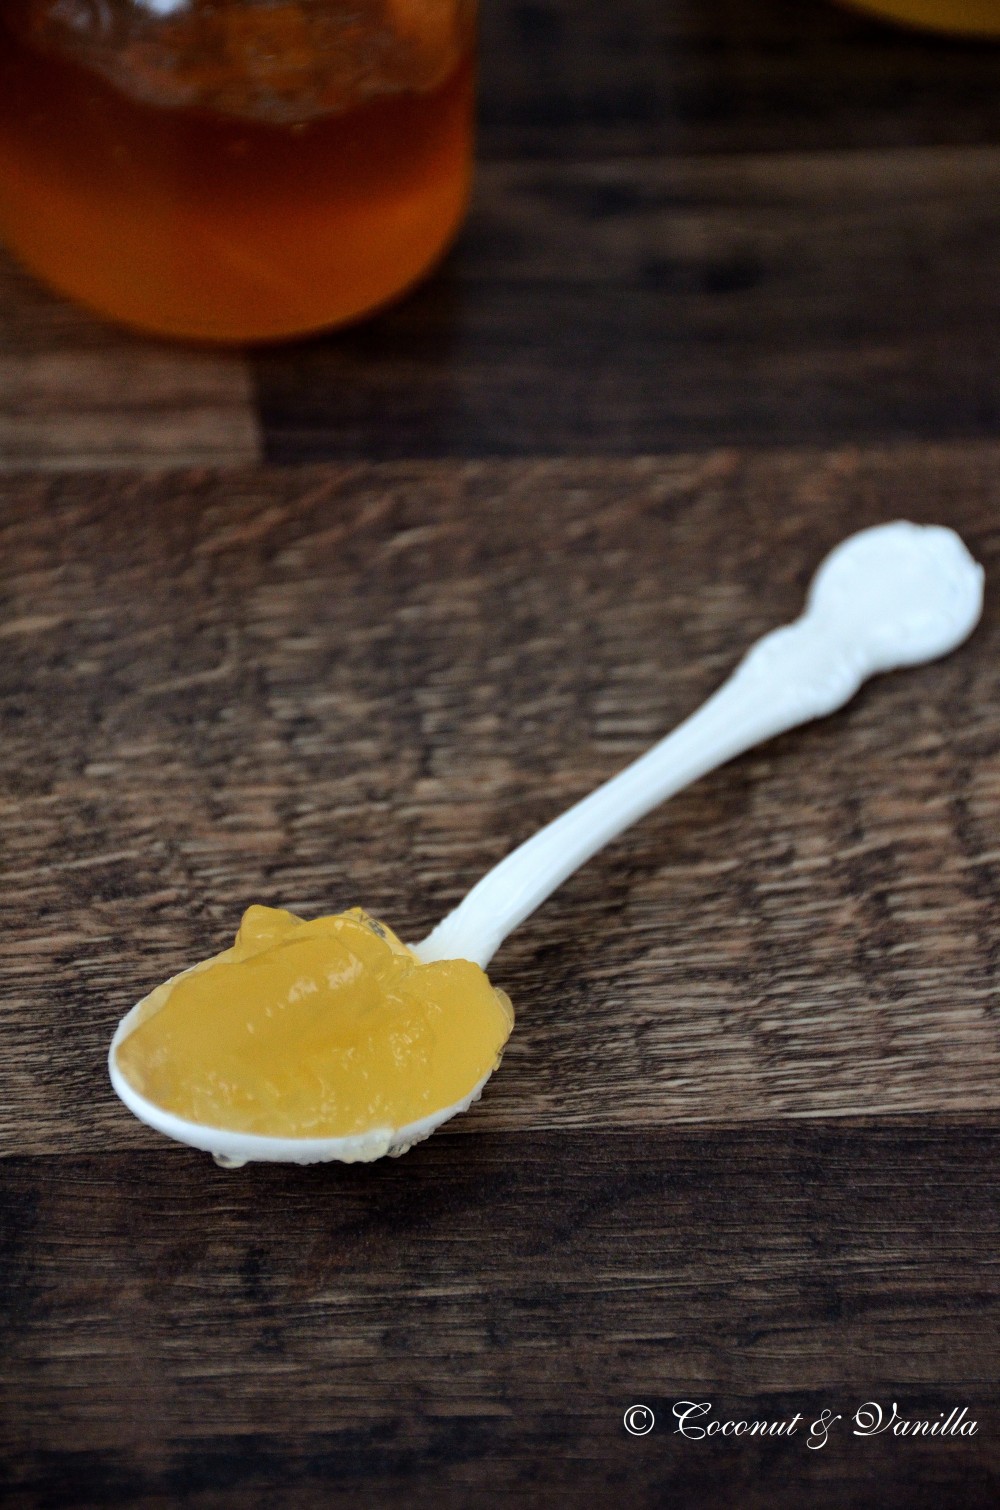
Dieses Jahr waren unsere Blüten nicht ganz so aromatisch wie letztes Jahr und gaben auch ein blasseres Gelb ab. Man sieht den Unterschied deutlich auf den Bildern: auf dem Löffel: neues Gelee, im Glas: Vorjahresgelee. Wir haben sie aber auch ganz woanders gepflückt. Vielleicht ein Grund? Ich bin gespannt wie es nächstes Jahr rauskommt. Trotzdem ist das Gelee immer wieder ein Highlight und wird auch als Geschenk gerne angenommen ;).

Holunderblütengelee

Vor einem Jahr: Erdbeerlikör, Basilikumöl und Holunderblütenessig

Vor zwei Jahren: Zitronen-Rosmarin-Kekse

Holunderblütengelee

Now it’s elderflower time again. For sure, I won’t miss it! We already were busy in picking the flowers. In our area a lot of elder bushes are growing, especially on the way to our field. Unfortunately a lot of them are right beside the street.

At least since Hugo everyone knows elderflower syrup, but jelly isn’t so popular yet. But that’s how you get the flowers right onto your bread. So very delicate! By the way it pairs perfectly with cheese, too.

Elderflower Jelly

This year our flowers weren’t that flavourful like last year and they also were less brighter in colour in the product. You see the difference clearly in the pictures: on the spoon: the new jelly, in the glass: jelly from the year before. We picked them totally somewhere else this year, maybe this counts as a reason? I’m curious how they turn out next year. Nonetheless this jelly is a highlight every year and is gladly accepted as a gift ;).

Elderflower Jelly

Holunderblütengelee

One year ago: Strawberry Liquor, Basil Olive Oil and Elderflower Vinegar

Two years ago: Lemon-Rosemary-Cookies

Elderflower Jelly

Rhabarbersirup Rhubarb Syrup

Rhabarbersirup

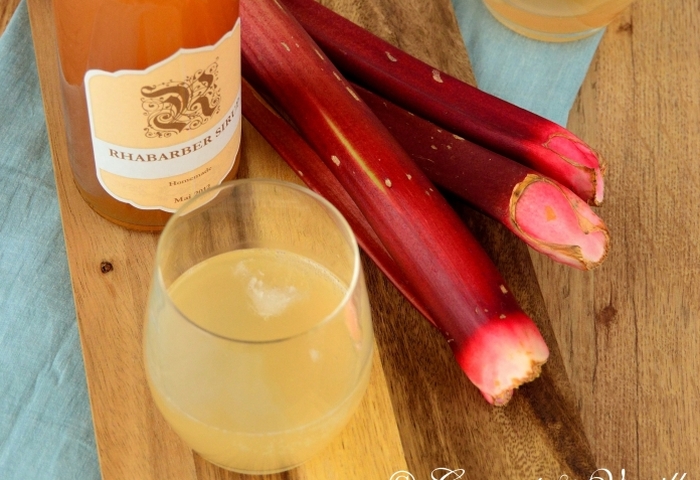
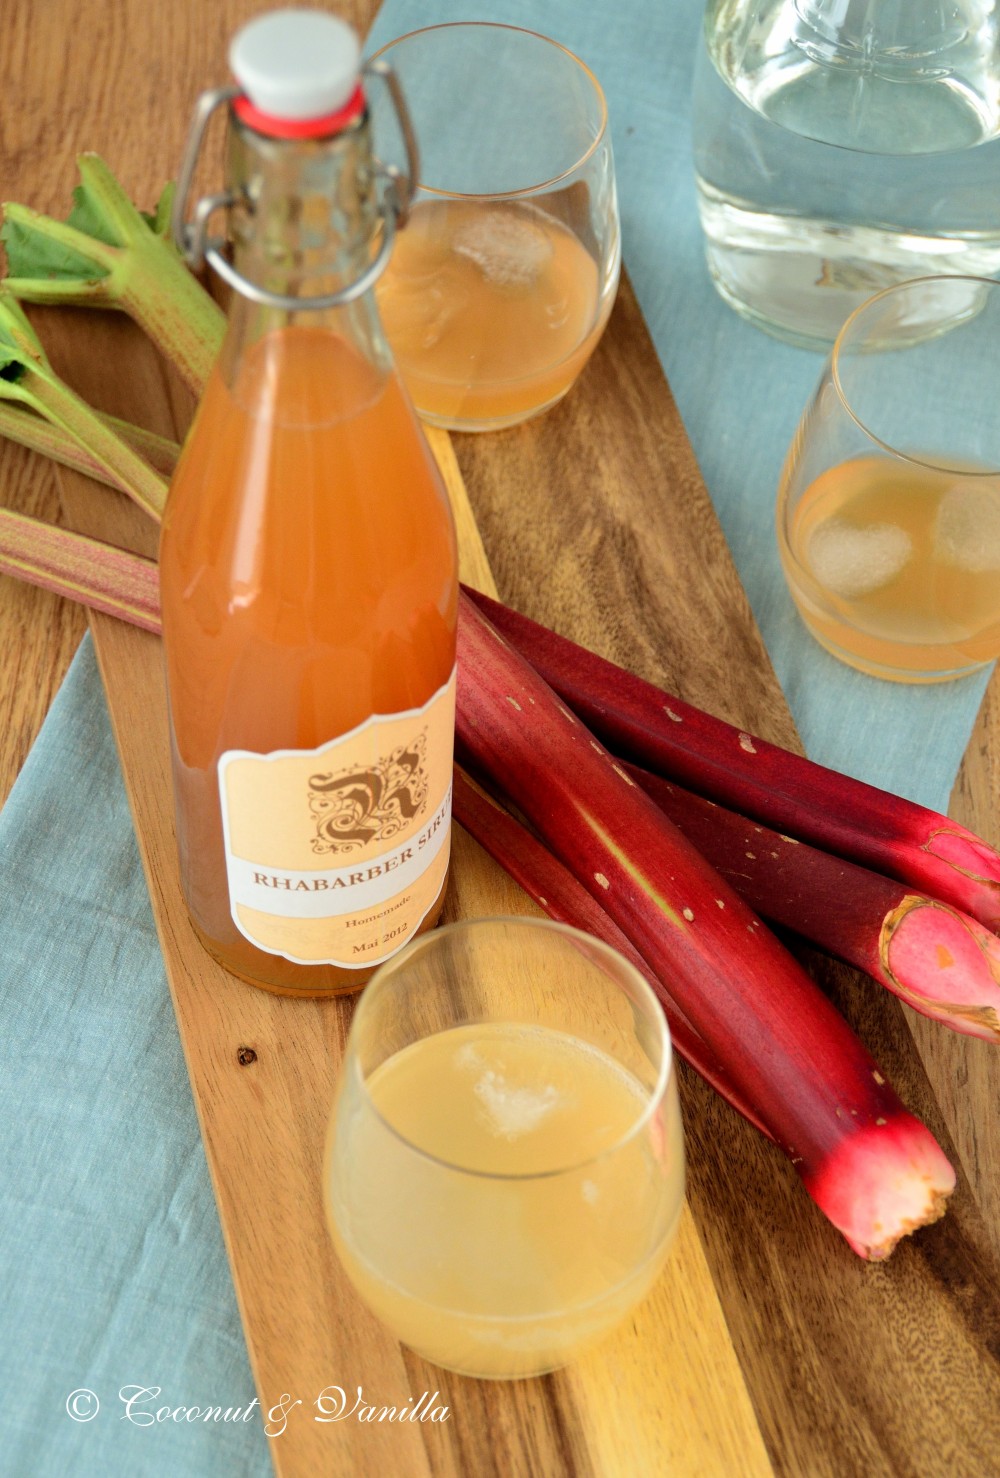
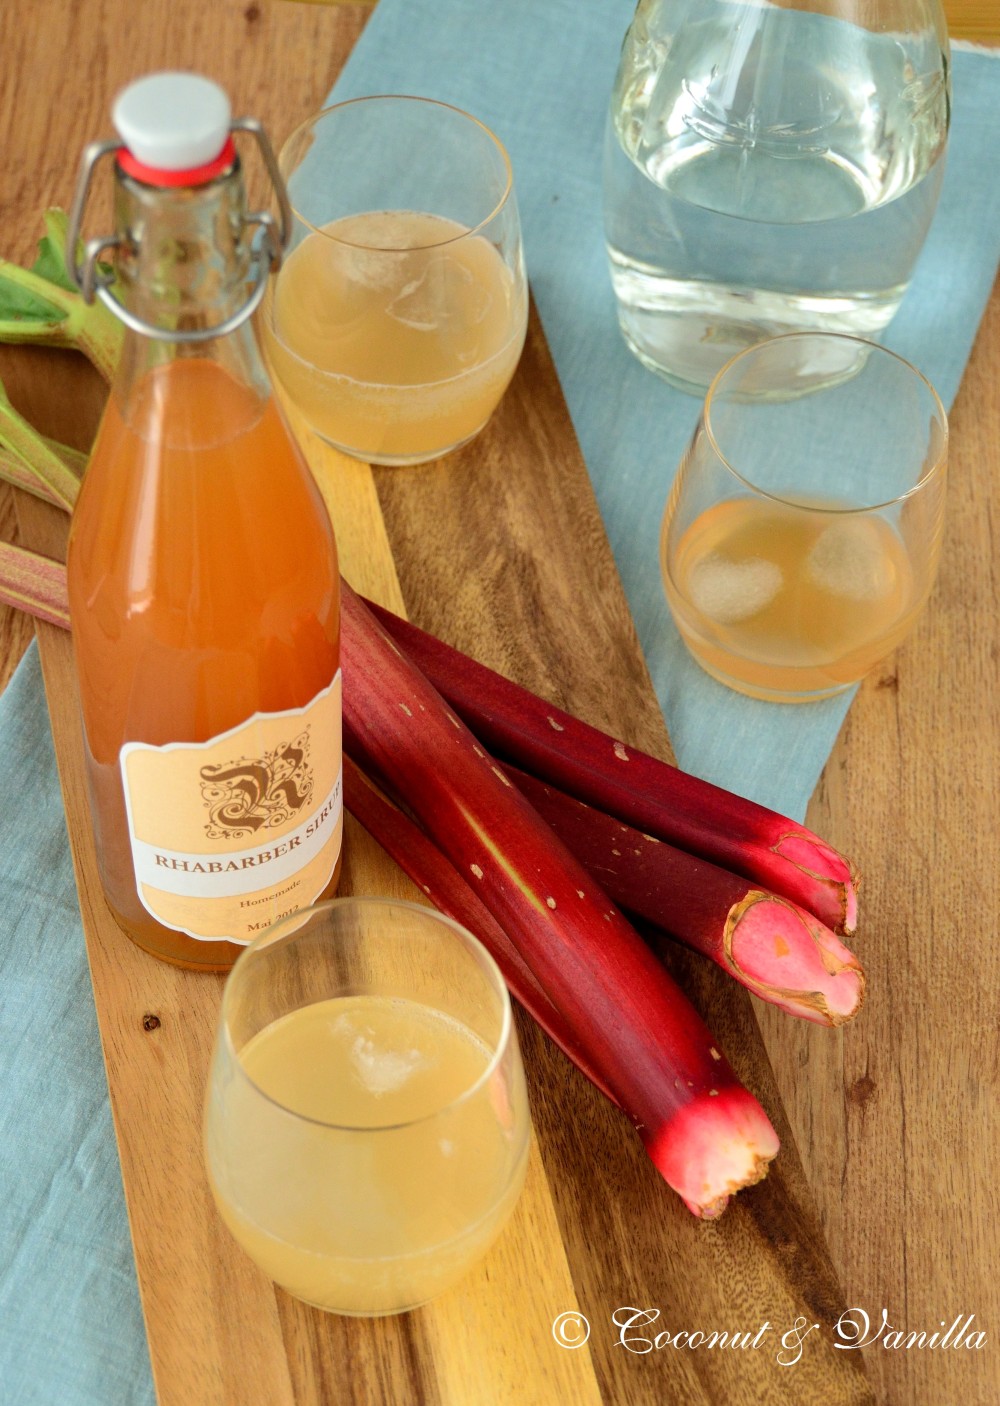
Eigentlich wollte ich Euch mal wieder was bieten, das nicht süß ist. Aber die süßen Sachen sind gerade soo lecker. Und dann erst dieser Rhabarbersirup. Erst am Wochenende gemacht und jetzt muss ich ihn doch gleich bloggen.

Der ist soo klasse. Letztes Jahr hab ich mich schon mal an Rhabarbersirup versucht, der war aber einfach nicht lecker. Aber der hier. Mhhhhm. Ich finde sogar, dass ist Rhabarber in seiner schönsten Form. Keine Fäden, nicht zu sauer, aber das volle Rhabarberaroma. Und dann noch zum Trinken. Wenn man genug davon macht sogar dass ganze Jahr über. Und wer daheim zu viel Rhabarber im Garten hat, dem kann ich nur raten hiervon einen Vorrat anzulegen. Ansonsten gibt es den Rhabarber zur Zeit auch sehr günstig zu kaufen.

Rhabarbersirup

Actually I wanted you to offer something, that is not sweet again. But the sweet things are so delicious at the moment. And than I made this rhubarb syrup. Just this weekend. And it’s that good, I have to blog it now.

The syrup is that darn good. I tried rhubarb syrup already last year, but it wasn’t delicious at all. But this one is. Definitely. I also think this is rhubarb in it’s best way. No strings, not too tart, but the full rhubarb flavour. And than it’s a drink! If you are making enough of this, you can also enjoy it the whole year. Heaven! If you are having a lot of rhubarb in the garden, make this syrup a staple. If you are not having a garden or just no rhubarb in it (shame on you), buy it, because it’s cheap now and in season.

Rhabarbersirup

Vor einem Jahr: Rhabarber Streusel Tarte

Rhubarb Syrup

Actually I wanted you to offer something, that is not sweet again. But the sweet things are so delicious at the moment. And than I made this rhubarb syrup. Just this weekend. And it’s that good, I have to blog it now.

The syrup is that darn good. I tried rhubarb syrup already last year, but it wasn’t delicious at all. But this one is. Definitely. I also think this is rhubarb in it’s best way. No strings, not too tart, but the full rhubarb flavour. And than it’s a drink! If you are making enough of this, you can also enjoy it the whole year. Heaven! If you are having a lot of rhubarb in the garden, make this syrup a staple. If you are not having a garden or just no rhubarb in it (shame on you), buy it, because it’s cheap now and in season.

Rhubarb Syrup

By the way I used just normal rhubarb, which wasn’t very red at all, but the syrup turned out in a beautiful orange. Another benefit of not peeling it.

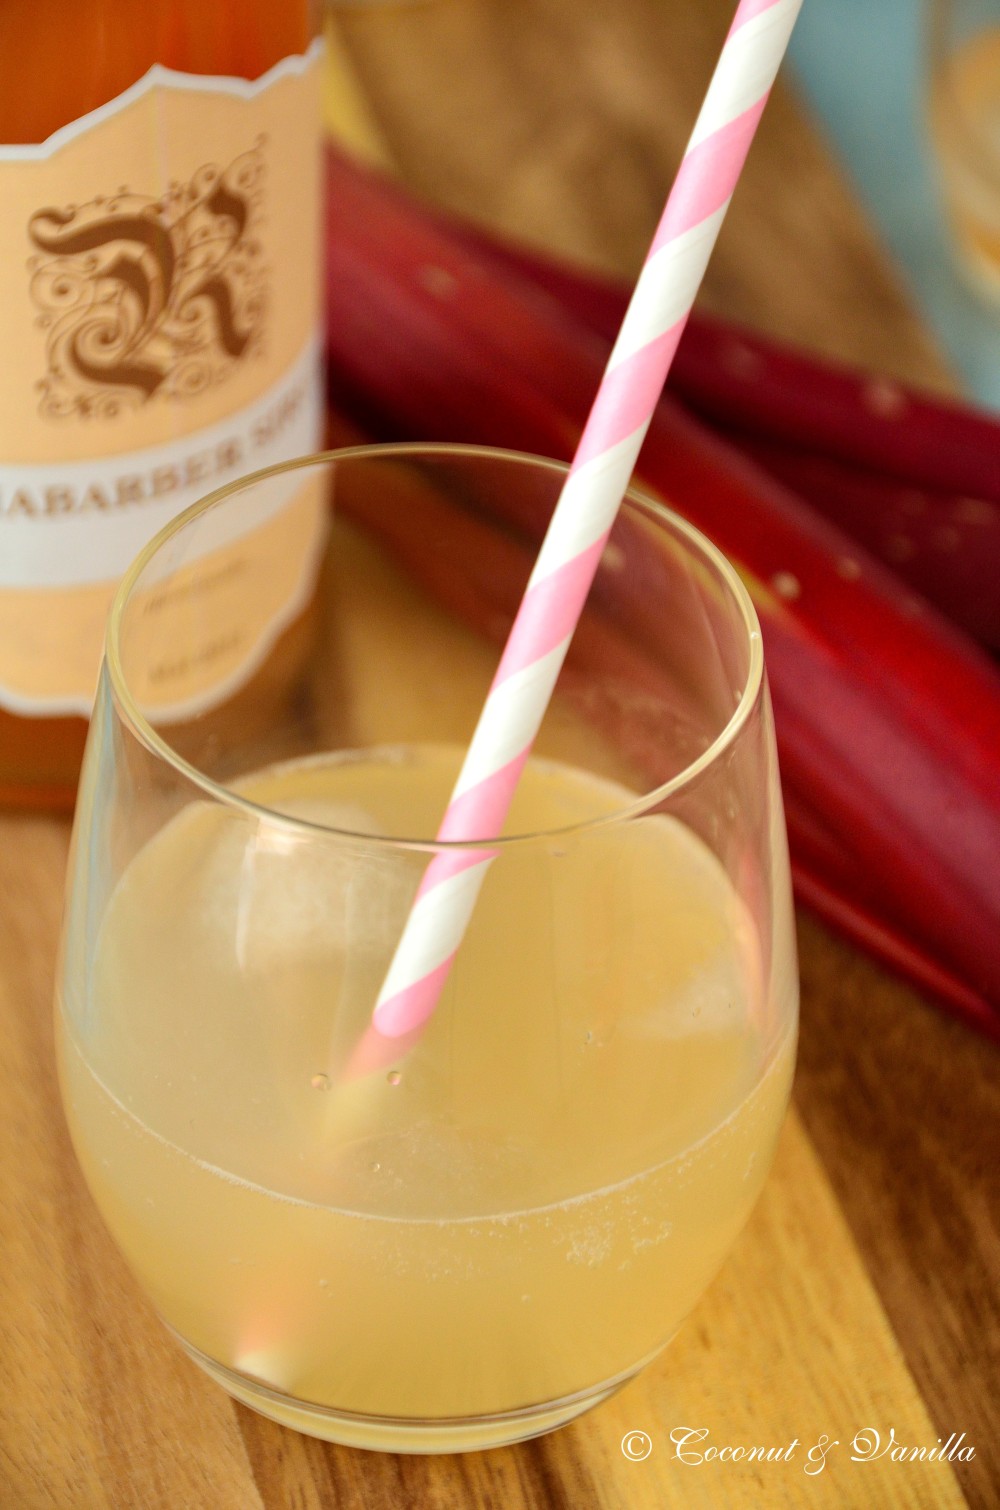
This syrup is super refreshing with some ice and soda water. Or with champagne. Mint also? Why not, just set your imagination free. Lime is already in there, which makes the whole thing extra better.

PS: I’ve made these great labels with the Jam Labelizer, which is a great site for making wonderful labels. Katharina of Katharina kocht gave the tip for this site on her blog, thank you!

Rhubarb Syrup

One year ago: Rhubarb Streusel Tart

Wildfond Game Stock

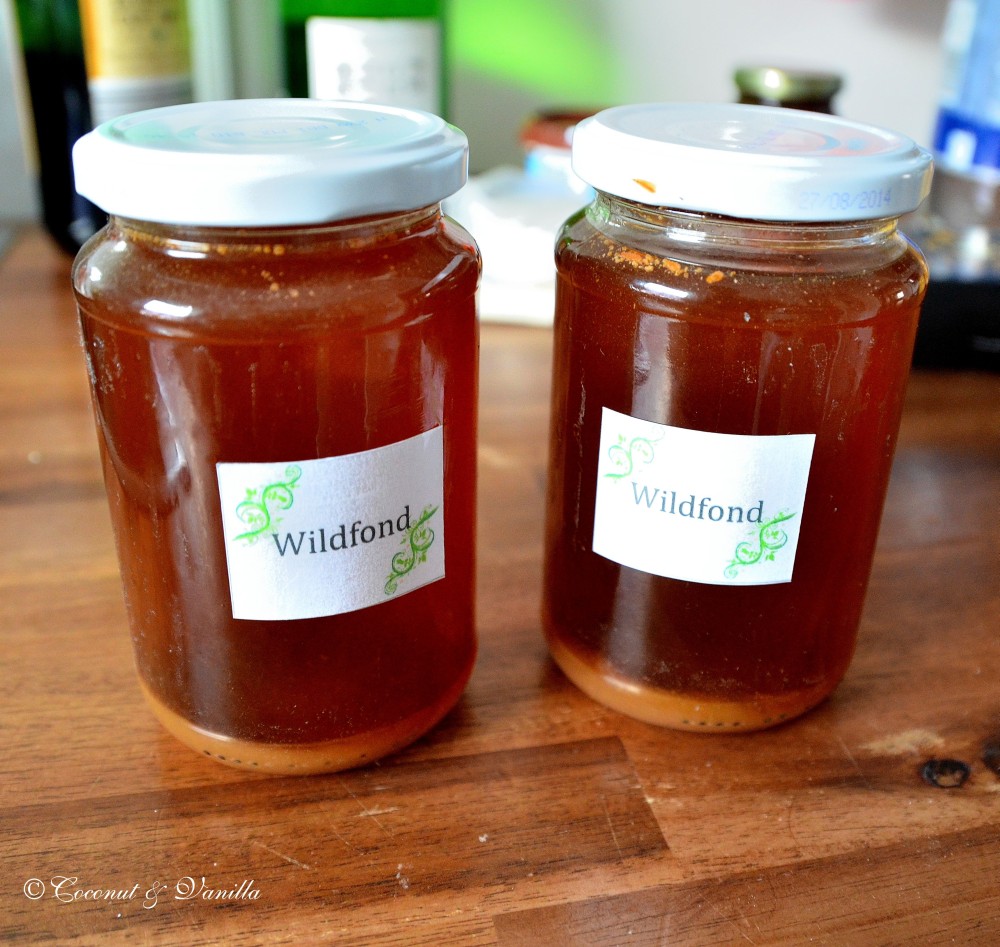
Jetzt in den Wochen vor Weihnachten gibt es an einem Stand auf dem Markt auch Wild. Manchmal dies, manchmal das. Vor Kurzem entdeckte ich dort Wildhasen, den wir gleich mitnahmen. Die Gelegenheit kommt nicht oft. Dahinter standen zwei Tüten mit Rehabschnitten und -knochen, die ich schon interessiert beäugte. Nachdem wir noch eine Runde durch die Läden machten, musste ich sie noch haben. Und ein Glück, denn bisher hab ich dort keine mehr gesehen.

Am gleichen Wochenende hieß es also Wildfond kochen und einmachen. Da es auch für mich das erste Mal war, wollte ich mich kurz im Internet informieren um etwaige Zutaten (außergewöhnliches) und Kochzeit. Kurz war gut. Das Internet gab nicht viel her. Von 2-6 Stunden alles dabei. Kam mir aber auch etwas wenig vor. Facebook befragt. Arthurs Tochter half mit der konkreten Angabe 12 Stunden weiter. Also dann 12 Stunden. Und es hat dem Fond nicht geschadet.

Wildfond braucht man vielleicht nichts so häufig, aber wenn ja was macht man dann? Gut man kann einen überteuerten Fond kaufen. Da kostet das Glas mehr, als die Abschnitte zum Kochen. Und dann sind auch noch Zutaten drin, die mit Fond nichts zu tun haben.

Ich habe mit einmal Kochen 13 Gläser Fond eingekocht. Das hält ne Weile. Aber wenn man es danach auch noch schön im Backofen einmacht, hält sich das auch noch ewig (naja fast).

Und für alle die sich fragen, wie nun Wildfond kochen und einmachen im Backofen funktioniert, liefere ich heute eine pipifax einfache Anleitung dafür. Und schon steht dem leckeren Sößchen, egal zu welchem Wildfleisch, nichts mehr entgegen.

 
Wildfond
 
Vor einem Jahr: Schottisches Shortbread
 
Wildfond


Wildfond


Wildfond
 
 
Wildfond
 

Wildfond

 
Wildfond


Now, in the weeks before christmas a market stall on our market has game, too. Sometimes this, sometimes that. Recently we spotted some wild rabbit there, which we immediately bought. Not an everyday opportunity. Behind it, two bags with venison parures and bones, which I already eyed interested. After we made the curcuit in the shops, I had to have them. And that was wise, since I didn’t see some again there.

So on the same weekend cooking and preserving stock was the matter. Since it was the first time for me, too, I searched the internet for some informations about ingredients (something special?) and the cooking time. But the internet was rare. 2-6 hours, everything was given. So asking Facebook. Arthurs Tochter helped me with the precise information: 12 hours. So 12 hours then. And it didn’t do any harm to the game stock!

There’s not so much need for game stock, but when, what to do then? Well, you can buy one, which costs as much as the two bags bones I bought. And then there are ingredients listed, that have nothing to do with stock.

I made 13 glasses of stock with this batch. That’s a nice supply. But if you’re preserving them in the oven, these will maintain forever (well almost).

And if you’re now wondering how to make game stock and how to preserve it in you oven, I will show you an easy peasy instruction how to. So nothing stands in the way for your delicious sauce, accompanying your next game dish.

Game Stock

One year ago: Scottish Shortbread

 
Game Stock
 
 
Game Stock
 
 
Game Stock
 
 
Game Stock


Game Stock
 
Game Stock