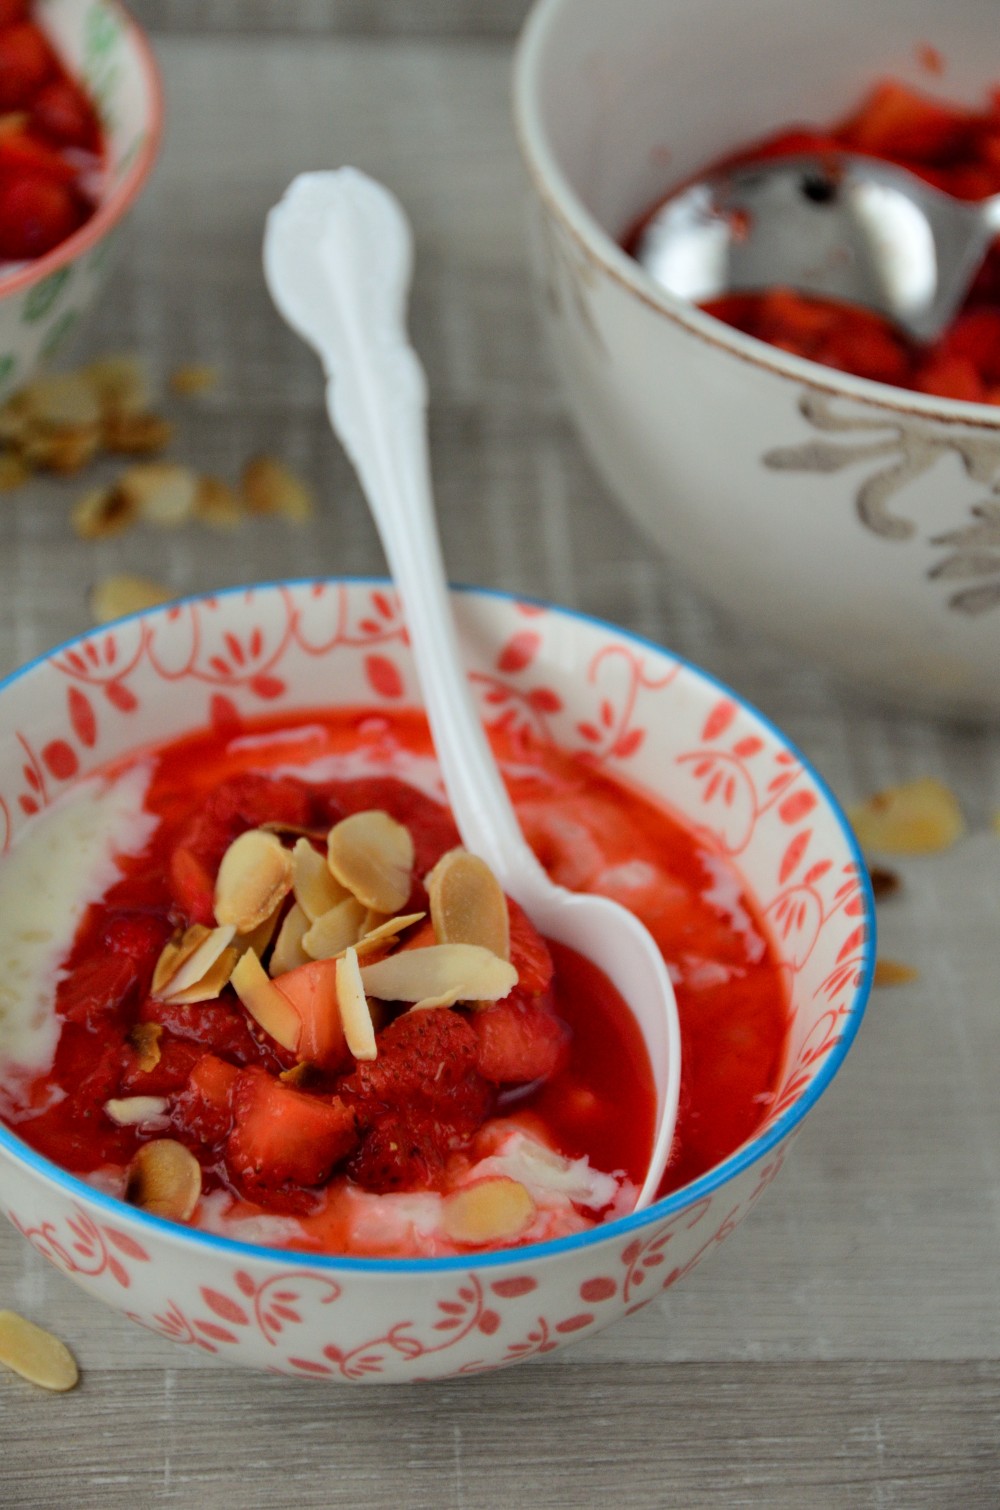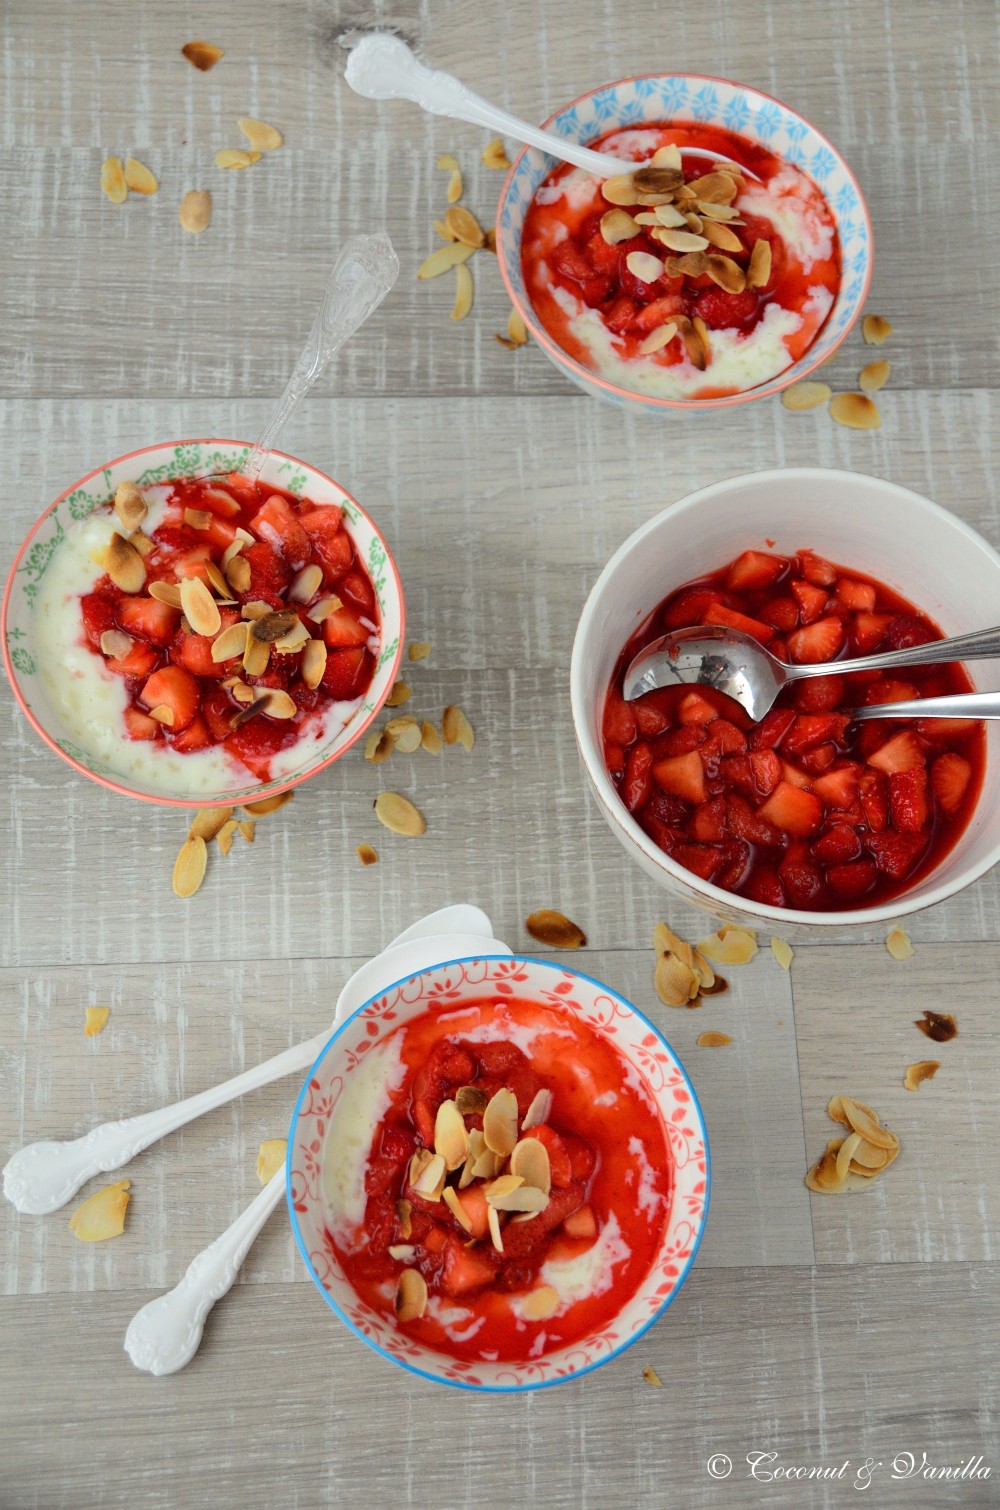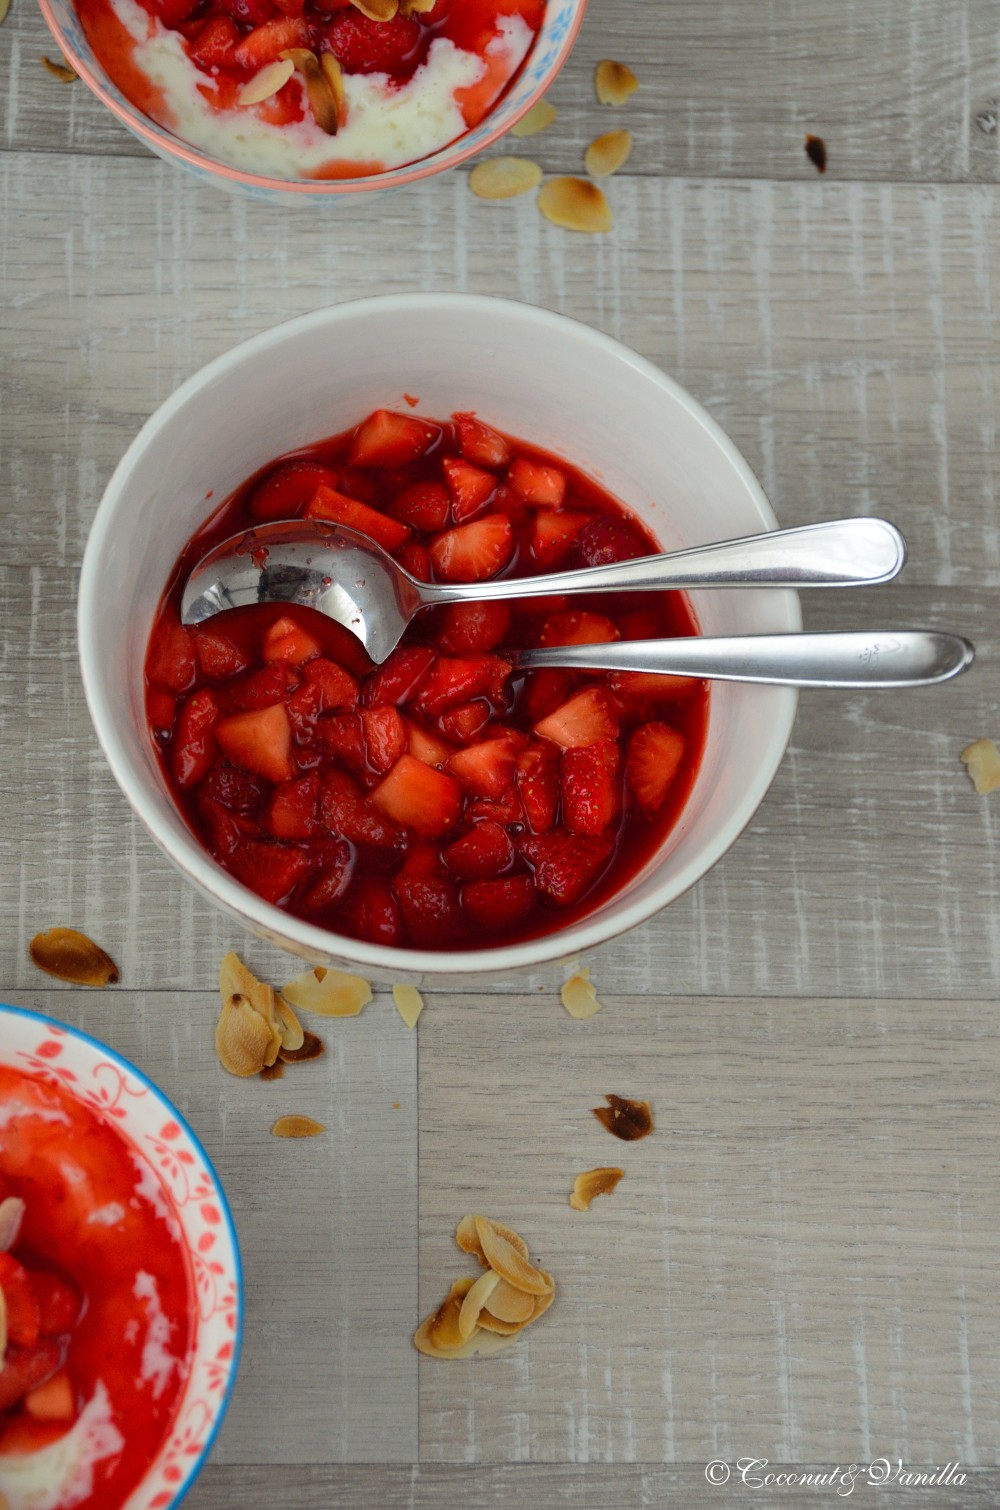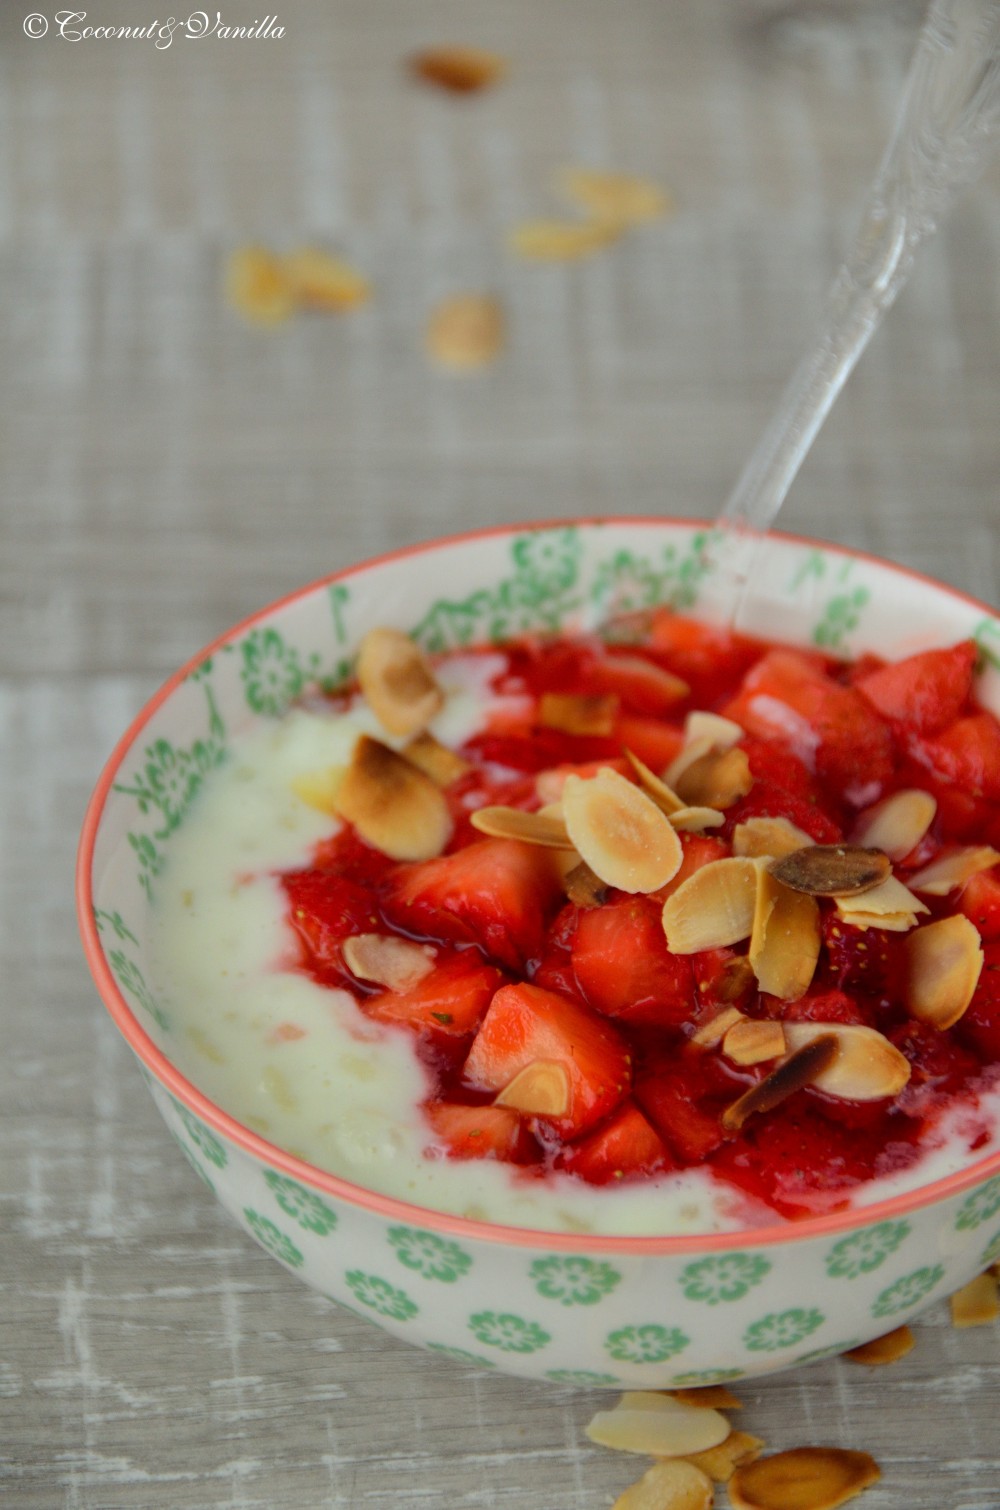
Cooking through La Tartine Gourmande: Milchreis mit Erdbeer-Zitronengras-Limetten-Kompott (mit Rezept!)Cooking through La Tartine Gourmande: Rice Pudding with Strawberries stewed in Lemongrass and Lime (with recipe!)

Milchreis mit Erdbeer-Zitronengras-Limetten-Kompott

Da gerade Erdbeersaison ist, habe ich den Milchreis mit Erdbeer-Zitronengras-Limettenkompott von S. 230 ausgesucht. Hier könnte Ihr über Ina’s Kocherfahrungen lesen.

Ich war erst etwas skeptisch, da ich erstens noch nie frisches Zitronengras verwendet habe und zweitens Zitronengras und Ingwer in Milchreis? Naja, ob ich das mögen würde?

Aber ich mochte es tatsächlich! Ich liebe es! Ich liebe es über alles! Es ist eins meiner Lieblingsrezepte aus dem Buch. Ich war sofort hin und weg von dem Gericht. Es ist sooo köstlich! Ich kann es nicht oft genug sagen.

Somit ist es auch die perfekte Gelegenheit, beim Event von Nata mitzumachen: Mein erstes Mal frisches Zitronengras benutzt und verkocht und es war ein voller Erfolg! Puh, da bin ich jetzt schon erleichtert, sonst hätte ich nichts vom Milchreis essen können, obwohl ich doch so auf Milchreis stehe.

Milchreis mit Erdbeer-Zitronengras-Limetten-Kompott

Der Milchreis ist schon ein Hit alleine. Ich hätte ihn auch fast sofort aus dem Topf gegessen. Die Erdbeeren waren aber auch sehr lecker. Die Limette und das Zitronengras passen einfach hervorragend dazu und der Ingwer fügt nur einen Hauch Aroma dazu, ohne scharf zu sein oder sich in den Vordergrund zu drängen. Das Gericht versetzte mich ein wenig in unseren Thailandurlaub. Nicht, dass wir dort etwas vergleichbares gegessen hätten, es ist einfach nur das Aroma im Allgemeinen. Aber es ist ja nichts Schlechtes durch ein Gericht an den Urlaub erinnert zu werden, oder?

Da ich dieses Gericht nun schon so in den Himmel lobe, kann ich Euch doch nicht ohne das Rezept davonziehen lassen. Es wird Euch die Essenz dieses Buches vermitteln. Es ist ein super Buch mit klasse Rezepten und das ist nur eines von vielen. Aber eines der Besten ;).

Wichtig bei diesem Gericht ist, dass man es vernascht wenn es noch warm oder lauwarm ist.  Wenn man es im Kühlschrank aufbewahrt (was ja normal ist, wenn man nur zu zweit ist), dann gehen viel der Aromen und die Textur flöten. Also lasst es. Esst einfach zwei Schüsselchen davon oder eine große. Vertraut mir, das sollte kein Problem sein.

Milchreis mit Erdbeer-Zitronengras-Limetten-Kompott

Vor einem Jahr: Heidelbeer-Zitronen-Tarte

Vor zwei Jahren: Erdbeer-Melonen-Süppchen

Milchreis mit Erdbeer-Zitronengras-Limetten-Kompott

Rice Pudding with Strawberries stewed in Lemongrass and Lime

As it’s strawberry season I chose the rice pudding with strawberries stewed in lemongrass and lime from page 230. You can read here about Ina’s cooking experience.

I was a bit sceptical, since first I never used fresh lemongrass and second lemongrass and ginger in rice pudding? I didn’t know, if I would like that. But indeed I liked that! I loved it! Loved it a lot even! It’s one of my favourite recipes out of the book. I was so hooked by the whole dish. It’s very delicious. I can’t emphasize that enough.

Rice Pudding with Strawberries stewed in Lemongrass and Lime

The rice pudding is already very good on it’s own. I’ve could have eaten it right out of the pot. The strawberries are also delicious. The lime and the lemongrass are matching perfect here. The ginger only gives hint of its flavour without being sharp or too spicy. It reminded me a bit of our holiday in Thailand, not that we’ve eaten there something similar, it’s just the flavour in general. But that’s a good thing, thinking about holiday while eating a dish, isn’t it.

As I’m praising this dish so much, I can’t let you go without the recipe. Because this will give you the essence of the book. It’s a great book with great recipes, and that’s just one of them. But one of the best ones ;).

What’s really important about this dish is to eat it while it’s warm or lukewarm. You don’t reach the flavour and the texture again, after having it stored in the fridge (which is quite normal, when you’re only 2). Don’t do it. Just eat two bowls or a large one. Trust me, it will be no problem.

Rice Pudding with Strawberries stewed in Lemongrass and Lime

One year ago: Blueberry-Lemon-Tart

Two years ago: Strawberry-Melon-Soup

Rice Pudding with Strawberries stewed in Lemongrass and Lime

Kokos Panna CottaCoconut Panna Cotta

Update: Für das deutsche Rezept nach unten scrollen!

One year ago I started this blog!

I’m glad that I took this step. And I’m proud how it developed. It’s more than I’ve ever thought it would be or I would have here. I want to thank everyone, who  directed some kind words about it at me – here in the comments or just before the screen. I want to thank YOU for your visits!

Kokos Panna Cotta

In the last weeks I started to integrate some new features on the blog, like a Facebook page and even Twitter. Yeah, you’ve read right, Coconut & Vanilla has it’s own Facebook page! I would be pleased, if you jump over and become a fan. And if you want to know what I’m doing in the kitchen in between my blog posts, you can now follow me on Twitter and look over my shoulder.

Kokos Panna Cotta

Furthermore, with some help I invented a new blog design! It now looks fresher, cleaner and more personal. I hope you like it! I love it! We found those wonderful tomatoes, which you can see on my new banner, on the market in our area.

We bought them at my favourite stall, which sells fruit, vegetables and flowers they’ve grown by themselves. Last Saturday we bought there the most beautiful flower bouquet I’ve ever seen! I love to meander through the stalls and look at all the beautiful vegetables, flowers, fruit, cheese, bread, meat, olives, marinated sheep milk cheese… just everything you need. It’s the perfect beginning of the weekend and you get almost everything you need for the week.

Kokos Panna Cotta

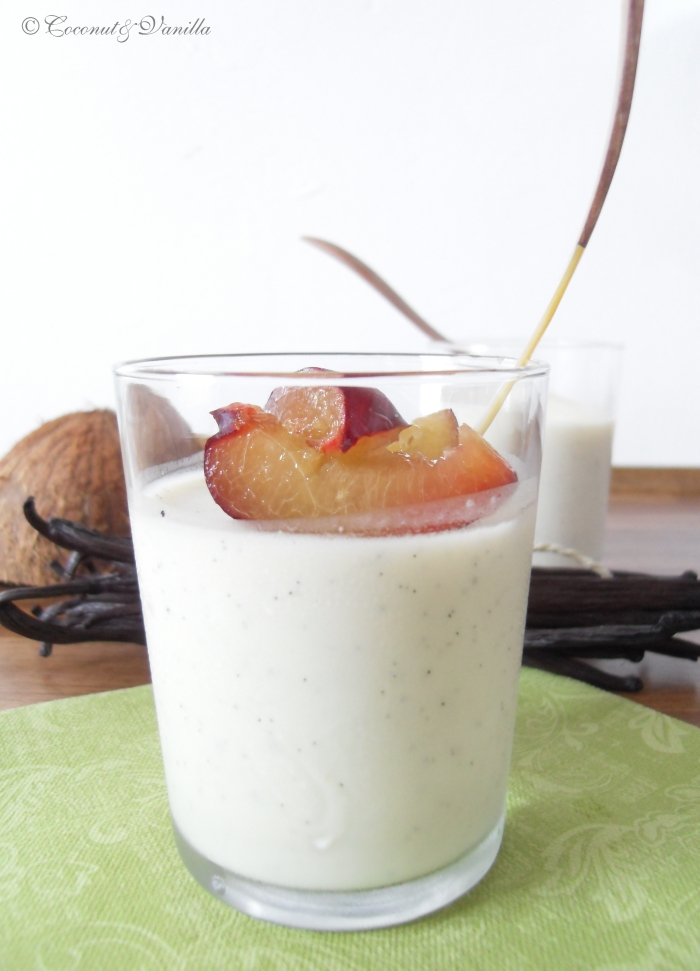
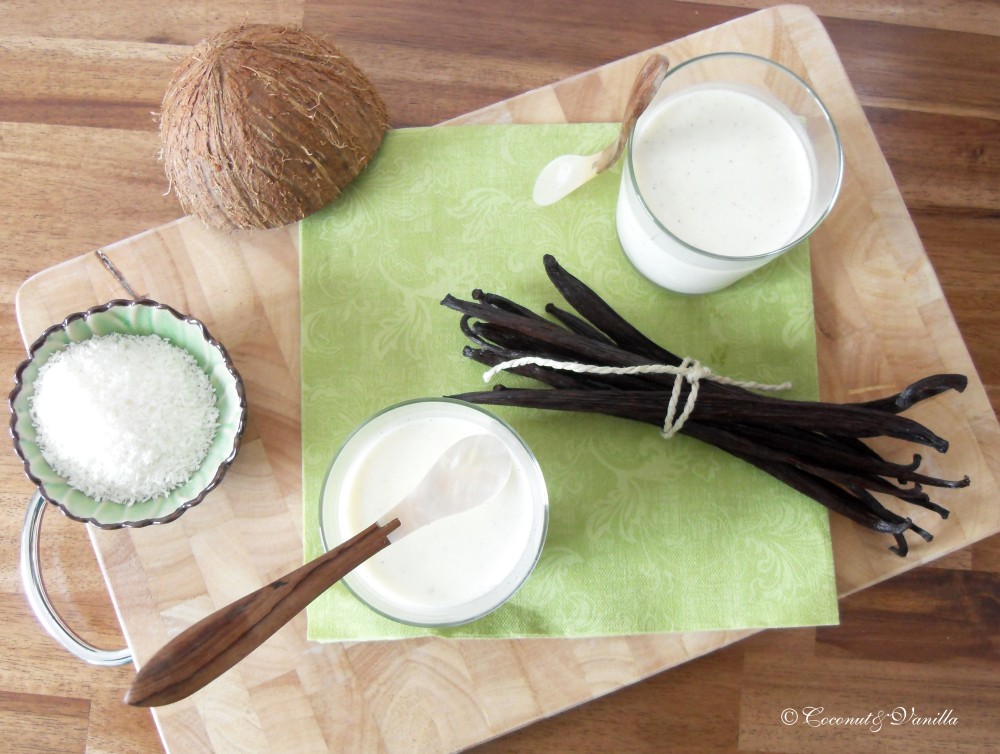
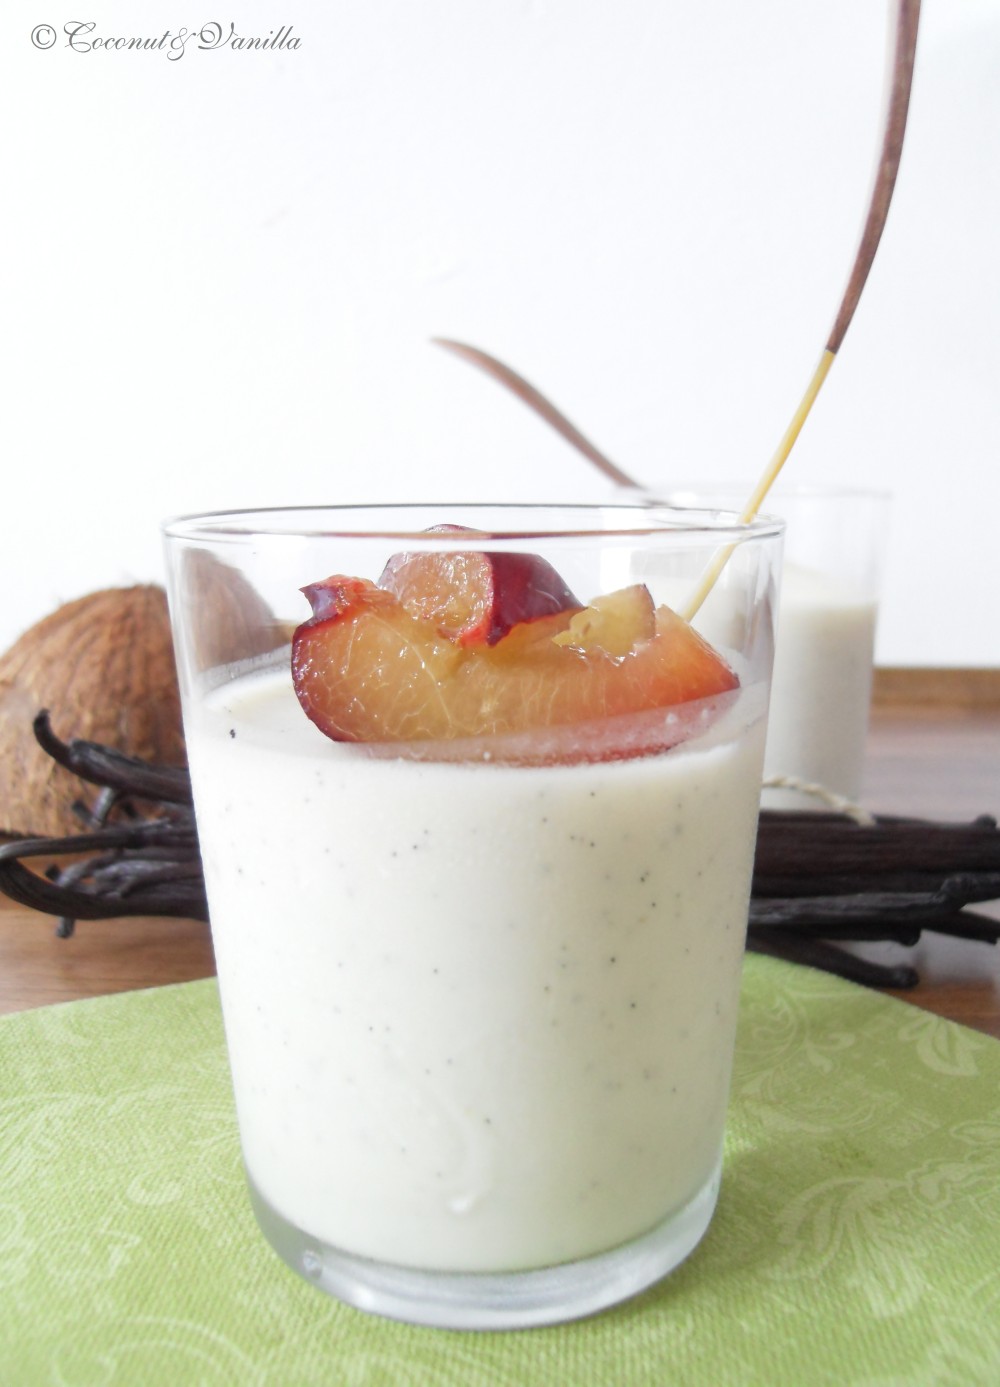
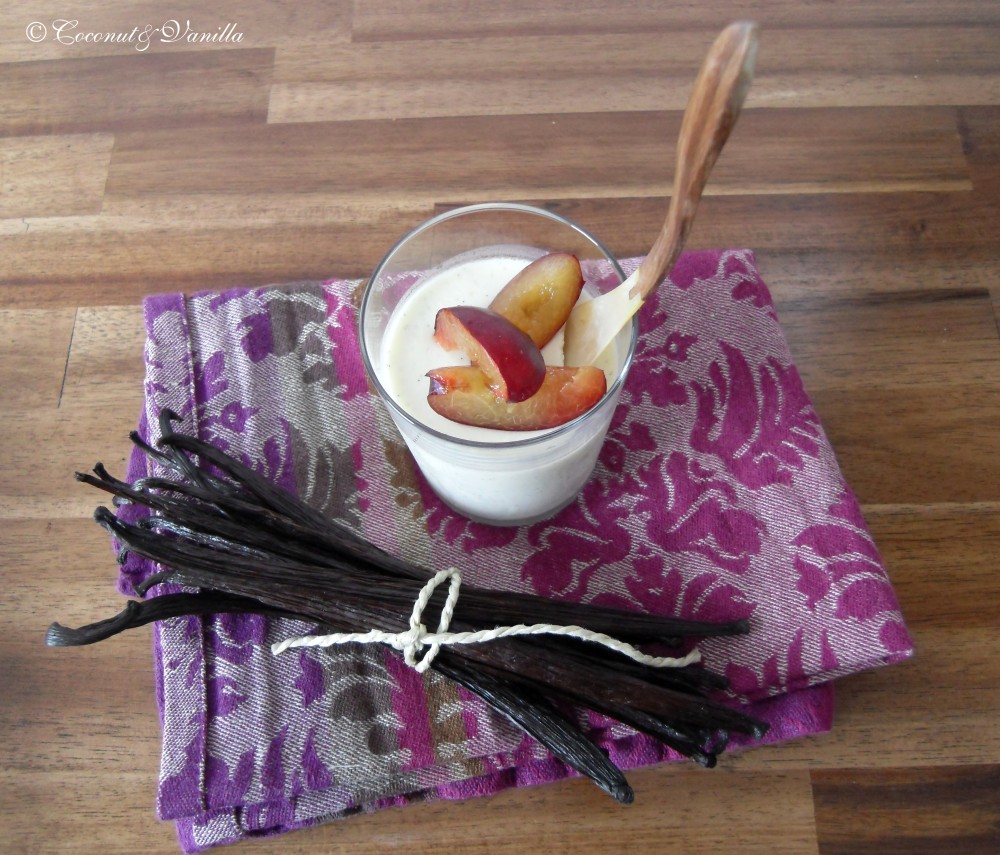
One year ago, as I started this whole thing I was wondering how I should name it. And that’s not so easy, since there are a lot of blogs out there. But it didn’t took me long… One of my favourite desserts is panna cotta. And Coconut Panna Cotta is the one I love the most! I like the taste of the coconut milk pairing with the vanilla. I like to bite on that tiny bits of vanilla seeds. I like how it sounds. So why not name it like a favourite dessert? And that is how it came that my blogs name is Coconut & Vanilla. For this occasion I want to share my very own recipe of it with you.

Kokos Panna Cotta

Vor einem Jahr: Death by Chocolate

One year ago I started this blog!

I’m glad that I took this step. And I’m proud how it developed. It’s more than I’ve ever thought it would be or I would have here. I want to thank everyone, who directed some kind words about it at me – here in the comments or just before the screen. I want to thank YOU for your visits!

Coconut Panna Cotta

In the last weeks I started to integrate some new features on the blog, like a Facebook page and even Twitter. Yeah, you’ve read right, Coconut & Vanilla has it’s own Facebook page! I would be pleased, if you jump over and become a fan. And if you want to know what I’m doing in the kitchen in between my blog posts, you can now follow me on Twitter and look over my shoulder.

Coconut Panna Cotta

Furthermore, with some help I invented a new blog design! It now looks fresher, cleaner and more personal. I hope you like it! I love it! We found those wonderful tomatoes, which you can see on my new banner, on the market in our area.

We bought them at my favourite stall, which sells fruit, vegetables and flowers they’ve grown by themselves. Last Saturday we bought there the most beautiful flower bouquet I’ve ever seen! I love to meander through the stalls and look at all the beautiful vegetables, flowers, fruit, cheese, bread, meat, olives, marinated sheep milk cheese… just everything you need. It’s the perfect beginning of the weekend and you get almost everything you need for the week.

Coconut Panna Cotta

One year ago, as I started this whole thing I was wondering how I should name it. And that’s not so easy, since there are a lot of blogs out there. But it didn’t took me long… One of my favourite desserts is panna cotta. And Coconut Panna Cotta is the one I love the most! I like the taste of the coconut milk pairing with the vanilla. I like to bite on that tiny bits of vanilla seeds. I like how it sounds. So why not name it like a favourite dessert? And that is how it came that my blogs name is Coconut & Vanilla. For this occasion I want to share my very own recipe of it with you.

Coconut Panna Cotta

One year ago: Death by Chocolate

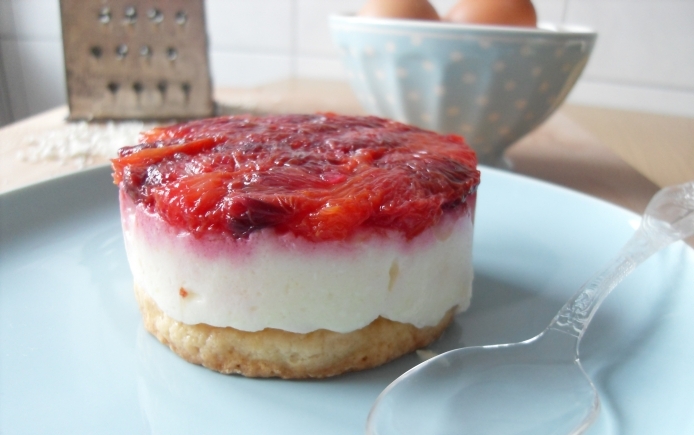
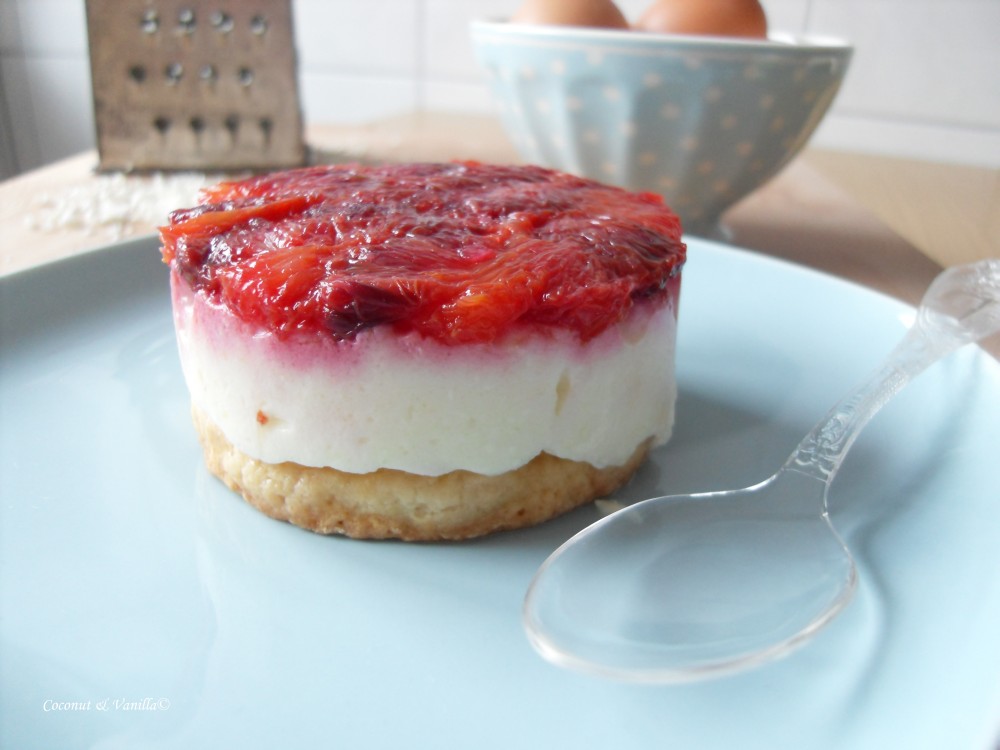
Blutorangen-Tian mit weißer SchokoladeBlood Orange and White Chocolate Tian

Blutorangen-Tian mit weißer Schokolade

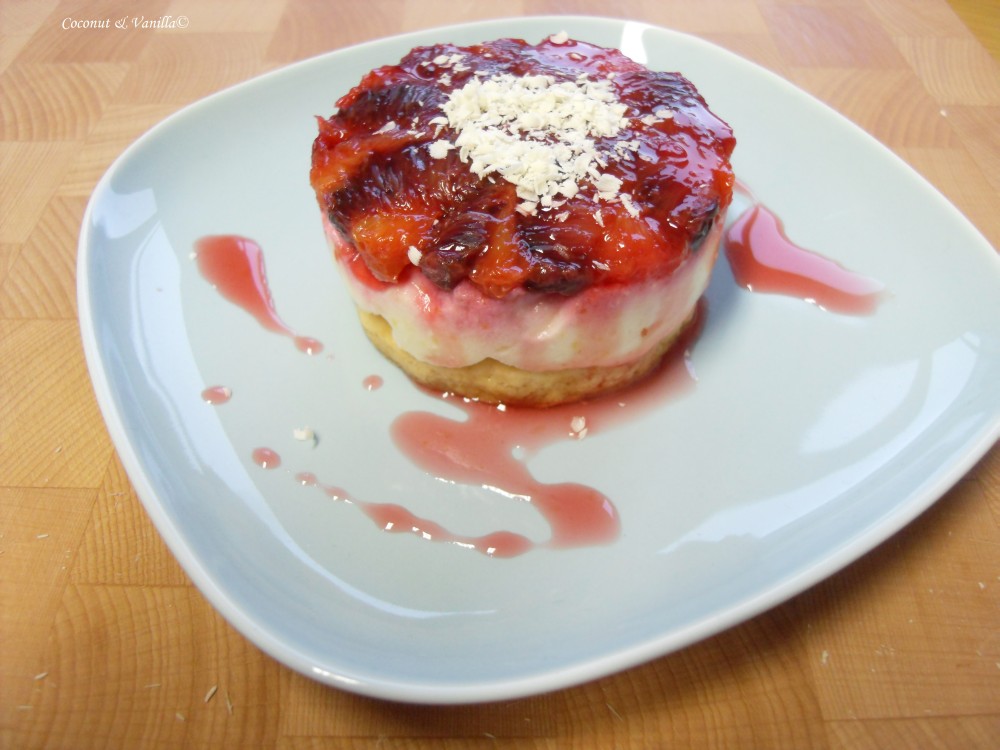
I know the reveal date for the Daring Bakers challenge was 4 days ago. Since I was in Nuremberg again for family festivities, I didn’t had the time to post it. Since I’m still short in time because of learning, I hope you will forgive me, that this is not the best and longest post. But I’m feeling guilty. And since I’d done the challenge in time, I must blog it.

The 2010 March Daring Baker’s challenge was hosted by Jennifer of Chocolate Shavings. She chose Orange Tian as the challenge for this month, a dessert based on a recipe from Alain Ducasse’s Cooking School in Paris.

Blutorangen-Tian mit weißer Schokolade

As I read the challenge a month ago, I was disappointed. Whipped cream with some citrus isn’t something I would eat or order or bake. But a challenge also means to try things you normally wouldn’t. So I gave it a try. For safety reasons I only made the half amount.

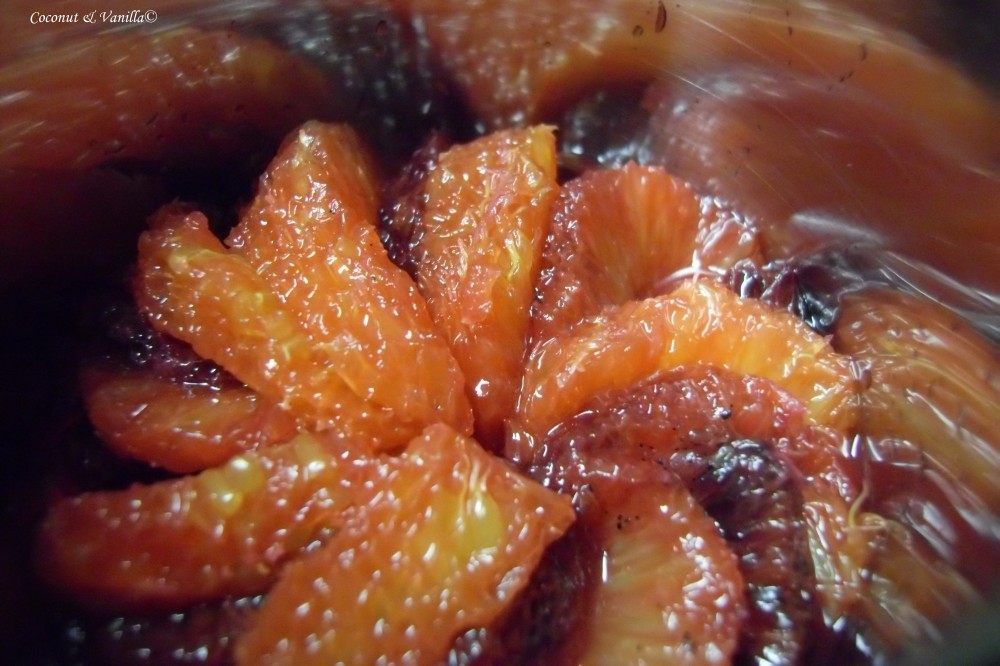
Making the (blood) orange marmalade was easy. I used Gelierzucker (jam sugar), instead of sugar and pectin. Gelierzucker is common here in Germany and always used for making jam. I wouldn’t have known where to buy pectin (and it’s already in the Gelierzucker).

The marmalade tasted very good, not a hint of bitterness. It smells intensive of oranges. Unfortunately it smells more as it tastes of oranges. Maybe because of the blanching.

Blutorangen-Tian mit weißer Schokolade

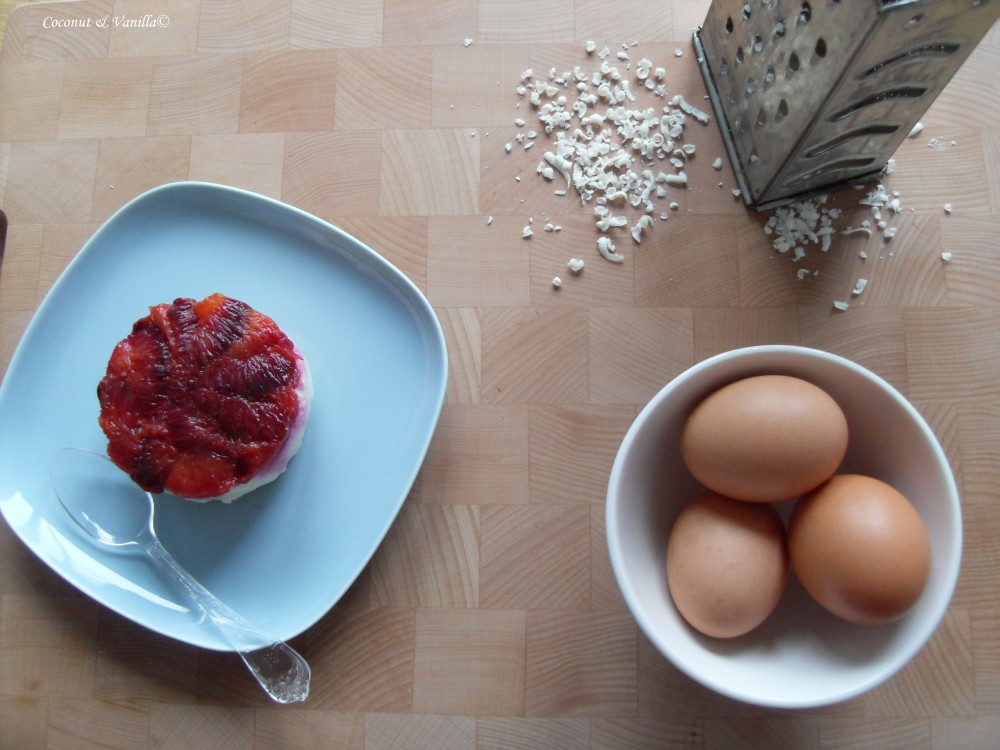
I don’t know why, but my paté shrunk in the oven and so it was a bit too small for my cookie cutters. I added some shredded white chocolate in the whipped cream (of which I used the double amount, since it was not enough), which added a nice, slightly sweet flavour. The hardening of the cream with the gelatine didn’t really work. I used leaves instead of powder, but I cannot imagine, that this was the mistake. So I added a sachet of Sahnesteif (stabilizer for whipping cream) for more stiffness and let it stay some more time in the freezer.

In the end it tasted good and it was a light dessert. You could have eaten two in a row. But we didn’t ;-).

But probably I won’t do it again. It costs a lot of time just for this small dessert, which is eaten in no time and not as satisfying, as what I would expect from a good dessert. But anyway it was fun to do and to learn something new.

Blutorangen-Tian mit weißer Schokolade

Recipe

Orange Tian

for the pate sablee

Ingredients:

  • 2 medium-sized egg yolks at room temperature
  • granulated sugar 80 grams
  • vanilla extract ½ teaspoon
  • Unsalted butter 100 grams ice cold, cubed
  • Salt 1/3 teaspoon
  • All-purpose flour 200 grams
  • baking powder 1 teaspoon

Directions: Put the flour, baking powder, ice cold cubed butter and salt in a food processor fitted with a steel blade.

In a separate bowl, add the eggs yolks, vanilla extract and sugar and beat with a whisk until the mixture is pale. Pour the egg mixture in the food processor.

Process until the dough just comes together. If you find that the dough is still a little too crumbly to come together, add a couple drops of water and process again to form a homogenous ball of dough. Form into a disc, cover with plastic wrap and leave to rest in the fridge for 30 minutes. Preheat your oven to 350 degree Fahrenheit.

Roll out the dough onto a lightly floured surface until you obtain a ¼ inch thick circle.

Using your cookie cutter, cut out circles of dough and place on a parchment (or silicone) lined baking sheet. Bake for 20 minutes or until the circles of dough are just golden.


for the marmalade

Ingredients:

  • Freshly pressed orange juice ¼ cup + 3 tablespoons; 3.5 oz; 100 grams
  • 1 large orange used to make orange slices
  • cold water to cook the orange slices
  • pectin 5 grams
  • granulated sugar: use the same weight as the weight of orange slices once they are cooked

Finely slice the orange. Place the orange slices in a medium-sized pot filled with cold water. Simmer for about 10 minutes, discard the water, re-fill with cold water and blanch the oranges for another 10 minutes.

Blanch the orange slices 3 times. This process removes the bitterness from the orange peel, so it is essential to use a new batch of cold water every time when you blanch the slices.

Once blanched 3 times, drain the slices and let them cool.

Once they are cool enough to handle, finely mince them (using a knife or a food processor).

Weigh the slices and use the same amount of granulated sugar . If you don’t have a scale, you can place the slices in a cup measurer and use the same amount of sugar.

In a pot over medium heat, add the minced orange slices, the sugar you just weighed, the orange juice and the pectin. Cook until the mixture reaches a jam consistency (10-15 minutes).

Transfer to a bowl, cover with plastic wrap and put in the fridge.


for the orange segments

For this step you will need 8 oranges.

Cut the oranges into segments over a shallow bowl and make sure to keep the juice. Add the segments to the bowl with the juice.


for the caramel

Ingredients:

  • granulated sugar 200 grams
  • orange juice 1.5 cups + 2 tablespoons; 400 grams

Place the sugar in a pan on medium heat and begin heating it.

Once the sugar starts to bubble and foam, slowly add the orange juice. As soon as the mixture starts boiling, remove from the heat and pour half of the mixture over the orange segments.

Reserve the other half of the caramel mixture in a small bowl — you will use this later to spoon over the finished dessert. When the dessert is assembled and setting in the freezer, heat the kept caramel sauce in a small saucepan over low heat until it thickens and just coats the back of a spoon (about 10 minutes). You can then spoon it over the orange tians.

[Tip: Be very careful when making the caramel — if you have never made caramel before, I would suggest making this step while you don’t have to worry about anything else. Bubbling sugar is extremely, extremely hot, so make sure you have a bowl of ice cold water in the kitchen in case anyone gets burnt!]


for the whipped cream

Ingredients:

  • heavy whipping cream 200 grams
  • 3 tablespoons of hot water
  • 1 tsp Gelatine
  • 1 tablespoon of confectioner’s sugar
  • orange marmalade 1 tablespoon

In a small bowl, add the gelatine and hot water, stirring well until the gelatine dissolves. Let the gelatine cool to room temperature while you make the whipped cream. Combine the cream in a chilled mixing bowl. Whip the cream using a hand mixer on low speed until the cream starts to thicken for about one minute. Add the confectioner sugar. Increase the speed to medium-high. Whip the cream until the beaters leave visible (but not lasting) trails in the cream, then add the cooled gelatine slowly while beating continuously. Continue whipping until the cream is light and fluffy and forms soft peaks. Transfer the whipped cream to a bowl and fold in the orange marmalade. [Tip: Use an ice cold bowl to make the whipped cream in. You can do this by putting your mixing bowl, cream and beater in the fridge for 20 minutes prior to whipping the cream.]


Assembling the Dessert:

Make sure you have some room in your freezer. Ideally, you should be able to fit a small baking sheet or tray of desserts to set in the freezer.

Line a small tray or baking sheet with parchment paper or a silicone sheet. Lay out 6 cookie cutters onto the parchment paper/silicone.

Drain the orange segments on a kitchen towel.

Have the marmalade, whipped cream and baked circles of dough ready to use.

Arrange the orange segments at the bottom of each cookie cutter. Make sure the segments all touch either and that there are no gaps. Make sure they fit snuggly and look pretty as they will end up being the top of the dessert. Arrange them as you would sliced apples when making an apple tart.

Once you have neatly arranged one layer of orange segments at the bottom of each cookie cutter, add a couple spoonfuls of whipped cream and gently spread it so that it fills the cookie cutter in an even layer. Leave about 1/4 inch at the top so there is room for dough circle.

Using a butter knife or small spoon, spread a small even layer of orange marmalade on each circle of dough.

Carefully place a circle of dough over each ring (the side of dough covered in marmalade should be the side touching the whipping cream). Gently press on the circle of dough to make sure the dessert is compact.

Place the desserts to set in the freezer to set for 10 minutes.

Using a small knife, gently go around the edges of the cookie cutter to make sure the dessert will be easy to unmold. Gently place your serving plate on top of a dessert (on top of the circle of dough) and turn the plate over. Gently remove the cookie cutter, add a spoonful of caramel sauce and serve immediately.

Blood Orange and White Chocolate Tian

I know the reveal date for the Daring Bakers challenge was 4 days ago. Since I was in Nuremberg again for family festivities, I didn’t had the time to post it. Since I’m still short in time because of learning, I hope you will forgive me, that this is not the best and longest post. But I’m feeling guilty. And since I’d done the challenge in time, I must blog it.

The 2010 March Daring Baker’s challenge was hosted by Jennifer of Chocolate Shavings. She chose Orange Tian as the challenge for this month, a dessert based on a recipe from Alain Ducasse’s Cooking School in Paris.

Blood Orange and White Chocolate Tian

As I read the challenge a month ago, I was disappointed. Whipped cream with some citrus isn’t something I would eat or order or bake. But a challenge also means to try things you normally wouldn’t. So I gave it a try. For safety reasons I only made the half amount.

Making the (blood) orange marmalade was easy. I used Gelierzucker (jam sugar), instead of sugar and pectin. Gelierzucker is common here in Germany and always used for making jam. I wouldn’t have known where to buy pectin (and it’s already in the Gelierzucker).

The marmalade tasted very good, not a hint of bitterness. It smells intensive of oranges. Unfortunately it smells more as it tastes of oranges. Maybe because of the blanching.

Blood Orange and White Chocolate Tian

I don’t know why, but my paté shrunk in the oven and so it was a bit too small for my cookie cutters. I added some shredded white chocolate in the whipped cream (of which I used the double amount, since it was not enough), which added a nice, slightly sweet flavour. The hardening of the cream with the gelatine didn’t really work. I used leaves instead of powder, but I cannot imagine, that this was the mistake. So I added a sachet of Sahnesteif (stabilizer for whipping cream) for more stiffness and let it stay some more time in the freezer.

In the end it tasted good and it was a light dessert. You could have eaten two in a row. But we didn’t ;-).

But probably I won’t do it again. It costs a lot of time just for this small dessert, which is eaten in no time and not as satisfying, as what I would expect from a good dessert. But anyway it was fun to do and to learn something new.

Blood Orange and White Chocolate Tian

Recipe

Orange Tian

for the pate sablee

Ingredients:

  • 2 medium-sized egg yolks at room temperature
  • granulated sugar 80 grams
  • vanilla extract ½ teaspoon
  • Unsalted butter 100 grams ice cold, cubed
  • Salt 1/3 teaspoon
  • All-purpose flour 200 grams
  • baking powder 1 teaspoon

Directions: Put the flour, baking powder, ice cold cubed butter and salt in a food processor fitted with a steel blade.

In a separate bowl, add the eggs yolks, vanilla extract and sugar and beat with a whisk until the mixture is pale. Pour the egg mixture in the food processor.

Process until the dough just comes together. If you find that the dough is still a little too crumbly to come together, add a couple drops of water and process again to form a homogenous ball of dough. Form into a disc, cover with plastic wrap and leave to rest in the fridge for 30 minutes. Preheat your oven to 350 degree Fahrenheit.

Roll out the dough onto a lightly floured surface until you obtain a ¼ inch thick circle.

Using your cookie cutter, cut out circles of dough and place on a parchment (or silicone) lined baking sheet. Bake for 20 minutes or until the circles of dough are just golden.

for the marmalade

Ingredients:

  • Freshly pressed orange juice ¼ cup + 3 tablespoons; 3.5 oz; 100 grams
  • 1 large orange used to make orange slices
  • cold water to cook the orange slices
  • pectin 5 grams
  • granulated sugar: use the same weight as the weight of orange slices once they are cooked

Finely slice the orange. Place the orange slices in a medium-sized pot filled with cold water. Simmer for about 10 minutes, discard the water, re-fill with cold water and blanch the oranges for another 10 minutes.

Blanch the orange slices 3 times. This process removes the bitterness from the orange peel, so it is essential to use a new batch of cold water every time when you blanch the slices.

Once blanched 3 times, drain the slices and let them cool.

Once they are cool enough to handle, finely mince them (using a knife or a food processor).

Weigh the slices and use the same amount of granulated sugar . If you don’t have a scale, you can place the slices in a cup measurer and use the same amount of sugar.

In a pot over medium heat, add the minced orange slices, the sugar you just weighed, the orange juice and the pectin. Cook until the mixture reaches a jam consistency (10-15 minutes).

Transfer to a bowl, cover with plastic wrap and put in the fridge.

for the orange segments

For this step you will need 8 oranges.

Cut the oranges into segments over a shallow bowl and make sure to keep the juice. Add the segments to the bowl with the juice.

for the caramel

Ingredients:

  • granulated sugar 200 grams
  • orange juice 1.5 cups + 2 tablespoons; 400 grams

Place the sugar in a pan on medium heat and begin heating it.

Once the sugar starts to bubble and foam, slowly add the orange juice. As soon as the mixture starts boiling, remove from the heat and pour half of the mixture over the orange segments.

Reserve the other half of the caramel mixture in a small bowl — you will use this later to spoon over the finished dessert. When the dessert is assembled and setting in the freezer, heat the kept caramel sauce in a small saucepan over low heat until it thickens and just coats the back of a spoon (about 10 minutes). You can then spoon it over the orange tians.

[Tip: Be very careful when making the caramel — if you have never made caramel before, I would suggest making this step while you don’t have to worry about anything else. Bubbling sugar is extremely, extremely hot, so make sure you have a bowl of ice cold water in the kitchen in case anyone gets burnt!]

for the whipped cream

Ingredients:

  • heavy whipping cream 200 grams
  • 3 tablespoons of hot water
  • 1 tsp Gelatine
  • 1 tablespoon of confectioner’s sugar
  • orange marmalade 1 tablespoon

In a small bowl, add the gelatine and hot water, stirring well until the gelatine dissolves. Let the gelatine cool to room temperature while you make the whipped cream. Combine the cream in a chilled mixing bowl. Whip the cream using a hand mixer on low speed until the cream starts to thicken for about one minute. Add the confectioner sugar. Increase the speed to medium-high. Whip the cream until the beaters leave visible (but not lasting) trails in the cream, then add the cooled gelatine slowly while beating continuously. Continue whipping until the cream is light and fluffy and forms soft peaks. Transfer the whipped cream to a bowl and fold in the orange marmalade. [Tip: Use an ice cold bowl to make the whipped cream in. You can do this by putting your mixing bowl, cream and beater in the fridge for 20 minutes prior to whipping the cream.]

Assembling the Dessert:

Make sure you have some room in your freezer. Ideally, you should be able to fit a small baking sheet or tray of desserts to set in the freezer.

Line a small tray or baking sheet with parchment paper or a silicone sheet. Lay out 6 cookie cutters onto the parchment paper/silicone.

Drain the orange segments on a kitchen towel.

Have the marmalade, whipped cream and baked circles of dough ready to use.

Arrange the orange segments at the bottom of each cookie cutter. Make sure the segments all touch either and that there are no gaps. Make sure they fit snuggly and look pretty as they will end up being the top of the dessert. Arrange them as you would sliced apples when making an apple tart.

Once you have neatly arranged one layer of orange segments at the bottom of each cookie cutter, add a couple spoonfuls of whipped cream and gently spread it so that it fills the cookie cutter in an even layer. Leave about 1/4 inch at the top so there is room for dough circle.

Using a butter knife or small spoon, spread a small even layer of orange marmalade on each circle of dough.

Carefully place a circle of dough over each ring (the side of dough covered in marmalade should be the side touching the whipping cream). Gently press on the circle of dough to make sure the dessert is compact.

Place the desserts to set in the freezer to set for 10 minutes.

Using a small knife, gently go around the edges of the cookie cutter to make sure the dessert will be easy to unmold. Gently place your serving plate on top of a dessert (on top of the circle of dough) and turn the plate over. Gently remove the cookie cutter, add a spoonful of caramel sauce and serve immediately.

Tiramisu mit den the Daring Bakers Tiramisu with the Daring Bakers

tiramisu

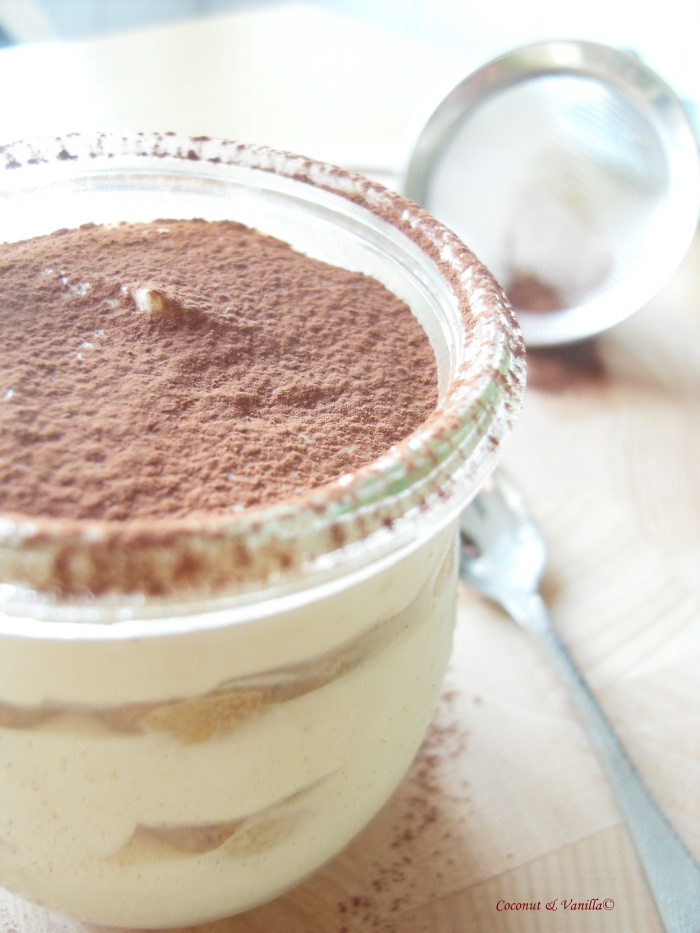
Finally I get myself to write about the Daring Baker’s challenge in February. I got a bit under time pressure in the end and so I wasn’t able to post my Tiramisu yesterday on the reveal date.

The February 2010 Daring Bakers’ challenge was hosted by Aparna of My Diverse Kitchen and Deeba of Passionate About Baking. They chose Tiramisu as the challenge for the month. Their challenge recipe is based on recipes from The Washington Post, Cordon Bleu at Home and Baking Obsession.
tiramisu

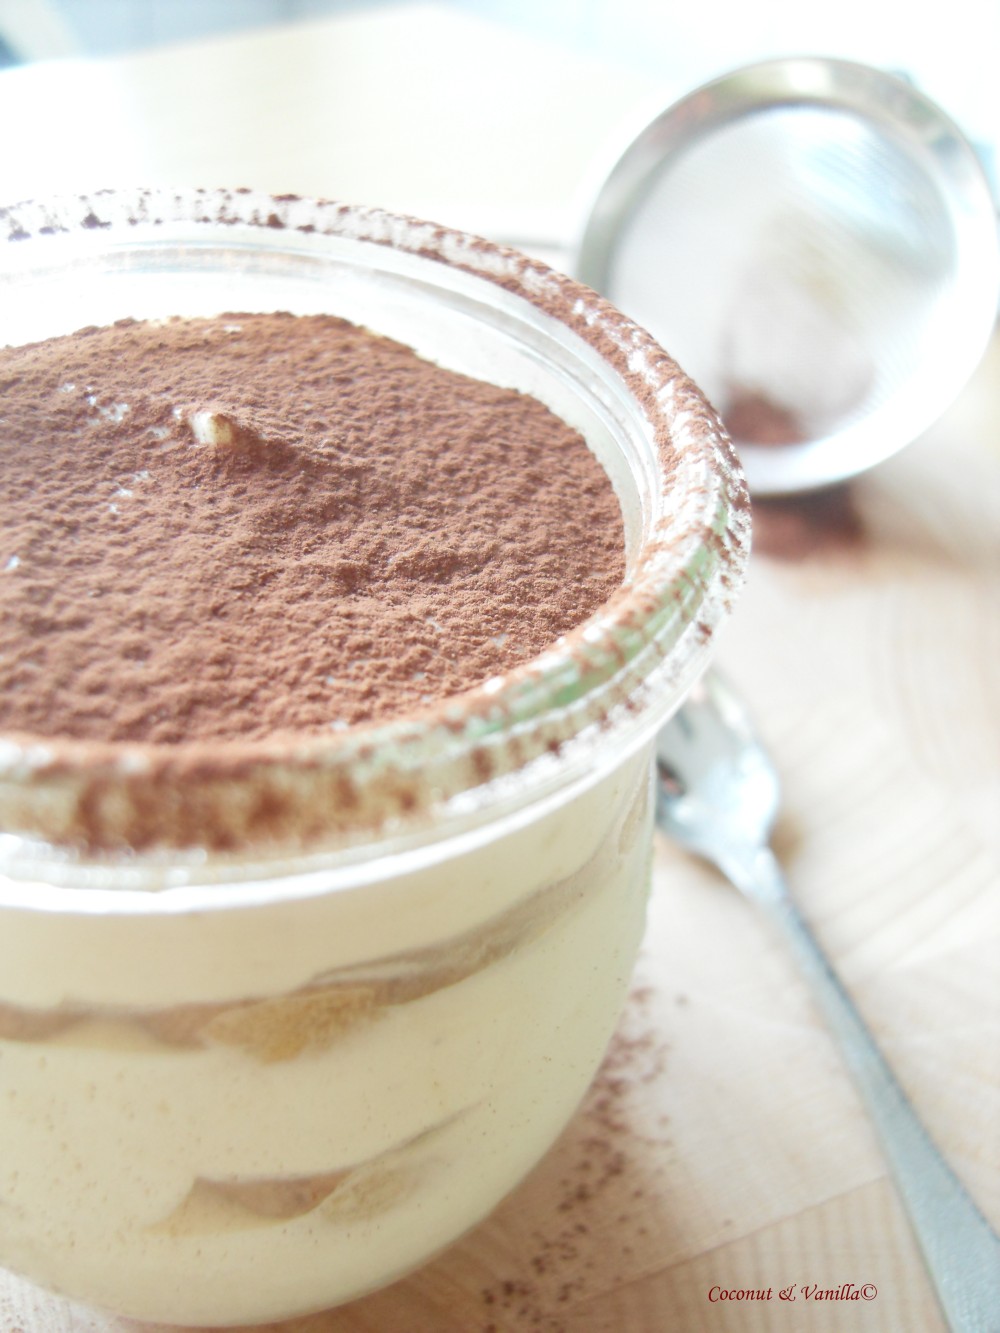
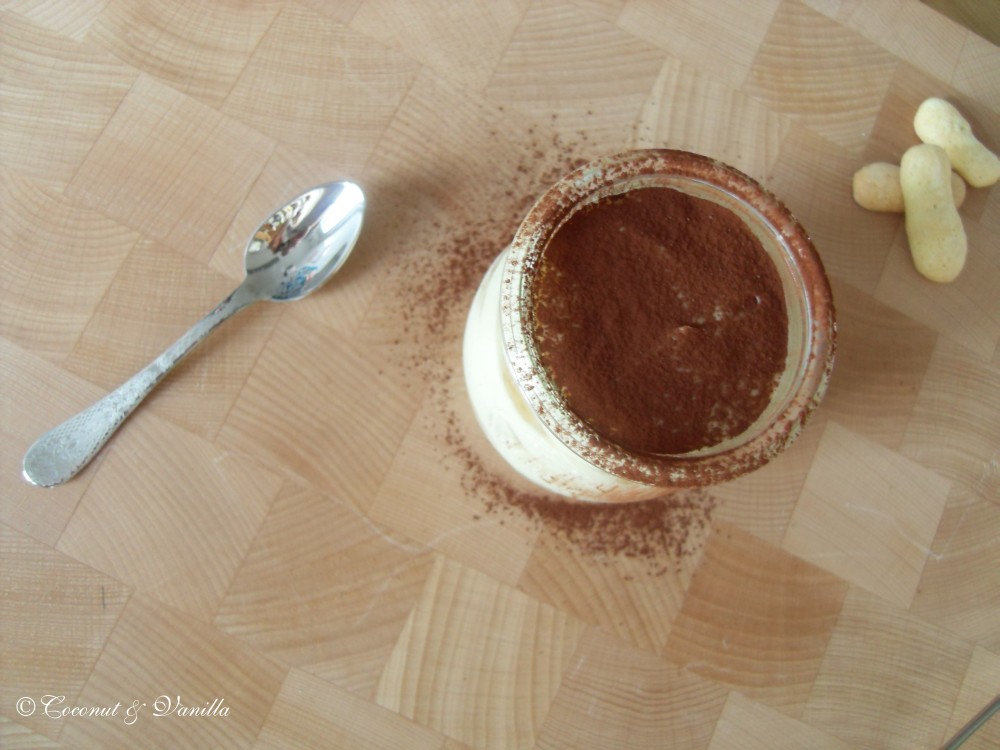
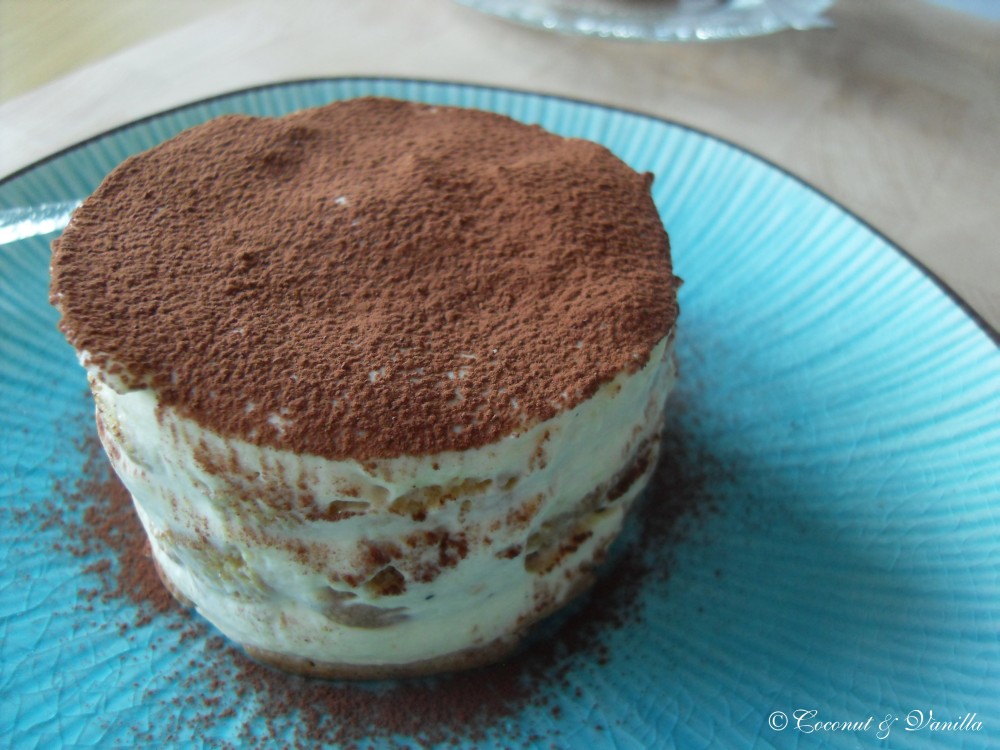
It wasn’t just the challenge to make Tiramisu. Since I had made this several times it wouldn’t be one. But we had to make our own Ladyfingers (Löffelbiskuits) and our own Mascarpone cheese for the Tiramisu. It was likely easy to make the Ladyfingers and the Mascarpone. What really took time was to make the creams. Yes creams! Two creams and whipped cream additionally. Then assembly those. I only know Tiramisu with a lot of mascarpone and little else. I think most people – or at least germans – will agree to that. The challenge recipe is totally different to that. You only use a little amount of mascarpone and more whipped cream and other ingredients. The good thing is, it is a lot lighter than the fat only-mascarpone-version. You can eat more tiramisu. Really good, hah?!
tiramisu

The bad thing is it takes a lot of time to make it. And for truth – really – it doesn’t taste much different. As I would say identical. But if you love tiramisu, I would go for the lighter eat-more-takes-more-time-version.

The ladyfingers turned out great. But I baked them several times before, just for my own indulgence. My mascarpone turned out, just like mascarpone you can buy. I left mine two days in the fridge, since after one day it wasn’t firm enough. My cheesecloth was thicker, than it should have been, but it worked just fine, too. But for taste, I really think it tastes the same if you use bought ladyfingers and bought mascarpone. The difference just makes the cream. But better you work it out and form your own opinion about that.

In the end definitely a delicious dessert!
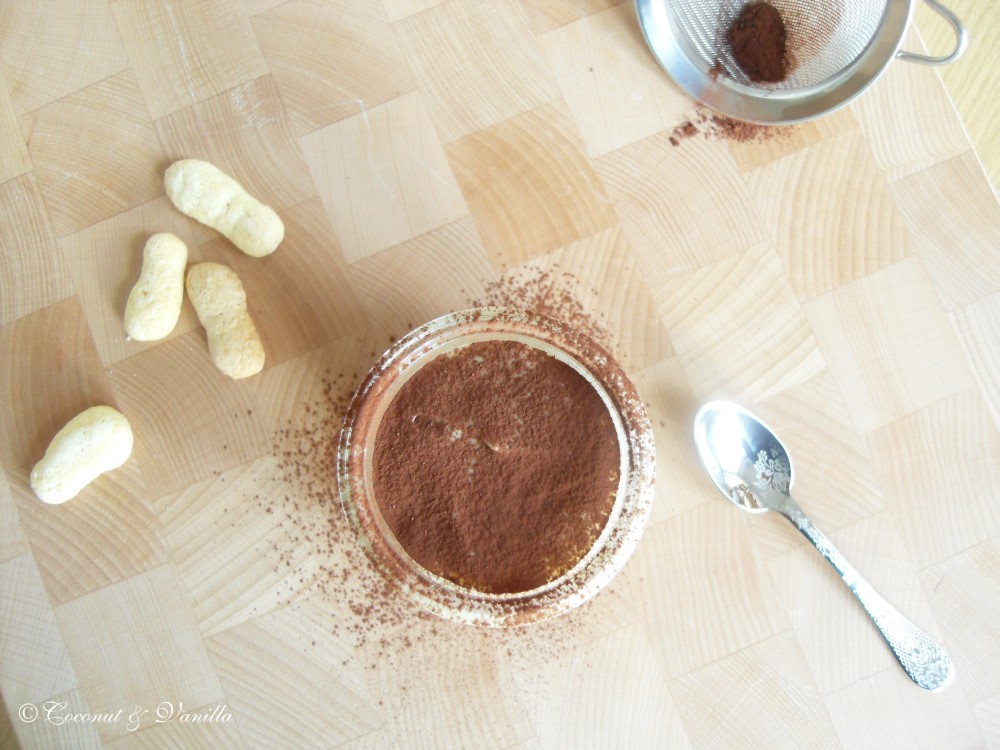
tiramisu

Recipes

Mascarpone cheese

This recipe makes 12oz/ 340gm of mascarpone cheese

Ingredients:

  • 500ml whipping cream
  • 1 tablespoon fresh lemon juice

Bring 2 cm of water to a boil in a wide skillet. Reduce the heat to medium-low so the water is barely simmering. Pour the cream into a medium heat-resistant bowl, then place the bowl into the skillet. Heat the cream, stirring often, to 88°C. If you do not have a thermometer, wait until small bubbles keep trying to push up to the surface.

It will take about 15 minutes of delicate heating. Add the lemon juice and continue heating the mixture, stirring gently, until the cream curdles. Do not expect the same action as you see during ricotta cheese making. All that the whipping cream will do is become thicker, like a well-done crème anglaise. It will cover a back of your wooden spoon thickly. You will see just a few clear whey streaks when you stir. Remove the bowl from the water and let cool for about 20 minutes. Meanwhile, line a sieve with four layers of dampened cheesecloth and set it over a bowl. Transfer the mixture into the lined sieve. Do not squeeze the cheese in the cheesecloth or press on its surface (be patient, it will firm up after refrigeration time). Once cooled completely, cover with plastic wrap and refrigerate (in the sieve) overnight or up to 24 hours.

Vera’s notes: The first time I made mascarpone I had all doubts if it’d been cooked enough, because of its custard-like texture. Have no fear, it will firm up beautifully in the fridge, and will yet remain lusciously creamy.

Keep refrigerated and use within 3 to 4 days.


Ladyfingers

Ingredients:

  • 3 eggs, separated
  • 75gms granulated sugar
  • 95gms cake flour, sifted (or 3/4 cup all purpose flour + 2 tbsp corn starch)
  • 50gms confectioner’s sugar

Preheat your oven to 175 °C degrees, then lightly brush 2 baking sheets with oil or softened butter and line with parchment paper.

Beat the egg whites using a hand held electric mixer until stiff peaks form. Gradually add granulate sugar and continue beating until the egg whites become stiff again, glossy and smooth.

In a small bowl, beat the egg yolks lightly with a fork and fold them into the meringue, using a wooden spoon. Sift the flour over this mixture and fold gently until just mixed. It is important to fold very gently and not overdo the folding. Otherwise the batter would deflate and lose volume resulting in ladyfingers which are flat and not spongy.

Fit a pastry bag with a plain tip (or just snip the end off; you could also use a Ziploc bag) and fill with the batter. Pipe the batter into 5″ long and 3/4″ wide strips leaving about 1″ space in between the strips.

Sprinkle half the confectioner’s sugar over the ladyfingers and wait for 5 minutes. The sugar will pearl or look wet and glisten. Now sprinkle the remaining sugar. This helps to give the ladyfingers their characteristic crispness.

Hold the parchment paper in place with your thumb and lift one side of the baking sheet and gently tap it on the work surface to remove excess sprinkled sugar.

Bake the ladyfingers for 10 minutes, then rotate the sheets and bake for another 5 minutes or so until the puff up, turn lightly golden brown and are still soft.

Allow them to cool slightly on the sheets for about 5 minutes and then remove the ladyfingers from the baking sheet with a metal spatula while still hot, and cool on a rack.

Store them in an airtight container till required. They should keep for 2 to 3 weeks.
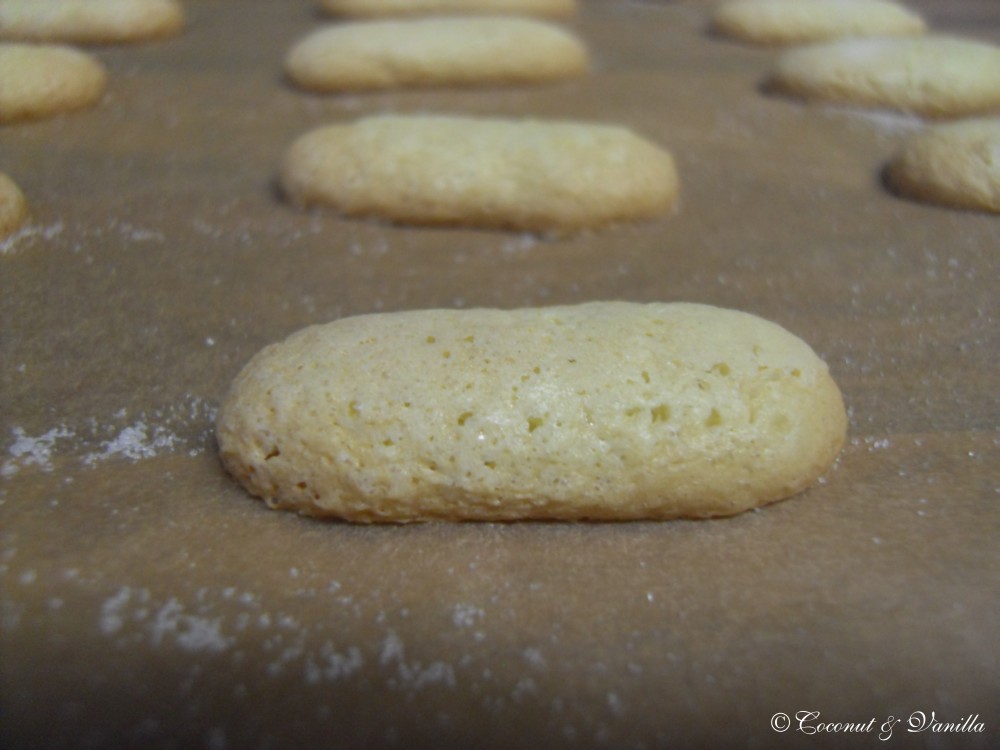
tiramisu

Tiramisu

Ingredients:

zabaglione

  • 2 large egg yolks
  • 50gms sugar
  • 60ml Marsala wine (or port or coffee)
  • 1/4 teaspoon vanilla extract
  • 1/2 teaspoon finely grated lemon zest

vanilla pastry cream

  • 55gms sugar1 tablespoon all purpose flour
  • 1/2 teaspoon finely grated lemon zest
  • 1/2 teaspoon vanilla extract
  • 1 large egg yolk
  • 175ml whole milk

whipped cream

  • 235ml chilled heavy cream
  • 55gms sugar
  • 1/2 teaspoon vanilla extract

for assembling

  • 470ml brewed espresso, warmed (you may use less)
  • 5ml rum
  • 110gms sugar
  • 75gms mascarpone cheese
  • 36 ladyfinger biscuits (you may use less)
  • 2 tablespoons unsweetened cocoa powder

For the zabaglione:

Heat water in a double boiler. If you don’t have a double boiler, place a pot with about an inch of water in it on the stove. Place a heat-proof bowl in the pot making sure the bottom does not touch the water.

In a large mixing bowl (or stainless steel mixing bowl), mix together the egg yolks, sugar, the Marsala (or espresso/ coffee), vanilla extract and lemon zest. Whisk together until the yolks are fully blended and the mixture looks smooth.

Transfer the mixture to the top of a double boiler or place your bowl over the pan/ pot with simmering water. Cook the egg mixture over low heat, stirring constantly, for about 8 minutes or until it resembles thick custard. It may bubble a bit as it reaches that consistency.

Let cool to room temperature and transfer the zabaglione to a bowl. Cover and refrigerate at least 4 hours or overnight, until thoroughly chilled.

For the pastry cream:

Mix together the sugar, flour, lemon zest and vanilla extract in a medium heavy-bottomed saucepan. To this add the egg yolk and half the milk. Whisk until smooth.

Now place the saucepan over low heat and cook, stirring constantly to prevent the mixture from curdling.

Add the remaining milk a little at a time, still stirring constantly. After about 12 minutes the mixture will be thick, free of lumps and beginning to bubble. (If you have a few lumps, don’t worry. You can push the cream through a fine-mesh strainer.)

Transfer the pastry cream to a bowl and cool to room temperature. Cover with plastic film and refrigerate at least 4 hours or overnight, until thoroughly chilled. For the whipped cream:

Combine the cream, sugar and vanilla extract in a mixing bowl. Beat with an electric hand mixer or immersion blender until the mixture holds stiff peaks. Set aside.

To assemble the tiramisu:

Have ready a rectangular serving dish (about 8″ by 8″ should do) or one of your choice.

Mix together the warm espresso, rum extract and sugar in a shallow dish, whisking to mix well. Set aside to cool.

In a large bowl, beat the mascarpone cheese with a spoon to break down the lumps and make it smooth. This will make it easier to fold. Add the prepared and chilled zabaglione and pastry cream, blending until just combined. Gently fold in the whipped cream. Set this cream mixture aside. Now to start assembling the tiramisu.

Workings quickly, dip 12 of the ladyfingers in the sweetened espresso, about 1 second per side. They should be moist but not soggy. Immediately transfer each ladyfinger to the platter, placing them side by side in a single row. You may break a lady finger into two, if necessary, to ensure the base of your dish is completely covered.

Spoon one-third of the cream mixture on top of the ladyfingers, then use a rubber spatula or spreading knife to cover the top evenly, all the way to the edges.

Repeat to create 2 more layers, using 12 ladyfingers and the cream mixture for each layer. Clean any spilled cream mixture; cover carefully with plastic wrap and refrigerate the tiramisu overnight.

To serve, carefully remove the plastic wrap and sprinkle the tiramisu with cocoa powder using a fine-mesh strainer or decorate as you please. Cut into individual portions and serve.

tiramisu

Finally I get myself to write about the Daring Baker’s challenge in February. I got a bit under time pressure in the end and so I wasn’t able to post my Tiramisu yesterday on the reveal date.

The February 2010 Daring Bakers’ challenge was hosted by Aparna of My Diverse Kitchen and Deeba of Passionate About Baking. They chose Tiramisu as the challenge for the month. Their challenge recipe is based on recipes from The Washington Post, Cordon Bleu at Home and Baking Obsession.

tiramisu

It wasn’t just the challenge to make Tiramisu. Since I had made this several times it wouldn’t be one. But we had to make our own Ladyfingers (Löffelbiskuits) and our own Mascarpone cheese for the Tiramisu. It was likely easy to make the Ladyfingers and the Mascarpone. What really took time was to make the creams. Yes creams! Two creams and whipped cream additionally. Then assembly those. I only know Tiramisu with a lot of mascarpone and little else. I think most people – or at least germans – will agree to that. The challenge recipe is totally different to that. You only use a little amount of mascarpone and more whipped cream and other ingredients. The good thing is, it is a lot lighter than the fat only-mascarpone-version. You can eat more tiramisu. Really good, hah?!

tiramisu

 The bad thing is it takes a lot of time to make it. And for truth – really – it doesn’t taste much different. As I would say identical. But if you love tiramisu, I would go for the lighter eat-more-takes-more-time-version.

The ladyfingers turned out great. But I baked them several times before, just for my own indulgence. My mascarpone turned out, just like mascarpone you can buy. I left mine two days in the fridge, since after one day it wasn’t firm enough. My cheesecloth was thicker, than it should have been, but it worked just fine, too. But for taste, I really think it tastes the same if you use bought ladyfingers and bought mascarpone. The difference just makes the cream. But better you work it out and form your own opinion about that.

In the end definitely a delicious dessert!

tiramisu

Recipes

Mascarpone cheese

This recipe makes 12oz/ 340gm of mascarpone cheese

Ingredients:

  • 500ml whipping cream
  • 1 tablespoon fresh lemon juice

Bring 2 cm of water to a boil in a wide skillet. Reduce the heat to medium-low so the water is barely simmering. Pour the cream into a medium heat-resistant bowl, then place the bowl into the skillet. Heat the cream, stirring often, to 88°C. If you do not have a thermometer, wait until small bubbles keep trying to push up to the surface.

It will take about 15 minutes of delicate heating. Add the lemon juice and continue heating the mixture, stirring gently, until the cream curdles. Do not expect the same action as you see during ricotta cheese making. All that the whipping cream will do is become thicker, like a well-done crème anglaise. It will cover a back of your wooden spoon thickly. You will see just a few clear whey streaks when you stir. Remove the bowl from the water and let cool for about 20 minutes. Meanwhile, line a sieve with four layers of dampened cheesecloth and set it over a bowl. Transfer the mixture into the lined sieve. Do not squeeze the cheese in the cheesecloth or press on its surface (be patient, it will firm up after refrigeration time). Once cooled completely, cover with plastic wrap and refrigerate (in the sieve) overnight or up to 24 hours.

Vera’s notes: The first time I made mascarpone I had all doubts if it’d been cooked enough, because of its custard-like texture. Have no fear, it will firm up beautifully in the fridge, and will yet remain lusciously creamy.

Keep refrigerated and use within 3 to 4 days.


Ladyfingers

Ingredients:

  • 3 eggs, separated
  • 75gms granulated sugar
  • 95gms cake flour, sifted (or 3/4 cup all purpose flour + 2 tbsp corn starch)
  • 50gms confectioner’s sugar

Preheat your oven to 175 °C degrees, then lightly brush 2 baking sheets with oil or softened butter and line with parchment paper.

Beat the egg whites using a hand held electric mixer until stiff peaks form. Gradually add granulate sugar and continue beating until the egg whites become stiff again, glossy and smooth.

In a small bowl, beat the egg yolks lightly with a fork and fold them into the meringue, using a wooden spoon. Sift the flour over this mixture and fold gently until just mixed. It is important to fold very gently and not overdo the folding. Otherwise the batter would deflate and lose volume resulting in ladyfingers which are flat and not spongy.

Fit a pastry bag with a plain tip (or just snip the end off; you could also use a Ziploc bag) and fill with the batter. Pipe the batter into 5″ long and 3/4″ wide strips leaving about 1″ space in between the strips.

Sprinkle half the confectioner’s sugar over the ladyfingers and wait for 5 minutes. The sugar will pearl or look wet and glisten. Now sprinkle the remaining sugar. This helps to give the ladyfingers their characteristic crispness.

Hold the parchment paper in place with your thumb and lift one side of the baking sheet and gently tap it on the work surface to remove excess sprinkled sugar.

Bake the ladyfingers for 10 minutes, then rotate the sheets and bake for another 5 minutes or so until the puff up, turn lightly golden brown and are still soft.

Allow them to cool slightly on the sheets for about 5 minutes and then remove the ladyfingers from the baking sheet with a metal spatula while still hot, and cool on a rack.

Store them in an airtight container till required. They should keep for 2 to 3 weeks.

tiramisu

Tiramisu

Ingredients:

zabaglione

  • 2 large egg yolks
  • 50gms sugar
  • 60ml Marsala wine (or port or coffee)
  • 1/4 teaspoon vanilla extract
  • 1/2 teaspoon finely grated lemon zest

vanilla pastry cream

  • 55gms sugar1 tablespoon all purpose flour
  • 1/2 teaspoon finely grated lemon zest
  • 1/2 teaspoon vanilla extract
  • 1 large egg yolk
  • 175ml whole milk

whipped cream

  • 235ml chilled heavy cream
  • 55gms sugar
  • 1/2 teaspoon vanilla extract

for assembling

  • 470ml brewed espresso, warmed (you may use less)
  • 5ml rum
  • 110gms sugar
  • 75gms mascarpone cheese
  • 36 ladyfinger biscuits (you may use less)
  • 2 tablespoons unsweetened cocoa powder

For the zabaglione:

Heat water in a double boiler. If you don’t have a double boiler, place a pot with about an inch of water in it on the stove. Place a heat-proof bowl in the pot making sure the bottom does not touch the water.

In a large mixing bowl (or stainless steel mixing bowl), mix together the egg yolks, sugar, the Marsala (or espresso/ coffee), vanilla extract and lemon zest. Whisk together until the yolks are fully blended and the mixture looks smooth.

Transfer the mixture to the top of a double boiler or place your bowl over the pan/ pot with simmering water. Cook the egg mixture over low heat, stirring constantly, for about 8 minutes or until it resembles thick custard. It may bubble a bit as it reaches that consistency.

Let cool to room temperature and transfer the zabaglione to a bowl. Cover and refrigerate at least 4 hours or overnight, until thoroughly chilled.

For the pastry cream:

Mix together the sugar, flour, lemon zest and vanilla extract in a medium heavy-bottomed saucepan. To this add the egg yolk and half the milk. Whisk until smooth.

Now place the saucepan over low heat and cook, stirring constantly to prevent the mixture from curdling.

Add the remaining milk a little at a time, still stirring constantly. After about 12 minutes the mixture will be thick, free of lumps and beginning to bubble. (If you have a few lumps, don’t worry. You can push the cream through a fine-mesh strainer.)

Transfer the pastry cream to a bowl and cool to room temperature. Cover with plastic film and refrigerate at least 4 hours or overnight, until thoroughly chilled. For the whipped cream:

Combine the cream, sugar and vanilla extract in a mixing bowl. Beat with an electric hand mixer or immersion blender until the mixture holds stiff peaks. Set aside.

To assemble the tiramisu:

Have ready a rectangular serving dish (about 8″ by 8″ should do) or one of your choice.

Mix together the warm espresso, rum extract and sugar in a shallow dish, whisking to mix well. Set aside to cool.

In a large bowl, beat the mascarpone cheese with a spoon to break down the lumps and make it smooth. This will make it easier to fold. Add the prepared and chilled zabaglione and pastry cream, blending until just combined. Gently fold in the whipped cream. Set this cream mixture aside. Now to start assembling the tiramisu.

Workings quickly, dip 12 of the ladyfingers in the sweetened espresso, about 1 second per side. They should be moist but not soggy. Immediately transfer each ladyfinger to the platter, placing them side by side in a single row. You may break a lady finger into two, if necessary, to ensure the base of your dish is completely covered.

Spoon one-third of the cream mixture on top of the ladyfingers, then use a rubber spatula or spreading knife to cover the top evenly, all the way to the edges.

Repeat to create 2 more layers, using 12 ladyfingers and the cream mixture for each layer. Clean any spilled cream mixture; cover carefully with plastic wrap and refrigerate the tiramisu overnight.

To serve, carefully remove the plastic wrap and sprinkle the tiramisu with cocoa powder using a fine-mesh strainer or decorate as you please. Cut into individual portions and serve.

Heidelbeer-Buttermilch-Panna CottaBlueberry and Buttermilk Panna Cotta

Update: Für das deutsche Rezept nach unten scrollen!

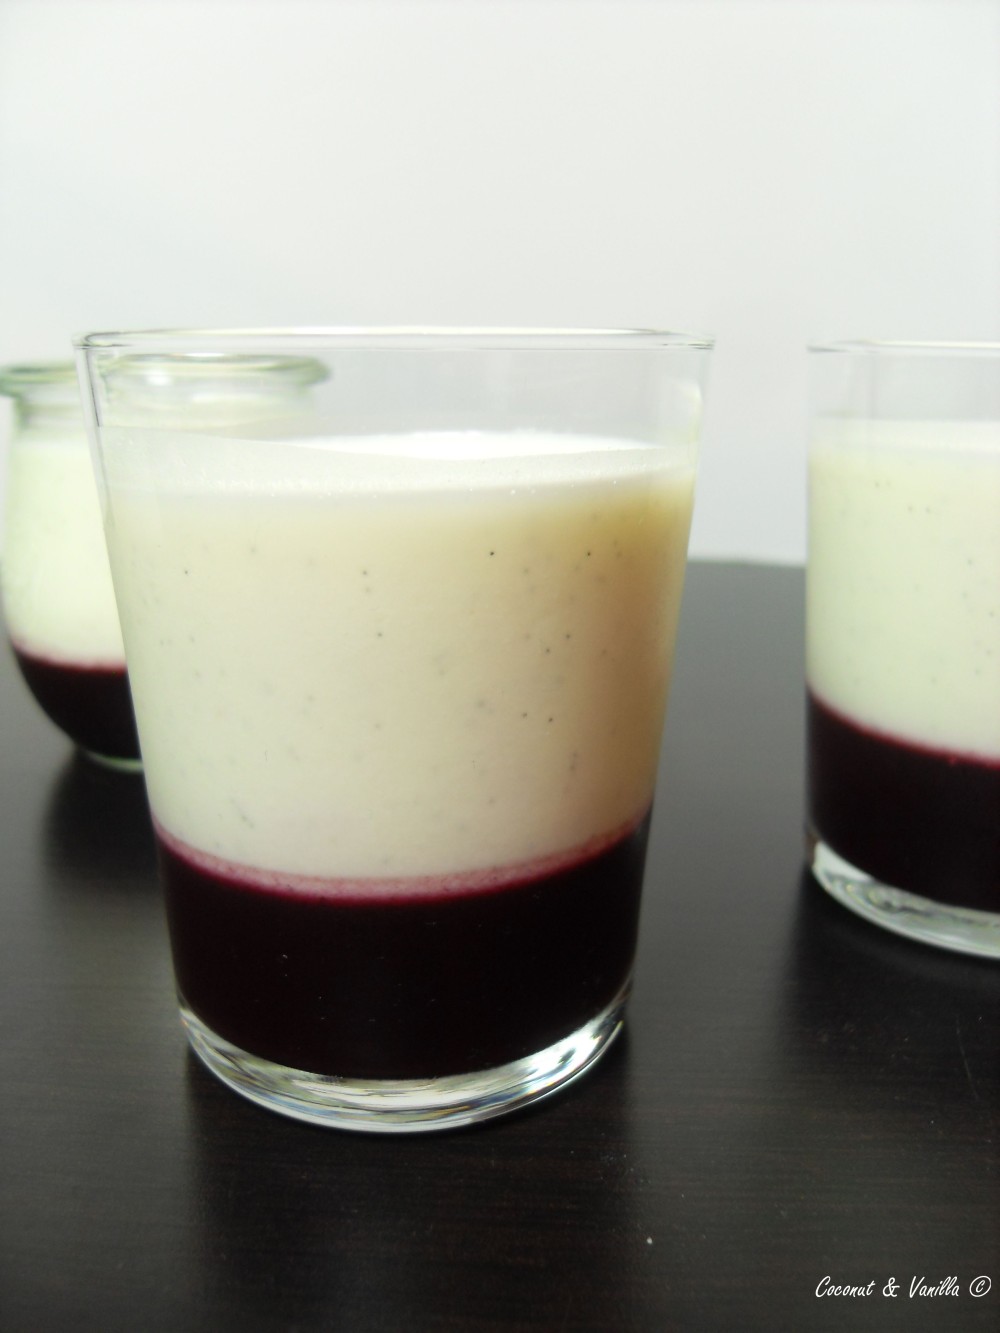
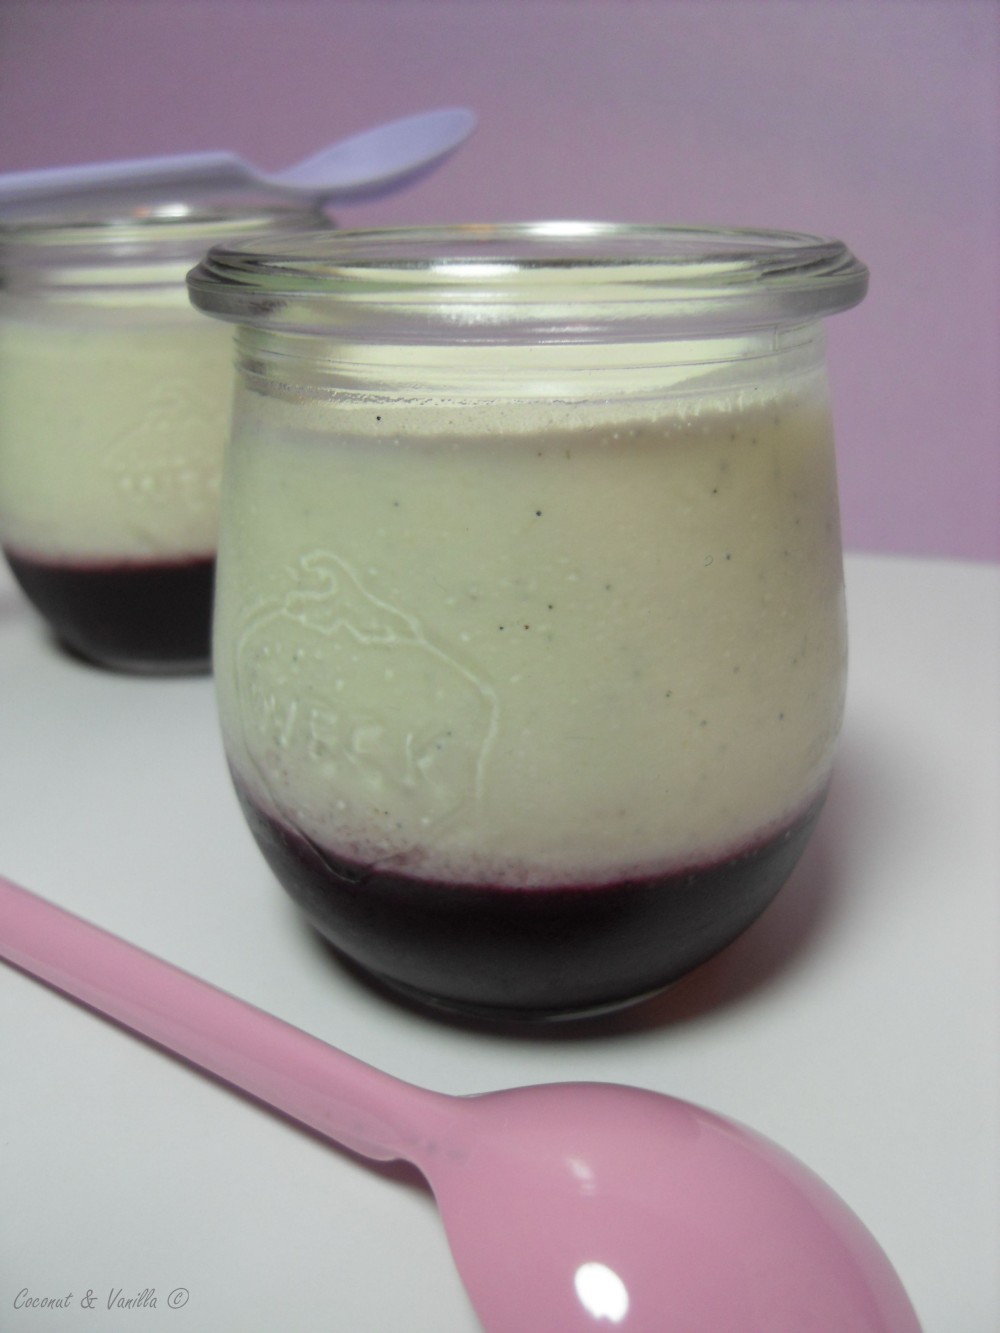
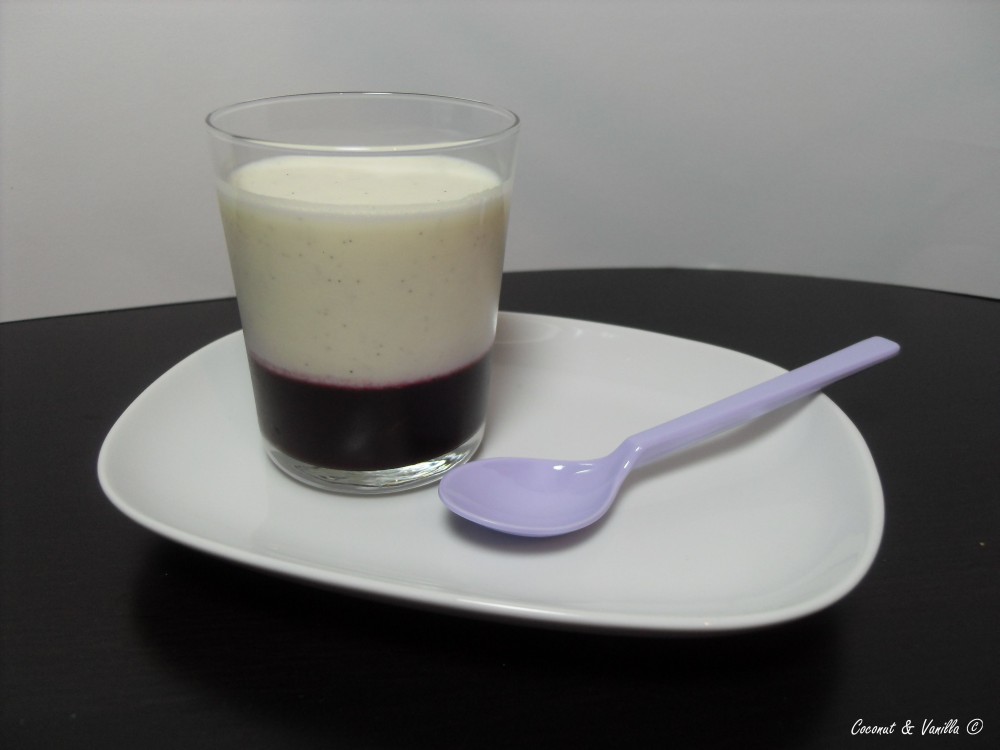
blueberry and buttermilk panna cotta

Being ill with a painful tonsilitis, which keeps me the week at home, I have a lot of time to spend with my blog. Lucky you!

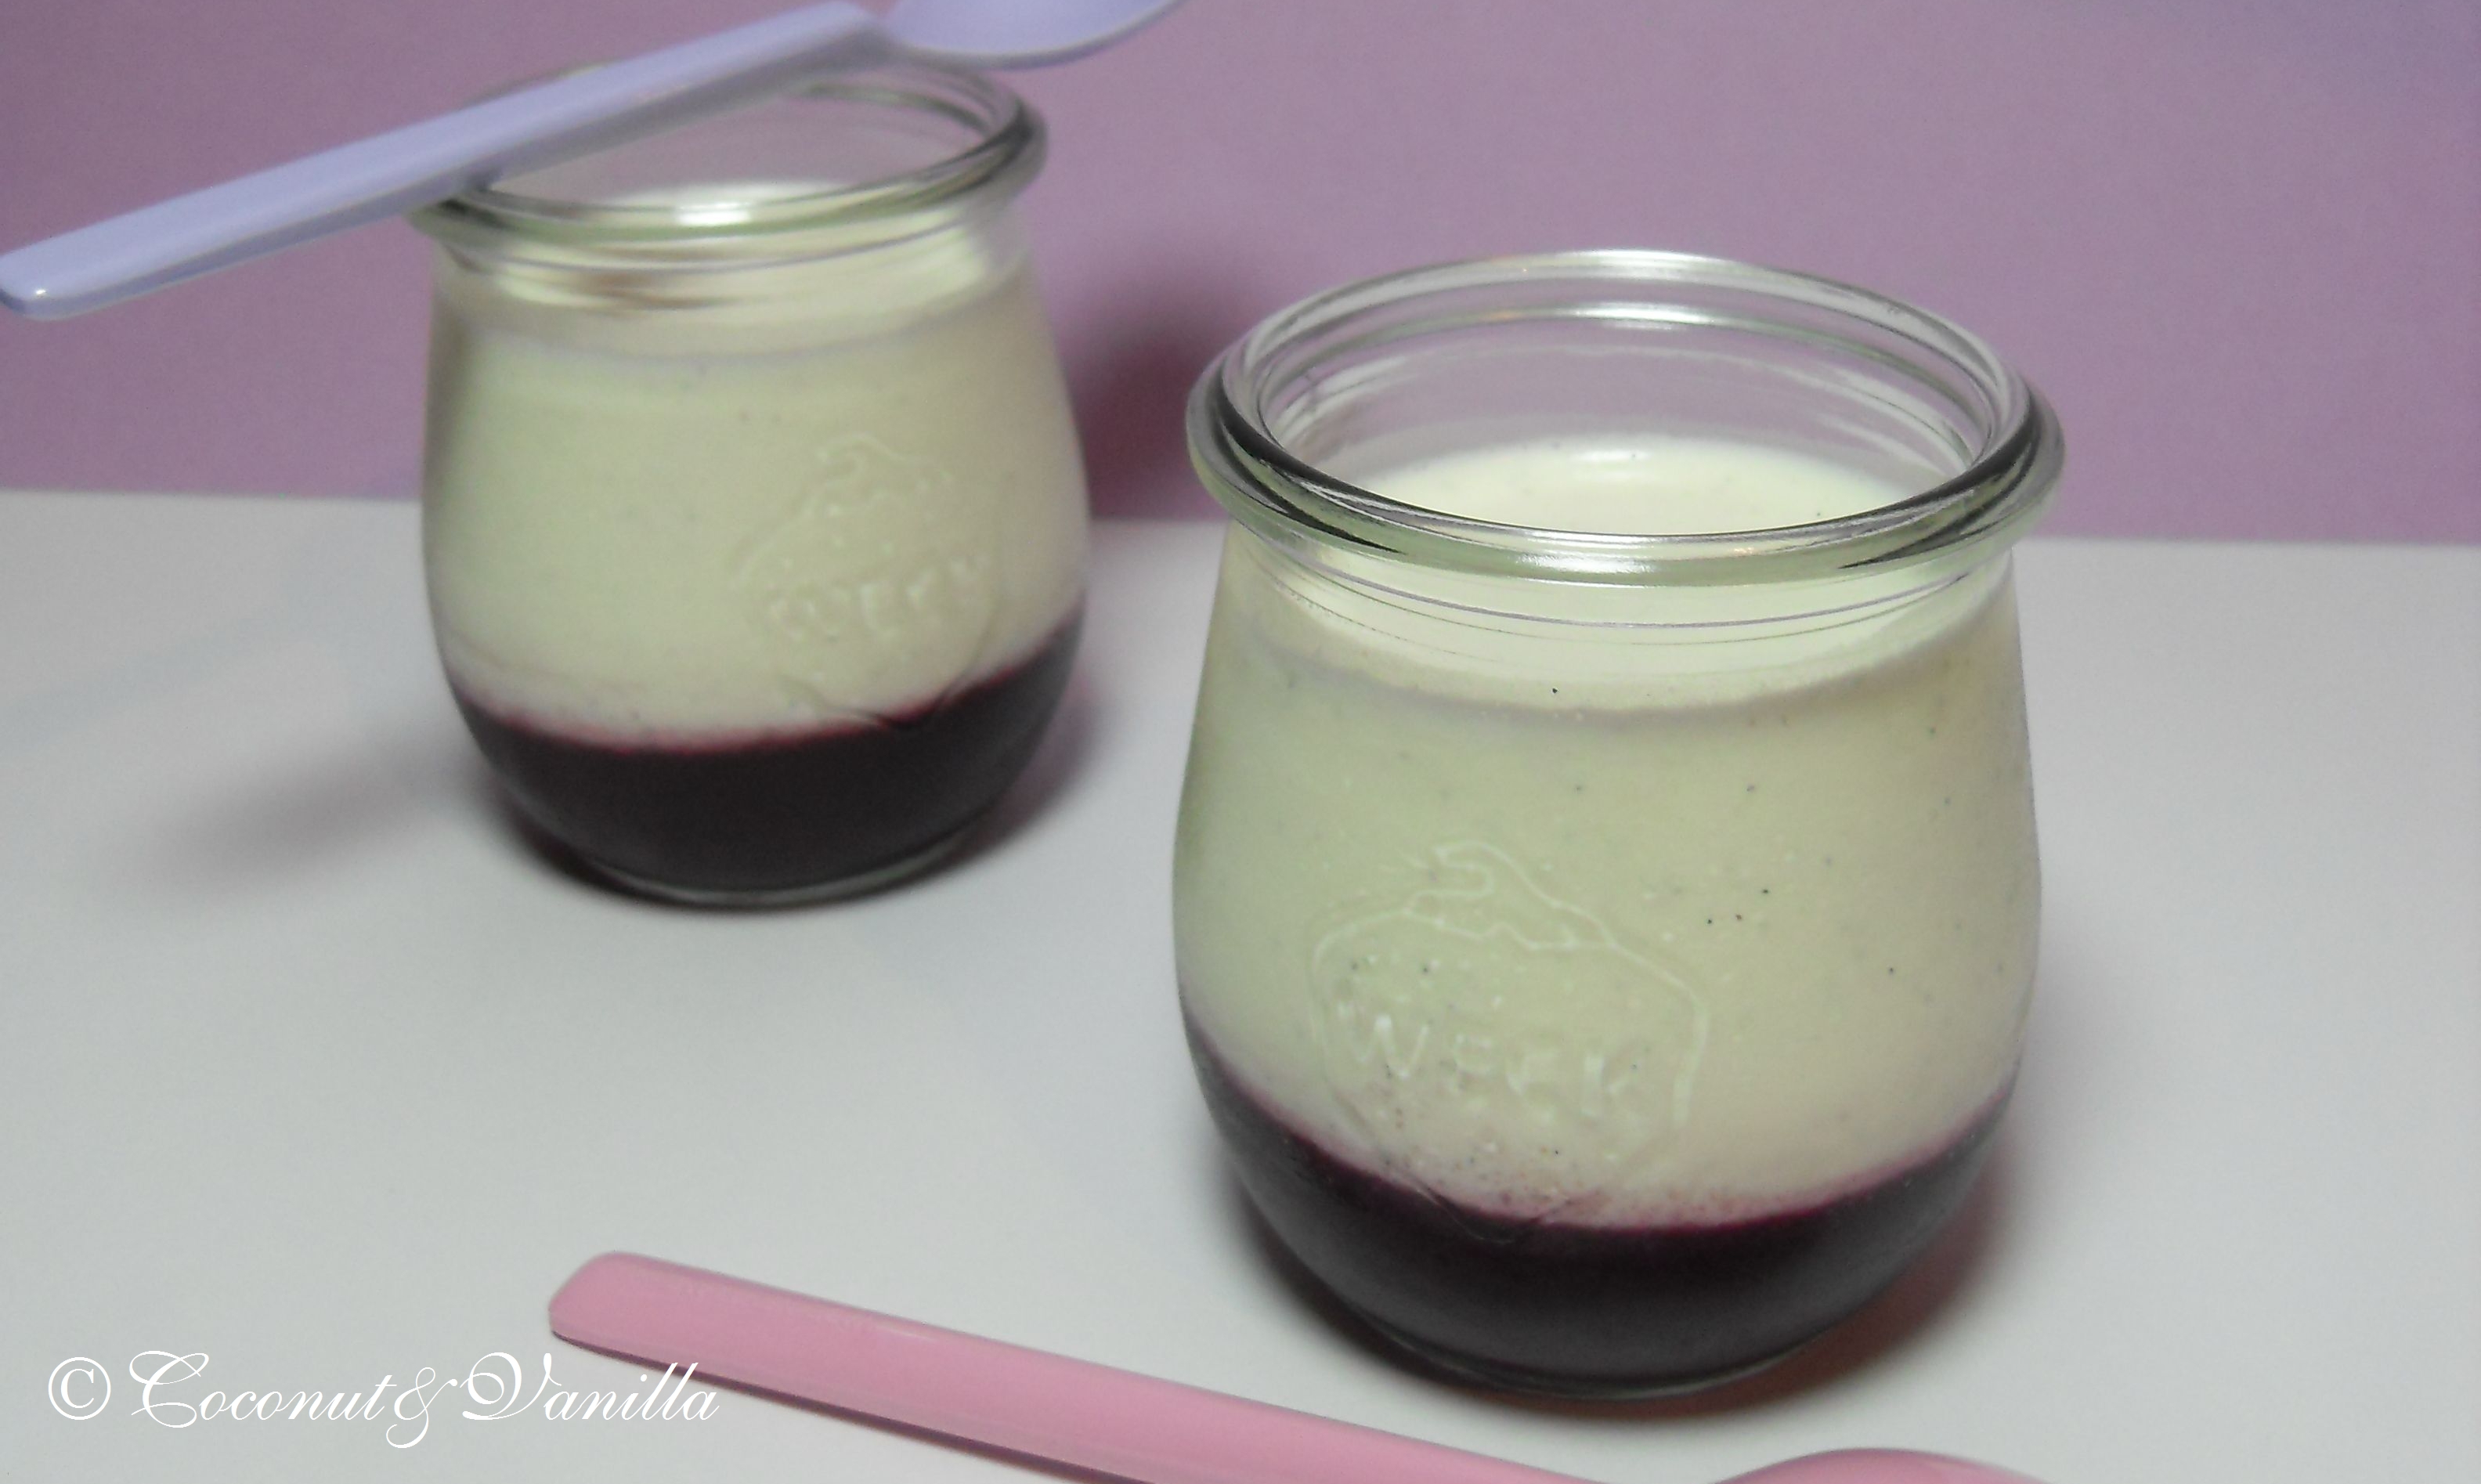
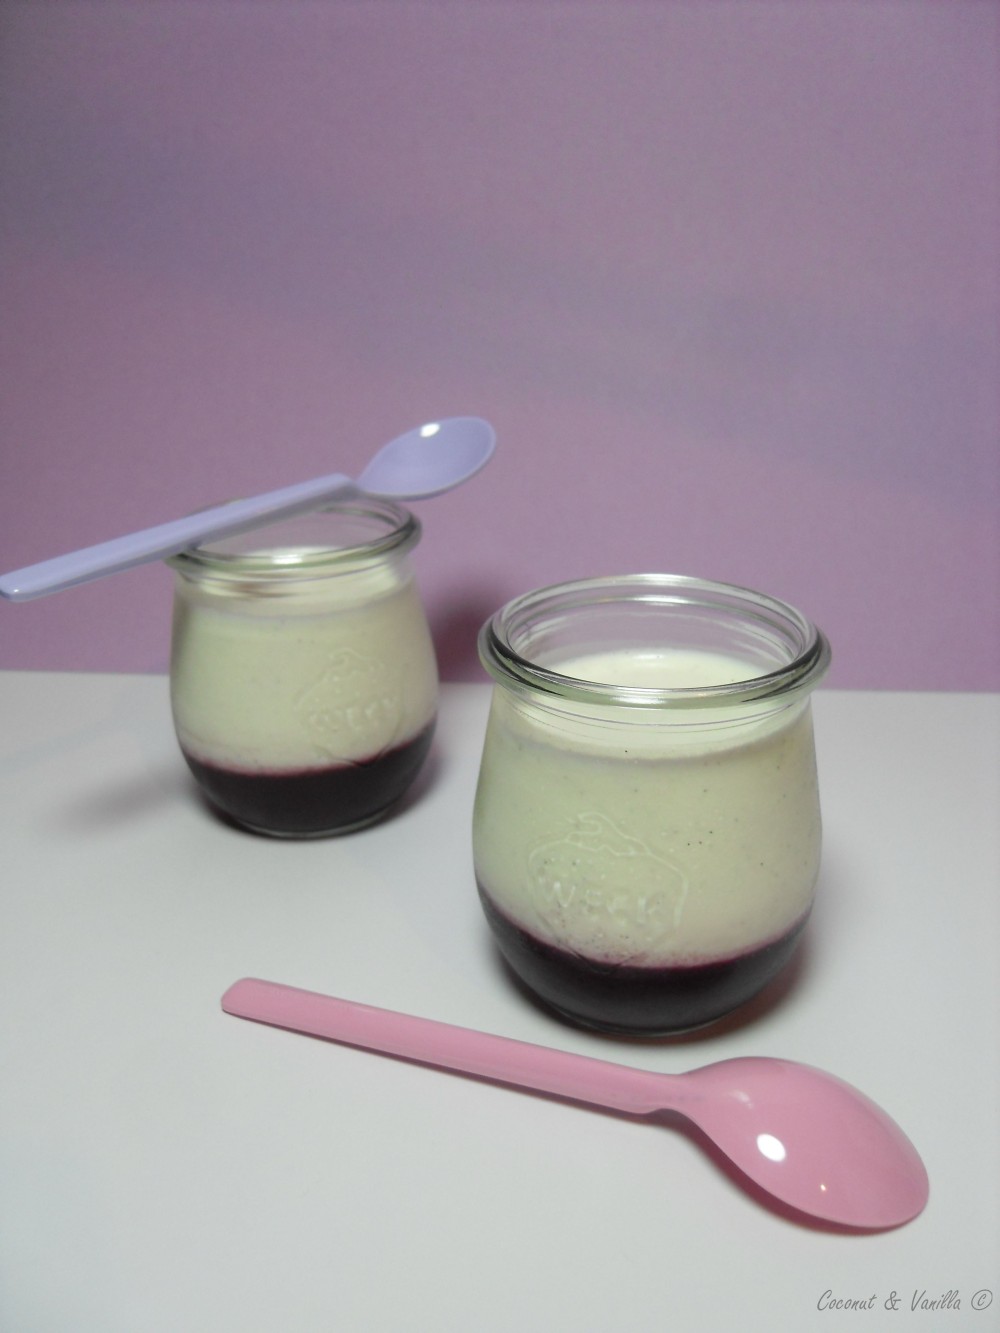
Last weekend I made those beauties: Buttermilk Panna Cotta layered on blueberry puree.

blueberry and buttermilk panna cotta

Originally I wanted use up a mango fruit. I searched the internet and in the end I found a recipe at Tartelette’s. But as it came to peel the mango I realized it’s just over. Over ripe. Smelled a little bit alcoholic. So no dessert with mango then! But I already liked the idea of panna cotta. I mean I love panna cotta! My favourite dessert is coconut panna cotta. But I always want to try something different, new. And the buttermilk attracted me. Luckily it came into my mind, that I still have some frozen blueberry puree.

blueberry and buttermilk panna cotta

So after thawing the puree, I gave it into some nice glasses with the help of a funnel. And then I refroze the glasses with the puree. When it’s frozen it’s a lot easier to layer the panna cotta (or whatelse you like) on the puree so that they do not mix. The buttermilk gives the panna cottas a slight sour note. It tastes good, especially in combination with the fruit, but furthermore I prefer the classical preparation with cream.

I used leaf gelatine. And maybe a little bit too much. The recipe I adapted was with powdered gelatine. As I am not used to it and I’m liking the leaves, I tried to adapt it. The panna cottas were a bit too firm, but still good. I used 3 and a half leaf. I think 2 and a half or 3 leaves are enough. If you want to use powdered gelatine, the original recipe calles for 4 grams (1 3/4 tsp.) dissolved in 1 Tbsp. water.

And feel free to change the kind of fruit puree! I’m convinced, that it tastes delicious with (almost) every kind of fruit. Already thinking of apples, pears, quinces in this season or strawberrys in summer.

blueberry and buttermilk panna cotta

blueberry and buttermilk panna cotta

Being ill with a painful tonsilitis, which keeps me the week at home, I have a lot of time to spend with my blog. Lucky you!

Last weekend I made those beauties: Buttermilk Panna Cotta layered on blueberry puree.

blueberry and buttermilk panna cotta

Originally I wanted use up a mango fruit. I searched the internet and in the end I found a recipe at Tartelette’s. But as it came to peel the mango I realized it’s just over. Over ripe. Smelled a little bit alcoholic. So no dessert with mango then! But I already liked the idea of panna cotta. I mean I love panna cotta! My favourite dessert is coconut panna cotta. But I always want to try something different, new. And the buttermilk attracted me. Luckily it came into my mind, that I still have some frozen blueberry puree.

blueberry and buttermilk panna cotta

So after thawing the puree, I gave it into some nice glasses with the help of a funnel. And then I refroze the glasses with the puree. When it’s frozen it’s a lot easier to layer the panna cotta (or whatelse you like) on the puree so that they do not mix. The buttermilk gives the panna cottas a slight sour note. It tastes good, especially in combination with the fruit, but furthermore I prefer the classical preparation with cream.

I used leaf gelatine. And maybe a little bit too much. The recipe I adapted was with powdered gelatine. As I am not used to it and I’m liking the leaves, I tried to adapt it. The panna cottas were a bit too firm, but still good. I used 3 and a half leaf. I think 2 and a half or 3 leaves are enough. If you want to use powdered gelatine, the original recipe calles for 4 grams (1 3/4 tsp.) dissolved in 1 Tbsp. water.

And feel free to change the kind of fruit puree! I’m convinced, that it tastes delicious with (almost) every kind of fruit. Already thinking of apples, pears, quinces in this season or strawberrys in summer.

blueberry and buttermilk panna cotta

Crème Brûlée mit Gewürzenspiced Crème Brûlée

Update: Für das deutsche Rezept nach unten scrollen!

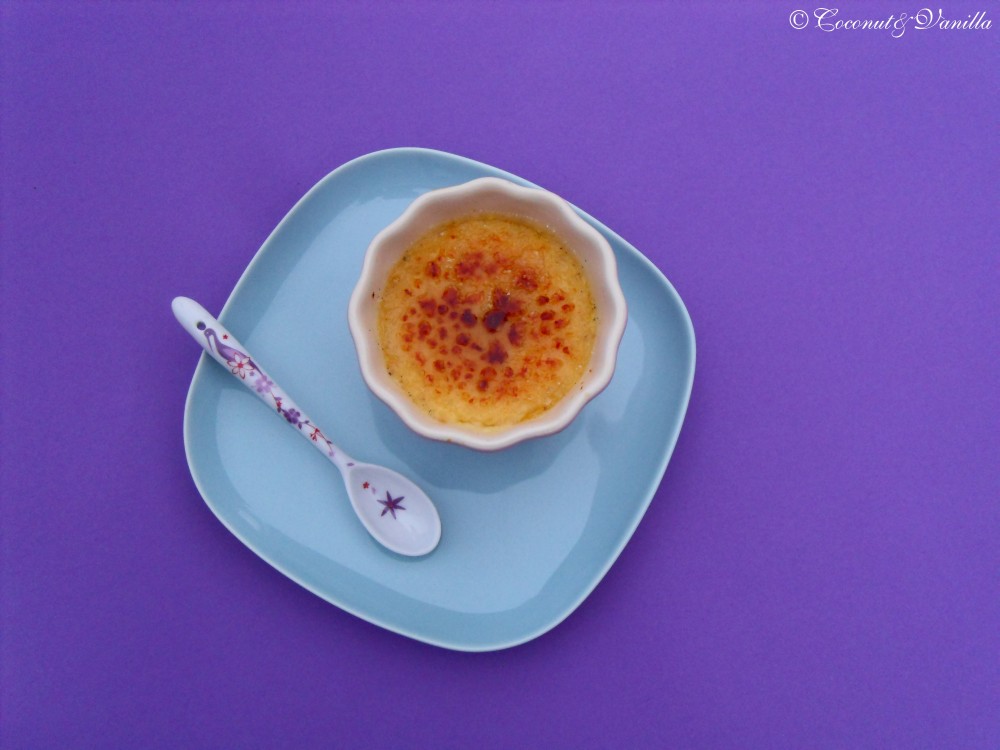
As you noticed I didn’t had much time for blogging this month and so unfortunately not a single recipe found it’s way in my beloved blog in novembre. But I cannot bear it that novembre goes away empty handed.

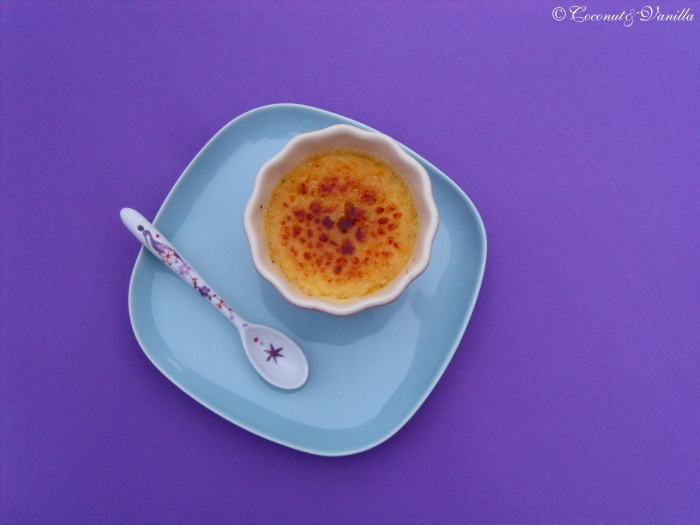
So two weeks ago I made some delicious Crème Brûlée, which I spiced with some orange peels and cinnamon. But feel free to try the spices you like. Originally I wanted to do it with lavender and fennel seeds, but I didn’t had lavender at home. Fortunately I made some pictures of the crème, which didn’t turn out that pretty, but better than nothing this month.So here’s the recipe for you. You can also make some more for dessert the next evening, because they have to cool down anyway before caramelizing the top.

Crème Brûlée mit Gewürzen

As you noticed I didn’t had much time for blogging this month and so unfortunately not a single recipe found it’s way in my beloved blog in novembre. But I cannot bear it that novembre goes away empty handed.

So two weeks ago I made some delicious Crème Brûlée, which I spiced with some orange peels and cinnamon. But feel free to try the spices you like. Originally I wanted to do it with lavender and fennel seeds, but I didn’t had lavender at home. Fortunately I made some pictures of the crème, which didn’t turn out that pretty, but better than nothing this month.So here’s the recipe for you. You can also make some more for dessert the next evening, because they have to cool down anyway before caramelizing the top.

spiced crème brûlée