Back to Basics: Selbstgemachte GemüsebrüheBack to Basics: Homemade Vegetable Broth

Ein weiterer Schritt in der Basicreihe heute: Gemüsebrühe! Nachdem ich Euch schon Wildfond und Rinderfond gezeigt habe, ist heute das Allroundtalent Gemüsebrühe dran, die ich auch am häufigsten verwende. Inzwischen befinden sich 5 Sorten Fond in meinem Vorrat, als letztes habe ich Entenfond eingemacht. Ich hatte Entenkarkassen über und die mussten eben weg ;). Ich bin schon gespannt wie der Entenfond so ist. Besteht bei Euch an sowas Interesse?

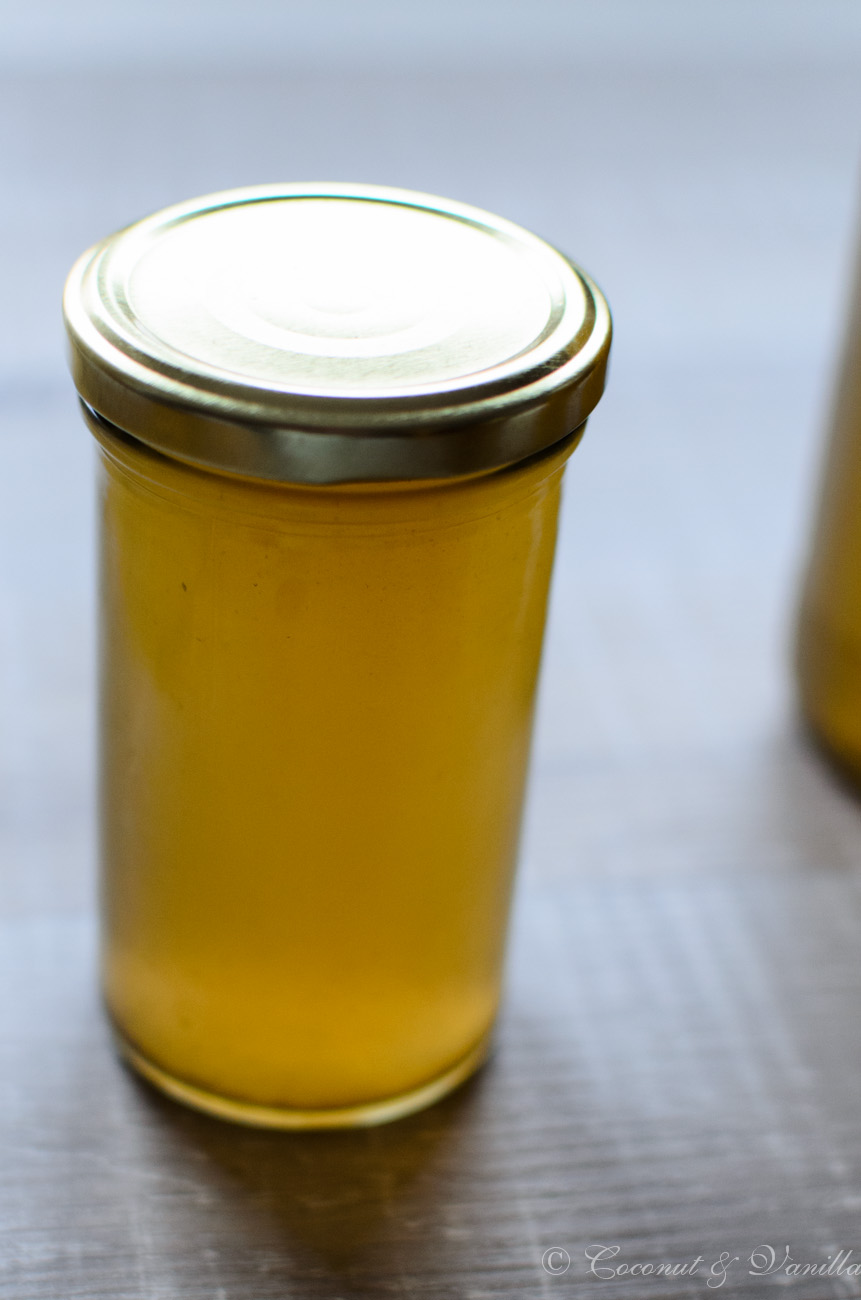
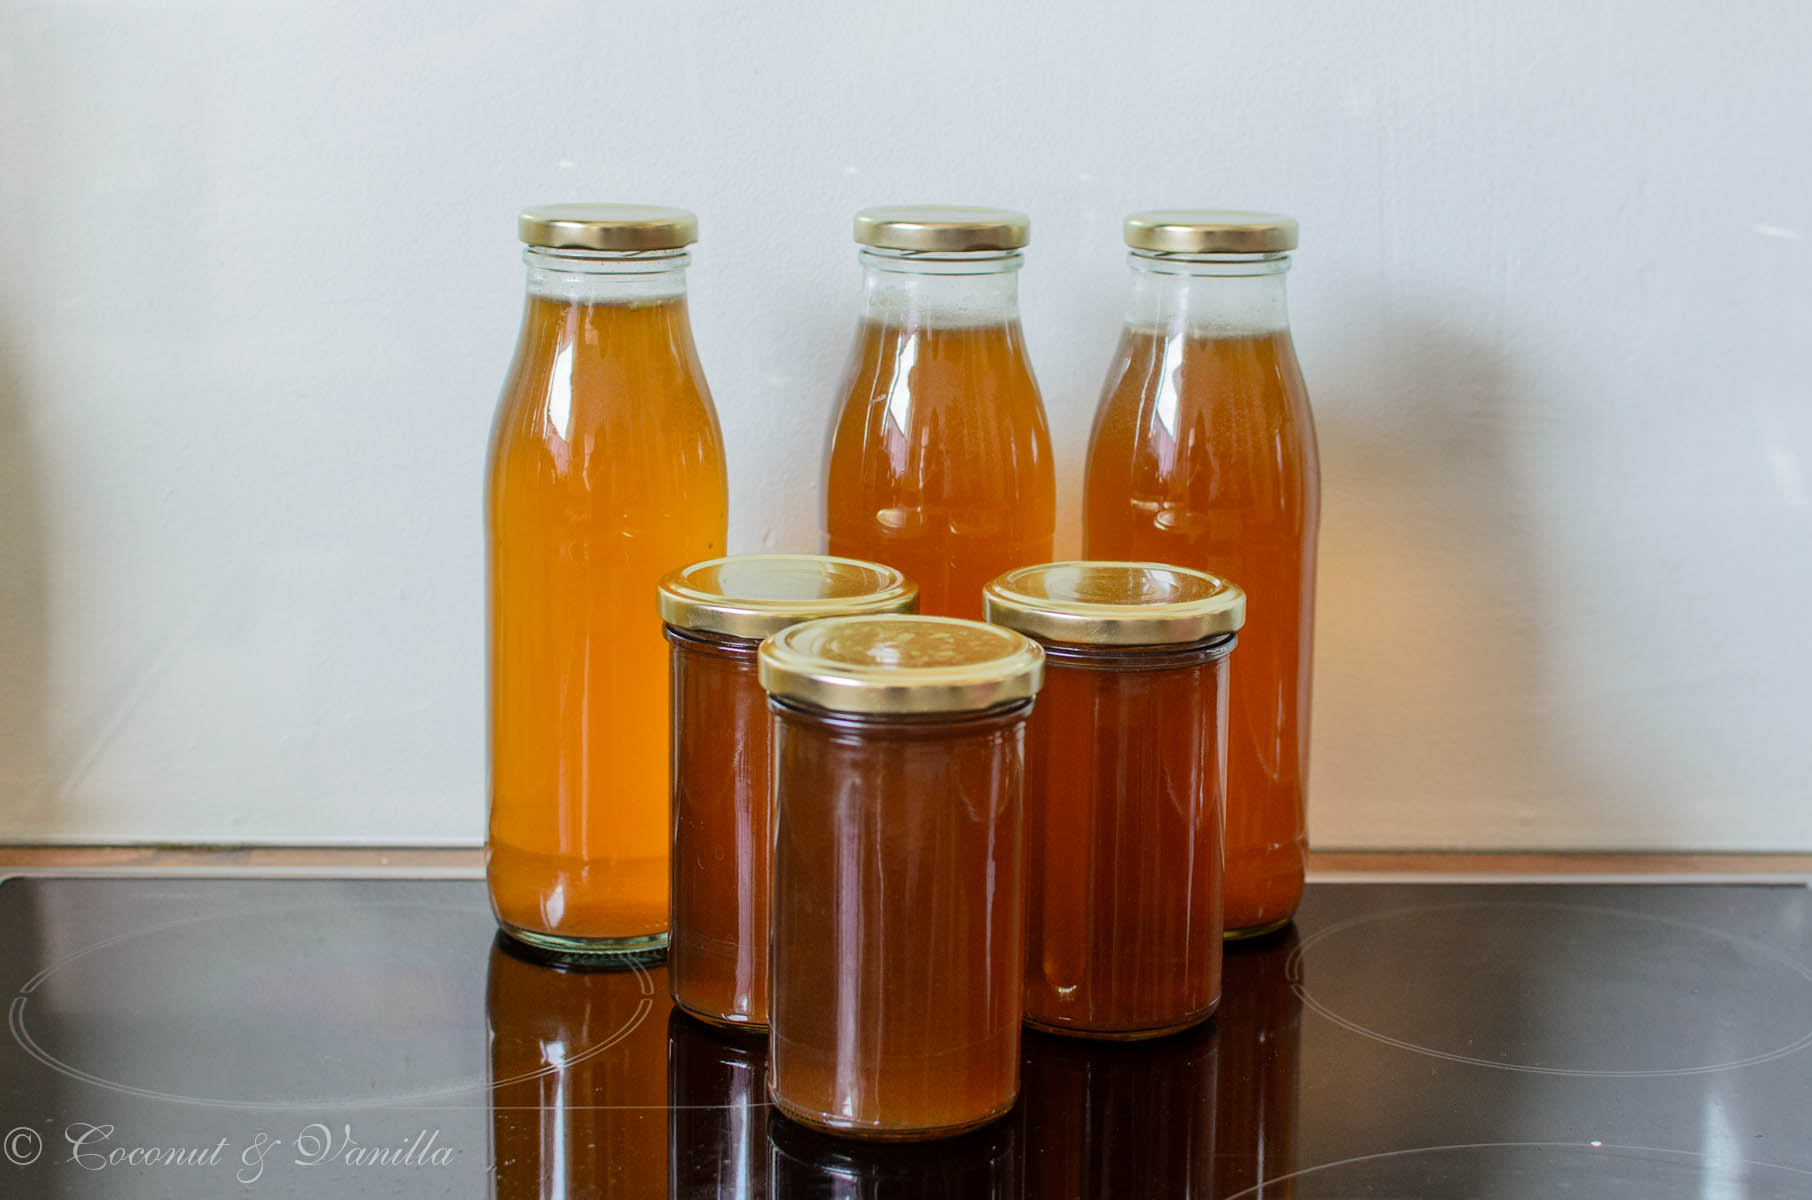
Im Gegensatz zu Entenfond kommt die Gemüsebrühe wie gesagt sehr oft zum Einsatz und es ist einfach praktisch immer ein Glas oder eine Flasche griffbereit zu haben. Wie immer habe ich dafür passende 250 ml und 500 ml Gläser bei Gläser und Flaschen bestellt, die sind super praktisch, denn das sind die Mengen die man am häufigsten benötigt. Den Rest kann man ein paar Tage im Kühlschrank aufbewahren.

Ich friere übrigens Reste von diversem Gemüse gerne ein und schmeiße das dann alles bei der nächsten Fuhre in die Brühe. So verfahre ich z.B. mit Spargel- und Pilzenden. Wie immer ist das Rezept nicht endgültig, ihr könnt nach Lust und Laune variieren.
Gemüsebrühe 

Vor einem Jahr: Dulce de leche Cheesecake mit Fleur de Sel

Vor zwei Jahren: Pasta mit Pilzen

Vor vier Jahren: glutenfreie Graham Cracker

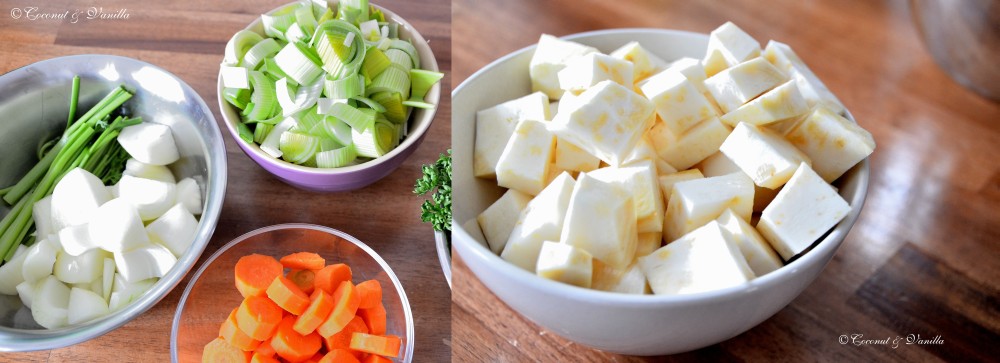
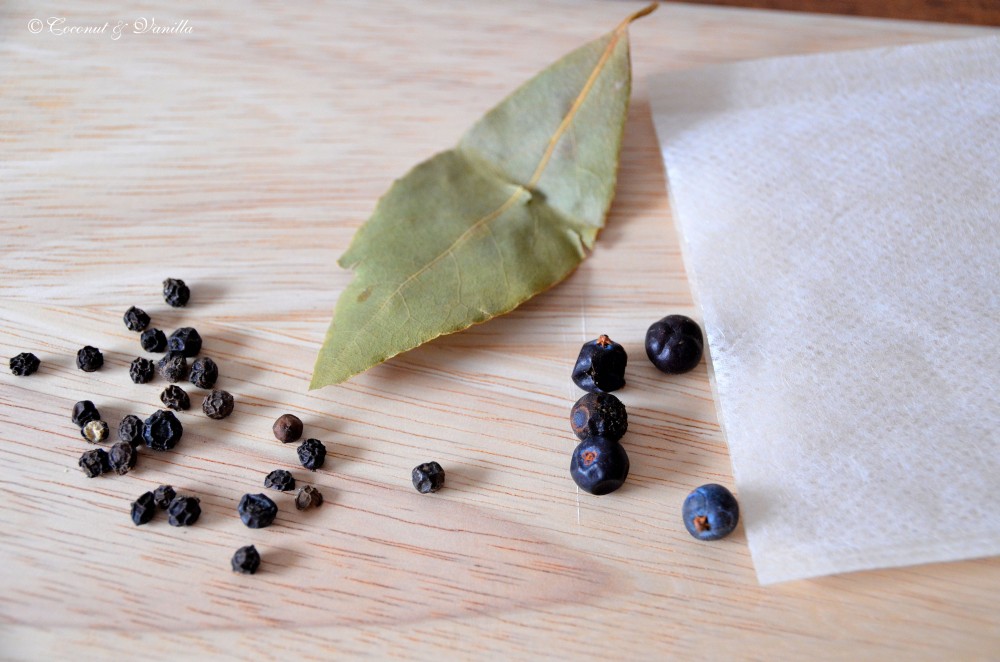
Gemüsebrühe

Another step in the basic series today: vegetable broth! After I already showed you to cook game stock and beef stock, we are making vegetable broth today, which I use the most. I have now 5 kinds of stock in my pantry. The latest addition is duck stock, because I had some duck carcases leftover and they needed to be used up ;). I’m curious how it will taste. Are you interested in that kind of stock?

 In contrary to duck stock the vegetable broth is used very often and it’s so convenient to have a jar or bottle handy. As always I bought suitable 250 ml jars and 500 ml bottles at Gläser und Flaschen, because that are the amounts I use mostly. Leftovers can be stored for a few days in the fridge. 

I’m always freezing leftovers of different vegetables and put them all in the next batch of stock. I’m always doing that with asparagus and mushroom ends. Like always this recipe is not a definite, you can vary after your needs.

Gemüsebrühe

One year ago: dulce de leche cheesecake with fleur de sel

Three years ago: pasta with mushrooms

Four years ago: gluten-free graham cracker

Gemüsebrühe

Back to Basics: RinderfondHomemade Beef Stock

Schon lange wollte ich zeigen wie ich Fonds bzw. Brühen herstelle. Inzwischen kaufe ich gar keine gekörnten Brühen mehr und mache Gemüse-, Hühner-, Rinder- und Wildfond selbst. So vermeide ich diese ganzen Zusatzstoffe, die ich nicht in meinem Essen möchte. Das beste ist aber, dass die selbstgemachten Fonds richtig gute Saucen machen und Gerichte so viel besser schmecken lassen. Das erste Risotto mit selbstgemachter Hühnerbrühe war eine Offenbarung! Aus einem Bratensatz mit Fond eine schnelle Sauce ziehen? Dafür lohnt es sich einfach den Fond selbstzumachen!

Die Fonds mache ich alle in Gläser ein. Ich habe es zwar auch schon mal mit einfrieren versucht, aber das mochte ich gar nicht. Erstens braucht man dafür sehr viel Platz im TK, dann braucht man viele gefriergeeignete Gefäße oder Plastiktüten (Verschwendung) und es dauert einfach viel länger mit dem Auftauen, als einfach ein Glas zu öffnen.

Praktischerweise bin ich dazu übergegangen die Fonds in 250 ml Gläser und 500 ml Flaschen einzumachen, da das die Menge ist die man am häufigsten benötigt. Reste halten sich auch noch ne Weile wunderbar im Kühlschrank, ich verwende sie dann bei einer folgenden Mahlzeit. Die Gläser und Flaschen habe ich wieder von Gläser und Flaschen, dort gibt es genau die passenden Größen und es klappt auch immer alles ganz wunderbar.

Meine Gläser markiere ich übrigens nicht mehr mit Etiketten, da es mir zu aufwendig ist diese auszudrucken, aufzukleben und vor allem wieder abzulösen. Ich habe mir verschieden farbige Klebepunkte besorgt und markiere die Deckelgläser damit. Grün steht für Gemüse, gelb für Huhn, schwarz für Rinderfond.

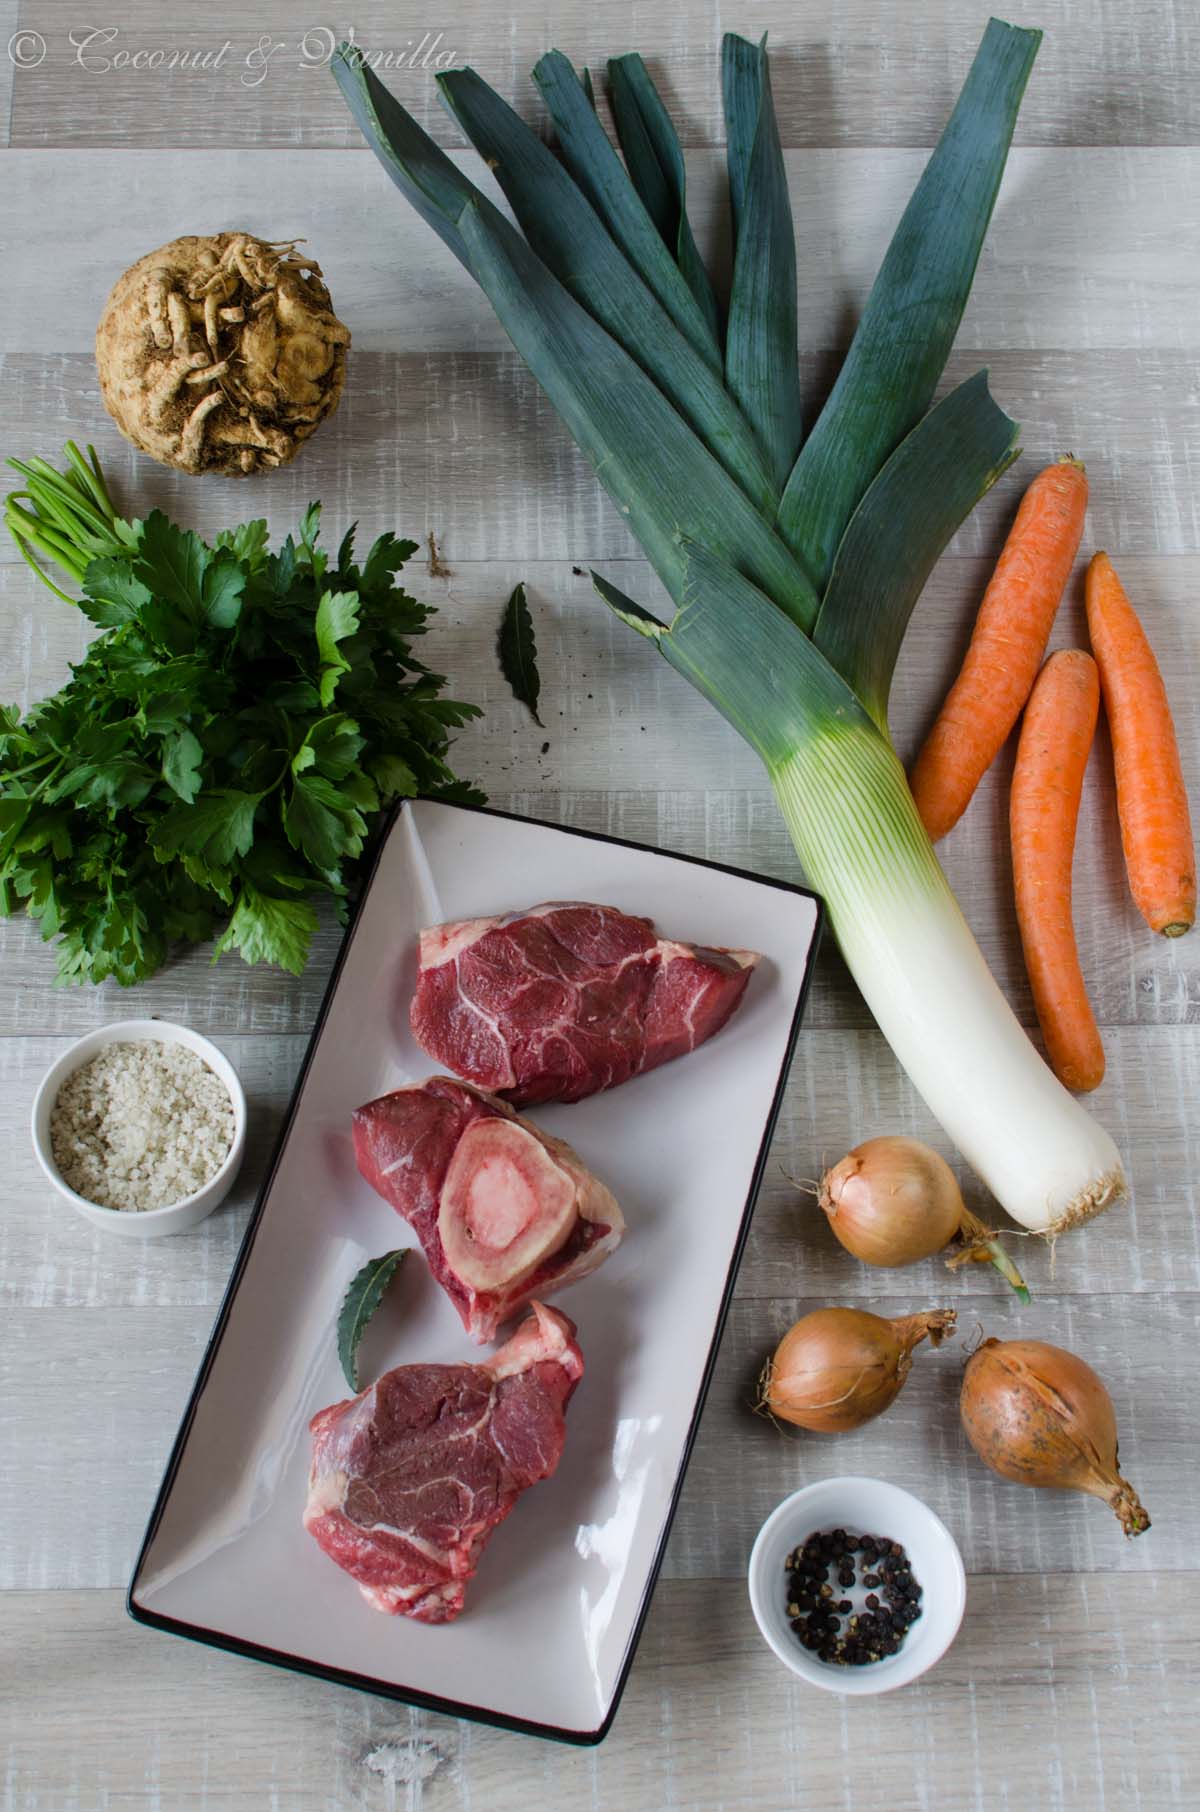
Rinderfond Zutaten

Als erstes starte ich heute mit Rinderfond (wobei es den Wildfond bereits auf dem Blog gibt), aus dem einfachen Grund „ich habe endlich Bilder dazu“ ;). Meistens sind die Zutaten schon im Topf, bevor ich drandenke auch mal ein Bild davon zu machen. Und Flüssigkeit in Gläsern ist nicht so wirklich aufschlussreich.

Den Fond einzumachen ist wirklich pipifax einfach und nach dem Einmachen hat man für viele Wochen oder sogar Monate vorgesorgt. Ein richtig schönes Gefühl!

Ein endgültiges Rezept gibt es übrigens nicht! Ihr könnt nach Lust und Laune Zutaten variieren und die Kochzeit auch etwas verkürzen oder verlängern. Nur keine Angst!

Rinderfond

Vor einem Jahr: Holunderblütengelee

Vor zwei Jahren: Erdbeerlikör, Basilikum-Olivenöl & Holunderblütenessig

Vor drei Jahren: Zitronen-Rosmarin-Kekse

For a long time I wanted to show how I make my stocks and broths. I don’t buy granulated broths anymore. I make vegetable, chicken, beef and game stock myself. So I avoid all these additives, which I don’t want in my food. The best thing about homemade broths is, that you can make delicious sauces and gravies and dishes taste so much better. The first risotto I used homemade chicken broth was a revelation! 

I preserve the fond in jars. I already tried freezing it, but I didn’t liked it at all. Things that speak against freezing broths: you need a lot of space in the freezer, you need a lot of plastic containers suitable for freezing or plastic bags (waste!) and it takes much more time to defrost the broth than to open a jar.

I use 250 ml jars and 500 ml bottles, which is the amount you need mostly for recipes, so it’s very convenient. Leftovers can easily be stored in the fridge for a while and I use them for one of our next meals. I ordered my jars and bottles from Gläser und Flaschen, because they have just the right sizes and it works perfectly every time.

I don’t use labels for my jars, anymore, since it’s too elaborate for me to print, glue and especially dissolve them again. I bought coloured dot stickers and mark the lids with it: green for vegetable broth, yellow for chicken and black for beef.

Homemade Beef Stock

 I start with beef broth today (although game stock is already present on the blog), because I have shot the pictures for it already ;). Mostly they are already in the pot before I think about taking some pics. And liquid in jars isn’t that illuminating.

Making stock is really easy and after doing so, you are prepared for weeks or even months. Which is such a great feeling!

There isn’t a definite recipe, by the way! You can vary with the ingredients and the cooking time. Don’t be afraid!

Homemade Beef Stock

One year ago: elderflower jelly

Two years ago: strawberry liquor, basil olive oil & elderflower vinegar

Three years ago: lemon rosemary cookies

Wildfond Game Stock

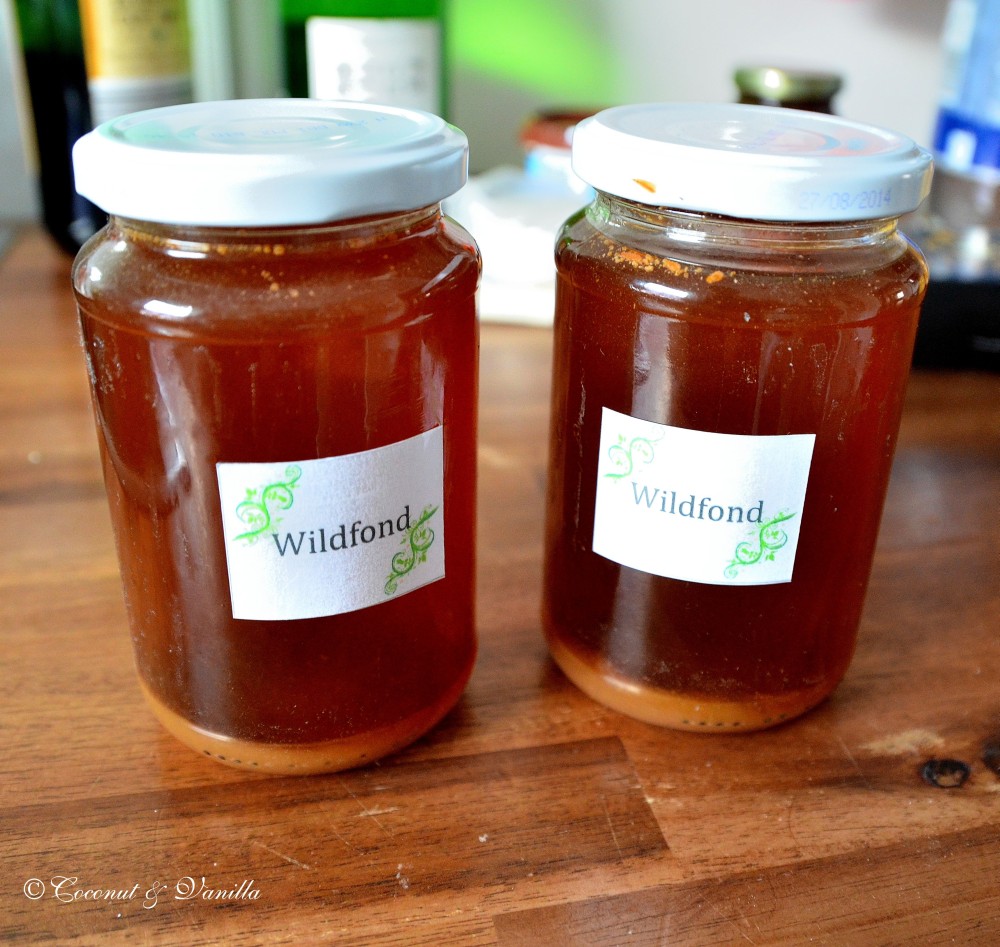
Jetzt in den Wochen vor Weihnachten gibt es an einem Stand auf dem Markt auch Wild. Manchmal dies, manchmal das. Vor Kurzem entdeckte ich dort Wildhasen, den wir gleich mitnahmen. Die Gelegenheit kommt nicht oft. Dahinter standen zwei Tüten mit Rehabschnitten und -knochen, die ich schon interessiert beäugte. Nachdem wir noch eine Runde durch die Läden machten, musste ich sie noch haben. Und ein Glück, denn bisher hab ich dort keine mehr gesehen.

Am gleichen Wochenende hieß es also Wildfond kochen und einmachen. Da es auch für mich das erste Mal war, wollte ich mich kurz im Internet informieren um etwaige Zutaten (außergewöhnliches) und Kochzeit. Kurz war gut. Das Internet gab nicht viel her. Von 2-6 Stunden alles dabei. Kam mir aber auch etwas wenig vor. Facebook befragt. Arthurs Tochter half mit der konkreten Angabe 12 Stunden weiter. Also dann 12 Stunden. Und es hat dem Fond nicht geschadet.

Wildfond braucht man vielleicht nichts so häufig, aber wenn ja was macht man dann? Gut man kann einen überteuerten Fond kaufen. Da kostet das Glas mehr, als die Abschnitte zum Kochen. Und dann sind auch noch Zutaten drin, die mit Fond nichts zu tun haben.

Ich habe mit einmal Kochen 13 Gläser Fond eingekocht. Das hält ne Weile. Aber wenn man es danach auch noch schön im Backofen einmacht, hält sich das auch noch ewig (naja fast).

Und für alle die sich fragen, wie nun Wildfond kochen und einmachen im Backofen funktioniert, liefere ich heute eine pipifax einfache Anleitung dafür. Und schon steht dem leckeren Sößchen, egal zu welchem Wildfleisch, nichts mehr entgegen.

 
Wildfond
 
Vor einem Jahr: Schottisches Shortbread
 
Wildfond


Wildfond


Wildfond
 
 
Wildfond
 

Wildfond

 
Wildfond


Now, in the weeks before christmas a market stall on our market has game, too. Sometimes this, sometimes that. Recently we spotted some wild rabbit there, which we immediately bought. Not an everyday opportunity. Behind it, two bags with venison parures and bones, which I already eyed interested. After we made the curcuit in the shops, I had to have them. And that was wise, since I didn’t see some again there.

So on the same weekend cooking and preserving stock was the matter. Since it was the first time for me, too, I searched the internet for some informations about ingredients (something special?) and the cooking time. But the internet was rare. 2-6 hours, everything was given. So asking Facebook. Arthurs Tochter helped me with the precise information: 12 hours. So 12 hours then. And it didn’t do any harm to the game stock!

There’s not so much need for game stock, but when, what to do then? Well, you can buy one, which costs as much as the two bags bones I bought. And then there are ingredients listed, that have nothing to do with stock.

I made 13 glasses of stock with this batch. That’s a nice supply. But if you’re preserving them in the oven, these will maintain forever (well almost).

And if you’re now wondering how to make game stock and how to preserve it in you oven, I will show you an easy peasy instruction how to. So nothing stands in the way for your delicious sauce, accompanying your next game dish.

Game Stock

One year ago: Scottish Shortbread

 
Game Stock
 
 
Game Stock
 
 
Game Stock
 
 
Game Stock


Game Stock
 
Game Stock

Selbstgemachte GemüsebouillonpasteHomemade Bouillon Paste

 Upate: Für das deutsche Rezept nach unten scrollen!

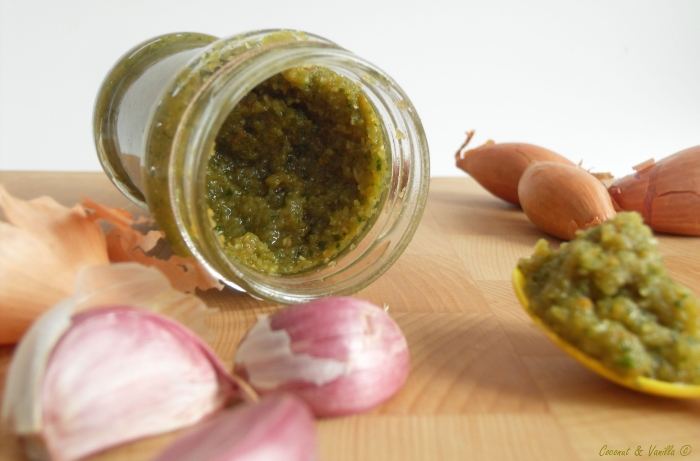
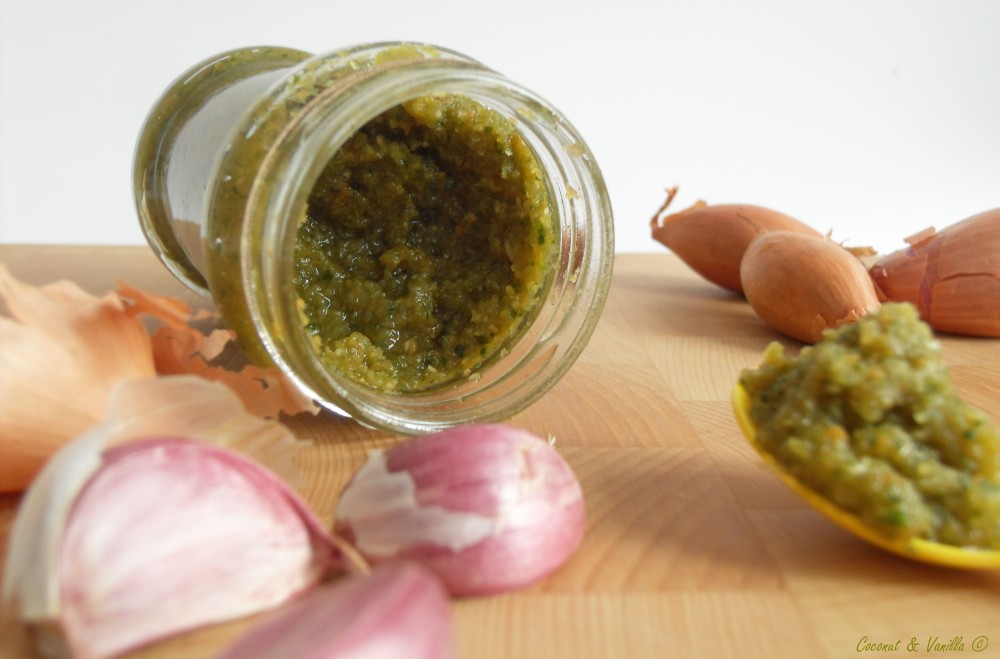
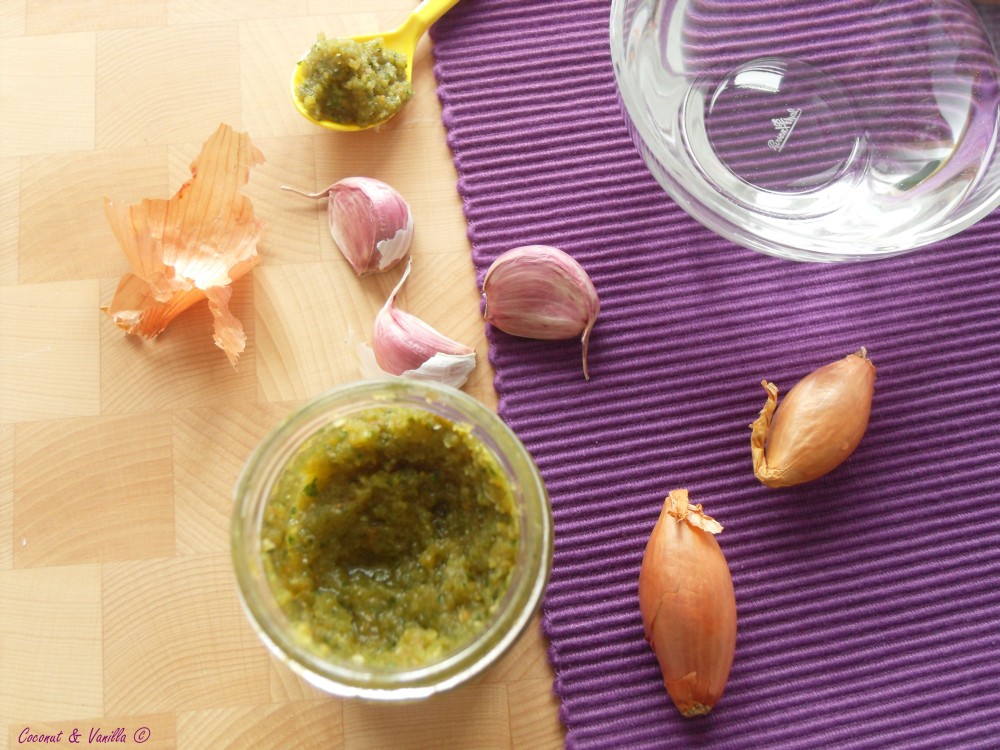
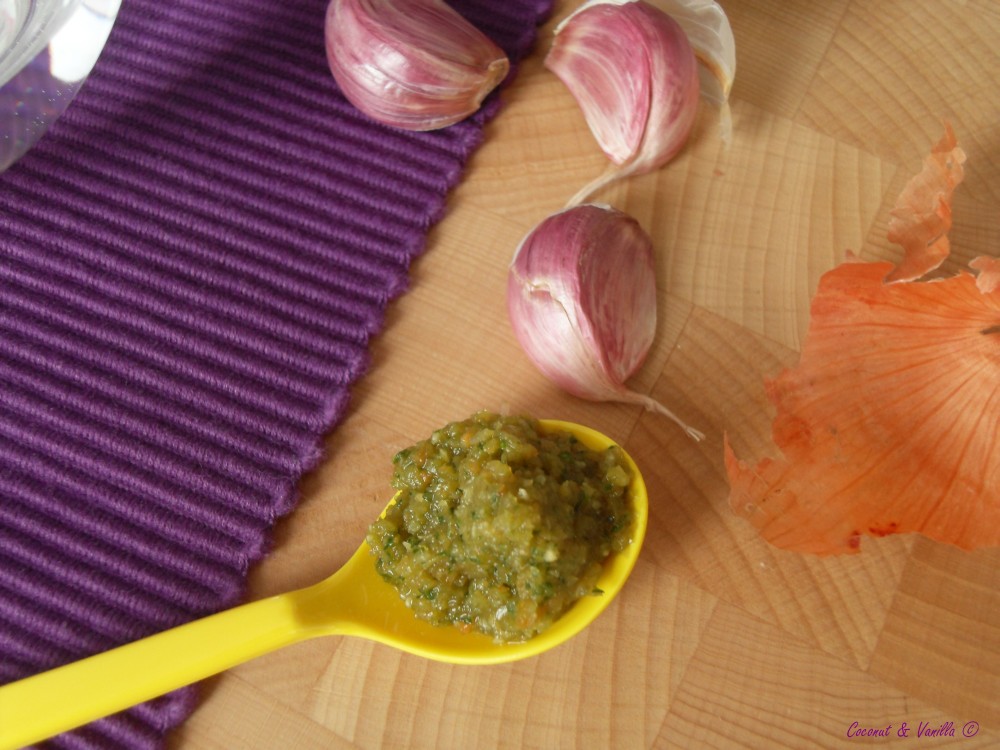
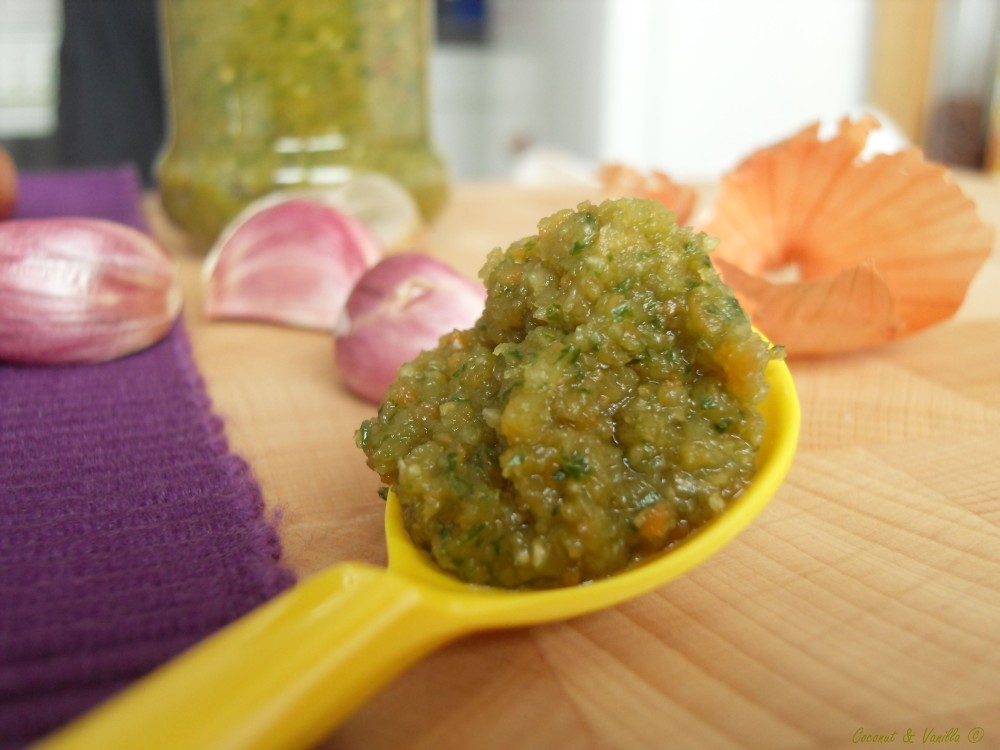
Selbstgemachte Gemüsebouillonpaste

As I was ill the last two weeks, I wanted to do more for my blog. I made some things – I swear! But it happened, that those things were not good enough for my blog. Unfortunately.

Now that I’m back to work, I’ve done some great things and even more great photos of it! But just no time to write. So this evening I just take the time.

In my ill-time I had a lot of time to read lots of blogs, recipes and other interesting things. I got hold on a simple recipe making your own bouillon paste of vegetables. Since I’m very into making everything on my own, I was thrilled.

Selbstgemachte Gemüsebouillonpaste

Since I’m not a fan of glutamate in food, I’m using only organic granulated bouillon, because it never contains glutamate. But it can contain other things that you don’t want in there, for example gluten or allergens. So making your own paste, disposes this problem. And of course it’s just great to make your own bouillon, without making a real stock!

Selbstgemachte Gemüsebouillonpaste

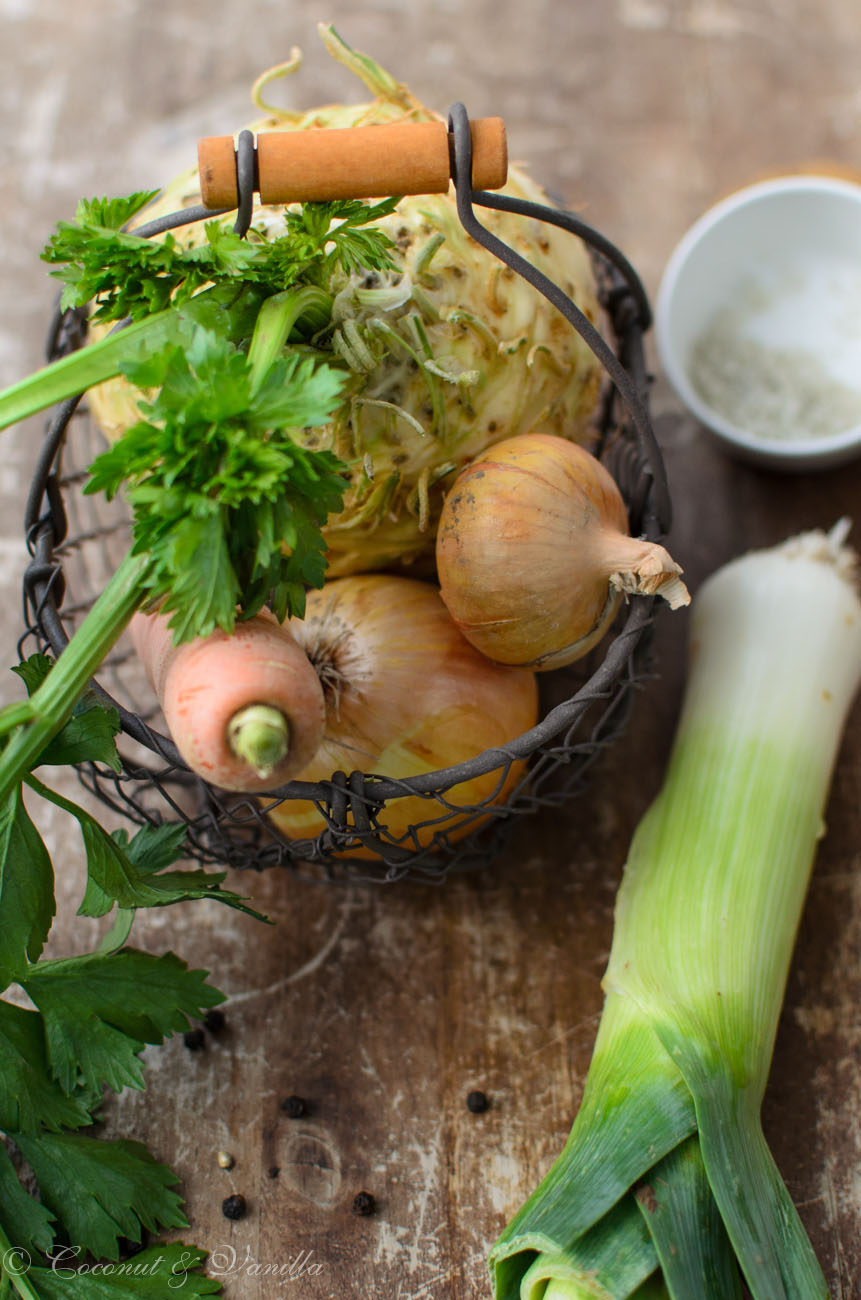
I adapted the recipe from 101 Cookbooks. You can vary, which vegetables you use and also the ratio. I do not like celery stalks. But I like the root. So I just used that. Equally I do not like cilantro, thus I used just parsley. However It would be interesting to add some basil the next time or parsnips.

Selbstgemachte Gemüsebouillonpaste

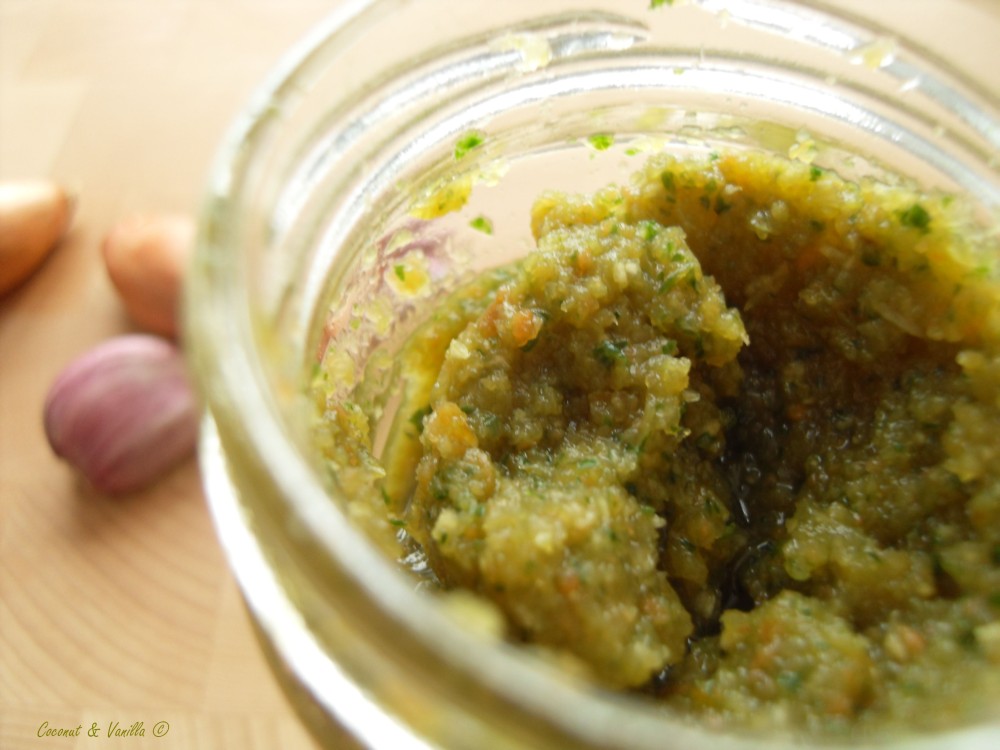
It’s recommended to use a food processor. As I do not have one, I thought optimistic and use my blender. Hmmm… wasn’t that good idea. It didn’t get the leek and the carrots alright. Celery was good with it. In the end I used my immersion blender. It took some time longer I think (since I can’t compare), but it worked very well and I got a moist paste. I didn’t used as much salt, as stated in the „original“ recipe. Maybe that leads rather to a „creamy“ paste, than a loose paste. For me it’s salty enough and if not, adding salt is less a problem, than to withdraw some.

My recommendation is to dissolve 2,5 tsp. per 250 ml (1 cup). It dissolves very good, if you wonder ;-).

I put one jar of the bouillon in the fridge and froze the rest in portions. If you are not using that much bouillon, you can freeze it in ice cube trays, so your portions to thaw are very small. I froze the rest in three portions, every equal to the amount in my fridge. It yields about four 200ml jars.

Selbstgemachte Gemüsebouillonpaste

homemade bouillon paste

As I was ill the last two weeks, I wanted to do more for my blog. I made some things – I swear! But it happened, that those things were not good enough for my blog. Unfortunately.

Now that I’m back to work, I’ve done some great things and even more great photos of it! But just no time to write. So this evening I just take the time.

In my ill-time I had a lot of time to read lots of blogs, recipes and other interesting things. I got hold on a simple recipe making your own bouillon paste of vegetables. Since I’m very into making everything on my own, I was thrilled.

homemade bouillon paste

Since I’m not a fan of glutamate in food, I’m using only organic granulated bouillon, because it never contains glutamate. But it can contain other things that you don’t want in there, for example gluten or allergens. So making your own paste, disposes this problem. And of course it’s just great to make your own bouillon, without making a real stock!

homemade bouillon paste

I adapted the recipe from 101 Cookbooks. You can vary, which vegetables you use and also the ratio. I do not like celery stalks. But I like the root. So I just used that. Equally I do not like cilantro, thus I used just parsley. However It would be interesting to add some basil the next time or parsnips.

homemade bouillon paste

It’s recommended to use a food processor. As I do not have one, I thought optimistic and use my blender. Hmmm… wasn’t that good idea. It didn’t get the leek and the carrots alright. Celery was good with it. In the end I used my immersion blender. It took some time longer I think (since I can’t compare), but it worked very well and I got a moist paste. I didn’t used as much salt, as stated in the „original“ recipe. Maybe that leads rather to a „creamy“ paste, than a loose paste. For me it’s salty enough and if not, adding salt is less a problem, than to withdraw some.

My recommendation is to dissolve 2,5 tsp. per 250 ml (1 cup). It dissolves very good, if you wonder ;-).

I put one jar of the bouillon in the fridge and froze the rest in portions. If you are not using that much bouillon, you can freeze it in ice cube trays, so your portions to thaw are very small. I froze the rest in three portions, every equal to the amount in my fridge. It yields about four 200ml jars.

homemade bouillon paste

Datenschutz
, Inhaber: (Firmensitz: Deutschland), verarbeitet zum Betrieb dieser Website personenbezogene Daten nur im technisch unbedingt notwendigen Umfang. Alle Details dazu in der Datenschutzerklärung.
Datenschutz
, Inhaber: (Firmensitz: Deutschland), verarbeitet zum Betrieb dieser Website personenbezogene Daten nur im technisch unbedingt notwendigen Umfang. Alle Details dazu in der Datenschutzerklärung.