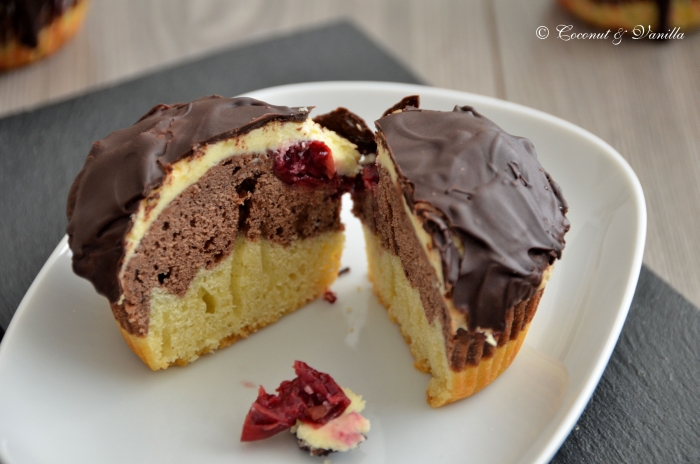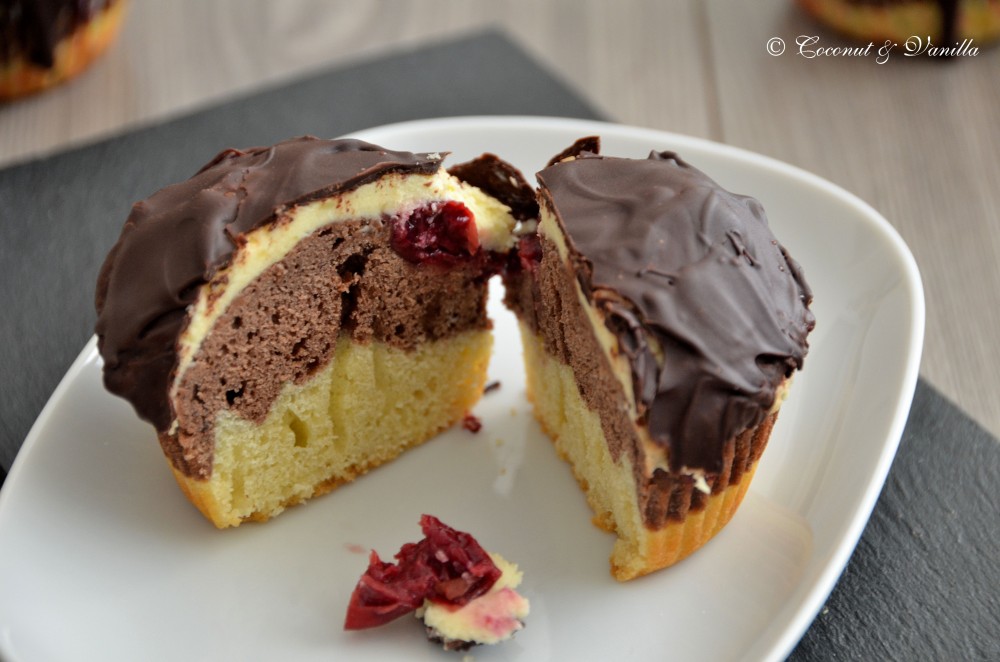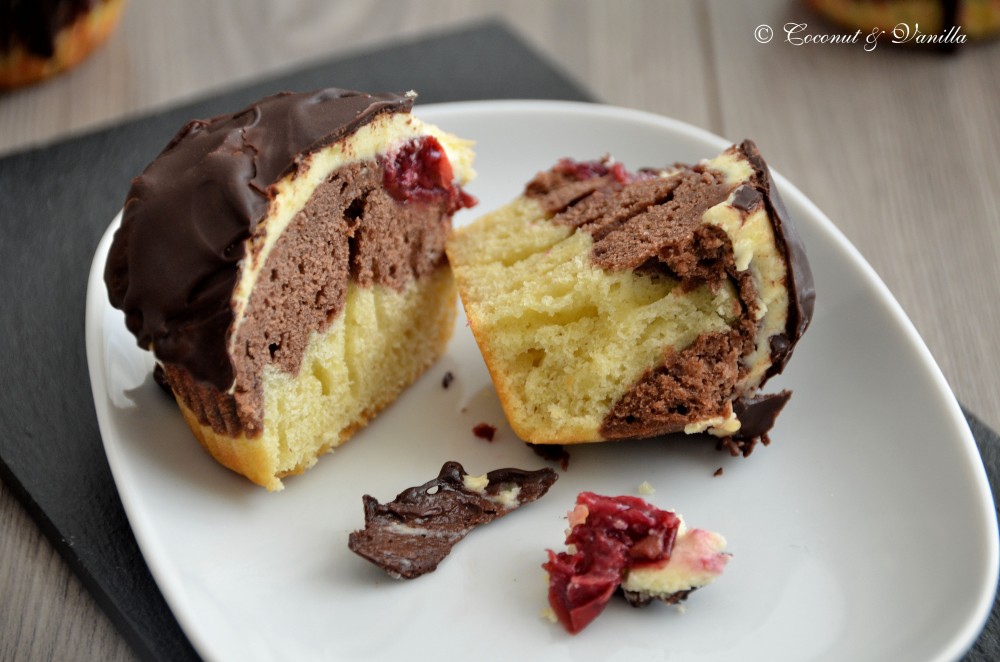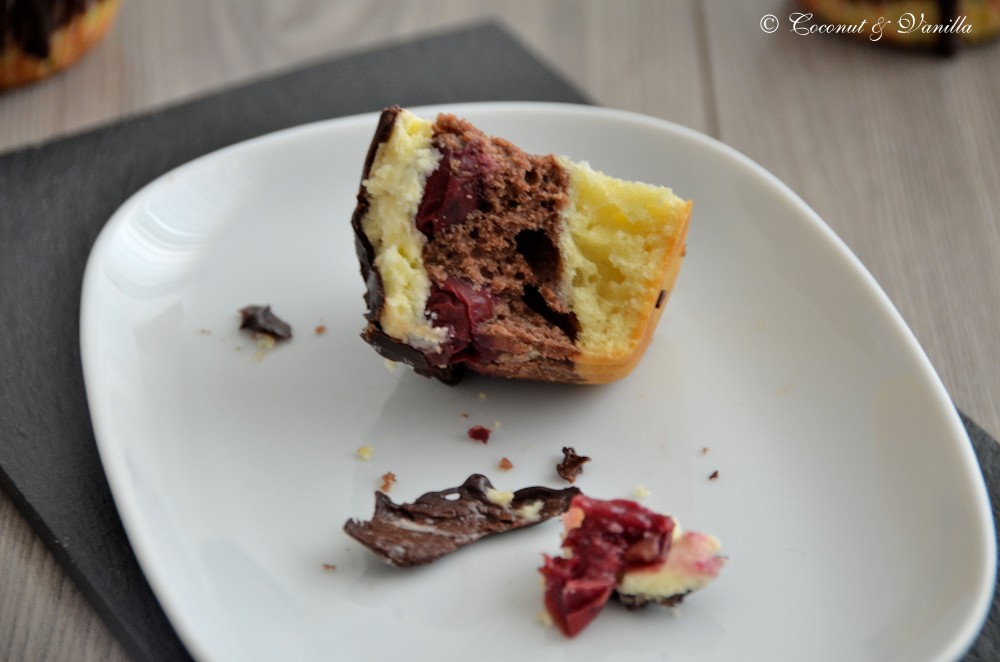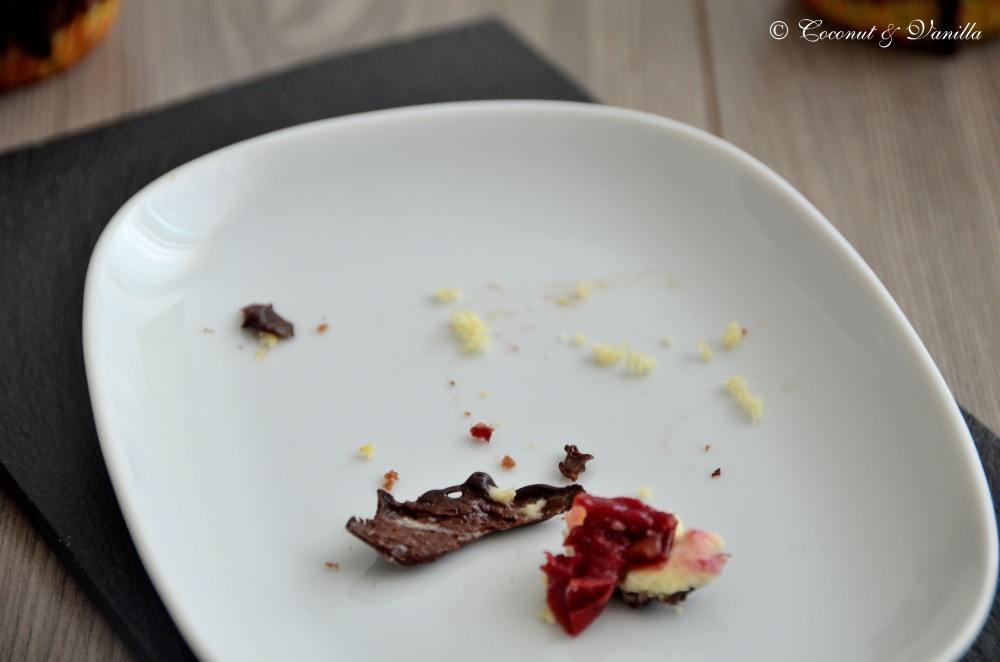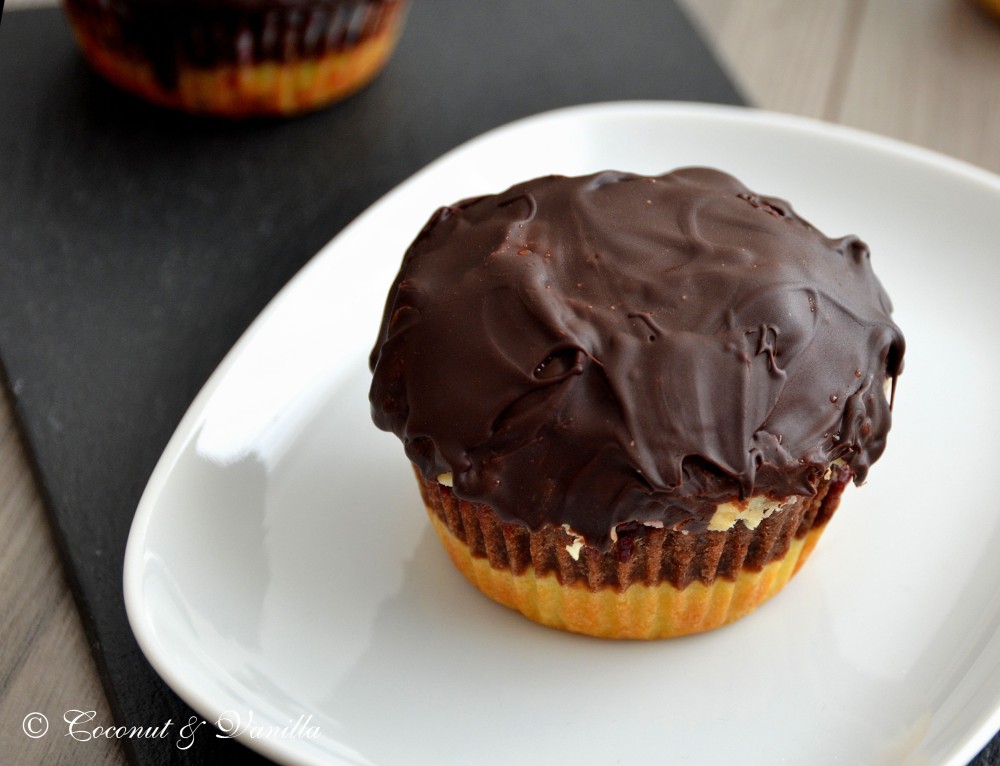
Meine ersten Cupcakes im Blog! Und ich sach mal so: es gibt keine, die würdiger wären. Ich hab zwar schon das ein oder andere mal davor nen Cupcake gebacken, aber der hat es hier immer nicht reingeschafft. Meistens kann ich mich auch nicht aufraffen, welche zu backen. Ich finde die sind einfach viel zu schwer mit ihrer Buttercreme. Aber einen Kuchen in Cupcakes umzuwandeln ist der Geniestreich. So ein Stück Donauwelle ist auch ein Brummer, da kommen die einem als Cupcake schon eher wie ein Snack vor.
Man bekommt so ein kleines Stück Donauwelle auf die Hand, das schmeckt wie das Original nur viel hübscher daherkommt. Ein Traum sag ich Euch!
Prima ist auch, dass die sich ein paar Tage lang frisch halten, weil sie sind ja rundherum verpackt: unten Papierförmchen, oben Schokoguss. Kühlschrank muss natürlich trotzdem sein, allein schon wegen der Konsistenz.
Die Donauwellen Cupcakes waren auch ein Testlauf für eine Hochzeitsfeier. Haben sie mit Bravour bestanden. Da sie dann aber wahrscheinlich an einem Nachmittag verzehrt werden, lasse ich die Papierförmchen weg. Die muss man nämlich schon ein bisschen unter der Schokoglasur rausfitzeln.
Im übrigen finde ich, dass Puddingcreme die neue Buttercreme ist! Funktioniert, schmeckt besser und enthält (fast) keine Butter. Und wenn wie in dem Fall das Ganze mit einer knackigen Schokoglasur aus Zartbitterschoki getoppt wird, ist das auch nicht zu süß. Also weg mit den zuckersüßen, fettigen, schweren Cupcakes. Hier kommt die deutsche Version 2.0.
Ich habe jedenfalls schon weitere Cupcake Projekte im Kopf, die ich bald umsetzen werden.
Vor einem Jahr: Hefekuchenkranz mit Nuss-Schoko-Meringue-Füllung
Donauwellen Cupcakes
ergibt 9 Stück
Zutaten:
Für den Kuchen:
-
125 g weiche Butter
-
90 g Zucker
-
1 Prise Salz
-
3 Eier
-
200 g Mehl
-
1,5 TL Backpulver
-
2 EL Milch
-
1 EL Kakao
-
1 EL Milch
-
500 g Sauerkirschen/Schattenmorellen aus dem Glas
Für die Puddingcreme:
-
1/2 Päckchen Vanille Puddingpulver
-
250 ml Milch
-
1/2 EL Zucker
-
100 g weiche Butter
-
25 g Puderzucker
Für den Schokoguss:
-
150 g Zartbitter-Kuvertüre (mind. 50% Kakaogehalt)
-
20 g Kokosfett (gibt der Schokoladenglasur einen schönen Glanz), ich hab keins gehabt und es deshalb weggelassen
Den Backofen auf 180° C (Umluft 160° C, ohne Vorheizen) vorheizen. 9 Mulden eines Muffinblecks mit Papierförmchen ausstatten.
Kirschen abtropfen lassen. Kirschsaft trinken.
Butter, Zucker und Salz cremig rühren. Eier einzeln dazu und unterrühren, bis man keine Eierspuren mehr sieht. Mehl und Backpulver unterrühren. Milch dazu.
Die Häflte des Teigs in die Muffinförmchen geben (etwa ein gehäufter EL pro Förmchen). Glatt streichen, das geht am besten mit einem feuchten Esslöffel.
Zu dem restlichen Teig den Kakao und die Milch geben, gut verrühren.
Den Kakaoteig auf den hellen Teig streichen. Oberfläche glätten.
Die Kirschen auf den dunklen Teig geben und leicht eindrücken. Die Kirschen bedecken fast die ganze Oberfläche, 8 Kirschen sollten es also schon sein pro Förmchen.
Die Kuchen 15-20 Minuten backen. Stäbchenprobe machen!
Die Kuchen abkühlen lassen.
Für den Belag das Puddingpulver mit dem Zucker und etwas Milch anrühren. Restliche Milch aufkochen und das angerührte Pulver unterrühren. Nochmal aufkochen zum Andicken (oder wie es sonst auf Eurer Puddingpulverpackung steht). Auf die Oberfläche ien Stück Frischhaltefolie legen, damit sich keine Haut bildet. Abkühlen lassen.
Die Butter mit dem Puderzucker cremig rühren. Den Pudding löffelweise unterrühren, bis alles eine einheitliche Creme ist. Die Puddingcreme auf den Törtchen verstreichen. Dafür einen gehäuften Esslöffel Creme auf einen Cupcake geben. Mit einem Messer lässt sich die Creme nun gut rundherum verteilen, bis die Kirschen einigermaßen bedeckt sind. Die Creme darf auch etwas dicker sein.
Die Cupcakes in den Kühlschrank stellen und durchkühlen lassen (mind. 2 Stunden). Dadurch wird die Creme fester und sie verschmiert nicht so, wenn die Schokoglasur draufkommt, außerdem wird die Schokoglasur dann steller fest.
Die Kuvertüre hacken und mit dem Kokosfett im Wasserbad schmelzen. Die Kuvertüre mit dem Esslöffel auf die Cupcakes geben und mit einem Pinsel vorsichtig verteilen, so dass die Creme überall bedeckt ist.
Die Cupcakes wieder in den Kühlschrank stellen und kühl genießen.

My first cupcakes on the blog! Hurray! First I have to explain to you, what „Donauwelle“ is. Donauwelle is a typical German cake, which consists of two layers of cake batter, one plain, the other browned with cocoa. On the cocoa cake batter sour cherries are spread. After baking the cake and cooling, a vanilla pudding cream is spread on the cake. Finally the cream is coated with dark chocolate. Heaven’s delight! So you can make a cake instead of these cupcakes, if you are doubling the ingredients you get a whole baking sheet.
But as a piece of Donauwelle cake is heavier than a cupcake and a cupcake looks much sweeter I tried those. And I have to say: they are the best cupcakes I’ve ever made. Ok, I admit it weren’t that many, but this one is definitely the right one to be the first one on the blog.
A really nice bonus, that they are single portions is, that they are really keeping well in the fridge for a few days. This comes from the fact, that the bottom is packed in muffin liners and the top is coated with chocolate. So every cupcake comes fresh out of the fridge.
I made these as a test run for a wedding party and they passed with flying colours. But as they will be eaten then in one afternoon, I will bake them without cupcake liners, as it’s a bit of puzzle work to remove them from under the chocolate glaze.
As I’m not a fan of those heavy butter creams, loaded with sugar, I’m claiming the pudding cream as the new butter cream! It works great, tastes better and contains (almost) no butter. And if the cream is topped with dark chocolate, like in this case, it’s not to sweet either. So no more sugar sweet, fat loaded, heavy cupcakes, here comes the german version 2.0.
In any case I have already more cupcake ideas in my mind, which I will bake soon.
One year ago: Yeasted Meringue Coffee Cake
Donauwellen Cupcakes
yields: 9 cupcakes
Ingredients:
for the cake:
-
125 g butter, at room temperature
-
90 g sugar
-
1 pinch of salt
-
3 eggs
-
200 g flour
-
1,5 tsp baking powder
-
2 Tbsp milk
-
1 Tbsp cocoa
-
1 Tbsp milk
-
500 g sour cherries (out of the glass)
for the vanilla pudding cream:
-
1/2 sachet vanilla pudding/custard powder
-
250 ml milk
-
1/2 Tbsp sugar
-
100 g butter, at room temperature
-
25 g powdered sugar
for the chocolate glaze:
-
150 g dark chocolate
-
20 g coconut fat (gives the glaze a nice shine), I didn’t had any, so I omitted it
Preheat the oven to 180° C. Line 9 moulds of a muffin pan with cupcake liners.
Drain the sour cherries. Drink the juice.
Cream the butter, sugar and the salt. Add the eggs one after another. Mix well. Add the flour and the baking powder as well as the milk and mix well.
Place half the batter in the liners (about one heaped Tbsp per mould). Flatten the batter with a wet tablespoon.
Add the cocoa and the rest of milk to the batter and stir until well combined.
Place the dark batter onto the pale batter and flatten again. Place the cherries onto the cocoa batter and press them slightly in the batter. The cherries will cover almost the whole surface, so 8 cherries should at least be placed onto one cupcake.
Bake the cupcakes for 15-20 minutes. Test with a skewer!
Let cupcakes cool.
Mix the pudding powder with the sugar and a bit of milk. Heat the milk to the boiling point and add the pudding powder mix. Bring again to the boil, so it thickens. If the instructions on the pudding package say otherwise, follow them. You should and up with about 250 – 300 g vanilla pudding. Place some plastic foil directly on the surface to prevent skin building on the pudding. Let it cool completely.
Cream the butter with the powdered sugar. Add the pudding spoon by spoon, until everything is well combined. Spread the cream onto the cupcakes. Therefore add one heaped tablespoon of cream on one cupcake and spread with a knife, until the cherries are well covered. Don’t be shy with the thickness of the cream!
Place the cupcakes in the fridge and cool them thoroughly (at least 2 hours), so the cream will be firmer and won’t smear that much, when you add the chocolate glaze.
Chop the chocolate coarsely and melt it in a bain marie or water bath with the coconut fat. Pour the chocolate glaze with a tablespoon on the cupcakes and spread cautiously with a brush, so the cream is well covered.
Place the cupcakes in the fridge and let the glaze dry.
Enjoy fresh from the fridge!

