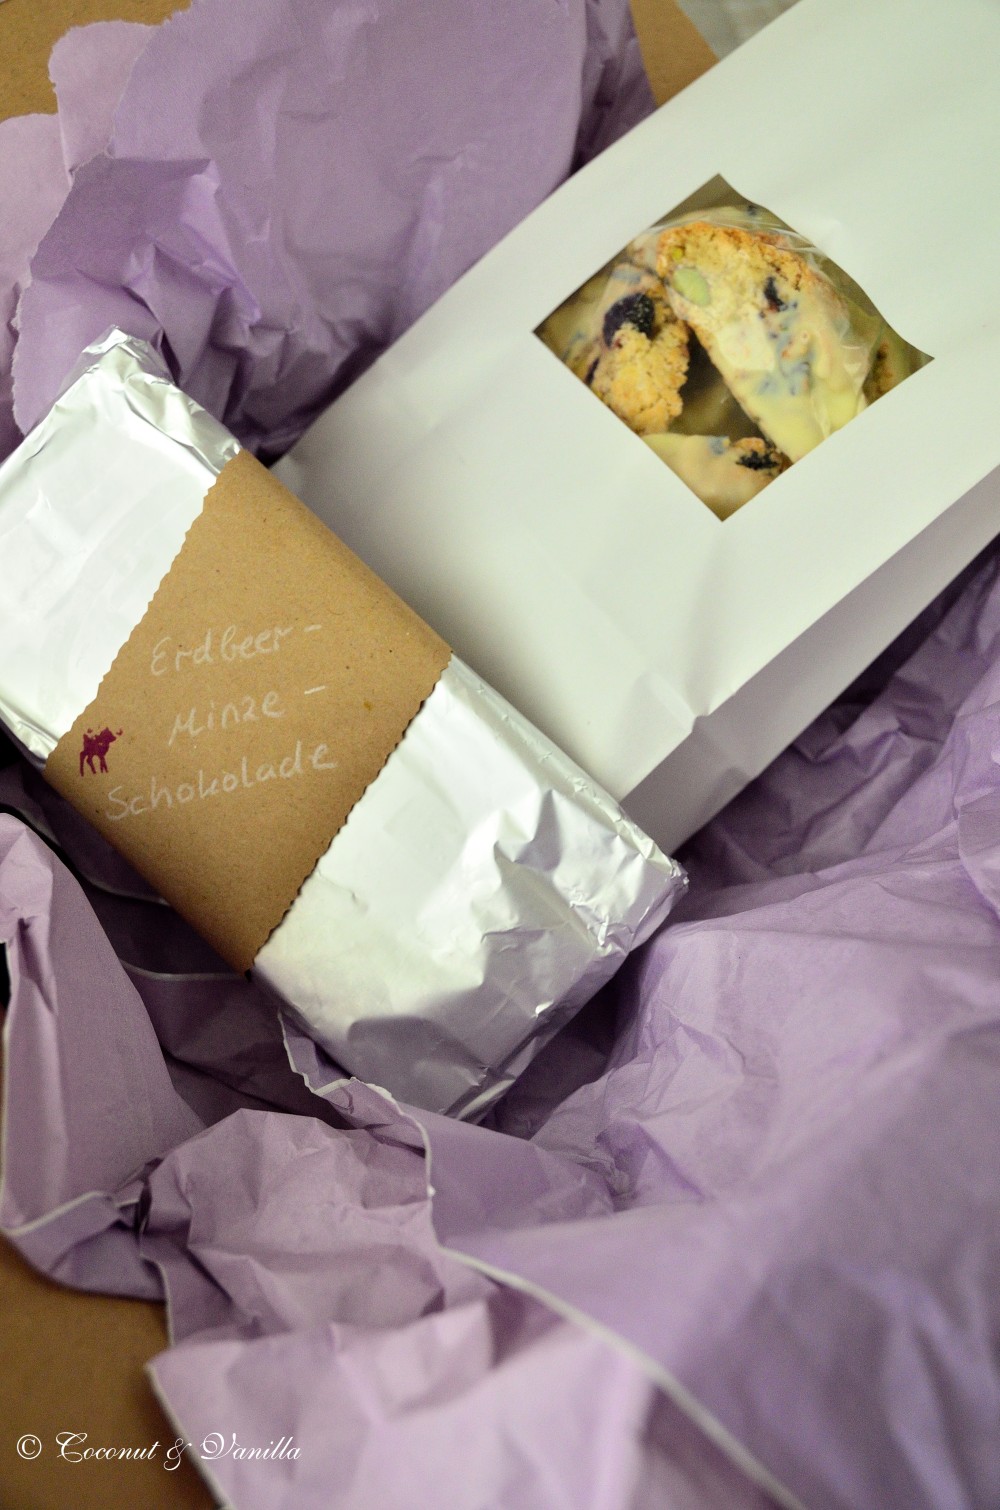
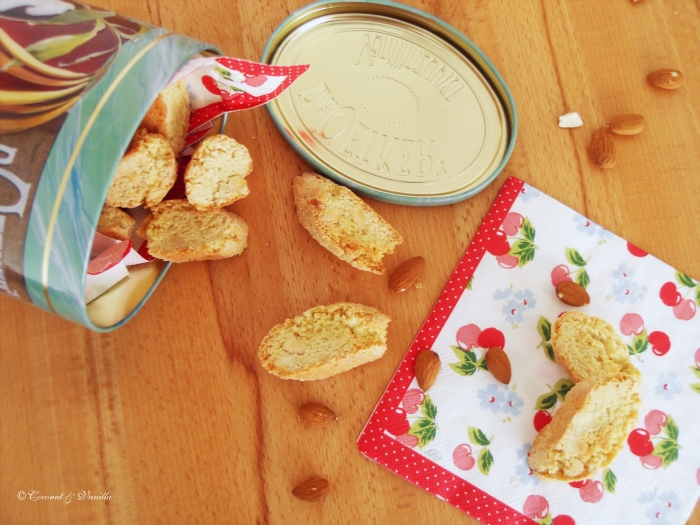
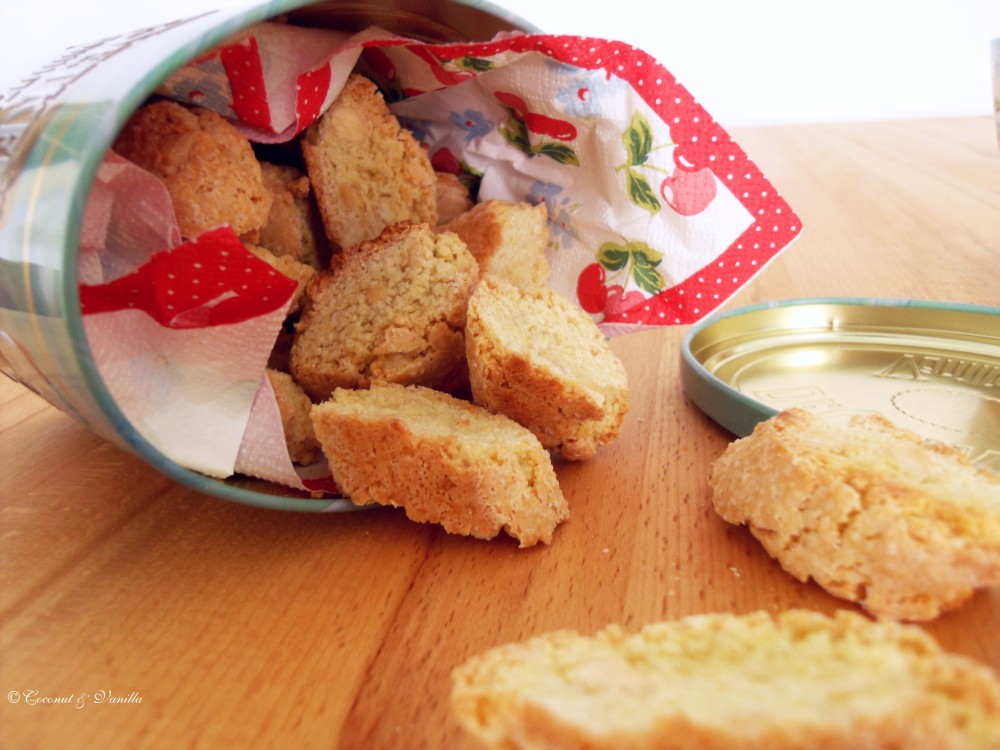
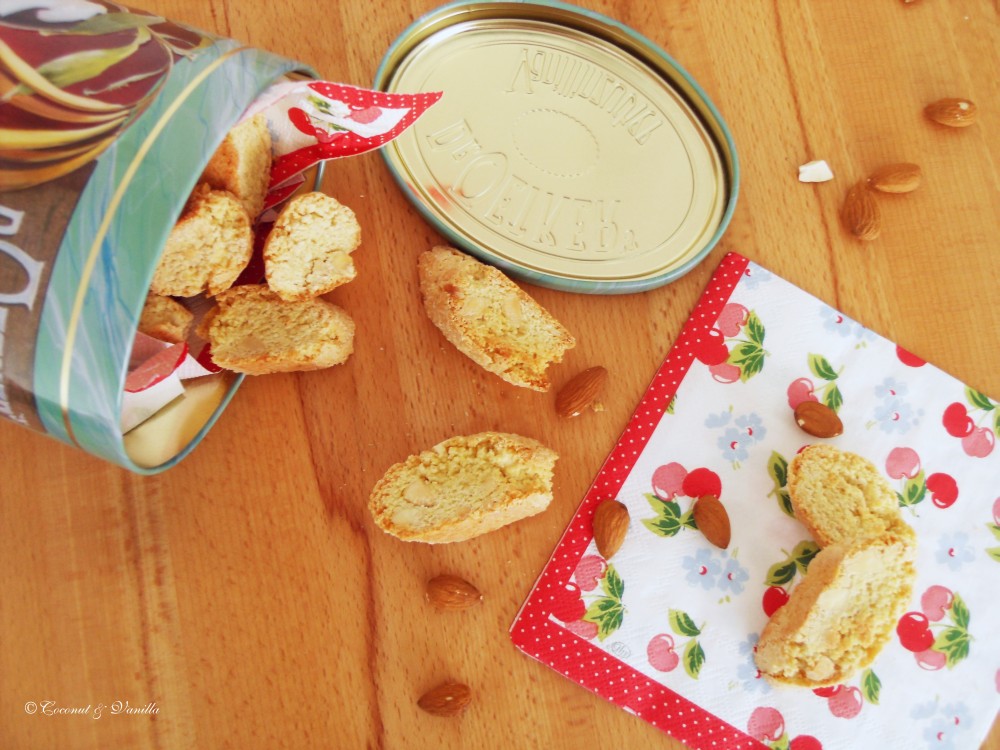
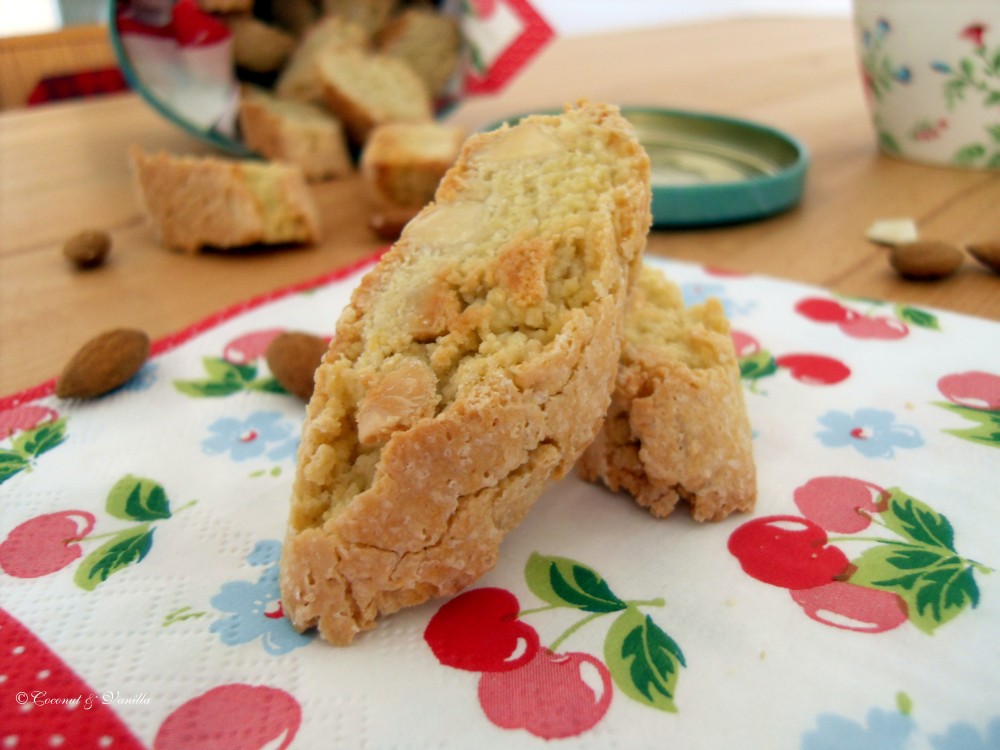
Das gab es für meine Tauschpartnerin Jasmin von Elbmadame zur Very Berry Ausgabe von Post aus meiner Küche!
Hier hat Jasmin auch schon über mein Päckchen gebloggt! Es kam sehr gut an und das freut mich natürlich sehr.
Very Berry ist ein superschönes Thema, allerdings auch schwierig umzusetzen. Beeren und vieles was man daraus herstellt ist eben schnell verderblich. Leider durften das auch ein paar Teilnehmer erfahren und haben diesmal schlechte Erfahrungen gemacht. Schade! Wo doch Post aus meiner Küche so eine schöne Idee ist. Ich wünsche mir, dass diejenigen, die enttäuscht wurden beim nächsten Thema nochmal darübernachdenken und es nochmal versuchen und diejenigen die enttäuscht haben darüber nachdenken warum und sich die Netiquette zu Herzen nehmen.
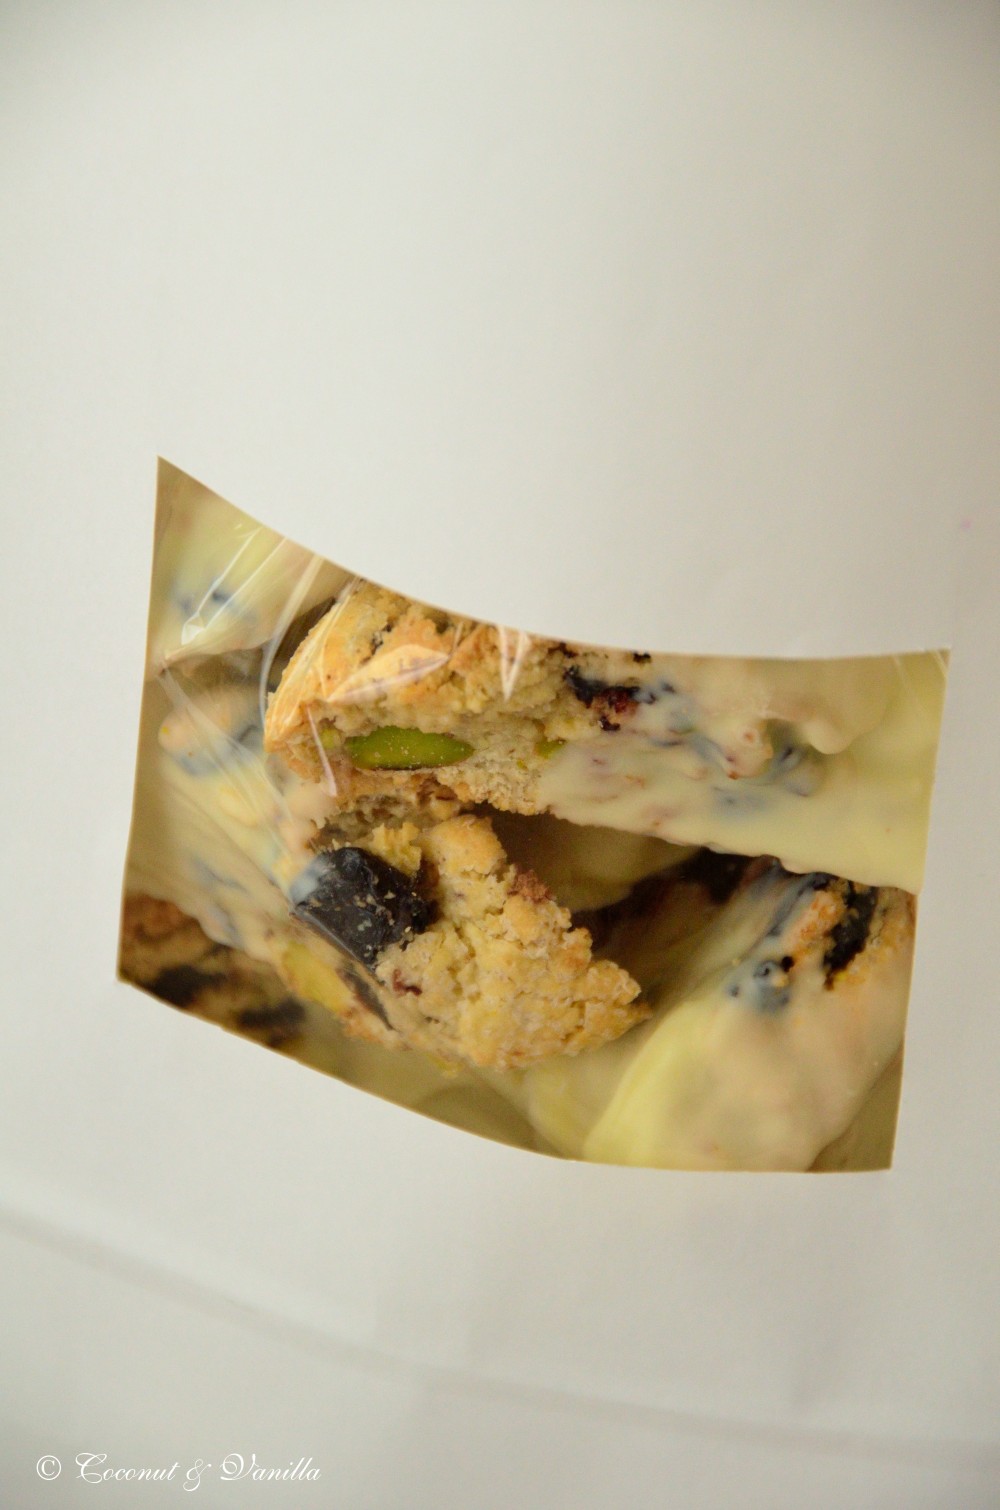
Ich selber hatte echtes Glück, dass alles so gut ankam, schließlich habe ich bei 30°C mit Schokolade hantiert. Kurzerhand habe ich das ganze Päckchen einen Tag tiefgefroren. Anscheinend hat es was gebracht und alles ist heil angekommen.
Ich freue mich schon sehr auf das nächste Thema und hoffe wieder so eine tolle Tauschpartnerin wie Jasmin zu bekommen.
Vor zwei Jahren: Friandaises mit roten Johannisbeeren
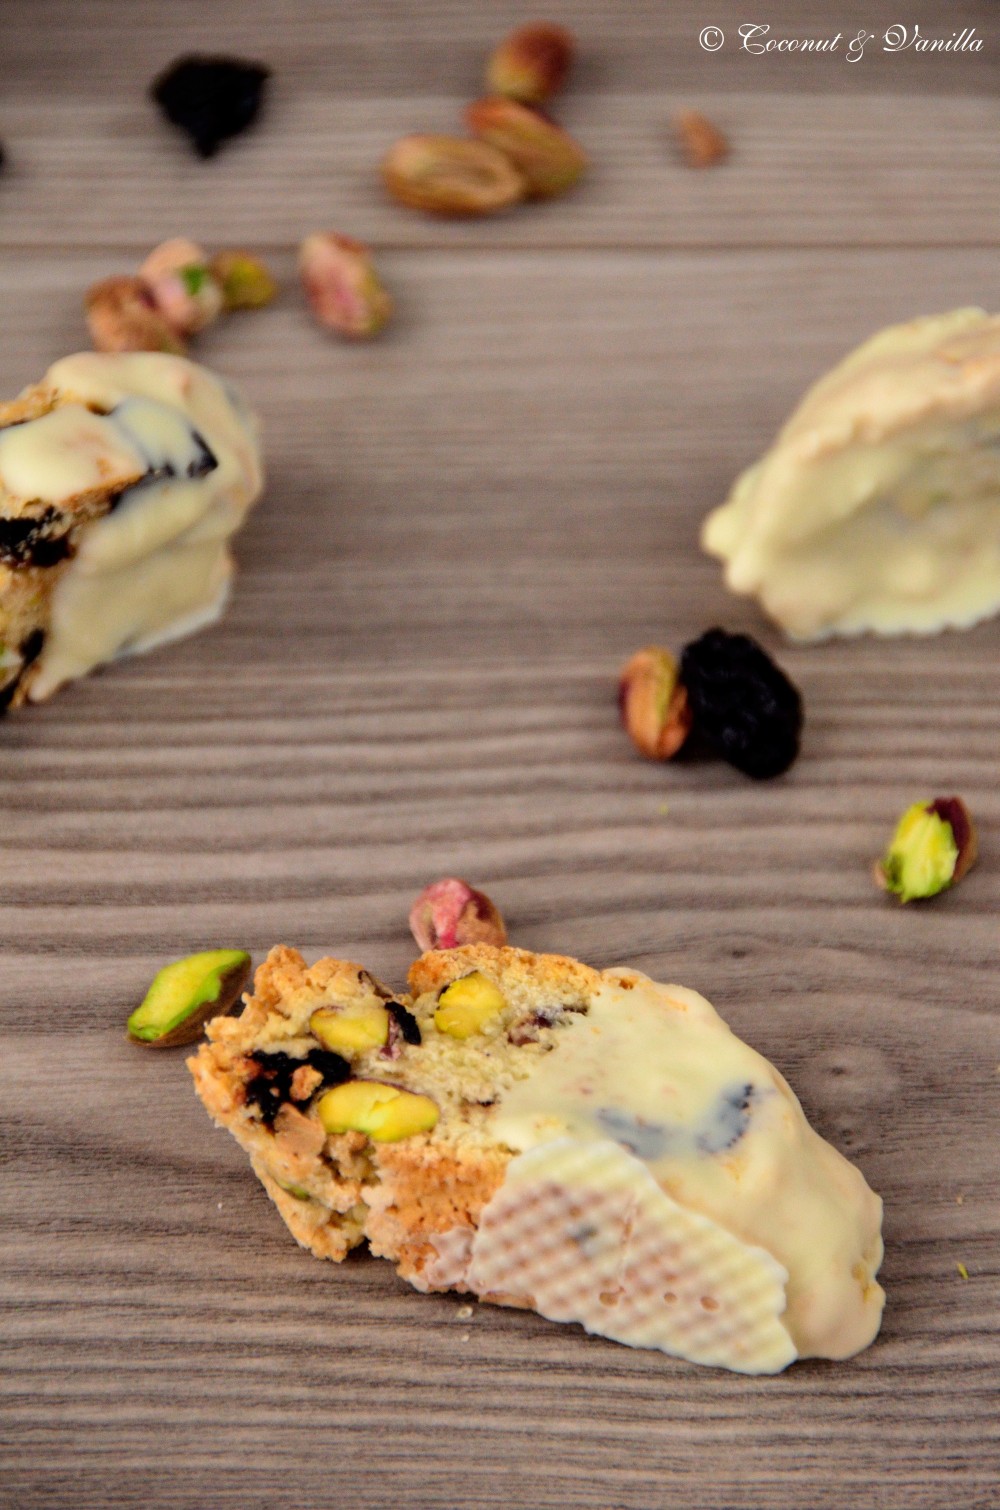
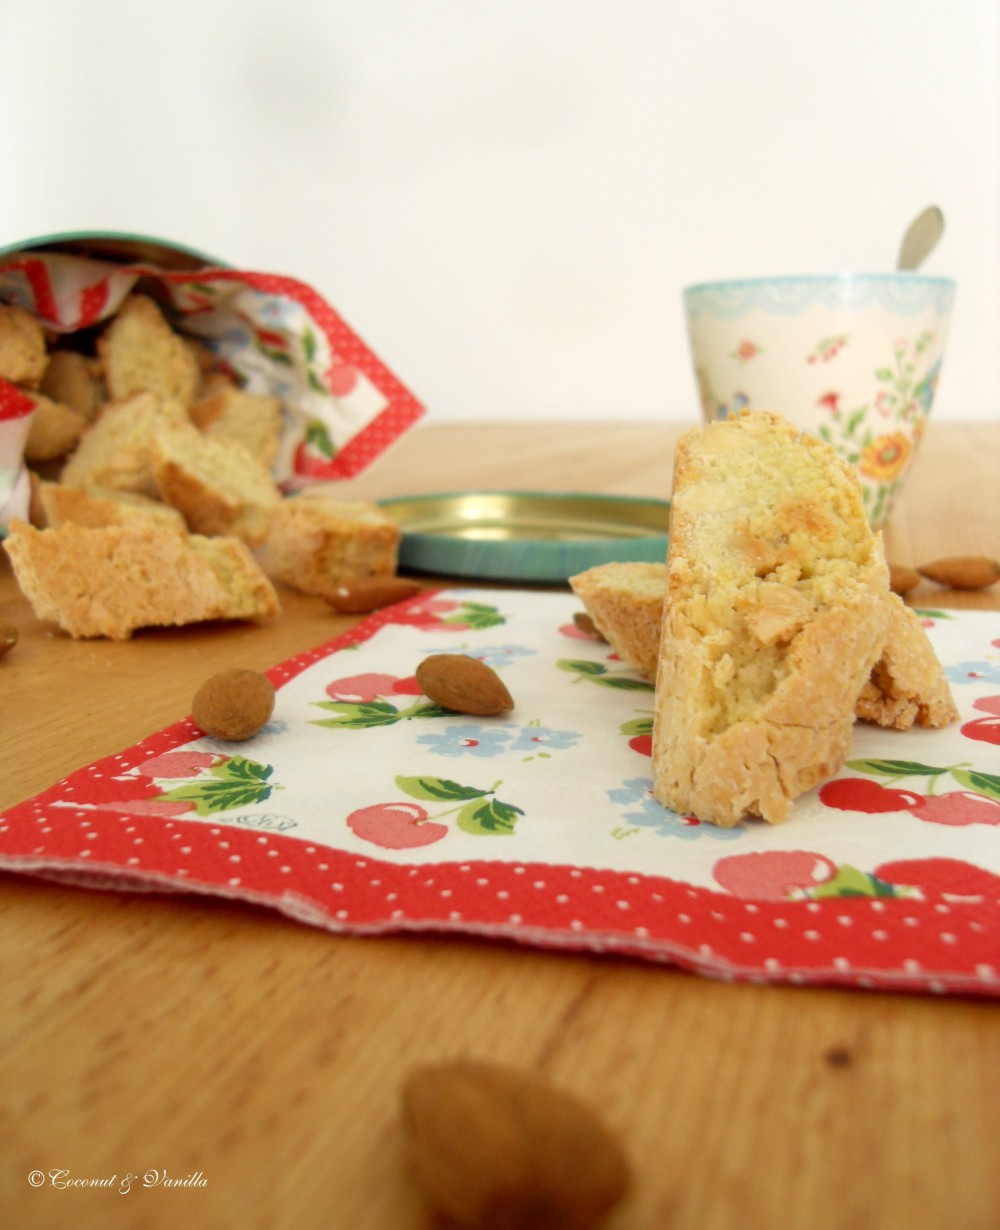
Cantucchini mit Pistazien & Sauerkirschen (und weißer Schokolade, wer mag)
ergibt etwa 40 Stück
Zutaten:
-
300 g Mehl
-
1 TL Backpulver
-
170 g Zucker
-
2 Eier
-
1 Eigelb
-
1 Prise Salz
-
75 g getrocknete Sauerkirschen
-
75 g Pistazienkerne
-
100 g weiße Kuvertüre (optional)
Alle Zutaten bis auf die Sauerkirschen und die Pistazien in eine große Schüssel geben und mit den Knethaken oder in der Küchenmaschine verkneten. Die Pistazien und die Kirschen dazugeben und unterkneten.
Den Ofen auf 180° C vorheizen.
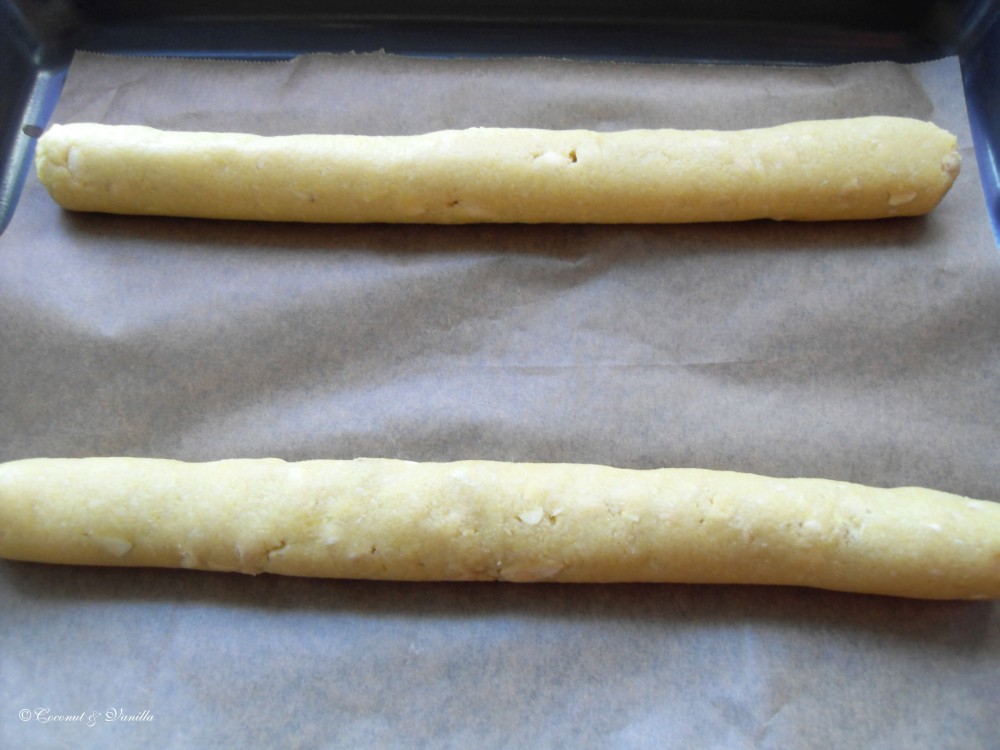
Den Teig halbieren und in 2 Rollen formen die so lang sind wie das Backblech breit.
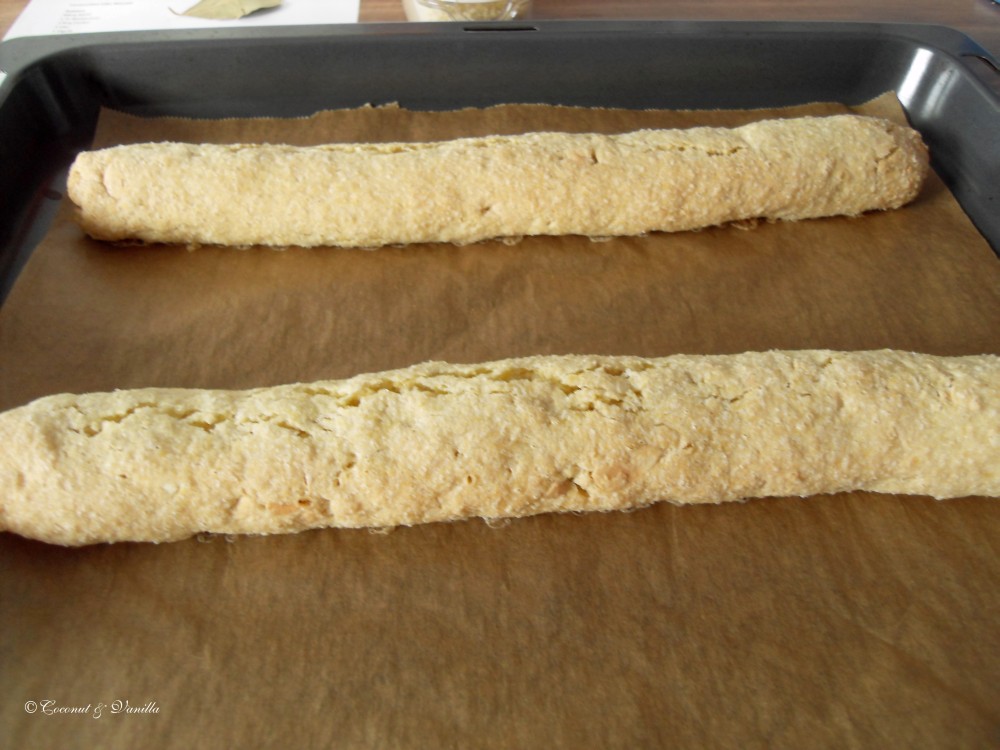
Die Rollen auf das Blech legen und 20-25 Minuten backen, bis die Rollen golden sind.
Das Blech aus dem Ofen nehmen und etwas abkühlen lassen. Die Rollen schräg in 2,5 cm dicke Scheiben schneiden (geht am besten mit einem Wellenschliffmesser). Die Scheiben wieder stehend auf dem Blech platzieren und 10 Minuten backen.
Abkühlen lassen und in einer luftdichten Dose aufbewahren.
Wer mag schmilzt die weiße Kuvertüre und taucht die Cantucchini zur Hälfte in die Kuvertüre. Abtropfen lassen. Auf einem Gitter oder Backpapier trocknen lassen.
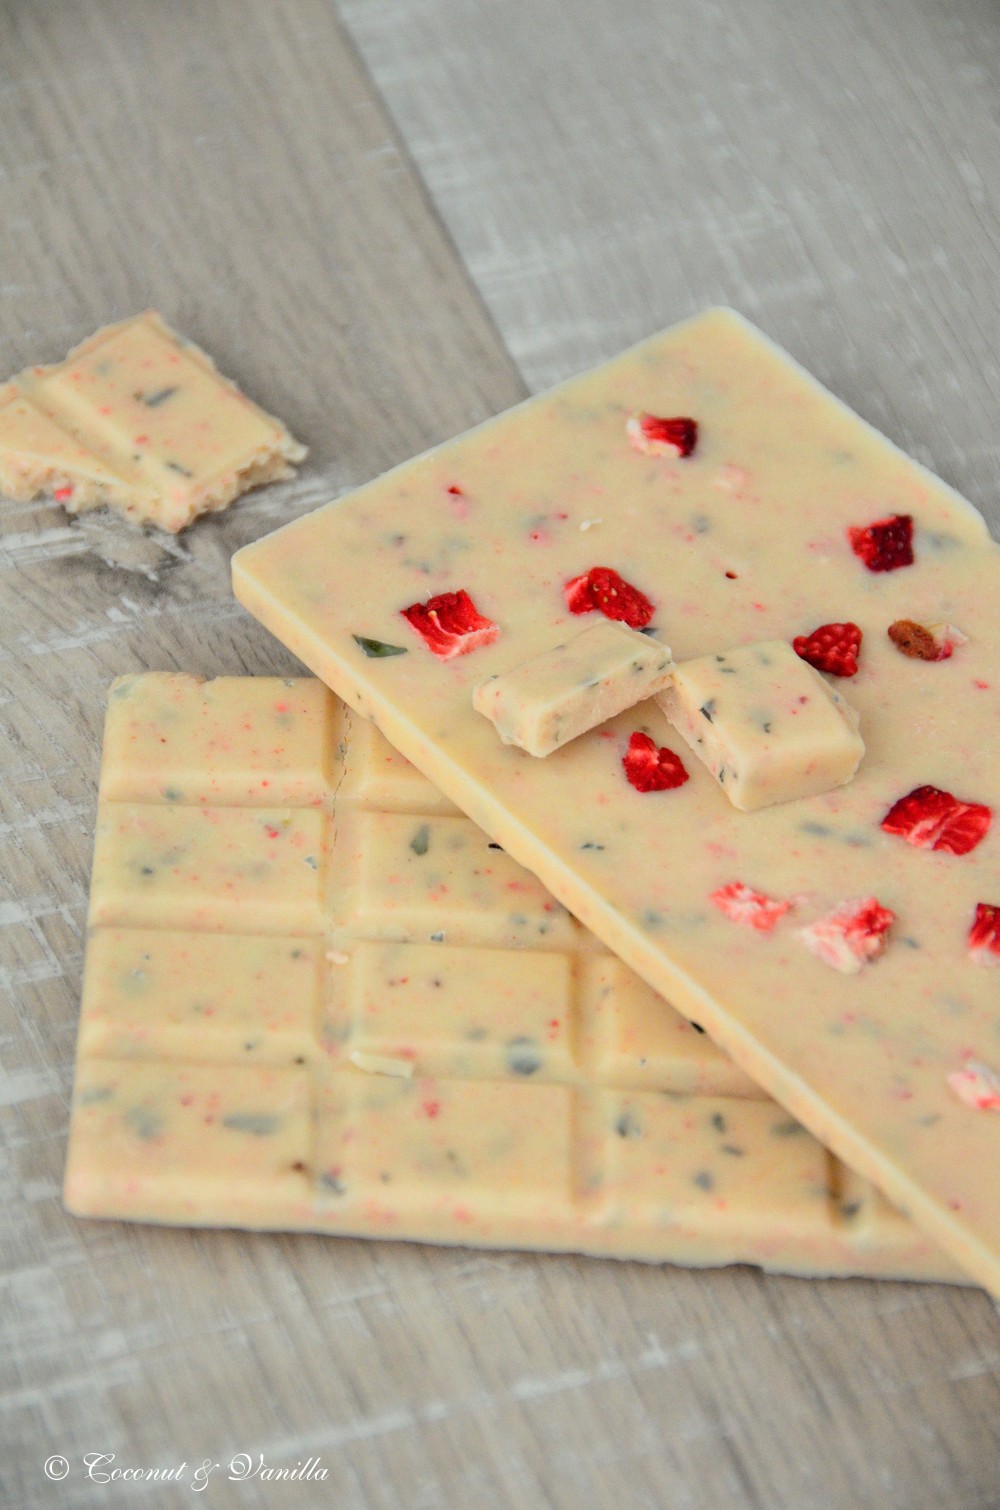
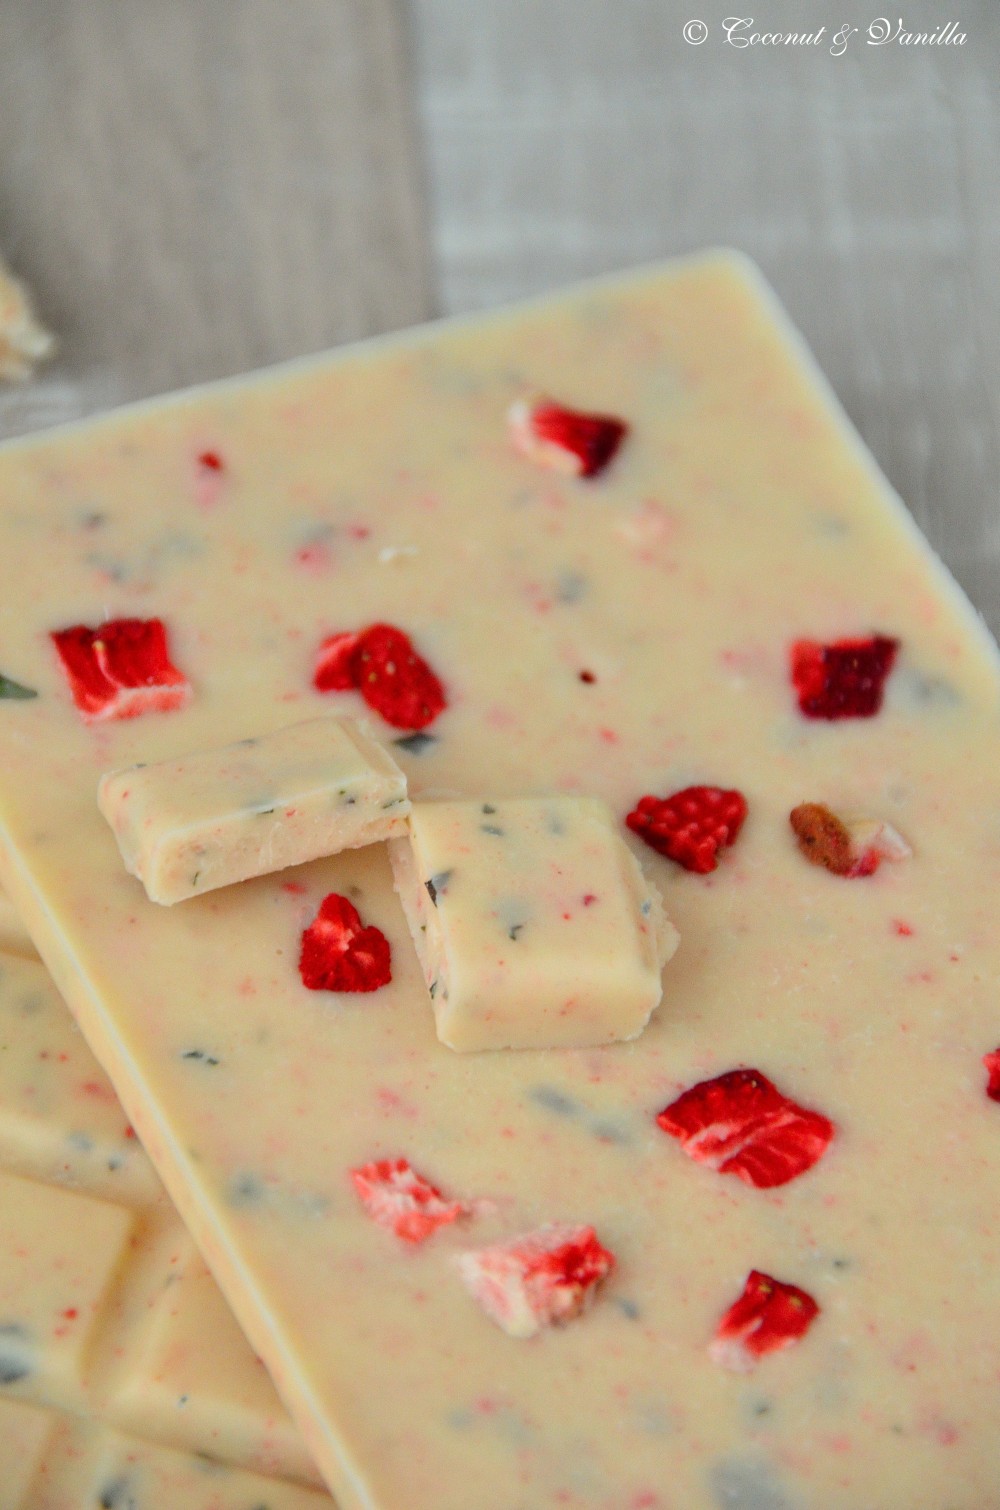
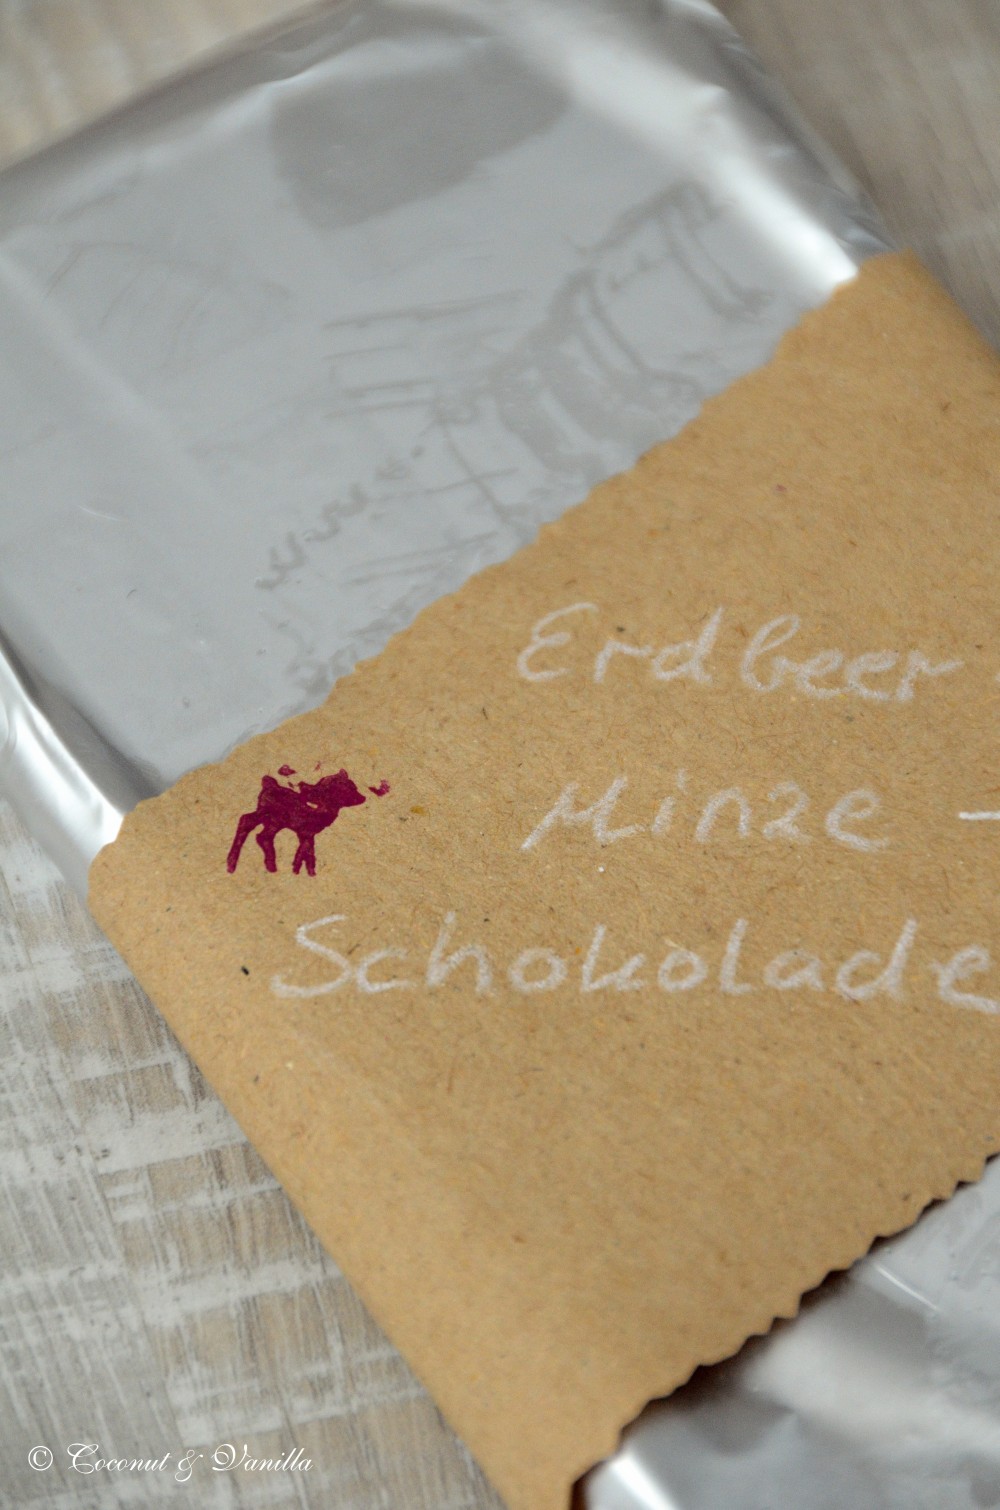
Weiße Schokolade mit Erdbeeren und Minze
ergibt 3 Tafeln
Zutaten:
-
300 g weiße Kuvertüre
-
1/2 EL fein gehackte Minze (ich hab Schokominze genommen)
-
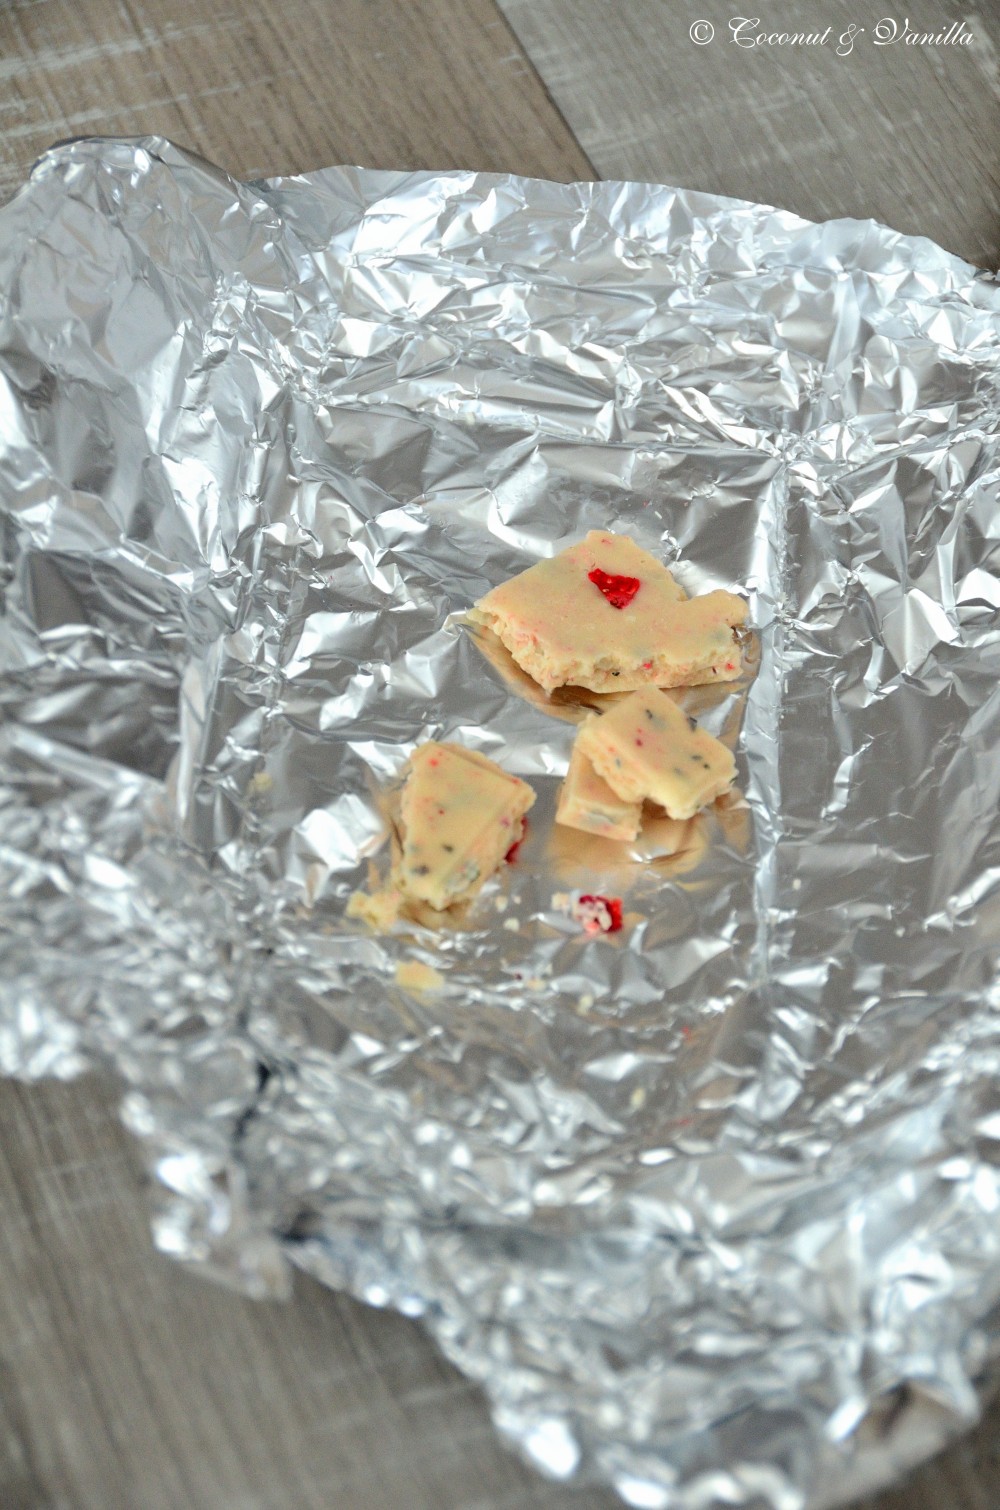
1 EL Erdbeerpulver gefriergetrocknet (hab ich selber gemacht, indem ich 2 EL gefriergetrocknete Erdbeerstücke im Mixer pulverisiert habe)
-
2 EL Erdbeerstücke gefriergetrocknet
Die Kuvertüre klein hacken. Umso kleiner, umso schneller und gleichmäßiger schmilzt sie gleich. Ein Wasserbad vorbereiten. Dieses sollte etwa 55° C haben. Darüber die Kuvertüre schmelzen, bis sie 40 – 45° C erreicht hat, dabei immer wieder mit dem Spatel umrühren und die Kuvertüre vom Schüsselrand abkratzen. Und nicht vergessen immer wieder die Temperatur der Kuvertüre zu messen. Nach jedem Messen die Kuvertüre vom Thermometer abwischen.
Nebenbei ein kaltes Wasserbad bereitstellen. Ich nehme dafür kaltes Wasser mit ein paar Eiswürfeln drin ( es soll maximal 25° C haben). Nun die Kuvertüre unter Rühren auf 26 – 27 °C abkühlen.
In der Zwischenzeit das vorherige Wasserbad auf 35° C abkühlen, indem man kaltes Wasser dazukippt. Unter Rühren und Messen die Kuvertüre wieder erwärmen. Die Temperatur sollte 28 – 29° C betragen. Die Minze und das Erdbeerpulver dazugeben und unterrühren.
In die Tafelformen die Kuvertüre geben. Dabei versuchen die Kuvertüre gleichmäßig zu verteilen. Zügig arbeiten, damit keine Fettränder entstehen (ein schnelles Auskratzen mit dem Spatel hat bei mir jedoch keine Nachteile nach sich gezogen, anders als im Buch beschrieben). Nun die Form rütteln, nach oben und unten, bis die Schokolade gleichmäßig in den Formen verteilt ist. Die Form ein paar Mal auf die Arbeitsplatte klopfen, damit die Luftblasen zerplatzen. Nun die Erdbeerstücke auf den Tafeln verteilen und etwas in die Schokolade drücken.
Wer Platz im Kühlschrank hat kann die Schokolade auf einem Brett für 5 Minuten reinlegen. Die Schokolade darf dabei nicht direkt auf die Fächer des Kühlschranks gelegt werden und auch nicht die Rückwand berühren. Dort ist es zu kalt!
Die Schokoladentafeln müssen mindestens 2 Stunden trocknen (bei heißen Temperaturen den Kühlschrank für die gesamte Zeit wählen). Dann mit einem Küchentuch bedecken und die Form umdrehen. Voilá, die schönsten Schokoladentafeln der Welt.
PS: Für Schokoladentafeln mit Vollmilch- oder Zartbitterkuvertüre (oder gemischt) lest Euch dieses Rezept durch.
I made this for my exchange partner Jasmin from Elbmadame for the current issue of „Post aus meiner Küche“ ( „Mail from my kitchen“) with the theme Very Berry!
Jasmin already blogged about my parcel here! She really liked it and that makes me very very happy.
Very Berry is a great theme, but also difficult to put into practice, if you want to send it by mail. Berries are easy perishable and a lot of things you make with them, too. Unfortunately some participants had to made this experience. What a pity! As Post aus meiner Küche is such a sweet idea. I wish, that those who had been disappointed, will think about it at the next theme and will try again and those who let others down will think about why and take the Netiquette to heart.
I was really lucky myself, that everything was delivered in good shape, since I used a lot of chocolate, while we had temperatures about 30° C in the south here. Unceremoniously I froze the whole parcel. As it seems that was the right choice.
I’m looking forward to the next theme and hope I’ll get an exchange partner, as sweet as Jasmin.
Two years ago: Red Currant Friandaises
Cantucchini with Pistachios & Sour Cherries (& White Chocolate if you like)
yields: about 40 cookies
Ingredients:
-
300 g wheat flour
-
1 tsp baking powder
-
170 g sugar
-
2 eggs
-
1 egg yolk
-
1 pinch of salt
-
75 g dried sour cherries
-
75 g shelled pistachios
-
100 g white chocolate (optional)
Place the ingredients, except the pistachios and cherries in a bowl and knead until a firm dough has formed and the ingredients are all incorporated. Add the pistachios and cherries and mix in.
Divide the dough into two pieces. Roll it out into logs, which are as long as your baking sheet is wide. Place them onto the sheet and bake them at 180°C for 20-25 minutes. They should be golden brown.
Take them out of the oven and let them cool off a bit, but not entirely! Cut the logs slantwise into 2,5 cm thick slices. Place the slices upright on the sheet and bake for another 10 minutes.
Let them cool off and store in an airtight container.
If you like to add white chocolate to you cantucchini. Melt the chocolate and dip the cookies halfway in the chocolate. Let the cantucchini dry on parchment paper or a cake rack.
White Strawberry-Chocolate with Mint
yields: 3 bars
Ingredients:
-
300 g white chocolate
-
1/2 Tbsp finely chopped mint (I used chocolate mint)
-
1 Tbsp strawberry powder, freeze-dried
-
2 Tbsp strawberry bits, freeze-dried
Chop the chocolate finely. The more finer the chocolate is chopped, the more faster and evenly it will melt. Prepare a double boiler, the water should have 55° C. Melt the chocolate in the double boiler until it has 40 – 45° C. Stir with the spatula and scrape down the chocolate from the sides. Don’t forget to measure the temperature and to remove the chocolate from the thermometer after every measurement.
On the side prepare a cold bain-marie. I use cold water with 3 or 4 ice cubes, but essentially it shouldn’t have over 25° C. While stirring, cool down the chocolate to 26 – 27° C.
In the meantime cool down the water in the double to 35° C by adding some cold water. Reheat the chocolate, whilst stirring and measuring the temperature. The chocolate should have 28 – 29° C. Mix in the mint and the strawberry powder.
Add the tempered chocolate to the moulds and try to share it between the moulds equally. Work quickly to prevent forming grease rims. Now jiggle and joggle up and down to spread the chocolate evenly. Tap the mould on the countertop to prevent air pockets. Place the strawberry bits on the bars and press the slightly in the chocolate.
If you have some free space in the fridge, lay your mould on a cutting board and let it rest for 5 minutes in the fridge. Never lay the mould directly on the shelves and do not let them touch the rear cover of the fridge, as it is too cold there.
The bars have to dry at least for 2 hours (if you have warm weather place the bars in the fridge for the whole time). Then cover them with a kitchen towel and turn the mould around. Voilá, the most gorgeous chocolate bars in the world!
If you want to make chocolate bars with whole milk or dark chocolate (or a mixed one) read the recipe in this post.


