Update: Für das deutsche Rezept nach unten scrollen!

The January 2010 Daring Bakers’ challenge was hosted by Lauren of Celiac Teen. Lauren chose Gluten-Free Graham Wafers and Nanaimo Bars as the challenge for the month. The sources she based her recipe on are 101 Cookbooks and www.nanaimo.ca.
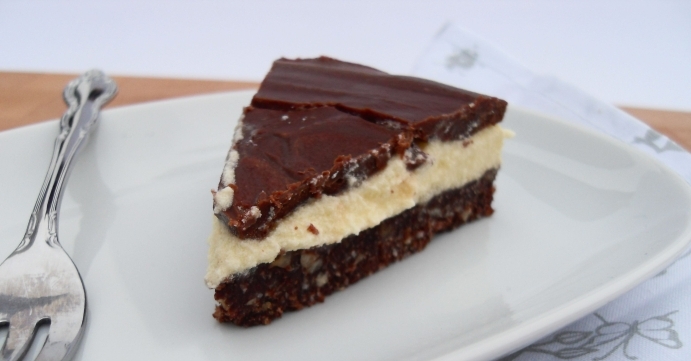
This month challenge was to make a classic Canadian dessert to savour the Olympic Winter Games in Canada this year. This dessert consists of three layers. A base containing crumbles of Graham Crackers, coconut, cocoa and almonds. A middle custard layer and a chocolate topping.
Since Lauren is suffering under celiac disease (dt. Zöliakie) the challenge was to bake the Graham Crackers yourself and gluten-free. Ever I was interested to try some gluten-free recipe. Finally I had the chance!
A lot of people in the world (also in Germany, yes!) have to live gluten-free, as if they wouldn’t, their villi lining the small intestine would be trancated. This reaction is caused by proteins, found in wheat, rye, barley and other crops of the tribe Triticeae.

First it was very difficult to find the needed flours. We needed rice flour, tapioca flour and sorghum flour (dt. Braunhirsemehl). Rice flour I had already at home. Tapioca flour (or starch), I found in a local Asian supermarket. The sorghum flour was much more difficult. But in a larger wholefood supermarket I didn’t just found sorghum flour, but a lot of more gluten-free flours.
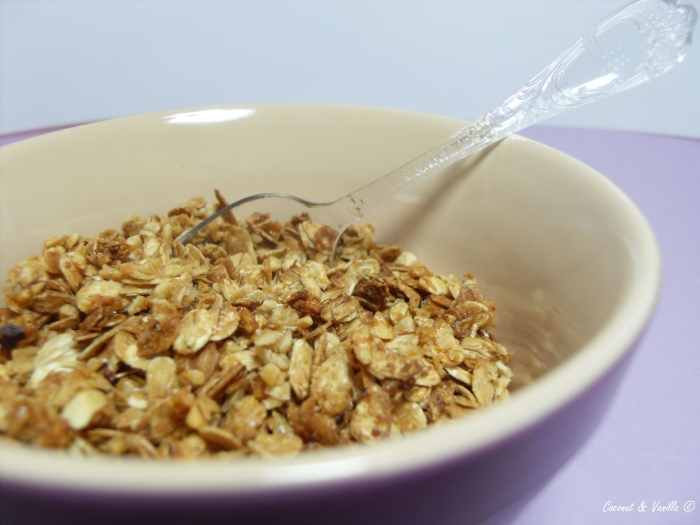
I will make an extra post for the Graham Crackers, because I really like them! I do not know how they taste with normal wheat flour, but actually I don’t really want to know… they are just great as they are and I think that special flavour comes from the sorghum flour. I will definitely bake them again!
Which I can’t say from Nanaimo Bars. I wasn’t so excited about that part of the challenge, as I would never make something like that for myself, as I do not like those sort of things. It’s just too much, too heavy for me.

I also made some differences regarding to the original recipe. I substituted the almonds with hazelnuts and since in Germany something like custard powder does not exist, I made a mixture of vanilla pudding powder, crème fraîche, butter, icing sugar and a lot of vanilla aroma, because it didn’t taste like vanilla after all and it was just too sweet.
I made just half the recipe and it’s still enough and to spare. Is used an adjustable cake setting ring with 16 cm in diametre.
If I would try it another time (I won’t, but IF), I would leave out the coconut and cocoa from the bottom layer, because the main taste is coconut and cocoa. Just too much of it!
Be cautious! The vanilla pudding powder, as well as the chocolate you take for the topping has to be gluten-free as well, if you want to make it all gluten-free!

glutenfreie Nanaimo Bars
Zutaten:
für den Boden:
- 115 g Butter
- 50 g Zucker
- 5 EL Kakao
- 1 Ei, verschlagen
- 60 g glutenfreie Graham Cracker Krümel
- 55 g gehackte Mandeln (oder andere Nüsse nach Wahl)
- 130 g Kokosraspel
für die Cremeschicht:
- 115 g Butter
- 300 g Crème fraîche
- 1 Tüte Vanillepuddingpulver
- Vanilleextrakt
- 250 g Puderzucker
für den Schokoladenguss:
- 115 g Zartbitterschokolade (ich hab Vollmilch verwendet)
- 2 EL Butter
Für den Boden: Die Butter mit dem Zucker und dem Kakao im Wasserbad schmelzen. Das Ei dazugeben, dabei rühren. Wenn die Masse eingedickt ist vom Herd nehmen. Die Kekskrümel, Nüsse und die Kokosraspel unterrühren. Alles in eine eckige Kuchenform von 20 x 20 cm oder eine 20 cm Springform drücken.
Für die Cremeschicht. Die Butter mit der Crème fraîche, Puddingpulver, Vanilleextrakt und Puderzucker hell und cremig rühren. Auf dem Boden gleichmäßig verteilen. Danach im Kühlschrank kühlen. Am besten ein paar Stunden, dann lässt sich die Schokolade leichter verteilen.
Die Schokoladen mit der Butter schmelzen. Etwas abkühlen lassen, dann auf der Creme verteilen.
Den Kuchen im Kühlschrank aufbewahren.
The January 2010 Daring Bakers’ challenge was hosted by Lauren of Celiac Teen. Lauren chose Gluten-Free Graham Wafers and Nanaimo Bars as the challenge for the month. The sources she based her recipe on are 101 Cookbooks and www.nanaimo.ca.
This month challenge was to make a classic Canadian dessert to savour the Olympic Winter Games in Canada this year. This dessert consists of three layers. A base containing crumbles of Graham Crackers, coconut, cocoa and almonds. A middle custard layer and a chocolate topping.
Since Lauren is suffering under celiac disease (dt. Zöliakie) the challenge was to bake the Graham Crackers yourself and gluten-free. Ever I was interested to try some gluten-free recipe. Finally I had the chance!
A lot of people in the world (also in Germany, yes!) have to live gluten-free, as if they wouldn’t, their villi lining the small intestine would be trancated. This reaction is caused by proteins, found in wheat, rye, barley and other crops of the tribe Triticeae.
First it was very difficult to find the needed flours. We needed rice flour, tapioca flour and sorghum flour (dt. Braunhirsemehl). Rice flour I had already at home. Tapioca flour (or starch), I found in a local Asian supermarket. The sorghum flour was much more difficult. But in a larger wholefood supermarket I didn’t just found sorghum flour, but a lot of more gluten-free flours.
I will make an extra post for the Graham Crackers, because I really like them! I do not know how they taste with normal wheat flour, but actually I don’t really want to know… they are just great as they are and I think that special flavour comes from the sorghum flour. I will definitely bake them again!
Which I can’t say from Nanaimo Bars. I wasn’t so excited about that part of the challenge, as I would never make something like that for myself, as I do not like those sort of things. It’s just too much, too heavy for me.
I also made some differences regarding to the original recipe. I substituted the almonds with hazelnuts and since in Germany something like custard powder does not exist, I made a mixture of vanilla pudding powder, crème fraîche, butter, icing sugar and a lot of vanilla aroma, because it didn’t taste like vanilla after all and it was just too sweet.
I made just half the recipe and it’s still enough and to spare. Is used an adjustable cake setting ring with 16 cm in diametre.
If I would try it another time (I won’t, but IF), I would leave out the coconut and cocoa from the bottom layer, because the main taste is coconut and cocoa. Just too much of it!
Be cautious! The vanilla pudding powder, as well as the chocolate you take for the topping has to be gluten-free as well, if you want to make it all gluten-free!
gluten-free Nanaimo Bars
Ingredients:
for the bottom:
- 115 g butter
- 50 g sugar
- 5 tbsp. cocoa powder
- 1 egg, beaten
- 60 g gluten-free graham cracker crumbs
- 55 g almonds (or other nuts you like, finely chopped)
- 130 g coconut (shredded, sweetened or unsweetened)
for the middle layer:
- 115 g butter
- 300 g créme fraîche
- 1 sachet of vanilla pudding powder
- vanilla extract
- 250 g icing sugar
for the top:
- 115 g semi-sweet chocolate (I used whole milk chocolate)
- 2 tbsp. butter
For the bottom layer: Melt the butter, sugar and cocoa in top of a double boiler. Add the egg and stir to cook and thicken. Remove from the heat. Stir in crumbs, nuts and coconut. Press firmly into an ungreased 8 by 8 inch pan.
For the middle layer: Cream the butter, créme fraîche, vanilla pudding powder, vanilla extract and icing sugar together. Beat until light in colour. Spread over bottom layer. After that I used to cool mine. It’s easier to spread the chocolate afterwards.
For the final layer: Melt the chocolate with the butter over low heat. Cool. Once cool, pour over middle layer and chill.