Update: Nach unten scrollen für das deutsche Rezept!
Happy new year everybody!

Thank you for your visits and supports in my first months of blogging! I’m always afraid and happy, when I read your comments. I’m always pleased to return the favour and visit your blogs! Some of them have already found their way in my daily reading list.
I hope you enjoyed my new blog last year. I will do my very best this year, too.
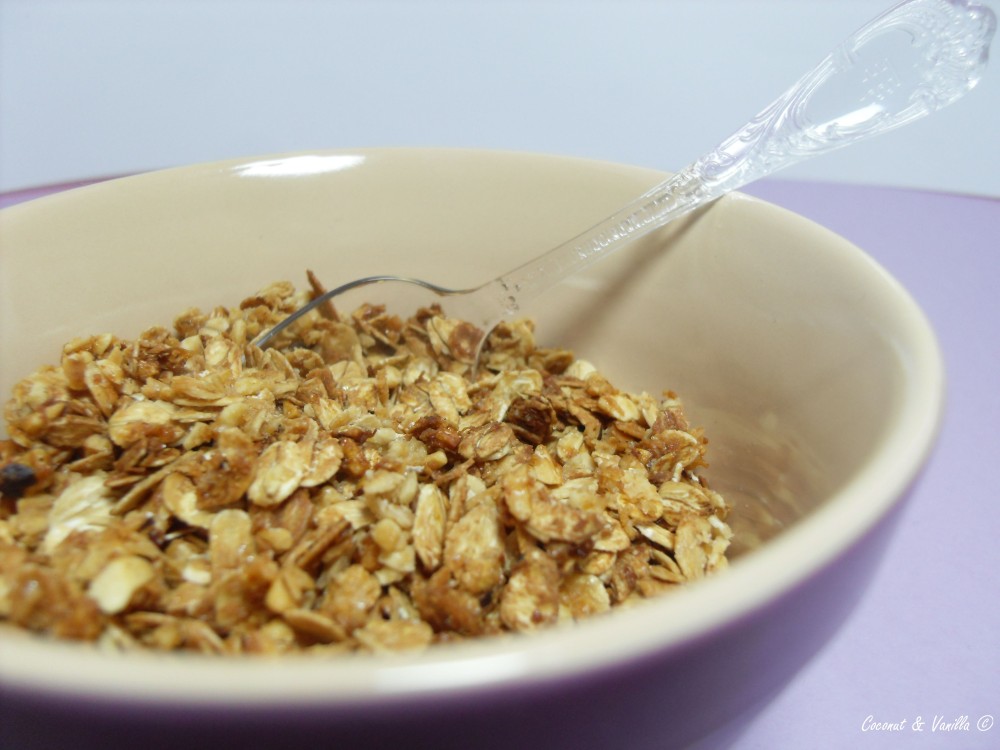
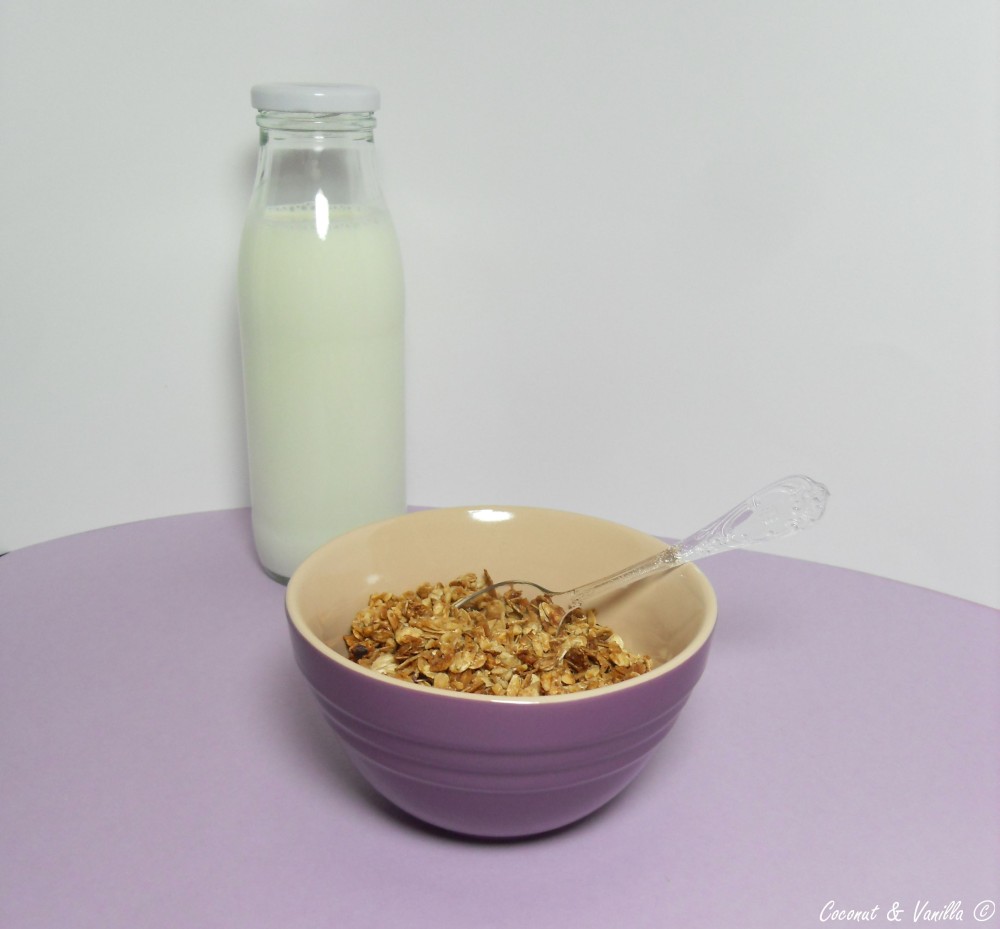
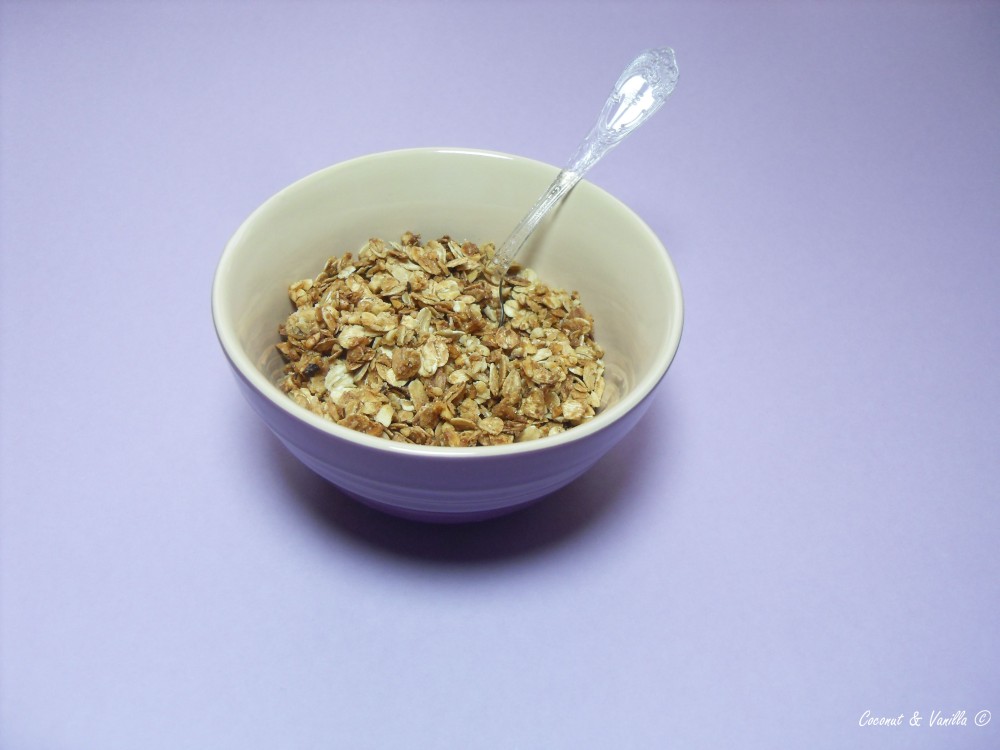
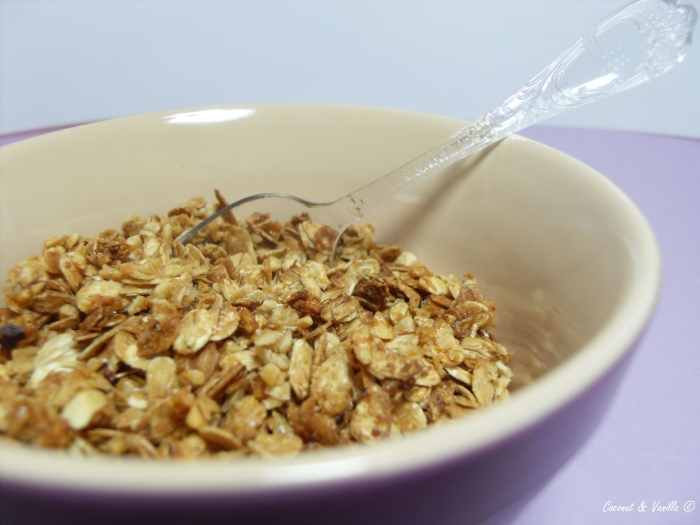
I want to start this year with some homemade muesli. I already produced it in the end-terms of last year, but I first tasted it this morning for breakfast. As I thought of eating this muesli for breakfast, I remembered, that some photos of the making are waiting to be blogged. So I took these photos this morning.

I like the idea of selfmade granola. I’m not a fan of bought one’s. For me, they are not crispy enough or too crispy, full of raisins, which I don’t like or dried fruits, which I do not like, too. I’ve only once seen a muesli, with freeze-dried fruits and that was tasty. Neither I like that cheap chocolate pieces in bought muesli.
The benefits of an selfmade muesli are – amongst others – , that you can put in what you like: favourite nuts, favourite fruits, favourite chocolate, favourite cereals. And everytime you can try another combination!
Don’t be scared of making your own granola! It’s fun, very easy and doesn’t take a lot of time.
Over- and underneath you see the granola on a baking sheet, after combining the ingredients. Underneath I put some anti-stick coated aluminium foil from Toppits® . If something like that is not available you can also use normal baking paper or grease the baking sheet lightly. But I admit that this aluminium foil is very handy.
The recipe is enough for about 10 smaller portions (like on my photos). So if you are a muesli-fancier, consider doubling the recipe. One recipe is suitable for one baking sheet.
I like to use whole nuts, peel them, roast them in a pan and chop them then. But feel free to use already chopped nuts.

Selbstgemachtes Müsli
Zutaten:
- 280 g kernige Haferflocke
- 100 g gehackte Nüsse
- 40 g Kokosflocken
- 2 EL brauner Zucker
- 1 Prise Salz
- 6 EL Honig
- 2 EL Sonnenblumenöl
- optional: gehackte Schokolade oder Trockenfrüchte
Den Ofen auf 150° C vorheizen.
Die Nüsse in einer großen Pfanne bei mittlerer Hitze rösten, bis anfangen zu duften. Aufpassen, dass sie nicht verbrennen!
In einer großen Schüssel die Haferflocken mit den Nüssen, Kokosflocken, Zucker und Salz mischen.
In einem kleinen Topf den Honig mit dem Öl auf niedriger Hitze erwärmen, bis sich der Honig verflüssigt hat. Über die anderen Zutaten gießen und gut vermischen.
Alles auf ein Backblech geben und gut verteilen.
20-30 Minuten backen, bis alles goldbraun ist. Zwischendrin mal umrühren.
Komplett auskühlen lassen, dann in eine große verschließbare Tüte oder Dose geben. Das Müsli klebt etwas zusammen, löst sich aber wenn man es entweder umrührt oder die Dose schüttelt.
Gehackte Schokolade oder Trockenfrüchte erst jetzt zugeben.
Happy new year everybody!

Thank you for your visits and supports in my first months of blogging! I’m always afraid and happy, when I read your comments. I’m always pleased to return the favour and visit your blogs! Some of them have already found their way in my daily reading list.
I hope you enjoyed my new blog last year. I will do my very best this year, too.
I want to start this year with some homemade muesli. I already produced it in the end-terms of last year, but I first tasted it this morning for breakfast. As I thought of eating this muesli for breakfast, I remembered, that some photos of the making are waiting to be blogged. So I took these photos this morning.

I like the idea of selfmade granola. I’m not a fan of bought one’s. For me, they are not crispy enough or too crispy, full of raisins, which I don’t like or dried fruits, which I do not like, too. I’ve only once seen a muesli, with freeze-dried fruits and that was tasty. Neither I like that cheap chocolate pieces in bought muesli.
The benefits of an selfmade muesli are – amongst others – , that you can put in what you like: favourite nuts, favourite fruits, favourite chocolate, favourite cereals. And everytime you can try another combination!
Don’t be scared of making your own granola! It’s fun, very easy and doesn’t take a lot of time.
Over- and underneath you see the granola on a baking sheet, after combining the ingredients. Underneath I put some anti-stick coated aluminium foil from Toppits® . If something like that is not available you can also use normal baking paper or grease the baking sheet lightly. But I admit that this aluminium foil is very handy.
The recipe is enough for about 10 smaller portions (like on my photos). So if you are a muesli-fancier, consider doubling the recipe. One recipe is suitable for one baking sheet.
I like to use whole nuts, peel them, roast them in a pan and chop them then. But feel free to use already chopped nuts.

Homemade Granola
Ingredients:
- 280 g rolled oats
- 100 g chopped nuts
- 40 g shredded coconut
- 2 Tbsp. brown granulated sugar
- pinch of salt
- 6 Tbsp. mild honey
- 2 Tbsp. vegetable oil
- favourite chopped chocolate or fruits
Preheat the oven to 150°C.
Roast the nuts in pan, until they begin to smell nuttily. Be cautious, that they do not burn. That would give the muesli a slight bitter flavour.
In a large bowl, combine the oats, nuts, coconut, sugar, and salt. Stir well to blend.
In a small saucepan, warm the honey and oil over low heat, whisking occasionally until the honey is loose. Pour over the dry ingredients, and stir to combine well.
Spread the mixture evenly on a rimmed baking sheet. Bake for about 20-30 minutes, or until golden. Set a timer to go off halfway through the baking time, so that you can give the granola a good stir; this helps it to cook evenly. When it’s ready, remove the pan from the oven and cool completely. After cooling stir it. It has harden a bit, but it will loose, when stirred.
When cool, transfer the granola to a large bowl, storage jar, or zipper-lock plastic bag. Add the chocolate or fruits, and stir (or shake, if using a jar or bag) to mix.

